1997 CHEVROLET CORVETTE parking brake
[x] Cancel search: parking brakePage 99 of 356
Downloaded from www.Manualslib.com manuals search engine Reducing Speed While Using Cruise Control
There are two ways to reduce your speed while using
cruise control:
Push in the button at the end of the lever until you
reach the lower speed you want, then release it.
The DIC will display the cruise set speed.
To slow down in very small amounts, push the
button for less than half a second. Each time you
do this, you’ll go
1 mph (1.6 km/h) slower.
The DIC will display the cruise set speed.
Passing Another Vehicle While Using Cruise Control
Use the accelerator pedal to increase your speed. When
you take your foot off the pedal, your vehicle will slow
down to the cruise control speed you set earlier.
Using Cruise Control on Hills
How well your cruise control will work on hills depends
upon
your speed, load and the steepness of the hills.
When going downhill, you may have to brake or shift to
a lower gear to keep your speed down. Of course,
applying the brake takes you out of cruise control. Many
drivers find this to be too much trouble and don’t use
cruise control on steep hills.
Getting Out of Cruise Control
There are two ways to turn off the cruise control:
Step lightly on the brake pedal or push the clutch
Move the cruise switch to OFF.
pedal, if you have a manual transmission vehicle; or
The DIC will display the message “CRUISE
DISENGAGED.’’
Erasing Speed Memory
When you turn off the cruise control or the ignition,
your cruise control set speed memory is erased.
Exterior Lamps
Daytime Running Lamps
Daytime Running Lamps (DRL) can make it easier
for others to see the front of your vehicle during the
day. DRL can be helpful in many different driving
conditions, but they can be especially helpful in the
short periods after dawn and before sunset.
The DRL system will make your front turn signal
come on when:
0 the ignition is on,
the headlamp switch is off and
the parking brake is released. lamps
2-50
Page 118 of 356

Downloaded from www.Manualslib.com manuals search engine A. Turn SignalNultifunction Lever
B. Driver Information Center (DIC)
C. Instrument Panel Cluster
D. Windshield WiperNVasher Lever
E. DIC Buttons
F. Hazard Warning Flasher Button
G. Center Air Vent
H. Audio System
I. Comfort Controls
J. Fog Lamp Button (Option)
K. Remote Hatch Release Button
L. Ignition Switch
M. Shift Lever (Automatic Shown)
N. Traction Control System (TCS) Switch
0. Selective Real Time Damping (Option)
P. Instrument Panel Cupholder
Q. Ashtray & Cigarette Lighter
R. Remote Fuel Door Release Button
S. Parking Brake
T. Glove Box
U. Instrument Panel Fuse Block
V. Power Accessory Outlet
2-69
Page 122 of 356
Downloaded from www.Manualslib.com manuals search engine Voltmeter
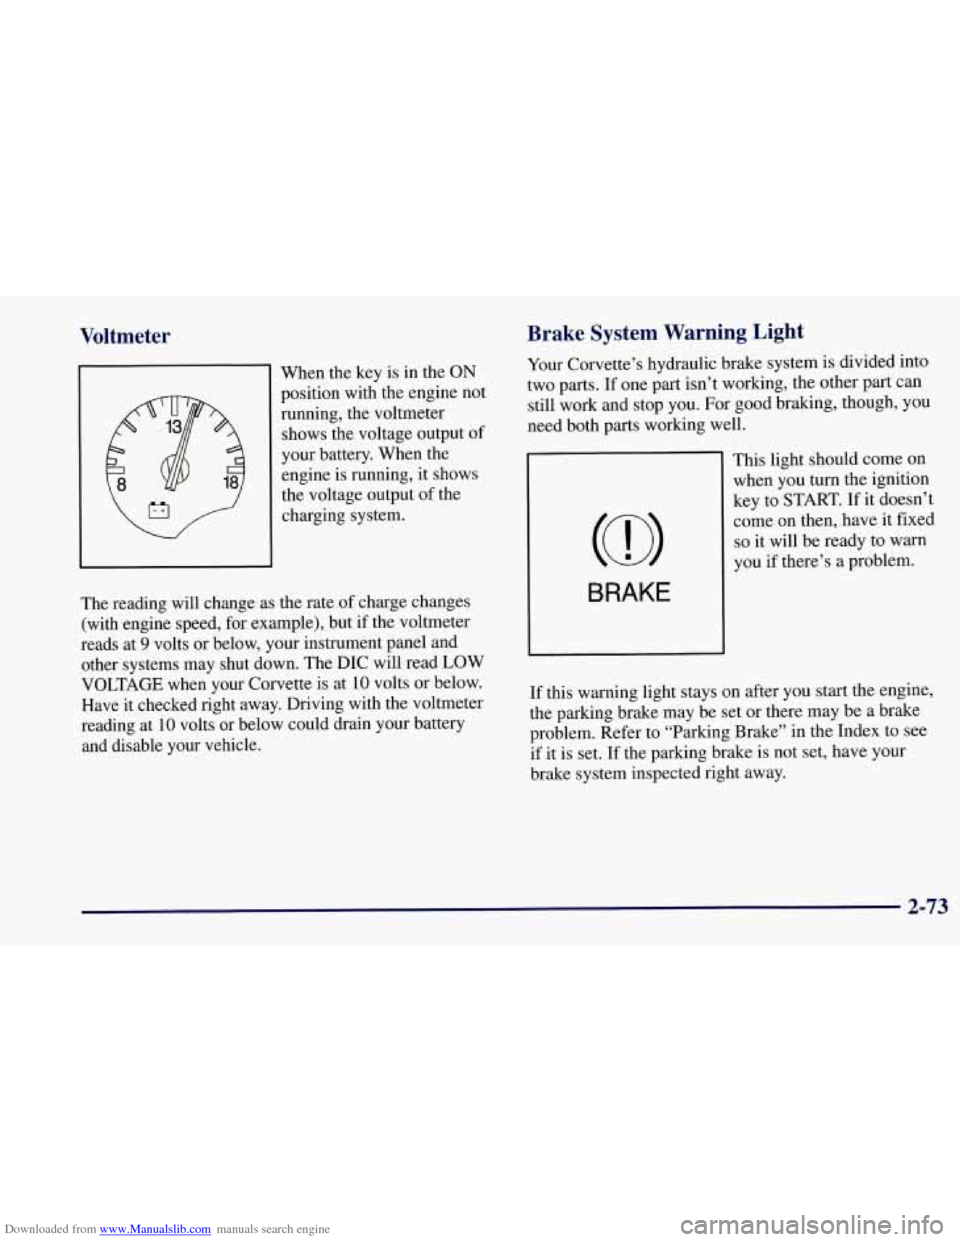
When the key is in the ON
position with the engine not
running, the voltmeter
shows the voltage output of
your battery. When the engine is running, it shows
the voltage output of the
charging system.
the rate of charge changes
J
The reading will change as
(with engine speed, for example), but if the voltmeter
reads at
9 volts or below, your instrument panel and
other systems may shut down. The DIC will read LOW
VOLTAGE when your Corvette is at
10 volts or below.
Have it checked right away. Driving with the voltmeter
reading at
10 volts or below could drain your battery
and disable your vehicle.
Brake System Warning Light
Your Corvette’s hydraulic brake system is divided into
two parts. If one part isn’t working, the other part can
still work and stop you. For good braking, though, you
need both parts working well.
BRAKE
This light should come on when you turn the ignition
key to START.
If it doesn’t
come on then, have it fixed
so it will be ready to warn
you
if there’s a problem.
If this warning light stays on after you start the engine,
the parking brake may be set or there may be a brake
problem. Refer to “Parking Brake” in the Index to see
if it is set.
If the parking brake is not set, have your
brake system inspected right away.
2-73
Page 220 of 356
Downloaded from www.Manualslib.com manuals search engine I
’
A CAUTION:
I
To help avoid injury to you or others:
Never let passengers ride in a vehicle that is
Never tow faster than safe or posted speeds.
Never tow with damaged parts not fully
Never get under your vehicle after it has
Always secure the vehicle on each side with
Use only R-hooks. being towed.
secured.
been lifted by the tow truck.
separate safety chains when towing it.
A vehicle can fall from a car carrier if it isn’t
adequately secured. This can cause
a collision,
serious personal injury and vehicle damage. The
vehicle should be tightly secured with chains or
steel cables before it is transported.
Don’t use substitutes (ropes, leather straps,
canvas webbing, etc.) that can be cut by sharp
edges underneath the towed vehicle. Always use
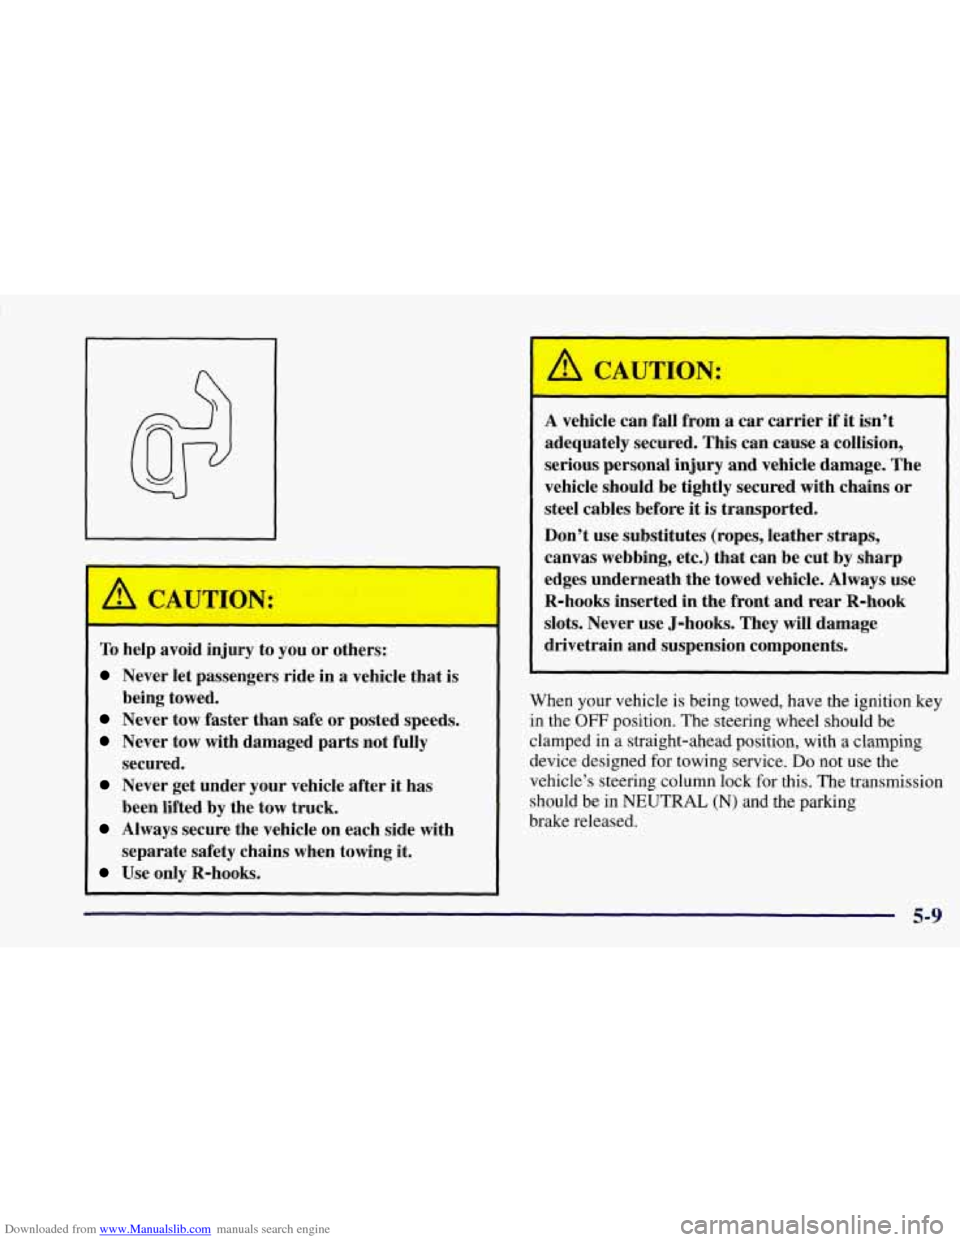
R-hooks inserted
in the front and rear R-hook
slots. Never use J-hooks. They will damage
drivetrain and suspension components.
When your vehicle is being towed, have the ignition key
in the
OFF position. The steering wheel should be
clamped in
a straight-ahead position, with a clamping
device designed for towing service.
Do not use the
vehicle’s steering column lock for this. The transmission
should be in
NEUTRAL (N) and the parking
brake released.
5-9
Page 299 of 356
Downloaded from www.Manualslib.com manuals search engine /
p4mrnm
SPAREFUSES UNDER HOOD
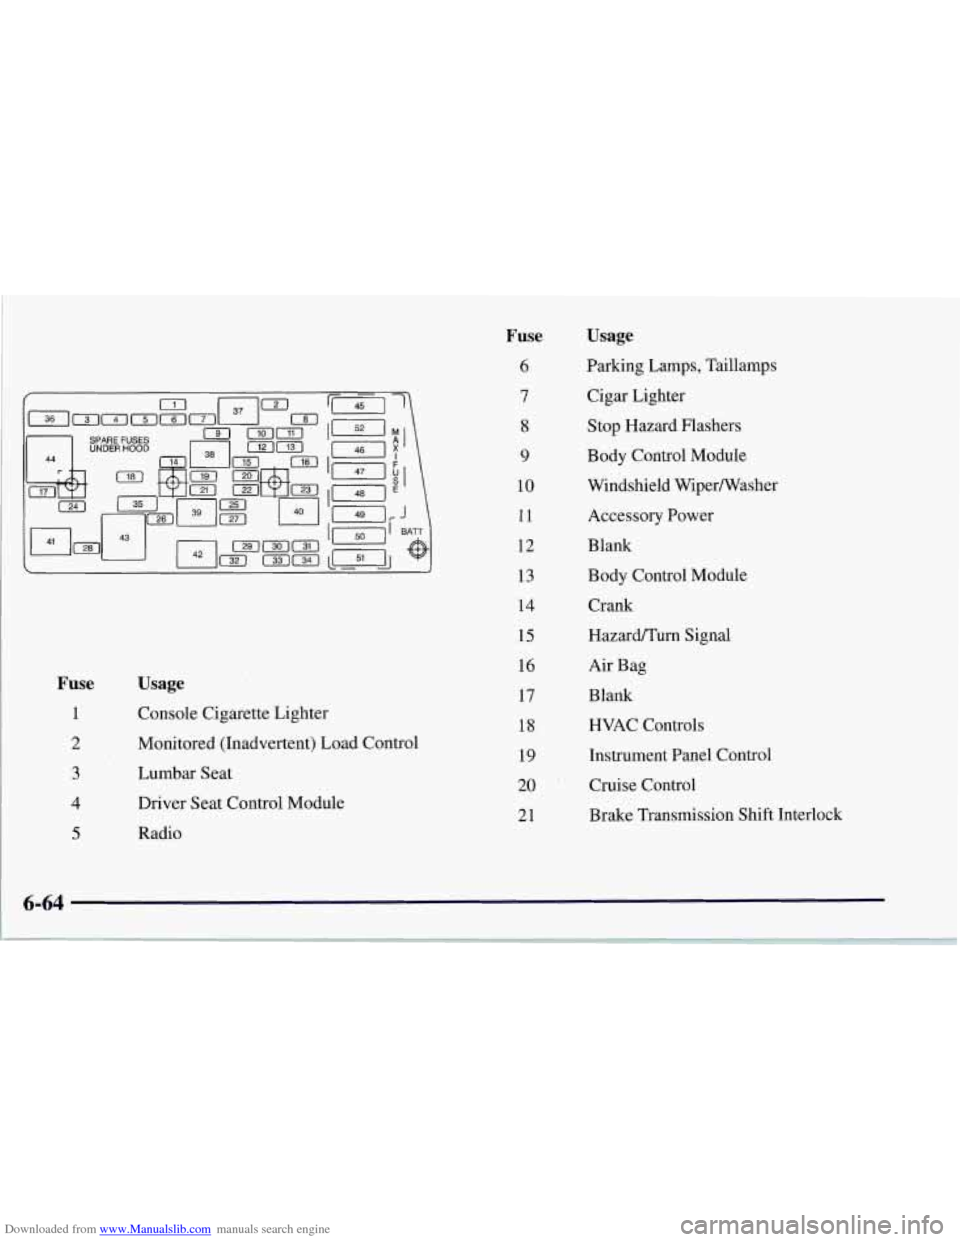
Fuse Usage
1 Console Cigarette Lighter
2 Monitored (Inadvertent) Load Control
3 Lumbar Seat
4 Driver Seat Control Module
5 Radio
Fuse
6
7
8
9
10
11
12
13
14
15 16
17
18
19
20
21
Usage
Parking Lamps, Taillamps
Cigar Lighter
Stop Hazard Flashers
Body Control Module
Windshield Wipermasher
Accessory Power
Blank Body Control Module
Crank
Hazard/Turn Signal
Air Bag
Blank HVAC Controls
Instrument Panel Control
Cruise Control
Brake Transmission Shift Interlock
6-64
~ . . -
Page 322 of 356
Downloaded from www.Manualslib.com manuals search engine Starter Switch Check
m
Brake-Transmission Shift Interlock (BTSI) Check (Automatic Transmission)
When you are doing this check, the vehicle could
move suddenly. If it does, you or others could be
injured. Follow the steps below.
1. Before you start, be sure you have enough room
around the vehicle.
2. Firmly apply both the parking brake (see “Parking
Brake” in the Index if necessary) and the regular brake.
NOTE:
Do not use the accelerator pedal, and be
ready to turn off the engine immediately if it starts.
3. On automatic transmission vehicles, try to start the
engine in each gear. The starter should work only in
PARK (P) or NEUTRAL
(N). If the starter works in
any other position, your vehicle needs service.
On manual transmission vehicles, put the shift lever
in NEUTRAL (N), push the clutch down halfway
and try to start the engine. The starter should work
only when the clutch is pushed down all the way to
the floor. If the starter works when the clutch isn’t
pushed all the way down, your vehicle needs service.
A CAUTION:
When you are doing this check, the vehicle could
move suddenly. If it does, you or others could be
injured. Follow the steps below.
1.
2.
3.
Before you start, be sure you have enough room
around the vehicle. It should be parked on a
level surface.
Firmly apply the parking brake
(see “Parking Brake”
in the Index if necessary).
NOTE: Be ready to apply the regular brake
immediately
if the vehicle begins to move.
With the engine off, turn the key to the
ON position,
but don’t start the engine. Without applying the
regular brake, try to move the shift lever out
of
PARK (P) with normal effort. If the shift lever
moves out of PARK (P), your vehicle’s
BTSI
needs service.
7-15
Page 323 of 356
Downloaded from www.Manualslib.com manuals search engine Ignition Automatic Transmission Lock Check
While parked, and with the parking brake set, try to
turn the ignition key
to OFF in each shift lever position.
The key should turn to
OFF only when the shift lever is
in PARK (P).
On all vehicles, the key should come out only in
OFF.
Parking Brake and Automatic Transmission
PP-K(P)” .mCt k
A CAUTION:
When you are doing this check, your vehicle
could begin to move. You or others could be
injured and property could be damaged. Make
sure there
is room in front of your vehicle in case
it begins to roll. Be ready to apply the regular
brake at once should the vehicle begin to move.
Park on a fairly steep hill, with the vehicle facing
downhill. Keeping your foot on the regular brake, set the
parking brake.
To check the parking brake’s holding ability:
With the engine running and transmission in
NEUTRAL
(N), slowly remove foot pressure from
the regular brake pedal.
Do this until the vehicle is
held by the parking brake only.
To check the PARK (P) mechanism’s holding ability:
With the engine running, shift to PARK (P). Then
release all brakes.
Underbody Flushing Service
At least every spring, use plain water to flush any
corrosive materials from the underbody. Take care to
clean thoroughly any areas where mud and other debris
can collect.
Page 324 of 356
Downloaded from www.Manualslib.com manuals search engine Part C: Periodic Maintenance
Inspections
Listed below are inspections and services which should
be performed at least twice a year (for instance, each
spring and fall). You should let your
GM dealer’s
service department or other qualified service center do
these jobs. Make sure any necessary repairs are
completed at once.
Proper procedures to perform these services may be
found
in a GM service manual. See “Service and Owner
Publications’’ in the Index.
Steering and Suspension Inspection
Inspect the front and rear suspension and steering
system for damaged, loose or missing parts, signs of
wear or lack of lubrication. Inspect the power steering
lines and hoses for proper hook-up, binding, leaks,
cracks, chafing, etc.
Tire and Wheel Inspection
Inspect the tires for uneven wear or damage. If there is
irregular or premature wear, check the wheel alignment.
Inspect for damaged wheels.
Exhaust System Inspection
Inspect the complete exhaust system. Inspect the body near
the exhaust system. Look for broken, damaged, missing or
out-of-position parts as well as open seams, holes, loose
connections or other conditions which could cause a heat
build-up in the floor pan or could let exhaust fumes into
the vehicle. See “Engine Exhaust” in the Index.
Radiator and Heater Hose Inspection
Inspect the hoses and have them replaced if they are
cracked, swollen or deteriorated. Inspect all pipes,
fittings and clamps; replace as needed.
Rear Axle Service
Check the gear lubricant level in the rear axle and add if
needed. See “Rear Axle” in the Index.
A fluid loss may
indicate a problem. Check the axle and repair it if needed.
Brake System Inspection
Inspect the complete system. Inspect brake lines and hoses
for proper hook-up, binding, leaks, cracks, chafing, etc.
Inspect disc brake pads for wear and rotors for surface
condition. Inspect other brake parts, including calipers,
parking brake, etc. You may need to have your brakes
inspected more often if your driving habits
or conditions
result in frequent braking.