1997 CHEVROLET CORVETTE change wheel
[x] Cancel search: change wheelPage 190 of 356
Downloaded from www.Manualslib.com manuals search engine Braking in Emergencies
With anti-lock, you can steer and brake at the same
time. In many emergencies, steering can help you more
than even the very best braking.
Steering
Power Steering
If you lose power steering assist because the engine
stops or the system is not functioning, you can steer but
it will take much more effort.
Steering Tips
Driving on Curves
It’s important to take curves at a reasonable speed.
A lot
of the “driver lost control” accidents mentioned on
the news happen on curves. Here’s why: Experienced driver
or beginner, each
of us is subject to
the same laws
of physics when driving on curves. The
traction
of the tires against the road surface makes it
possible for the vehicle to change its path when you turn
the front wheels. If there’s no traction, inertia will keep
the vehicle going in the same direction. If you’ve ever
tried to steer a vehicle on wet ice, you’ll understand this.
The traction you can get in a curve depends on
the
condition of your tires and the road surface, the angle at
which the curve is banked, and your speed. While you’re
in a curve, speed is the one factor you can control.
Suppose you’re steering through
a sharp curve. Then you
suddenly accelerate. Both control systems
-- steering and
acceleration
-- have to do their work where the tires meet
the road. Adding the sudden acceleration can demand too
much of those places. You can lose control. Refer to
“Traction Control System” in the Index.
What should you do
if this ever happens? Ease up on the
accelerator pedal, steer the vehicle the way you want it
to go, and slow down.
Speed limit signs near curves warn that you should
adjust your speed. Of course, the posted speeds are
based on good weather and road conditions. Under less
favorable conditions you’ll want to
go slower.
4-11
Page 194 of 356
Downloaded from www.Manualslib.com manuals search engine Loss of Control
Let’s review what driving experts say about what
happens when the three control systems (brakes, steering
and acceleration) don’t have enough friction where the
tires meet the road to do what the driver has asked.
In any emergency, don’t give up. Keep trying to steer and
constantly seek an escape route or area of less danger.
Skidding
In a skid, a driver can lose control of the vehicle.
Defensive drivers avoid most skids by taking reasonable
care suited to existing conditions, and by not
“overdriving” those conditions. But skids are
always possible.
The three types of skids correspond to your Corvette’s
three control systems. In the braking skid, your wheels
aren’t rolling. In the steering or cornering skid, too
much speed or steering in a curve causes tires to slip and
lose cornering force. And
in the acceleration skid, too
much throttle causes the driving wheels to spin.
A cornering skid is best handled by easing your foot
off
the accelerator pedal.
Remember: Any TCS system helps avoid only the
acceleration shd.
If your TCS system is off,then an acceleration skid is also
best handled by easing your foot off the accelerator pedal.
If your vehicle starts to slide, ease your foot
off the
accelerator pedal and quickly steer the way you want the
vehicle to go. If you start steering quickly enough, your
vehicle may straighten out. Always be ready for a
second skid if it occurs.
Of course, traction is reduced when water, snow, ice,
gravel
or other material is on the road. For safety, you’ll
want to slow down and adjust your driving to these
conditions. It
is important to slow down on slippery
surfaces because stopping distance will
be longer and
vehicle control more limited.
While driving on a surface with reduced traction, try
your best to avoid sudden steering, acceleration or
braking (including engine braking by shifting to a lower
gear). Any sudden changes could cause the tires to slide.
You may not realize the surface is slippery until
your vehicle is skidding. Learn to recognize warning
clues
-- such as enough water, ice or packed snow on
the road to make a “mirrored surface”
-- and slow
down when you have any doubt.
Remember: Any anti-lock brake system
(ABS) helps
avoid only the bralung skid.
4-15
Page 219 of 356
Downloaded from www.Manualslib.com manuals search engine Towing Your Vehicle
Try to have a GM dealer or a professional towing
service tow your vehicle. They can provide the right
equipment and know how to tow your vehicle
without damage.
If your vehicle has been changed or modified since
it
was factory new by adding aftermarket items like fog
lamps, aero skirting, or special tires and wheels, these
instructions and illustrations may not be correct.
Before you
do anything, turn on the hazard
warning flashers. When
you call, tell the towing service:
0 That your vehicle cannot be towed with
sling-type equipment.
That your vehicle has rear-wheel drive.
The make, model and year of your vehicle.
0 Whether you can still move the shift lever.
0 If there was an accident, what was damaged.
0 If the vehicle is to be towed from the rear with a
wheel-lift truck, a front dolly will be required.
When the towing service arrives, let the tow operator
know that this manual contains detailed towing
instructions and illustrations.
The operator may want to
see them.
Page 276 of 356
Downloaded from www.Manualslib.com manuals search engine Extended Mobility Tires
Your Corvette, when new, had Goodyear Extended
Mobility Tires (EMT). There’s no spare tire, no tire
changing equipment and no place to store a tire in the
vehicle. Extended Mobility Tires perform
so well
without any air that a Tire Pressure Monitor (TPM) is
used to alert you if a tire has lost pressure.
The Tire Pressure Monitor (TPM) has a sensor on
each road wheel that transmits to a receiver on the
instrument panel.
The system operates on a radio frequency subject to
Federal Communications Commission (FCC) Rules and with Industry and Science Canada.
This device complies with Part 15 of the FCC Rules.
Operation is subject to the following two conditions:
(1)
this device may not cause harmful interference, and
(2) this device must accept any interference received,
including interference that may cause undesired operation.
This device complies with RSS-210 of Industry and
Science Canada. Operation is subject to the following
two conditions:
(1) this device may not cause
interference, and (2) this device must accept any
interference received, including interference that may
cause undesired operation of the device. Changes
or modifications to this system by other than an
authorized service facility could void authorization to
use this equipment.
If a tire’s inflation pressure is between
5 psi (35 kPa)
and 25 psi
(170 kPa), you will see a message on the
Driver Information Center. This message will show
which tire is underinflated and two chimes will sound.
An example would be LOW TIRE PRESSURE-LR.
This would mean that the inflation pressure in your left
rear tire is between
5 psi (35 Pa) and 25 psi (170 Wa).
If the inflation pressure in the tire drops below
5 psi
(35 kPa), the message would read FLAT TIRE-LR and
four chimes will sound. See “Driver Information
Center” in the Index.
The TPM will also alert you if a tire’s pressure is higher
than 42 psi (290 kPa). The message will show which tire
is overinflated and two chimes will sound. An example
would be
HIGH PRESSURE-LR. This would mean that
the inflation pressure in your left rear tire is higher than
42 psi
(290 Wa). See “Driver Information Center” in
the Index.
If a tire pressure message appears
on the Driver
Information Center, stop as soon as you can. Have the
tire pressures checked and set to those shown on your
Tire Loading Information label.
6-41
Page 277 of 356
Downloaded from www.Manualslib.com manuals search engine I
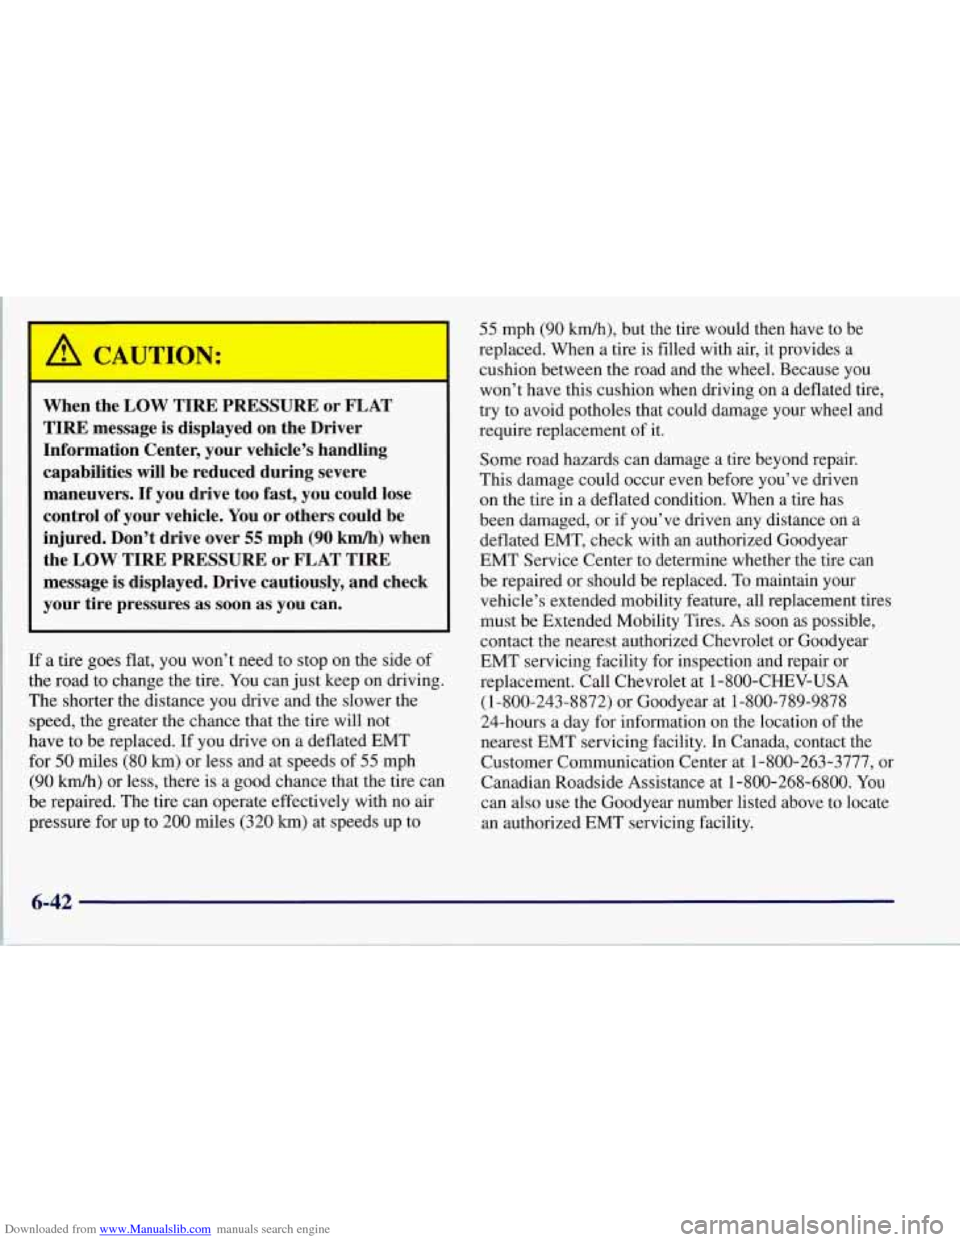
9 CAUTION:
When the LOW TIRE PRESSURE or FLAT TIRE message is displayed on the Driver
Information Center, your vehicle’s handling
capabilities
will be reduced during severe
maneuvers. If you drive too fast, you could lose
control
of your vehicle. You or others could be
injured. Don’t drive over
55 mph (90 km/h) when
the LOW TIRE PRESSURE or FLAT TIRE
message is displayed. Drive cautiously, and check
your tire pressures as soon as you can.
If a tire goes flat, you won’t need to stop on the side of
the road to change the tire.
You can just keep on driving.
The shorter the distance you drive and the slower the
speed, the greater the chance that the tire will not
have to be replaced.
If you drive on a deflated EMT
for
50 miles (80 km) or less and at speeds of 55 mph
(90 km/h) or less, there is a good chance that the tire can
be repaired. The tire can operate effectively with no air
pressure for up to 200 miles (320
km) at speeds up to
55 mph (90 kdh), but the tire would then have to be
replaced. When a tire is filled with air,
it provides a
cushion between the road and the wheel. Because you
won’t have this cushion when driving on a deflated tire,
try to avoid potholes that could damage your wheel and
require replacement of it.
Some road hazards can damage a tire beyond repair.
This damage could occur even before you’ve driven
on the tire in a deflated condition. When a tire has
been damaged, or if you’ve driven any distance on
a
deflated EMT, check with an authorized Goodyear
EMT Service Center to determine whether the tire can
be repaired or should be replaced. To maintain your
vehicle’s extended mobility feature, all replacement tires
must be Extended Mobility Tires.
As soon as possible,
contact the nearest authorized Chevrolet or Goodyear
EMT servicing facility for inspection and repair or
replacement. Call Chevrolet at 1-800-CHEV-USA
(1-800-243-8872) or Goodyear at 1-800-789-9878
24-hours a day for information on the location of the
nearest EMT servicing facility. In Canada, contact the
Customer Communication Center at 1-800-263-3777, or
Canadian Roadside Assistance at 1-800-268-6800. You
can also use the Goodyear number listed above to locate
an authorized EMT servicing facility.
Page 284 of 356
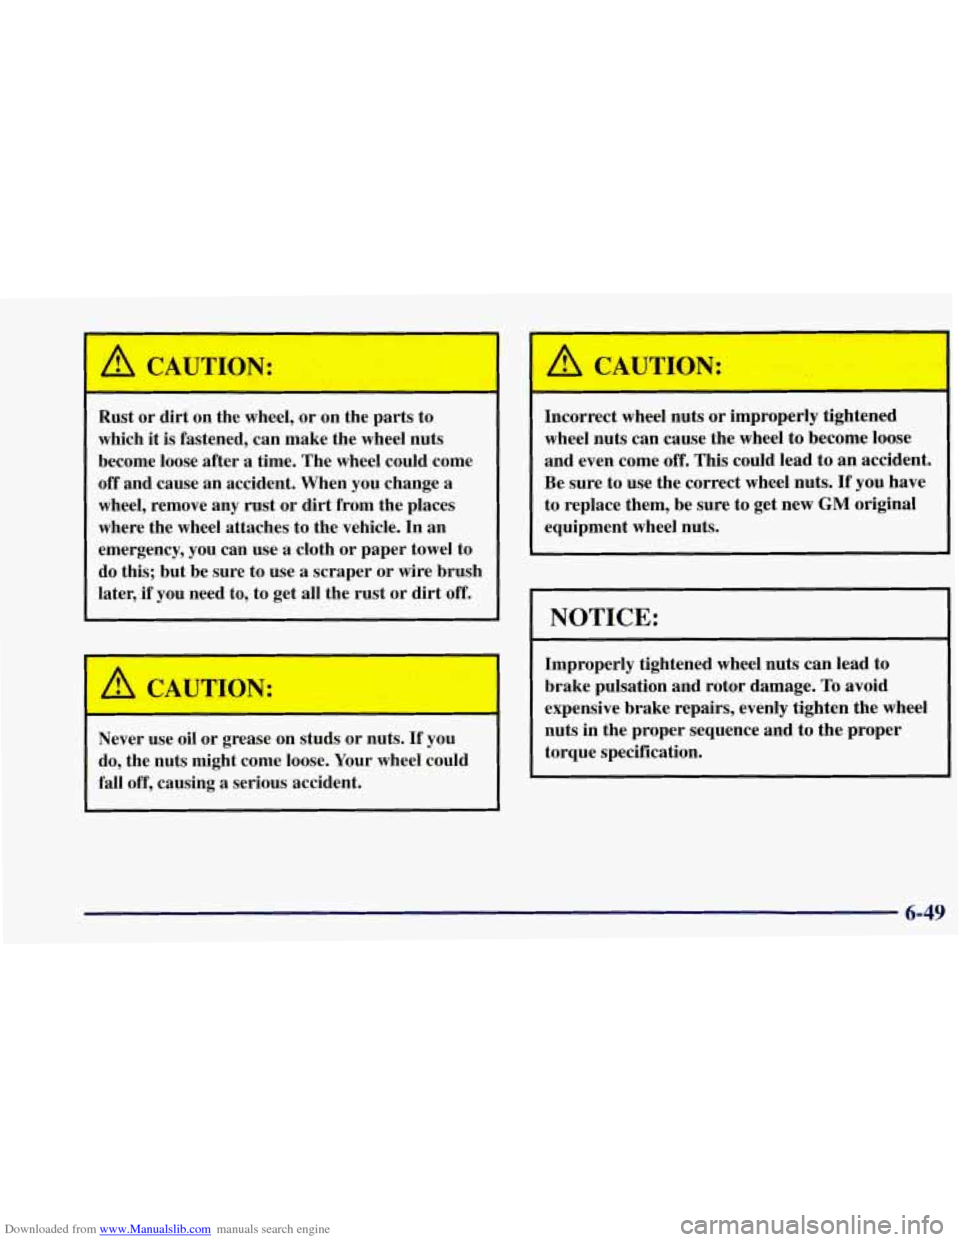
Downloaded from www.Manualslib.com manuals search engine A CAUTION:
I
Rust or dirt on the wheel, or on the parts to
which it is fastened, can make the wheel nuts
become loose after
a time. The wheel could come
off and cause an accident. When you change
a
wheel, remove any rust or dirt from the places
where the wheel attaches to the vehicle. In an
emergency, you can use
a cloth or paper towel to
do this; but be sure to use
a scraper or wire brush
later, if you need to, to get all the rust or dirt off.
Never use oil or grease on studs or nuts.
If you
do, the nuts might come loose. Your wheel could
fall off, causing a serious accident.
~
A CAUTION:
Incorrect wheel nuts or improperly tightened
wheel nuts can cause the wheel to become loose
and even come off. This could lead to an accident.
Be sure to use the correct wheel nuts. If you have
to replace them, be sure to get new
GM original
equipment wheel nuts.
NOTICE:
Improperly tightened wheel nuts can lead to
brake pulsation and rotor damage. To avoid
expensive brake repairs, evenly tighten the wheel
nuts in the proper sequence and to the proper torque specification.
6-49
Page 305 of 356
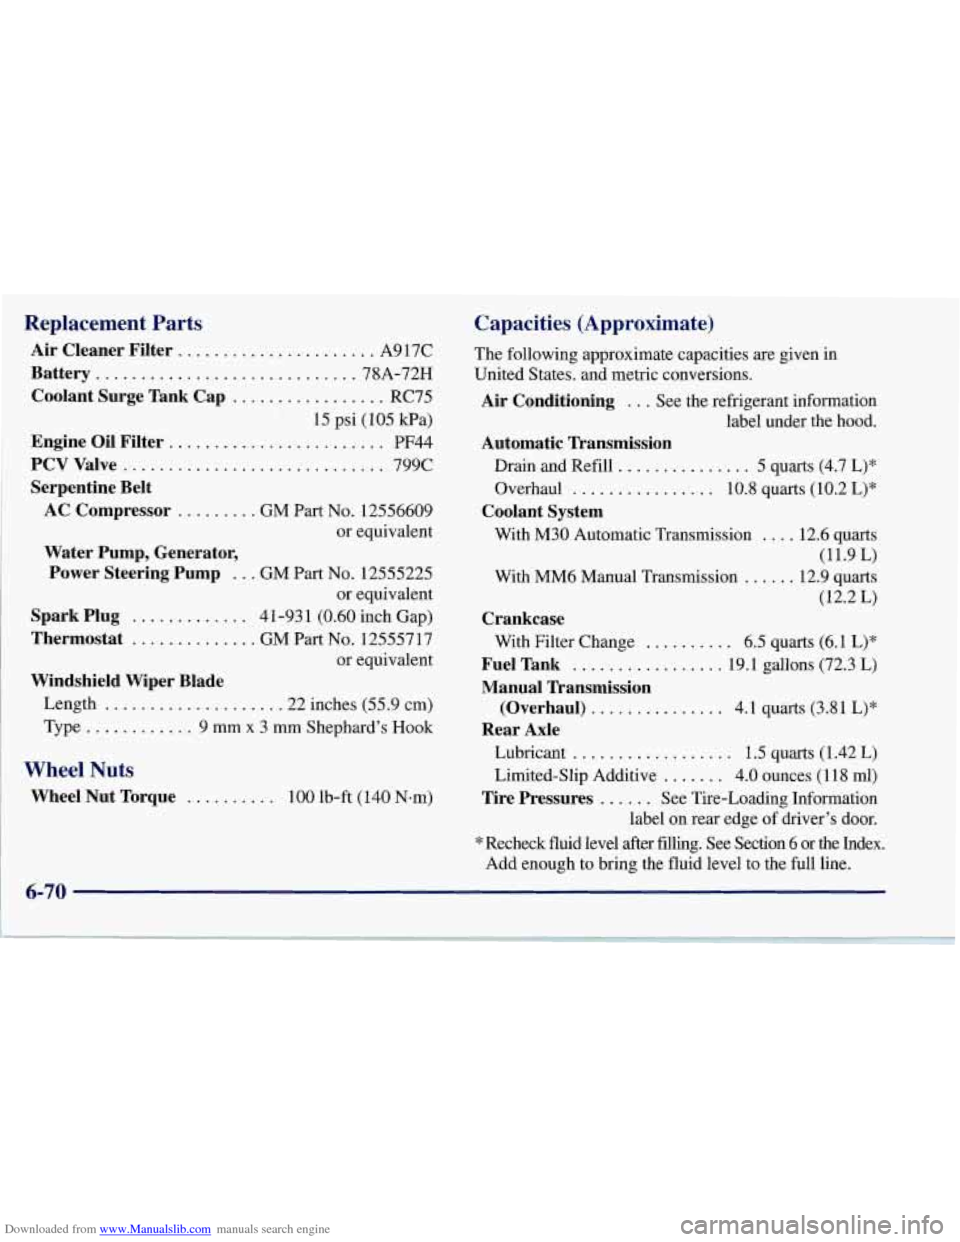
Downloaded from www.Manualslib.com manuals search engine Replacement Parts
Air Cleaner Filter ...................... A917C
Battery ............................. 78A-72H
Coolant Surge Tank Cap ................. RC75
Engine Oil Filter ........................ PF44
15
psi (105
kPa)
PCV Valve ............................. 799C
Serpentine Belt
AC Compressor
......... GM Part No. 12556609
or equivalent
Water Pump, Generator, Power Steering Pump
... GM Part No. 12555225
or equivalent
Thermostat .............. GM Part No. 125557 17
or equivalent
Windshield Wiper Blade Spark Plug
............. 4 1-93 1 (0.60 inch Gap)
Length
................... .22 inches (55.9 cm)
Type
............ 9 mm x 3 mm Shephard’s Hook
Wheel Nuts
Wheel Nut Torque .......... 100 lb-ft (140 Nsm)
Capacities (Approximate)
The following approximate capacities are given in
United States. and metric conversions.
Air Conditioning ... See the refrigerant information
label under the hood.
Automatic Transmission
Drain and Refill ............... 5 quarts (4.7 L)*
Overhaul
................ 10.8 quarts (10.2 L)*
With M30 Automatic Transmission
.... 12.6 quarts
With MM6 Manual Transmission
...... 12.9 quarts
(12.2 L)
With Filter Change
.......... 6.5 quarts (6.1 L)*
Fuel Tank ................. 19.1 gallons (72.3 L)
Coolant System
(11.9 L)
Crankcase
Manual Transmission Rear Axle (Overhaul)
................ 4.1 quarts
(3.81 L)*
Lubricant
.................. 1.5 quarts (1.42 L)
Limited-Slip Additive
....... 4.0 ounces (1 18 ml)
Tire Pressures ...... See Tire-Loading Information
label on rear edge of driver’s door.
*Recheck fluid level after filling. See Section
6 or the Index.
Add enough to bring the fluid level to the full line.
Page 353 of 356
Downloaded from www.Manualslib.com manuals search engine Tachometer .................................. 2-7 I
TapePlayerCare ............................... 3-29
Temperature Control
......................... 3.3. 3.6
Theft
......................................... 2-15
Theft-Deterrent Radio
........................... 3-26
Thermostat
.................................... 6-26
Third Gear. Manual Transmission
.................. 2-29
Tilt Steering Wheel
............................. 2-41
Time. Setting the
............................... 3- 13
Tirechains
.................................... 6-51
Tire-Loading Information Label
................... 4-30
Tires
......................................... 6-40
Alignment and Balance
........................ 6-48
BuyingNew
................................. 6-45
Cleaning
.................................... 6-57
Extended Mobility
............................ 6-41
If One Goes Flat
.............................. 5-22
Inflation
.................................... 6-43
Inflation Check
............................... 7- 13
Inspection and Rotation
........................ 6-44
Loading
.................................... 4-30
Pressure
.................................... 6-43
Temperature
................................. 6-47
Traction
.................................... 6-47
Treadwe
ar ................................... 6-46
Uniform Quality Grading
....................... 6-46
Wear Indicators
.............................. 6-45
Wheel Replacement
........................... 6-48
When It’s Time for New
....................... 6-45
TopStrap
..................................... 1-27
TorqueLock
................................... 2-35
Torque, Wheel Nut
............. ................ 6-70 TowingaTrailer
................................ 4-31
Traction Control System
.......................... 4-9
Traction Control System (TCS) Light
............... 2-75
Towing
Your Vehicle
............................. 5-8
TrailerTowing ................................. 4-31
Transmission Fluid
.............................. 6-18
Automatic
................................... 6-18
Manual
..................................... 6-19
Transmission. Ignition Lock Check
................. 7-16
Transportation. Courtesy
.......................... 8-8
TTYUsers ..................................... 8-4
Turn Signal and Lane Change Indicator
............. 2-42
Turn SignalMultifunction Lever
................... 2-41
Underbody Flushing Service
..................... 7-16
Underbody Maintenance
......................... 6-57
Transmitters. Remote Function Actuation System
...... 2-6
Universal Theft-Deterrent System
.................. 2-16
Vehicle Adding Equipment to the Outside
of Your ........... 6-3
Control
...................................... 4-6
Damage Warnings
.............................. ix
Dimensions ................................. 6-71
Identification Number
......................... 6-60
Loading
.................................... 4-30
Ventilation System
.............................. 3-13
Visor Vanity Mirrors
............................ 2-58
Visors. Sun
.................................... 2-58
Voltmeter
..................................... 2-73
Storage
..................................... 6-32
9-10