1997 CHEVROLET CAVALIER power steering
[x] Cancel search: power steeringPage 70 of 388
Downloaded from www.Manualslib.com manuals search engine New Vehicle “Break-In” Ignition
Positions
NOTICE:
Your modern Chevrolet doesn’t need an
elaborate “break-in.” But it will perform better
in the long run if you follow these guidelines:
0
0
0
Don’t drive at any one speed -- fast or
slow
-- for the first 500 miles (805 km).
Don’t make full-throttle
starts.
Avoid making hard stops for the first
200 miles (322 km) or so. During this time
your new brake linings aren’t yet broken
in. Hard stops with new linings can mean
premature wear and earlier replacement.
Follow this breaking-in guideline every
time you get new brake linings.
Don’t tow
a trailer during break-in.
See “Towing
a Trailer” in the Index for
more information.
A
C
E
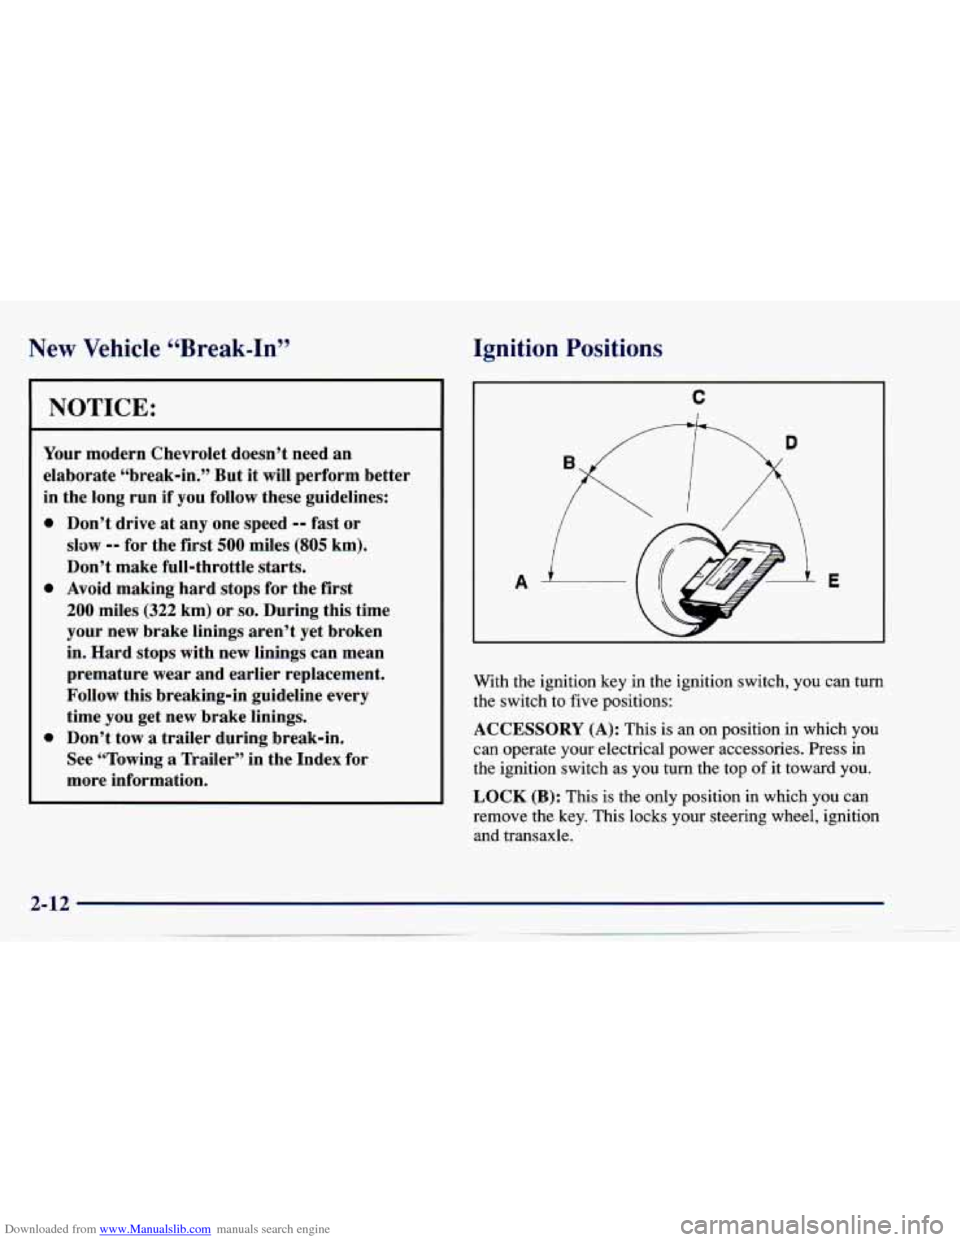
With the ignition key in the ignition switch, you can turn
the switch to five positions:
ACCESSORY
(A): This is an on position in which you
can operate your electrical power accessories. Press in
the ignition switch as you turn the top
of it toward you.
LOCK
(B): This is the only position in which you can
remove the key. This locks your steering wheel, ignition and transaxle.
Page 71 of 388
Downloaded from www.Manualslib.com manuals search engine OFF (C): This position unlocks the steering wheel,
ignition and transaxle, but does not send electrical
power to any accessories. In the
OFF position, the
instrument cluster and the automatic transaxle gear shift
indicator have electrical power. Use this position if your
vehicle must be pushed
or towed, but never try to
push-start your vehicle.
A warning chime will sound if
you open the driver’s door when the ignition is off and
the key
is in the ignition.
RUN (D): This is an on position to which the switch
returns after you start your engine and release the
switch. The switch stays in the RUN position when the
engine is running. But even when the engine is
not
running, you can use RUN to operate your electrical
power accessories, and to display some instrument panel
warning lights.
START
(E): This position starts the engine. When the
engine starts, release the
key. The ignition switch will
return to RUN for normal driving.
Note that even if the engine is not running, the positions
ACCESSORY and RUN are on positions that allow you
to operate your electrical accessories, such
as the radio. On manual transaxle
vehicles, turning the key to
LOCK will lock the steering column and result in
a loss of ability to steer the vehicle. This could
cause
a collision. If you need to turn the engine
off while the vehicle is moving, turn the key only
to
OFF. Don’t press the key release button while
the vehicle is moving.
NOTICE:
If your key seems stuck in LOCK and you can’t
turn it, be sure
you are using the correct key; if
so, is it all the way in? If it is, then turn the
steering wheel left and right while you turn the
key hard. But turn the key only with your hand.
Using
a tool to force it could break the key or the
ignition switch.
If none of this works, then your
~ vehicle needs service.
Page 90 of 388
Downloaded from www.Manualslib.com manuals search engine Windows
I On a vehicle with manual windows, use the window
crank to open and close each window.
Power Windows (If Equipped)
The driver’s window switch has an auto-down feature.
The driver’s window can be opened to the desired
amount by pushing the rear
of the switch to the first
detent. For the auto-down feature, push the rear
of the
switch all the way down. The window will continue
going down until fully opened.
To stop the window while it is lowering, briefly press
the switch forward, then release.
To raise the window, press and hold the switch forward.
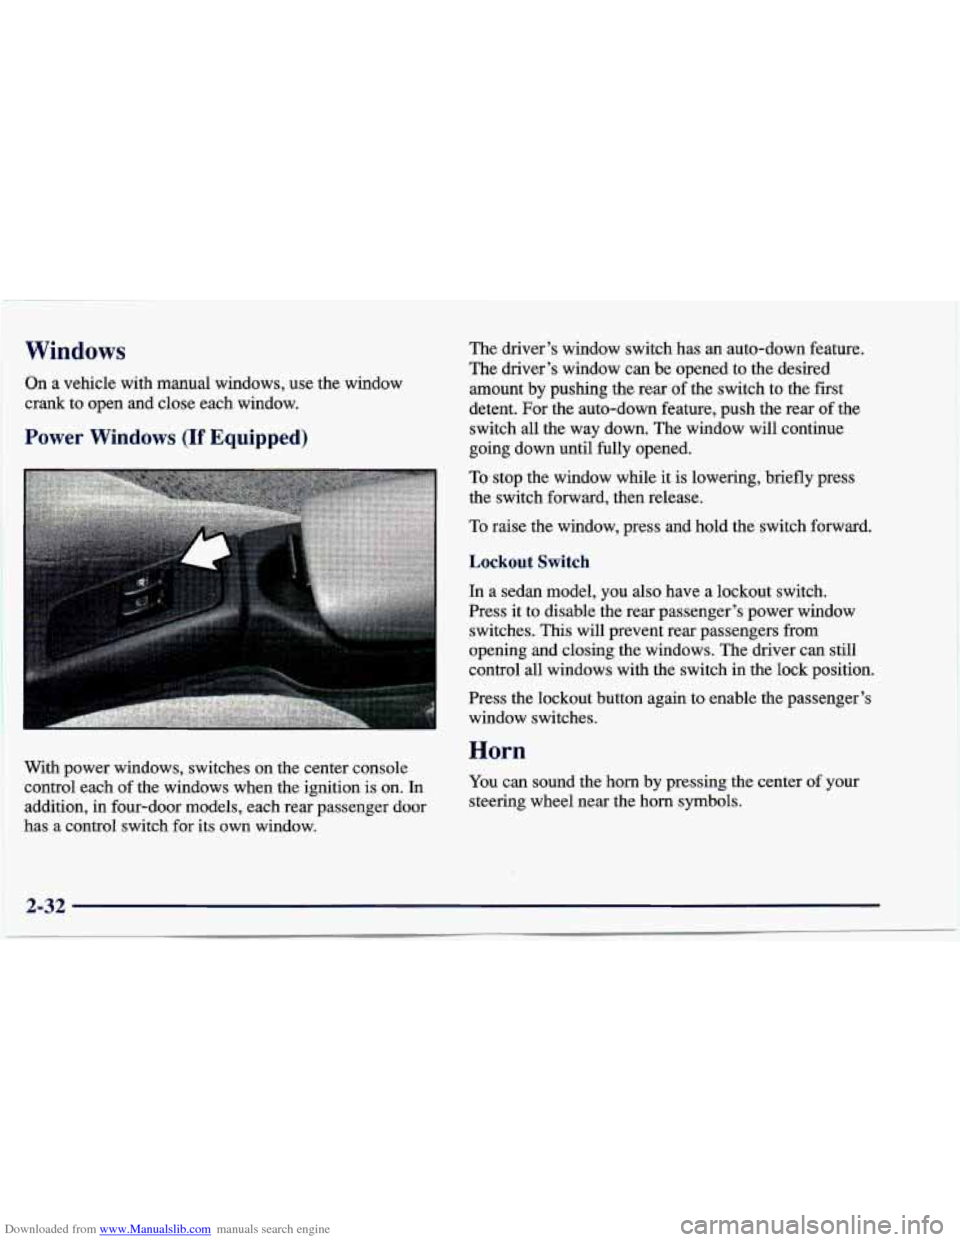
With power windows, switches on the center console
control each of the windows when the ignition is on. In
addition, in four-door models, each rear passenger door
has a control switch for its own window.
Lockout Switch
In a sedan model, you also have a lockout switch.
Press it to disable the rear passenger’s power window
switches.
This will prevent rear passengers from
opening and closing the windows. The driver can still
control
all windows with the switch in the lock position.
Press the lockout button again
to enable the passenger’s
window switches.
Horn
You can sound the horn by pressing the center of your
steering wheel near the horn symbols.
2-32
Page 172 of 388
Downloaded from www.Manualslib.com manuals search engine See “Enhanced Traction System Warning Light” in the
Index. When this warning light is on, the system will not
limit wheel spin. Adjust your driving accordingly.
The Enhanced Traction System can operate when
the transaxle shift lever is in any position other than
FIRST (1) or SECOND (2). To limit wheel spin,
especially
in slippery road conditions, you should use
the other shift lever positions only when necessary. See
“Automatic Transaxle” in the Index.
(If your vehicle
ever gets stuck in sand, mud, ice or snow, see “Rocking
Your Vehicle” in the Index.)
When you move the shift lever to FIRST
(1) or
SECOND (2), the system will turn off. The Enhanced
Traction System warning light will come on and stay on.
If the Enhanced Traction System is limiting wheel spin
when you move the shift lever to another position, the
system won’t turn off right away.
It will wait until
there’s no longer
a current need to limit wheel spin.
You can turn the system back on at any time by moving
the shift lever to any position other than FIRST
(1) or
SECOND (2). The Enhanced Traction System warning
light should
go off.
Braking in Emergencies
With anti-lock, you can steer and brake at the same
time. In many emergencies, steering can help you more
than even the very best braking.
Steering
Power Steering
If you lose power steering assist because the engine
stops or the system is not functioning, you
can steer but
it will take much more effort.
Steering Tips
Driving on Curves
It’s important to take curves at a reasonable speed.
A lot of the “driver lost control” accidents mentioned on
the news happen on curves. Here’s why:
Experienced driver or beginner, each of
us is subject to
the same laws of physics when driving on curves. The
traction of the tires against the road surface makes it
possible for the vehicle to change its path when you turn
the front wheels.
If there’s no traction, inertia will keep
the vehicle going in the same direction. If you’ve ever
tried to steer a vehicle on wet ice, you’ll understand this.
Page 243 of 388
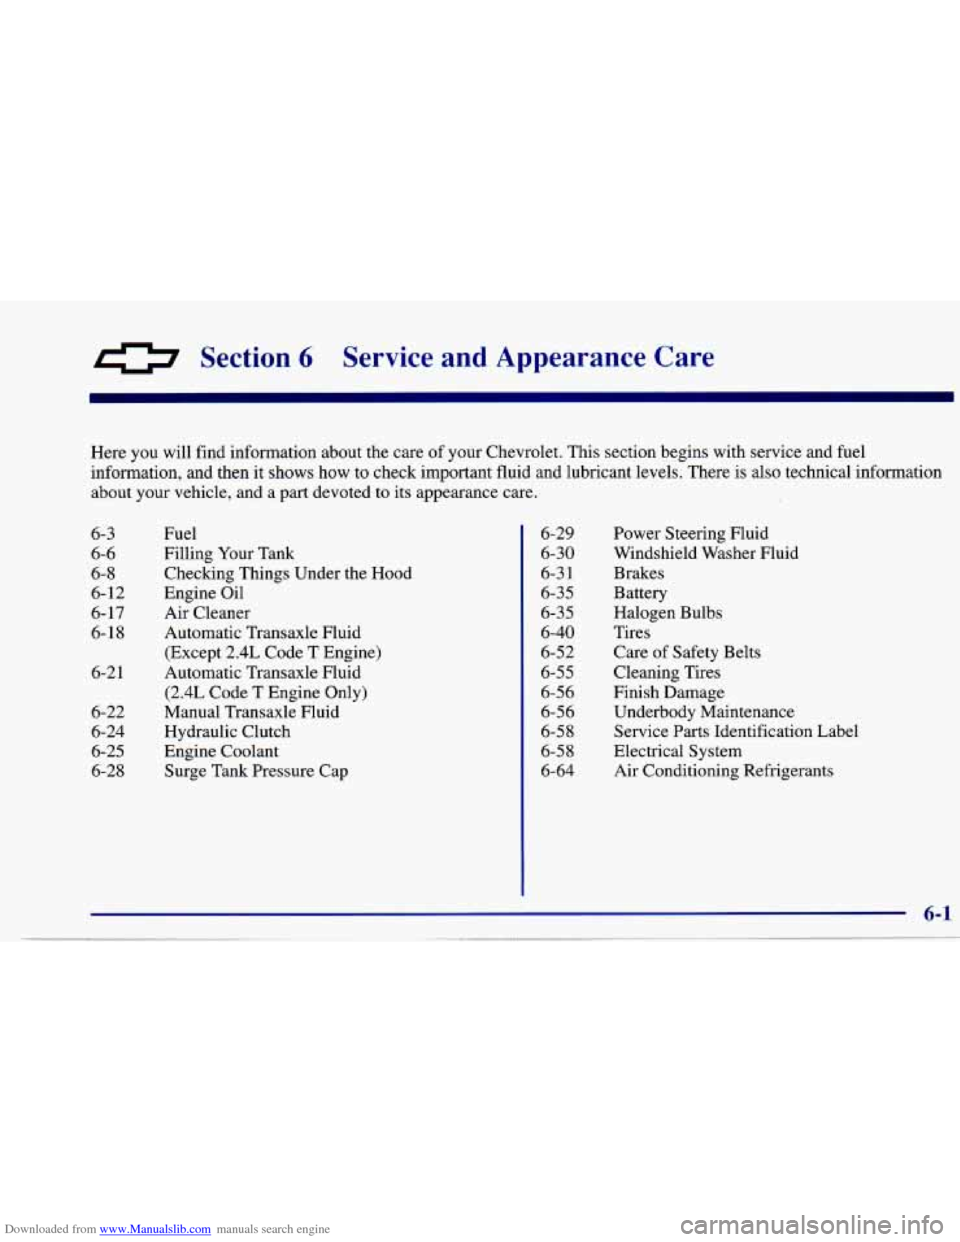
Downloaded from www.Manualslib.com manuals search engine Section 6 Service and Appearance Care
Here you will find information about the care of your Chevrolet. This section begins with service and fuel
information, and then it shows how to check important fluid and lubricant levels. There is also technical information
about your vehicle, and a part devoted to its appearance care.
6-3
6-6
6-8
6-12
6-17
6-18
6-2
1
6-22
6-24
6-25
6-28 Fuel
Filling
Your Tank
Checking Things Under the Hood
Engine Oil
Air Cleaner
Automatic Transaxle Fluid
(Except 2.4L Code T Engine)
Automatic Transaxle Fluid
(2.4L Code T Engine Only)
Manual Transaxle Fluid
Hydraulic Clutch
Engine Coolant Surge Tank Pressure Cap 6-29
6-30
6-3
1
6-35
6-35
6-40
6-52
6-55
6-56
6-56
6-58
6-58
6-64 Power Steering Fluid
Windshield Washer Fluid
Brakes
Battery
Halogen Bulbs Tires
Care of Safety Belts
Cleaning Tires
Finish Damage Underbody Maintenance Service Parts Identification Label
Electrical System Air Conditioning Refrigerants
Page 252 of 388
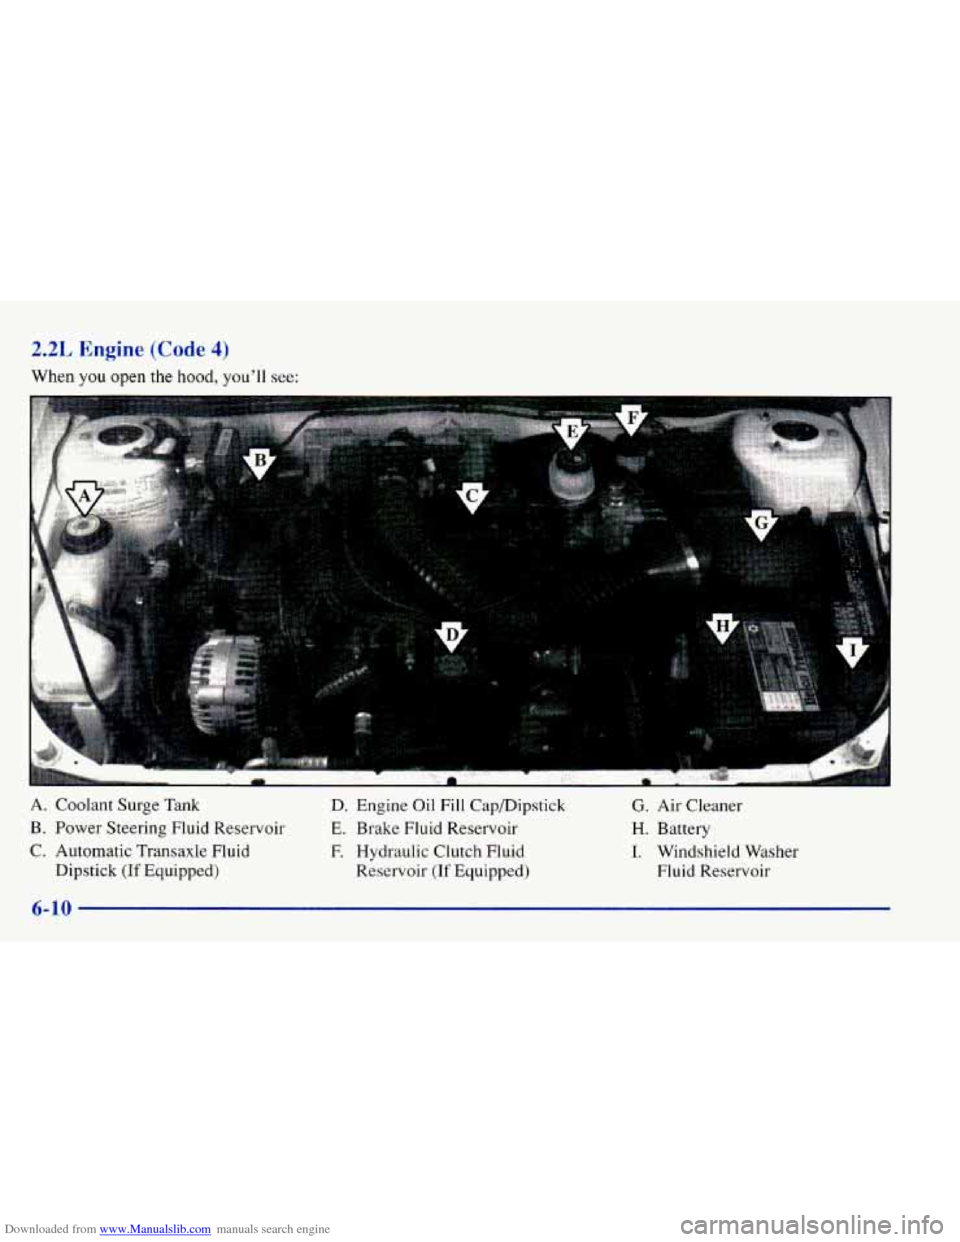
Downloaded from www.Manualslib.com manuals search engine 2.21, Engine (Code 4)
When you open the hood, you’ll see:
A. Coolant Surge Tank D. Engine Oil Fill CapDipstick
G. Air Cleaner
B. Power Steering Fluid Reservoir E. Brake Fluid Reservoir H. Battery
C. Automatic Transaxle Fluid E Hydraulic Clutch Fluid I. Windshield Washer
Dipstick
(If Equipped) Reservoir (If Equipped) Fluid Reservoir
Page 253 of 388
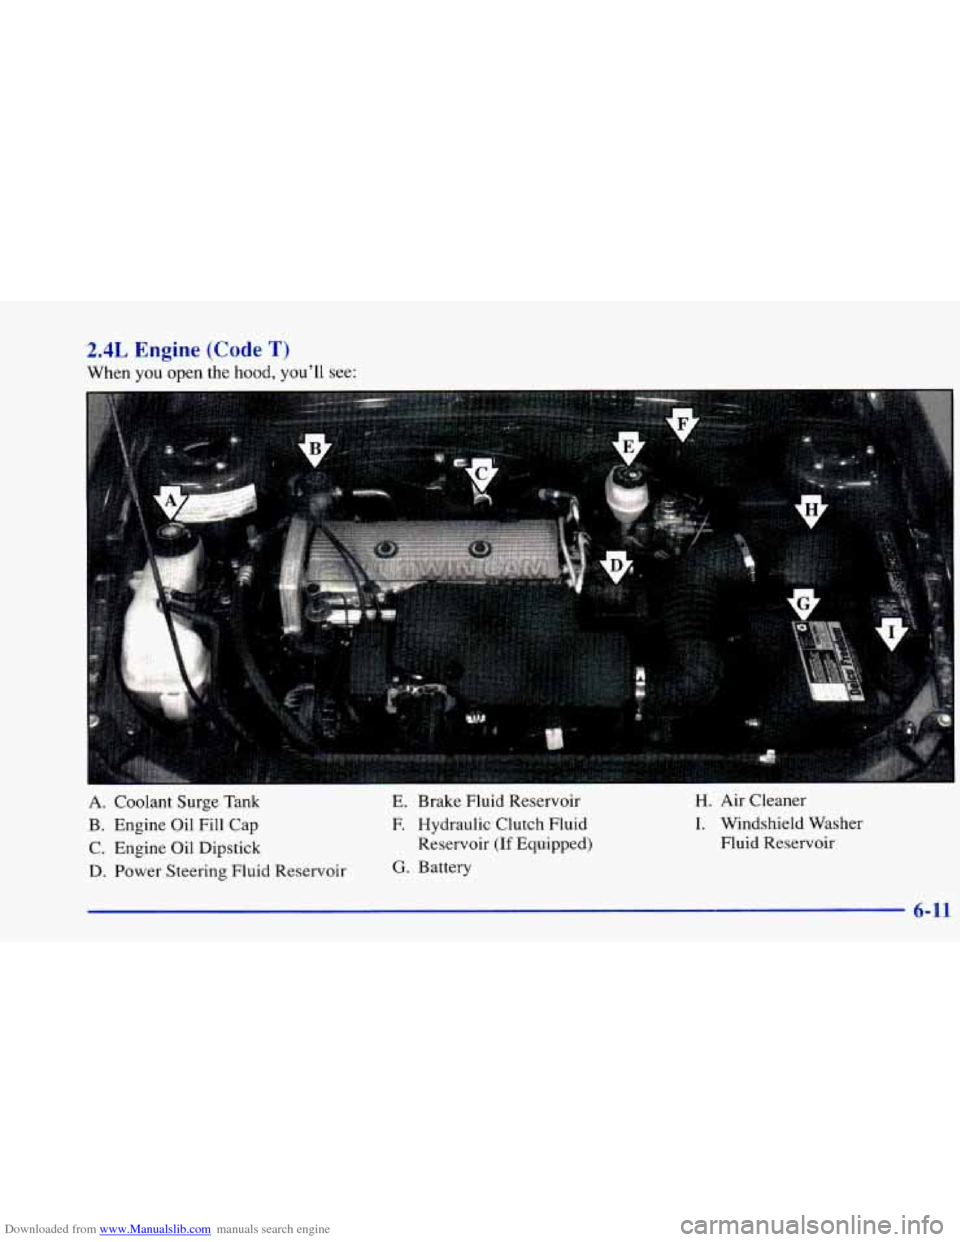
Downloaded from www.Manualslib.com manuals search engine 2.4L Engine (Code T)
A. Coolant Surge Tank E. Brake Fluid Reservoir H. Air Cleaner
B. Engine Oil Fill Cap
F. Hydraulic Clutch Fluid I. Windshield Washer
C. Engine Oil Dipstick Reservoir
(If Equipped) Fluid Reservoir
D. Power Steering Fluid Reservoir
G. Battery
6-11
Page 271 of 388
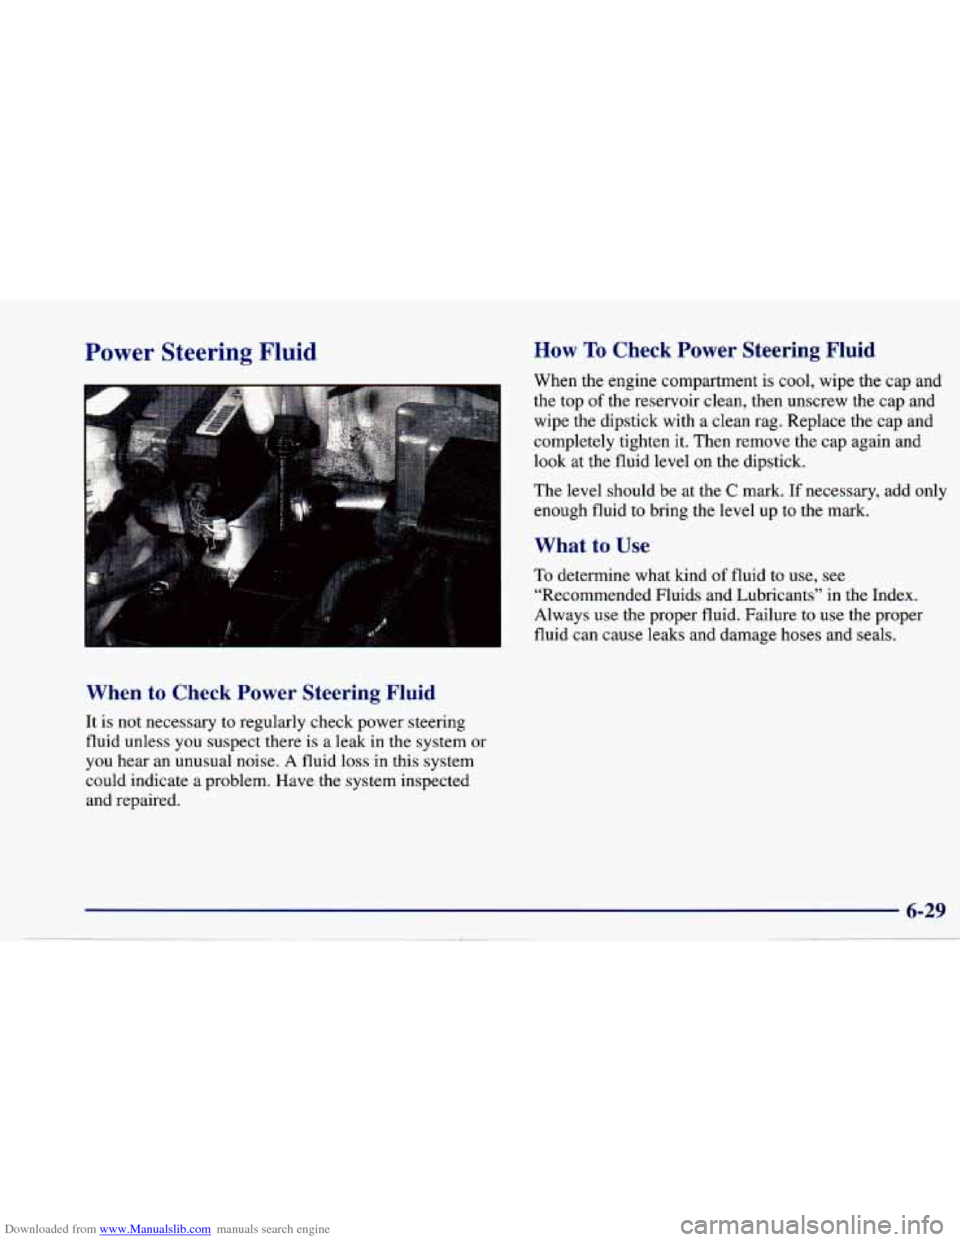
Downloaded from www.Manualslib.com manuals search engine Power Steering Fluid How To Check Power Steering Fluid
When the engine compartment is cool, wipe the cap and
I the top of the reservoir clean, then unscrew the cap and
wipe the dipstick with a clean rag. Replace the cap and
completely tighten it. Then remove the cap again and
look at the fluid level
on the dipstick.
The level should be at the
C mark. If necessary, add only
enough fluid to bring the level up to the mark.
What to Use
To determine what kind of fluid to use, see
“Recommended Fluids and Lubricants” in the Index.
Always use the proper fluid. Failure
to use the proper
fluid can cause leaks and damage hoses and seals.
When to Check Power Steering Fluid
It is not necessary to regularly cneck power steering
fluid unless you suspect there is a leak in the system or
you hear an unusual noise.
A fluid loss in this system
could indicate a problem. Have the system inspected
and repaired.