1997 CHEVROLET BLAZER belt
[x] Cancel search: beltPage 299 of 402
Downloaded from www.Manualslib.com manuals search engine When It's Time for New Tires
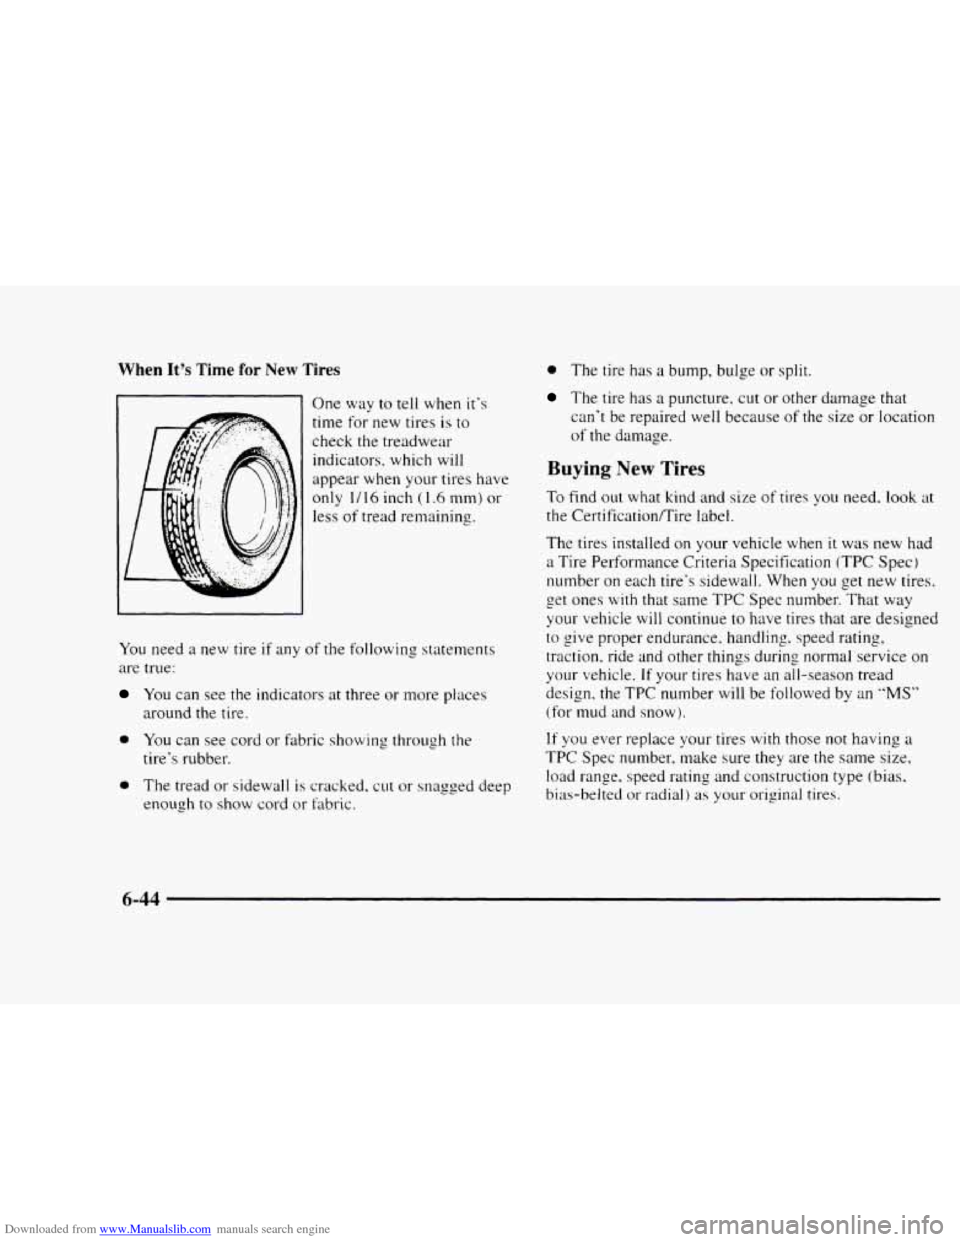
One way to tell when it's
time
for new tires is to
check
the treadwear
indicators, which will
appear when your tires have
only
1 /16 inch ( 1.6 mm) or
less
of tread remaining.
You need
a new tire if any of the following statements
are true:
You can see the indicators at three or more places
around
the tire.
0 You can see cord or fabric showing through the
tire's rubber.
0 The tread or sidewall is cracked, cut or snagged deep
enough to
show cord or fabric.
0 The tire has a bump, bulge or split.
The tire has a puncture, cut or other damage that
can't be repaired well because
of the size or location
of the damage.
Buying New Tires
To find out what kind and size of tires you need. look at
the CertificatiodTire label.
The tires installed on your vehicle when
it was new had
a Tire Performance Criteria Specification (TPC Spec)
number on each tire's sidewall. When
you get new tires.
your vehicle
will continue to have tires that are designed
to give proper endurance. handling, speed rating,
traction. ride and other things during
normal service on
your vehicle. If your tires have an all-season tread
design, the
TPC number will be followed by an "MS"
(for mud and snow).
If you ever replace your tires with those not having a
TPC Spec number, make sure they are the same size,
load range, speed rating and construction type (bias,
bias-belted or radial)
as your original tires.
t oet ones with that same TPC Spec number. That way
6-44
Page 300 of 402
Downloaded from www.Manualslib.com manuals search engine I A CAUTION:
Mixing tires could cause you to lose control while
driving.
If you mix tires of different sizes or types
(radial and bias-belted tires), the vehicle may not
handle properly, and you could have a crash.
Using tires of different sizes may
also cause
damage to your vehicle. Be sure to use the same
size and type tires on all wheels.
It’s all right to drive with your compact spare
(if you have one). It was developed for use on
your vehicle.
Uniform Tire Quality Grading
The following information relates to the system
developed by
the United States National Highway
Traffic Safety Administration, which grades tires by
treadwear, traction and temperature performance. (This
applies only
to vehicles sold in the United States.) The
grades are molded on the sidewalls
of most passenger
car tires.
The Uniform Tire Quality Grading system does
not apply to deep tread, winter-type snow tires,
space-saver or temporary use spare tires, tires with
nominal rim diameters
of 10 to 12 inches (25 to 30 cm),
or
to some lirnited-production tires.
While the tires available
on General Motors passenger
cars and light trucks may vary with respect
to these
grades, they must also conform
to Federal safety
requirements and additional General Motors Tire
Performance Criteria (TPC) standards.
Treadwear
The treadwear grade is a comparative rating based on
the wear rate of the tire when tested under controlled
conditions on a specified government test course. For
example, a tire graded
150 would wear one and a half
(1 1/2) times as well on the government course as a tire
graded
100. The relative performance of tires depends
upon
the actual conditions of their use, however, and
may depart significantly from the norm due to variations
in driving habits, service practices and differences
in
road characteristics and climate.
6-45
Page 307 of 402
Downloaded from www.Manualslib.com manuals search engine Cleaning Vinyl
Use warm water and a clean cloth.
Rub with a clean, damp cloth to remove dirt. You
may have to do
it more than once.
0 Things like tar, asphalt and shoe polish will stain if you
don't get them
08 quickly. Use a clean cloth and a
vinylkather cleaner. See your dealer
for this product.
Cleaning Leather
use a sort cloth with lukewarm water ana a mild soap or
saddle soap and wipe dry
with a soft cloth. Then, let the
leather dry naturally.
Do not use heat to dry.
0 For stubborn stains. use a leather cleaner. See your
dealer for this product.
0 iVLJ\.tl\. use oils. varnishes, solvent-based or abrasive
clerlners. furniture polish or shoe polish on leather.
Soiled or staincd leather should be cleaned
ir1lmedi;ttcly. If dirt is allowed to work into the
finish. it CUI 11x111 the leather.
Cleaning the Top of the Instrument Panel
Use only mild soap and water to clean the top surfaces
of the instrument panel. Sprays containing silicones or
waxes may cause annoying reflections
in the windshield
and even make
it difficult to see through the windshield
under certain conditions.
Care of Safety Belts
Keep belts clean and dry.
I A CAUTION:
Do not bleach or dye safety belts. If you do, it
may severely weaken them. In a crash, they
might not be
able to provide adequate protection.
Clean safety belts only with mild soap
and
lukewarm water.
6-52
Page 324 of 402

Downloaded from www.Manualslib.com manuals search engine Maintenance Schedule
I Short TripKity Definition - ~-
Follow the Short TripKity Maintenance Schedule if any
one
of these conditions is true for your vehicle:
Most trips are less than 5 to 10 miles (8 to 16 km).
This is particularly important when outside
temperatures are below freezing.
driving in stop-and-go traffic).
off-road frequently.
your vehicle.
or other commercial application.
Most trips include extensive idling (such as frequent
You operate your vehicle in dusty areas or
You frequently tow a trailer or use a carrier on top of
If the vehicle is used for delivery service, police, taxi
One of the reasons you should follow this schedule if you
operate your vehicle under any
of these conditions is that
these conditions cause engine oil
to break down sooney:
I Short TripKity Intervals
Every 3,000 Miles (5 000 km): Engine Oil and Filter
Change (or
3 months, whichever occurs first). Chassis
Lubrication (or
3 months, whichever occurs first). Drive
Axle Service (or 3 months, whichever occurs first).
Short TripKity Intervals
Every 6,000 Miles (10 000 km): Tire Rotation.
Every 15,000 Miles (25 000 km): Air Cleaner Filter
Inspection,
if driving in dusty conditions. Front
Wheel Bearing Repack
(2WD only) (or at each brake
relining, whichever occurs first).
Every 30,000 Miles (50 000 km): Air Cleaner Filter
Replacement. Fuel Filter Replacement.
Every 50,000 Miles (83 000 km): Automatic
Transmission Service (severe conditions only).
Every 60,000 Miles (100 000 km): Engine
Accessory Drive Belt Inspection. Fuel Tank, Cap
and Lines Inspection.
Every 100,000 Miles (166 000 km): Spark Plug Wire
Inspection. Spark
Plug Replacement. Positive
Crankcase Ventilation (PCV) Valve Inspection.
Every 150,000 Miles (240 000 km): Cooling System
Service
(or every 60 months, whichever occurs first).
These intervals only summarize maintenance services.
Be sure to follow the complete maintenance schedule
on the following pages.
Page 325 of 402
Downloaded from www.Manualslib.com manuals search engine Maintenance Schedule
c
Long Trip/Highway Definition I
Follow this maintenance schedule only if none of the
conditions from the Short Trip/City Maintenance
Schedule is true.
Do not use this schedule if the vehicle
is used for trailer towing, driven in a dusty area
or used
off paved roads. Use the Short Trip/City schedule for
these conditions.
Driving a vehicle with a fully warmed engine under
highway conditions causes engine oil to break
down slowel:
1 Long Trip/Highway Intervals I
Every 7,500 Miles (12 500 km): Engine Oil and Filter
Change (or every
12 months, whichever occurs first).
Chassis Lubrication (or every
12 months, whichever
occurs first). Drive Axle Service. Tire Rotation.
Replacement. Air Cleaner Filter Replacement. Front
Wheel Bearing Repack
(2WD only).(or at each brake
relining, whichever occurs first).
Transmission Service (severe conditions only).
Drive Belt Inspection. Fuel Tank, Cap and
Lines Inspection.
Inspection.
Spark Plug Replacement. Positive
Crankcase Ventilation (PCV) Valve Inspection.
Every 150,000 Miles (240 000 km): Cooling System
Every 30,000 Miles (50 000 km): Fuel Filter
Every 50,000 Miles (83 000 km): Automatic
Every 60,000 Miles (100 000 km): Engine Accessory
Every 100,000 Miles (166 000 km): Spark Plug Wire
I Service (or every 60 months, whichever occurs first).
These intervals only summarize maintenance services.
Be sure to follow the complete maintenance schedule
on the following pages.
7-6
Page 339 of 402
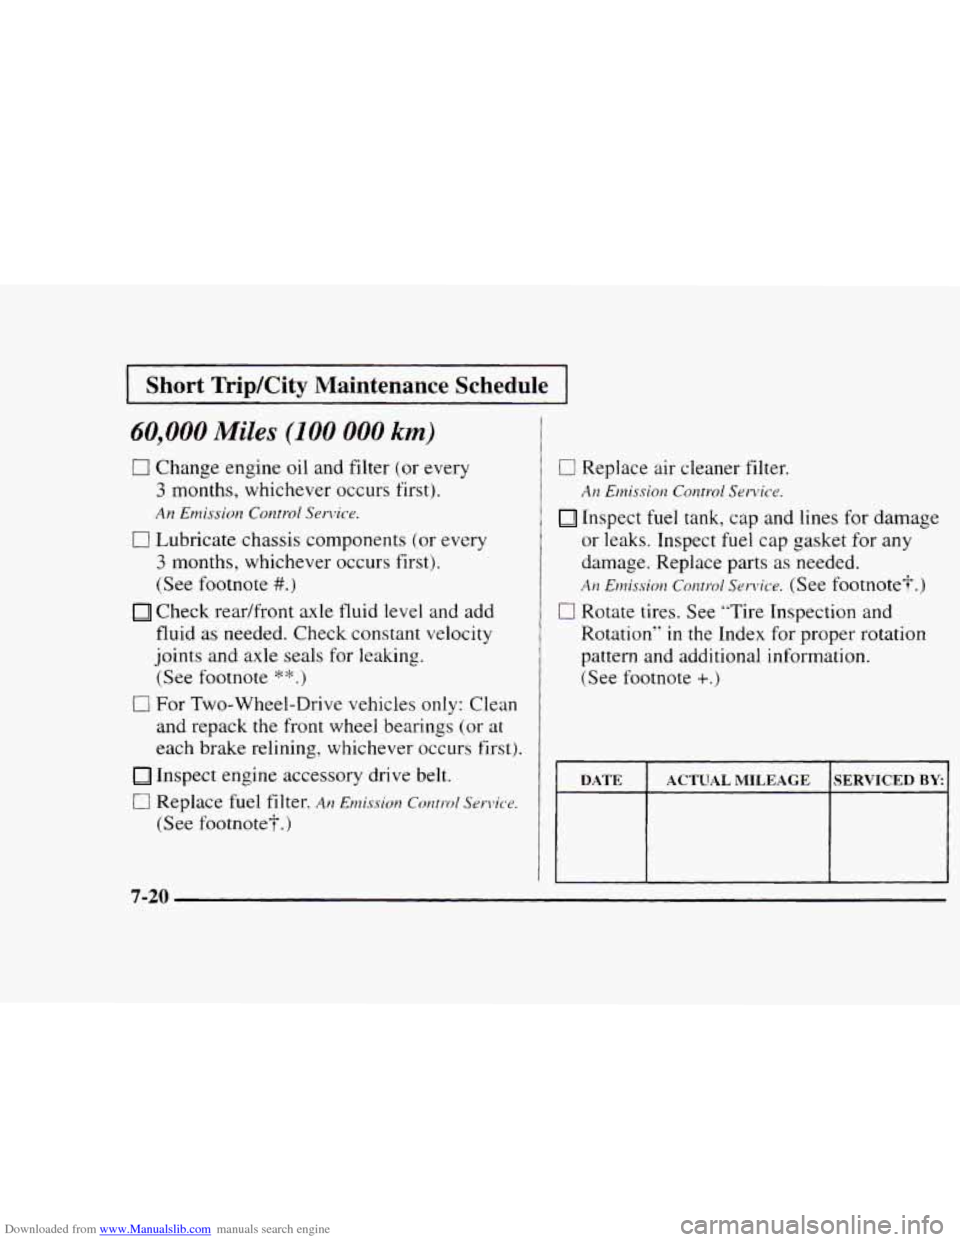
Downloaded from www.Manualslib.com manuals search engine I Short TripKity Maintenance Schedule I
60,000 Miles (100 000 km)
CI Change engine oil and filter (or every
3 months, whichever occurs first).
An Emission Control Service.
0 Lubricate chassis components (,or every
3 months, whichever occurs first).
(See footnote
#.)
Check rear/front axle fluid level and add
fluid
as needed. Check constant velocity
joints and axle seals for leaking.
(See footnote
** .)
0 For Two-Wheel-Drive vehicles only: Clean
and repack the
front wheel bearings (or at
each brake relining, whichever occurs first).
Inspect engine accessory drive belt.
c] Replace fuel filter. Afz Enzissiorz Contml Sen?ice.
(See footnote?.)
0 Replace air cleaner filter.
Inspect fuel tank, cap and lines for damage
or leaks. Inspect
fuel cap gasket for any
damage. Replace parts as needed.
AI? Ewis.sim Comol Service. (See footnote?.)
0 Rotate tires. See “Tire Inspection and
Rotation”
in the Index for proper rotation
pattern and additional information.
(See footnote
+.)
AI! Ewission Control Service.
DATE SERVICED BY. ACTUAL MILEAGE
7-20
Page 358 of 402
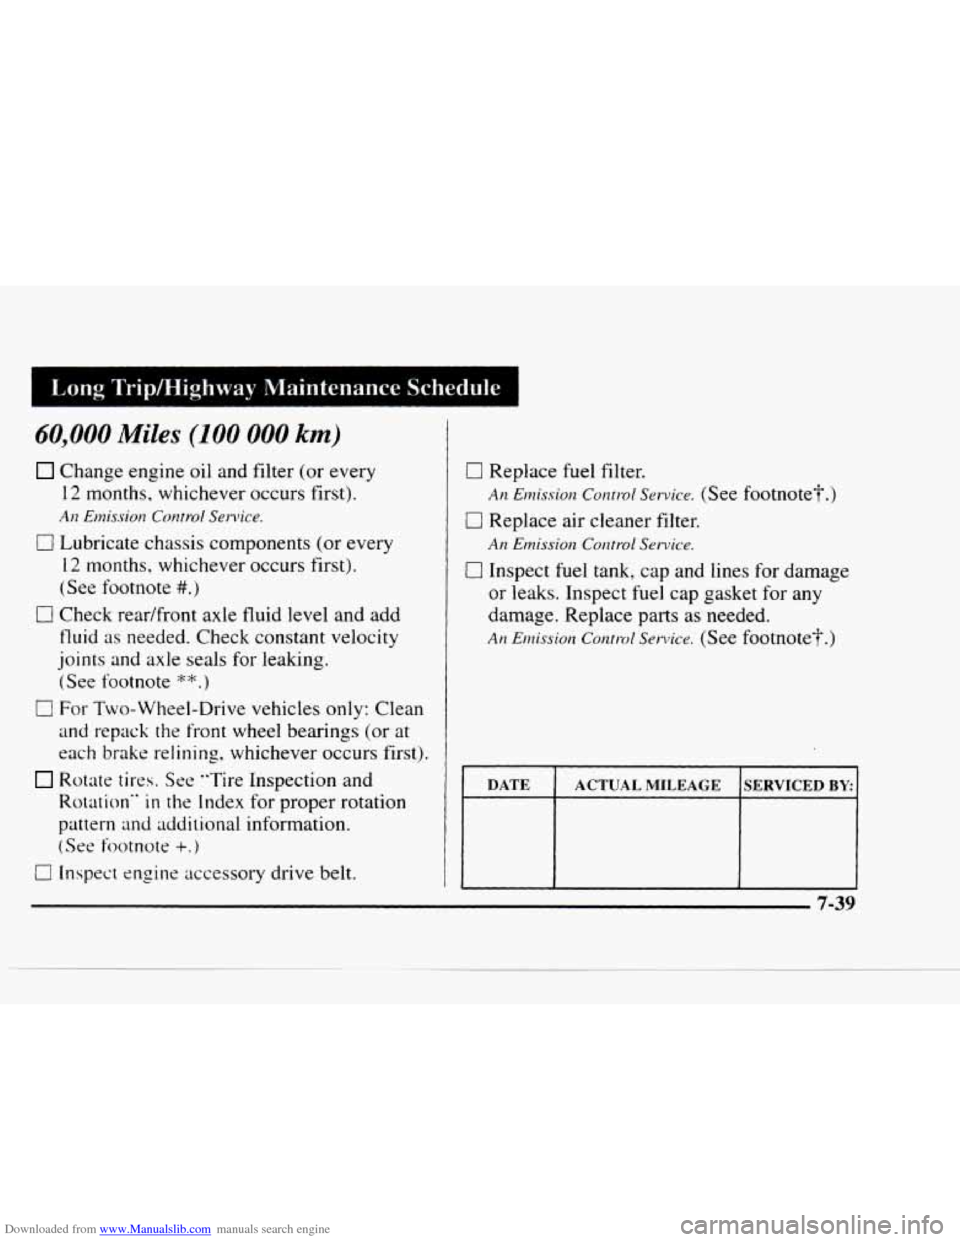
Downloaded from www.Manualslib.com manuals search engine I Long TripMighway Maintenance Schedule
60,000 Miles (100 000 km)
Change engine oil and filter (or every
12 months, whichever occurs first).
0 Lubricate chassis components (or every
12 months. whichever occurs first).
(See footnote
#.)
0 Check readfront axle fluid level and add
fluid as needed. Check constant velocity
joints
and axle seals for leaking.
(See footnote
:?)
0 For Two-Wheel-Drive vehicles only: Clean
and repack the front wheel bearings (or at
each brake relining, whichever occurs first).
Rotate tires. See "Tire Inspection and
Rotation"
in the Index for proper rotation
pattern and additional information.
(See footnote +.)
0 Inspect ensins accessory drive belt.
An Emission Control Service.
0 Replace fuel filter.
0 Replace air cleaner filter.
0: Inspect fuel tank, cap and lines for damage
or leaks. Inspect fuel cap gasket for any
damage. Replace parts
as needed.
An Eruission Ccmt-d Service. (See footnote-f..)
Atz Emission Corzrt-ol Service. (See footnote?.)
An Emission Control Service.
I DATE I ACTUAL MILEAGE ISERVICED BY I I
Page 366 of 402
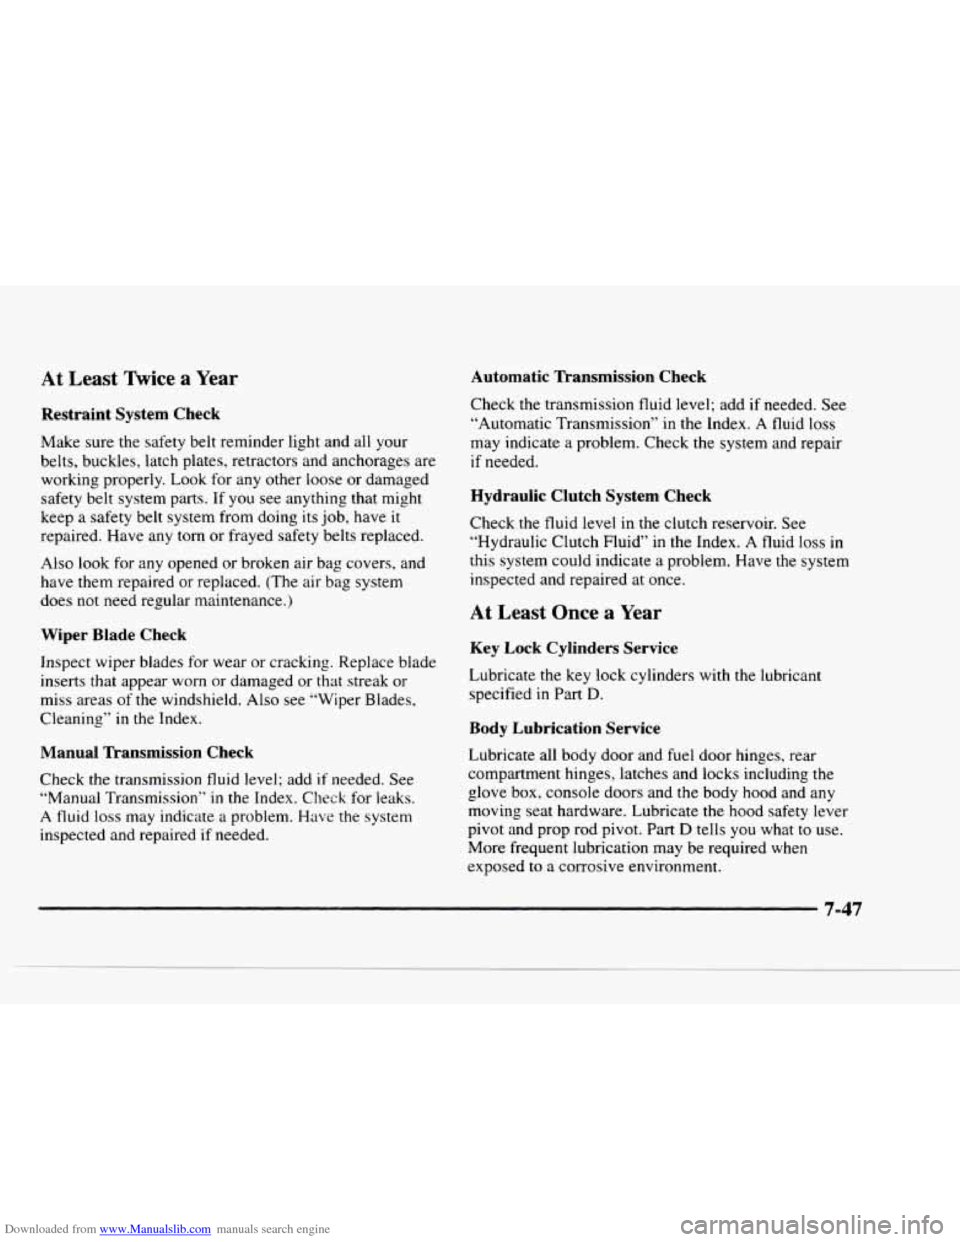
Downloaded from www.Manualslib.com manuals search engine At Least Twice a Year
Restraint System Check
Make sure the safety belt reminder light and all your
belts, buckles, latch plates, retractors and anchorages are
working properly. Look for any other loose or damaged
safety belt system parts. If you see anything that might
keep a safety belt system from doing its job, have it
repaired. Have any torn or frayed safety belts replaced.
Also look for any opened or broken air bag covers, and
have them repaired or replaced. (The air bag system
does not need regular maintenance.)
Wiper Blade Check
Inspect wiper blades for wear or cracking. Replace blade
inserts that appear worn or damaged or that streak
or
miss areas of the windshield. Also see “Wiper Blades,
Cleaning” in the Index.
Manual Transmission Check
Check the transmission fluid level; add if needed. See
“Manual Transmission’’
in the Index. Check for leaks.
A fluid loss may indicate a problem. Have the system
inspected and repaired
if needed.
Automatic Transmission Check
Check the transmission fluid level; add if needed. See
“Automatic Transmission” in the Index. A fluid loss
may indicate a problem. Check the system and repair
if needed.
Hydraulic Clutch System Check
Check the fluid level in the clutch reservoir. See
“Hydraulic Clutch Fluid” in the Index.
A fluid loss in
this system could indicate a problem. Have the system
inspected and repaired at once.
At Least Once a Year
Key Lock Cylinders Service
Lubricate the key lock cylinders with the lubricant
specified
in Part D.
Body Lubrication Service
Lubricate all body door and fuel door hinges, rear
compartment hinges, latches and locks including
the
glove box, console doors and the body hood and any
moving seat hardware. Lubricate
the hood safety lever
pivot and prop rod pivot. Part
D tells you what to use.
More frequent lubrication may be required when
exposed
to a corrosive environment.
7-47