Page 251 of 370

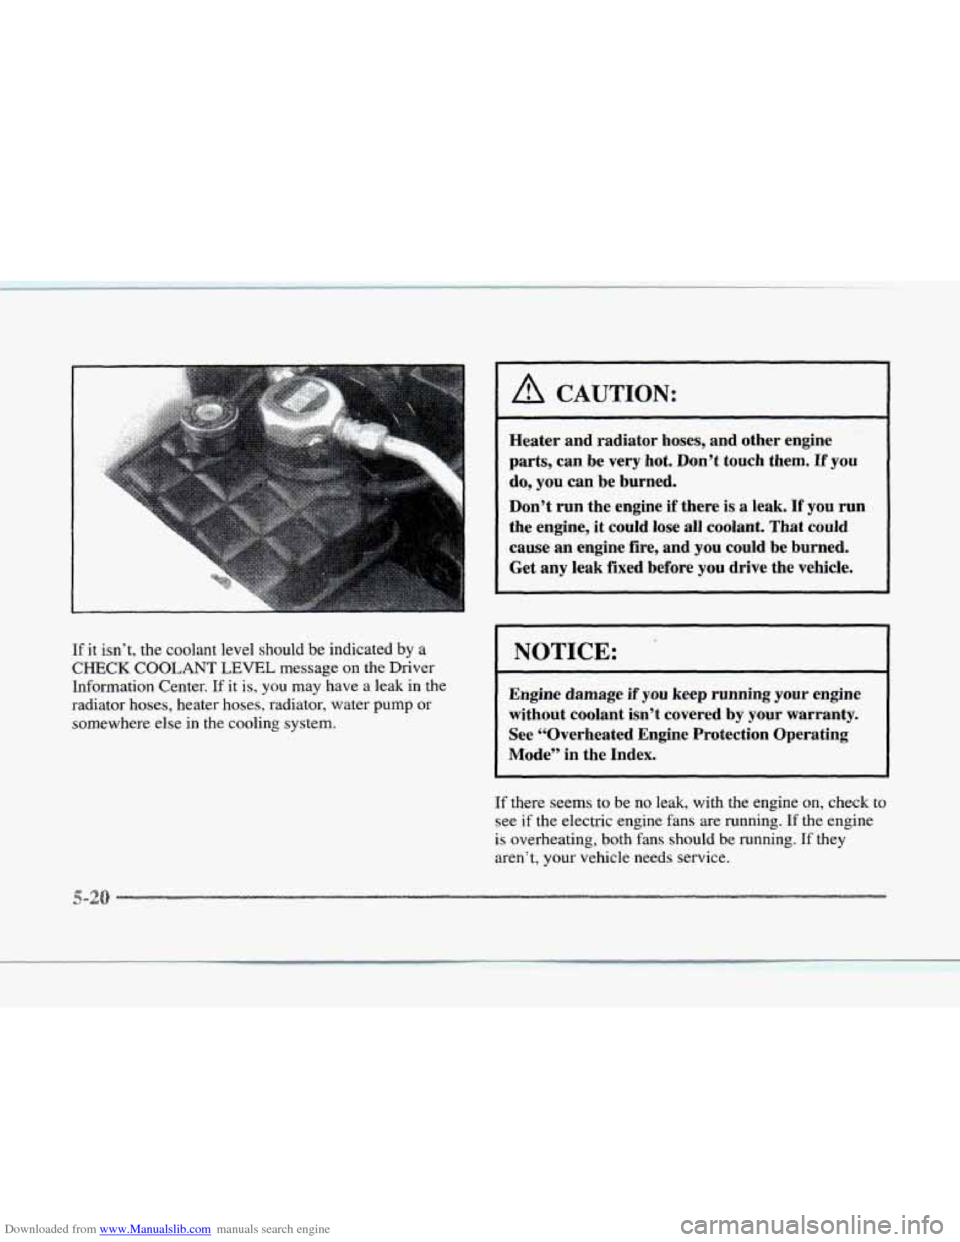
Downloaded from www.Manualslib.com manuals search engine If it isn’t, the coolant level should be indicated by a
CHECK COOLANT LEVEL message on the Driver
Information Center.
If it is, you may have a leak in the
radiator hoses, heater hoses, radiator, water
pump or
somewhere else in the cooling system.
A CAUTION:
Heater and radiator hoses, and other engine
parts, can be very hot. Don’t touch them. If
you
do, you can be burned.
Don’t run the engine
if there is a leak. If you run
the engine, it could
lose all coolant. That could
cause an engine fire, and you could be burned.
Get any leak fixed before you drive the vehicle.
NOTICE:
Engine damage if you keep running your engine
without coolant isn’t covered by your warranty.
See “Overheated Engine Protection Operating
Mode” in the Index.
If there seems to be no leak, with the engine on, check to
see if the electric engine fans are running. If the engine
is overheating, both fans should be running. If they
aren’t, your vehicle needs service.
Page 254 of 370
Downloaded from www.Manualslib.com manuals search engine c
NOTICE:
In cold weather, water can freeze and crack the
engine, radiator, heater core and other
parts. So
use the recommended coolant.
A CAUTION:
You can be burned if you spill coolant on hot
engine parts. Coolant contains ethylene glycol
and it will burn if the engine parts are hot
enough. Don't spill coolant
on a hot engine.
1. You can remove the coolant surge tank pressure cap
when
the cooling system, including the coolant surge
tank pressure cap and upper radiator hose,
is no
longer hot. Turn the pressure cap slowly
counterclockwise until it first stops. (Don't press
down while turning the pressure cap.)
If you hear a hiss, wait for that to stop. A hiss means
there
is still some pressure left.
Page 256 of 370
Downloaded from www.Manualslib.com manuals search engine c
4. With the coolant surge tank pressure cap off, start
the engine and let it run
until you can feel the upper
radiator hose getting hot. Watch
out for the
engine fans.
By this time, the coolant level inside the coolant
surge tank may be lower.
If the level is lower, add
more of the proper mix to the coolant surge tank
until the level reaches about 2.5 inches (6.4 cm)
below the
bass of the filler neck.
5. Then replace the pressure cap. Be sure the arrows on
the pressure cap line up like this.
Start the engine
and allow it to warm up. If the CHECK
COOLANT LEVEL message does not appear
on the
Driver Information Center. coolant
is at the proper fill
level.
If a CHECK COOL.ANT LEVEL message does
appear. repeat Steps 1 through 3 or see your dealer.
Page 281 of 370
Downloaded from www.Manualslib.com manuals search engine FUEL ONLY
pq~~~mrnmr~l
.......................... .............. ........... ...... .......... ........... : :...::.. : :,a .... ... .... : : :.. : : .. .............................. !. ... I .... ‘?I .... I ....
If you have the Driver Information Center (DIC), a
CHECK OIL LEVEL message will appear when the
engine
oil is approximately 1 quart (1 L) low. If the
message is displayed. check the dipstick level and add
oil
as needed.
It’s a good idea to check your engine oil every time you
get fuel. In order to get an accurate reading, the oil must
be warm and the vehicle must be on level ground.
The engine oil dipstick
is
located behind the radiator
on the driver’s side of the
engine. The black handle
says
ENGINE OIL on it.
Turn off
the engine and give the oil a few minutes to
drain back into the oil pan.
If you don’t, the oil dipstick
might not show the actual level.
-a
Page 282 of 370
Downloaded from www.Manualslib.com manuals search engine c
c
Pull out the dipstick and clean it with a paper towel or
cloth, then push it back in all the way. Remove it again.
keeping the
tip down, and check the level.
FVl.lCl1 $:
If the oil is at or below the ADD line, then you'll
need to add at least one quart of oil. But you must use
the right kind. This part explains what kind of
oil to use.
For crankcase capacity, see "Capacities and
Specifications" in the Index.
NOTICE:
Don't add too much oil. If your engine has so
much oil that the oil level gets above the upper
mark
that shows the proper operating range,
your engine could be damaged.
Thi: oil fill cap is located
behind the radiator on the
passenger's side
of the
engine.
Turn the cap
counterclockwise to remove
it.
Be sure to fill it enough to put the level somewhere in
the proper operating range. Push the dipstick all the way
back
in when you're through.
Page 286 of 370
Downloaded from www.Manualslib.com manuals search engine 1. Disconnect the Intake
Air Temperature
(IAT)
sensor from the base of
the air cleaner.
2. With a screwdriver,
loosen
the air duct
clamp, which is located
at the mass airflow
sensor end
of the air
duct.
3. Disconnect the air duct from the mass airflow sensor.
4. Unhook both'air cleaner cover latches. One latch is
located near the radiator hose (not shown) and the
other latch is located next to the
IA'T' sensor.
5. Pivot the air cleaner and air duct assembly toward
the front of'the vehicle. Remove the cover.
Page 290 of 370
Downloaded from www.Manualslib.com manuals search engine r a
r
r
r
r
r
S
r
r 1
Then, without shutting off the engine, follow
these steps: 2. Push it back in all the way, wait three seconds and
then pull it back out again.
1. The black transaxle fluid cap is located next to the
radiator hose and below the air cleaner assembly
on the driver's side of the engine. Remove the air
cleaner assembly
so you can reach,the transaxle fluid
cap. The assembly is attached to the vehicle by
two
fasteners. Simply lift up on the air cleaner assembly
to remove it. Find the transaxle fluid cap and turn it
counterclockwise to remove. Pull out the dipstick
and wipe it with a clean
rag or paper towel.
3.
4.
Check both sides of the dipstick, and read the
lower level. The fluid level must
be in the
cross-hatched area.
If the fluid level is in the acceptable range, push
the dipstick back in all the way. Replace the air
cleaner assembly.
Page 292 of 370

Downloaded from www.Manualslib.com manuals search engine c
c
c
The cooling s stem in your vehicle is filled with
DEX-COOL engine coolant. This coolant
is designed
to remain in your vehicle for 5 years or 150,000 miles
(240 000 km), whichever occurs first, if you add only
DEX-COOL" extended
life coolant.
8
The following explains your cooling system and how
to add coolant when it is low. If you have a problem
with engine overheating, see "Engine Overheating"
in the Index.
A 50/50 mixture of water and DEX-COOL"
coolant will:
0 Give freezing protection down to -34°F (-37°C).
c
F
Give boiling protection up to 265°F (129°C).
0 Protect against rust and corrosion.
Help keep the proper engine temperature.
Let the warning lights and gages work as they
should.
NOTICE:
When adding coolant, it is important that you
use only
DEX-COOL@ (silicate-free) coolant.
If coolant other than DEX-COOL@' is added to
the system, premature engine, heater core or
radiator corrosion may result. In addition, the
engine coolant will require change sooner
-- at
30,000 miles (50 000 km) or 24 months,
whichever occurs first. Damage caused by the use
of coolant other than DEX-COOL@ is not
covered
by your new vehicle warranty.
Use a mixture of one-half cEean wccfer (preferably
distilled) and one-half DEX-COOL'" coolant which
won't damage aluminum parts.
If you use this mixture,
you don't need to add anything else.