1997 CADILLAC SEVILLE clock reset
[x] Cancel search: clock resetPage 147 of 370
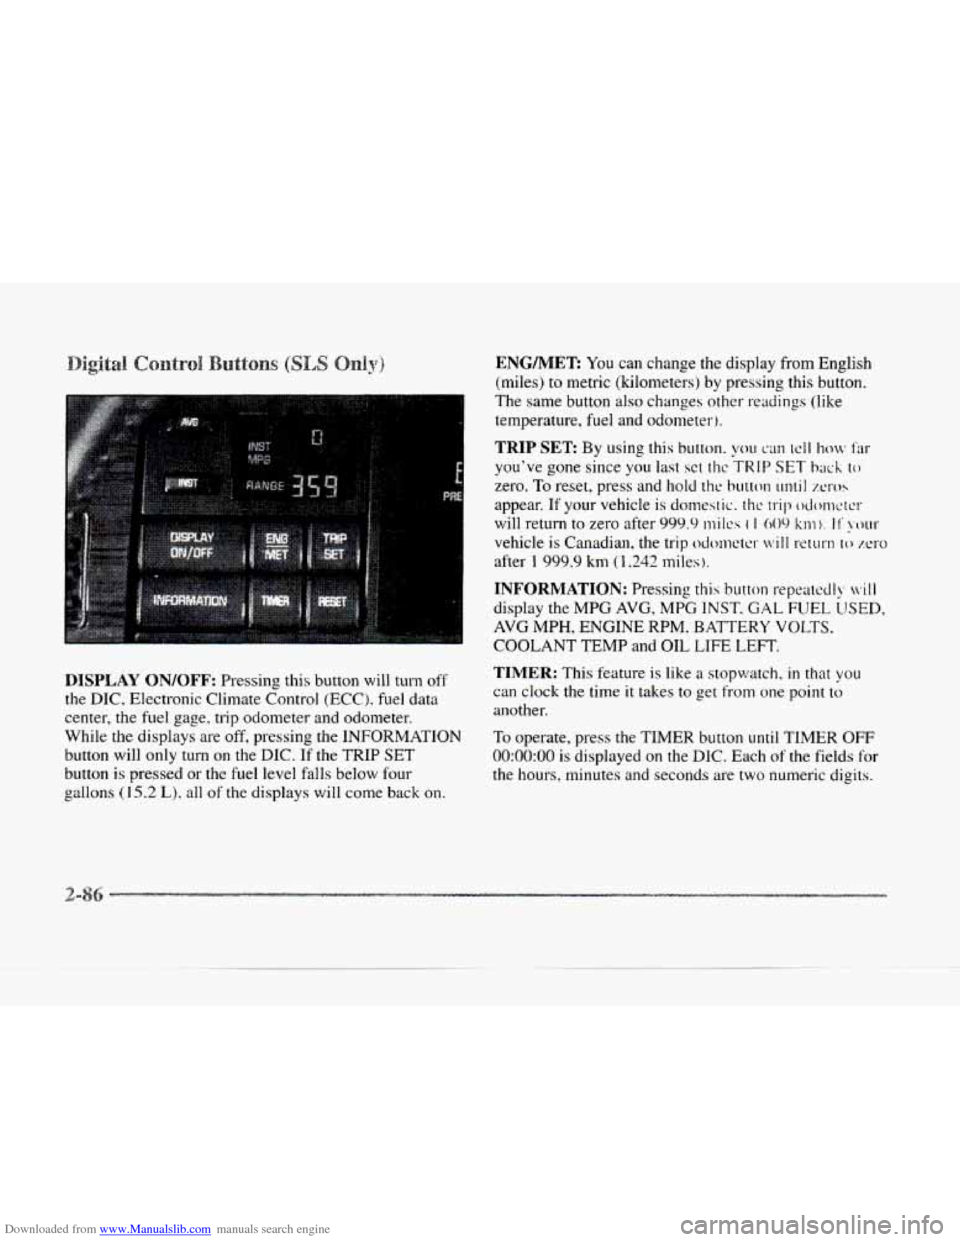
Downloaded from www.Manualslib.com manuals search engine DISPLAY ON/OFF: Pressing this button will turn off
the DIC, Electronic Climate Control (ECC). fuel data
center, the fuel gage. trip odometer- and odometer.
While
the displays are off, pressing the INFORMATION
button will only turn on the DIC. If the TRIP SET
button is pressed or the fuel level falls below fout-
e aallons (15.2 L), all of the displays will come back on.
ENG/MER You can change the display from English
(miles) to metric (kilometers) by pressing
this button.
The same button
also changes other readings (like
temperature, fuel and odometer).
TRIP SET By using this button. you can tcll how Far
you've gone since you last sct t11c TRIP SET back to
zero. To reset, press and hold thc button until XI-OS
appear. If your vehicle is domestic. the trip odonwrcr
will return to zero after 999.9 mi Ics ( I 009 km). I I' !XNII-
vehicle is Canadian, the trip odcmctcr will return lo zero
after 1 999.9 km (1,242 miles ).
INFORMATION: Pressing this button repcatccll), ivill
display the MPG AVG, MPG INST. GAL FUEL LJSED,
AVG MPH, ENGINE RPM. BATTERY VOLTS.
COOLANT TEMP and OIL LIFE LEFT.
TIMER: This feature is like a stopwatch, in that you
can clock the time it takes to get from one point to
another.
To operate, press the TIMER button
until TIMER OFF
0O:OO:OO is displayed on the DIC. Each of the fields for
the hours, minutes and seconds are two numeric digits.
Page 149 of 370
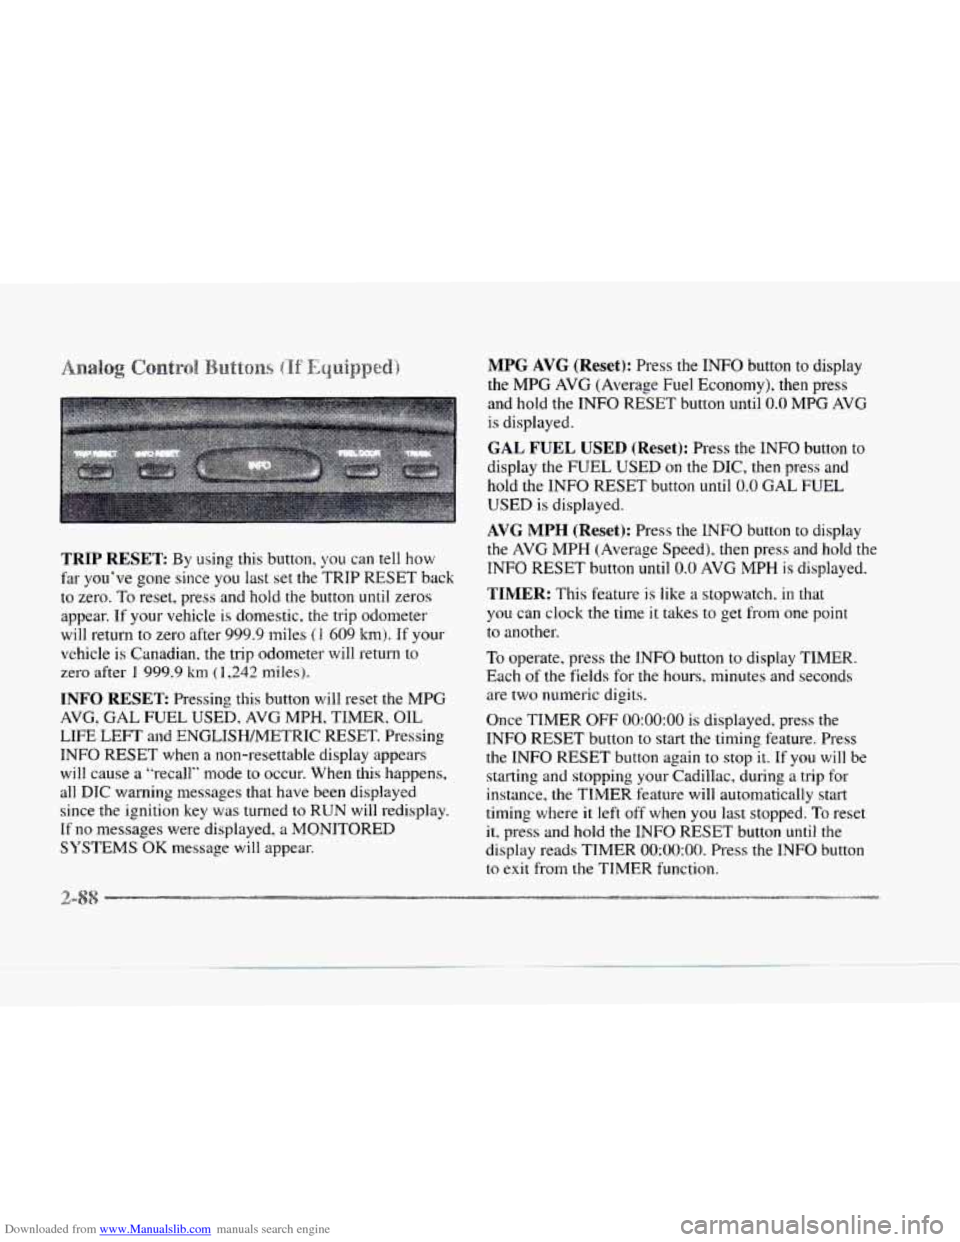
Downloaded from www.Manualslib.com manuals search engine TRIP RESET: By using this button, you can tell how
far you’ve gone since you last set the ?‘RIP
RESET back
to zero. To reset, press and hold the button until zeros
appear.
If your vehicle is domestic. the trip odometer
will return to zero after 999.9 miles
(1 609 km). If your
vehicle is Canadian. the trip odometer will return to
zero after
1 999.9 km ( 1,242 nliles).
INFO RESET Pressing this button will reset the MPG
AVG, GAL FUEL USED, AVG MPH, TIMER, OIL
LIFE LEFT and ENGLISWMETRIC RESET. Pressing
INFO RESET when a non-resettable display appears
will cause a “recall” mode to occur. When this happens,
all DIC waning messages that have been displayed
since the ignition key was turned to RUN will redisplay.
If no messages were displayed, a MONITORED
SYSTEMS
OK message will appear.
MPG AVG (Reset): Press the INFO button to display
the
MPG AVG (Average Fuel Economy), then press
and hold the
INFO RESET button until 0.0 MPG AVG
is displayed.
GAL FUEL USED (Reset): Press the INFO button to
display the
FUEL USED on the DIC, then press and
hold the INFO RESET button until
0.0 GAL FUEL
USED is displayed.
AVG MPH (Reset): Press the INFO button to display
the
AVG MPH (Average Speed), then press and hold the
INFO
RESET button until 0.0 AVG MPH is displayed.
TIMER: This feature is like a stopwatch, in that
you can clock the time
it takes to get from one point
to another.
To operate, press the INFO button to display TIMER.
Each of the fields for the hours, minutes and seconds
are two numeric digits.
Once TIMER
OFF 0O:OO:OO is displayed, press the
INFO RESET button to start the timing feature. Press
the
INFO RESET button again to stop it. If you will be
starting and stopping your Cadillac, during
a trip for
instance, the TIMER feature will automatically start
timing where it
left off when you last stopped. To reset
it, press and hold the lNFO RESET button until the
display reads TIMER
0O:OO:OO. Press the INFO button
to
exit from the TIMER function.
1
Page 170 of 370
Downloaded from www.Manualslib.com manuals search engine I-
C
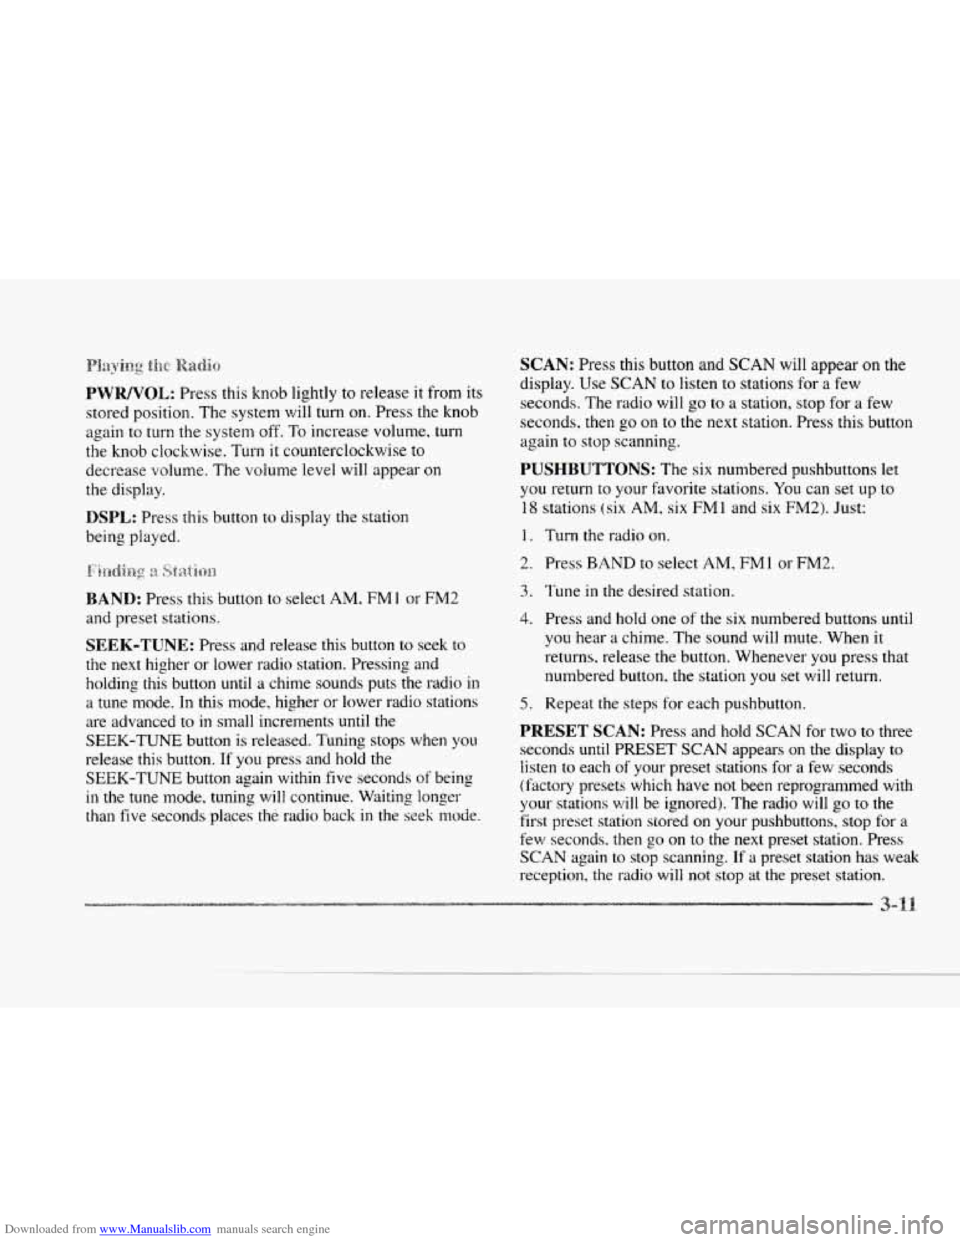
PWWVOL: Press this knob lightly to release it from its
stored position. The system will turn on. Press the knob
again to turn the system off. To increase volume,
turn
the knob clockwise. Turn it counterclockwise to
decrease volume. The volume level will appear
on
the display.
DSPL: Press this button to display the station
being played.
BAND: Press this button to select AM. FM 1 or FM2
and preset stations.
SEEK-TUNE: Press and release this button to seek to
the next higher or lower radio station. Pressing and
holding this button
until a chime sounds puts the radio in
a tune mode. In this mode, higher or lower radio stations
are advanced
to in small increments until the
SEEK-TUNE button
is released. Tuning stops when you
release this button.
If you press and hold the
SEEK-TUNE button again within five seconds of being
in the tune mode. tuning will continue. Waiting longer
than five seconds places the radio back in the seek mode.
SCAN: Press this button and SCAN will appear on the
display. Use
SCAN to listen to stations for a few
seconds. The radio will
go to a station, stop for a few
seconds, then
go on to the next station. Press this button
again to
stop scanning.
PUSHBUTTONS: The six numbered pushbuttons let
you return to your favorite stations.
You can set up to
18 stations (six AM, six FMl and six FM2). Just:
1. Turn the radio on.
2. Press BAND to select AM, FM1 or FM2.
3. Tune in the desired station.
4. Press and hold one of the six numbered buttons until
you hear
a chime. The sound will mute. When it
returns, release the button. Whenever
you press that
numbered button. the station
you set will return.
5. Repeat the steps for each pushbutton.
PRESET SCAN: Press and hold SCAN for two to three
seconds
until PRESET SCAN appears on the display to
listen to each of your preset stations for a few seconds
(factory presets which have
not been reprogrammed with
your stations will be ignored). The radio
will go to the
first preset station stored
on your pushbuttons, stop for a
few seconds. then
go on to the next preset station. Press
SCAN again to stop scanning. If a preset station has weak
reception, the radio will
not stop at the preset station.
Page 173 of 370
Downloaded from www.Manualslib.com manuals search engine e
For information on the compact disc player, see “Trunk
Mounted
CD Changer” later in this section.
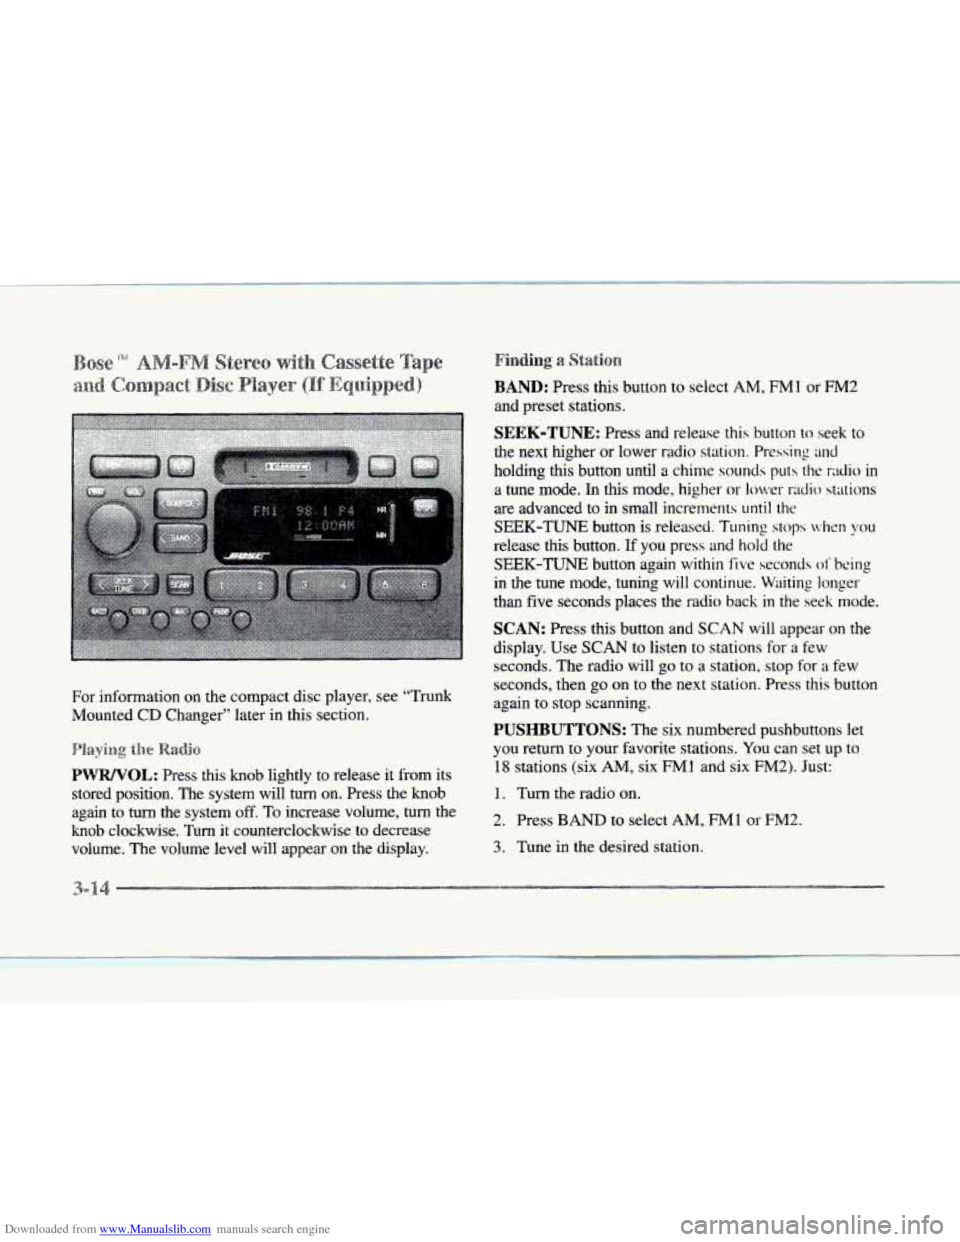
PWWOL: Press this knob lightly to release it from its
stored position. The system will turn on. Press the knob
again to turn the system
off. To increase volume, turn the
knob clockwise. Turn it counterclockwise to decrease
volume. The volume level will appear on the display.
BAND: Press this button to select AM, FM1 or FM2
and preset stations.
SEEK-TUNE: Press and release this button to seek to
the next higher or lower radio station. Pressing
and
holding this button until a chime sounds puts the radio in
a tune mode.
In this mode, higher or lower radio stations
are advanced to in small increments
until the
SEEK-TUNE button is released. Tuning stops when you
release this button. If you press and hold the
SEEK-TUNE button again within five seconds of’ being
in the tune mode, tuning will continue.
Waiting longer
than five seconds places the radio back
in the seek mode.
SCAN: Press this button and SCAN will appear on the
display. Use
SCAN to listen to stations for a few
seconds. The radio will go to a station, stop for a few
seconds, then go on to the next station. Press this button
again to stop scanning.
PUSHBUTTONS: The six numbered pushbuttons let
you return
to your favorite stations. You can set up to
18 stations (six AM, six FMl and six FM2). Just:
1. Turn the radio on.
2. Press BAND to select AM, FM1 or FM2.
3. Tune in the desired station.
Page 174 of 370
Downloaded from www.Manualslib.com manuals search engine c-
c
4. Press and hold one of the six numbered buttons until
you hear a chime.
A preset number will appear on
the display. The sound will mute. When it returns,
release the button. Whenever you press that
numbered button, the station
you set will return.
5. Repeat the steps for each pushbutton.
PRESET SCAN: Press and hold SCAN for two to three
seconds until
PRESET SCAN appears on the display to
listen to each of your preset stations for a few seconds
(factory presets which have not been reprogrammed with
your stations will be ignored). The radio will
go to the first
preset station stored
on your pushbuttons, stop for a few
seconds, then go
on to the next preset station. Press SCAN
again to stop scanning. If a preset station has weak
reception, the radio will not stop at the preset station.
&&$ixxg; $-$kt: 'j.'$'Elfe.
BASS: Press this knob lightly so it extends. Turn the
knob clockwise
to increase and counterclockwise to
decrease bass.
TREB: Press this knob lightly so it extends. Turn the
knob clockwise to increase and counterclockwise to
decrease treble.
If a station is weak or noisy, you may
want
to decrease the treble.
Push these knobs back into their stored positions when
you're
not using them.
BAL: Press this knob lightly so it extends. Turn the
knob clockwise to adjust sound to the right speakers and
counterclockwise
for the left speakers. The middle
position balances the
sound hctvieen thc speakers.
FADE: Press this knob lightly so it c'stt'ncis. Turn the
knob clockwise
to adjust the sound to thc front speakers
and counterclockwise
for the rear spcakcr3. The middle
position balances the
sound httwcten thc spcrkers.
Push these knobs back
into their stored positions when
you're not using them.
With the radio on,'insert
a cassette tape. The tape will
begin playing as
soon as it is inserted.
While the tape is playing, use the
VOL, FADE. BAL,
BASS and TREB controls just as you do for the radio.
Other controls may have different functions when a tape
is inserted. The display will show TAPE with an arrow
to indicate which side of the tape is playing. PLAY will
appear on the display temporarily when a tape is
playing.
The display will then revert back to showing
the time.
Page 176 of 370
Downloaded from www.Manualslib.com manuals search engine r
f
r
f
r
r
r
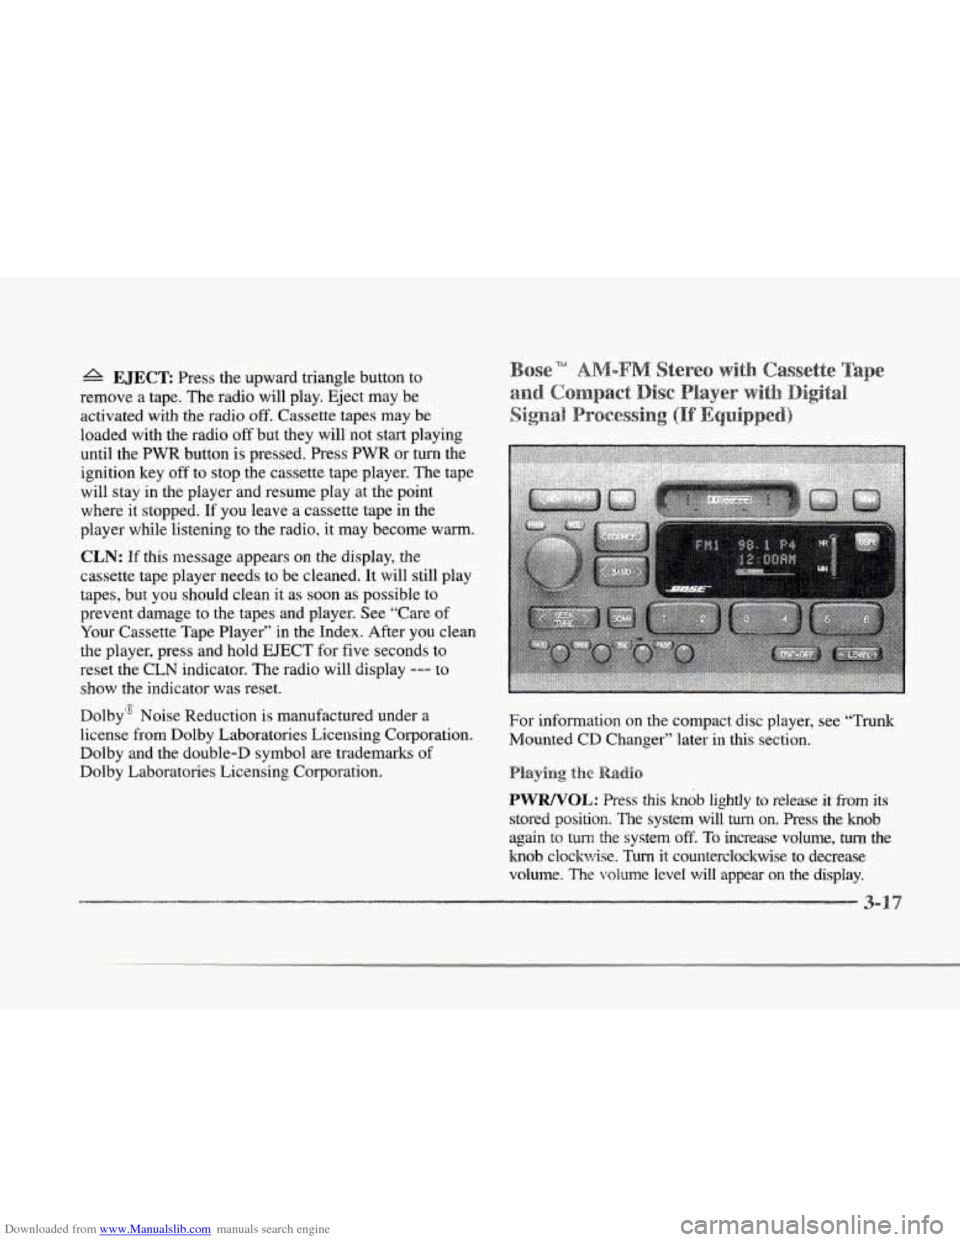
A EJECT Press the upward triangle button to
remove a tape. The radio will play. Eject may be
activated with the radio
off. Cassette tapes may be
loaded with the radio
off but they will not start playing
until the PWR button is pressed.
Press PWR or turn the
ignition key off to stop the cassette tape player. The tape
will stay in the player and resume play
at the point
where it stopped.
If you leave a cassette tape in the
player while listening to the radio, it may become warm.
CLN: If this message appears on the display, the
cassette tape player needs to be cleaned. It will still play
tapes, but you should clean
it as soon as possible to
prevent damage to the tapes and player. See “Care of
Your Cassette Tape Player” in the Index. After you clean
the player, press and hold EJECT for five seconds
to
reset the CLN indicator. The radio will display --- to
show the indicator was reset.
Dolby“ Noise Reduction is manufactured under a
license from Dolby Laboratories Licensing Corporation.
Dolby and the double-D symbol are trademarks of
Dolby Laboratories Licensing Corporation. For information
on the compact disc player, see “Trunk
Mounted
CD Changer” later in this section.
PWRNOL: Press this knob lightly to release it from its
stored position. The system will turn on. Press the knob
again
to turn the system off. To increase volunle, turn the
knob clockwise.
Turn it counterclockwise to decrease
volume. The
volume level will appear on the display.
Page 177 of 370
Downloaded from www.Manualslib.com manuals search engine 3. Tune in the desired station.
BAND: Press this button to select Ah4. FM1 or FM2
and preset stations.
SEEK-TUNE: Press and release this button to seek to the
next higher or lower radio station. Pressing and holding
this button until a chime sounds puts the radio in a tune
mode. In this mode. higher or lower radio stations are
advanced
to in small increments until the SEEK-TUNE
button is released. Tuning stops when you release this
button. If
you press and hold the SEEK-TUNE button
again within five seconds of being in the tune mode,
tuning will continue. Waiting longer than five seconds
places the radio back in the seek mode.
SCAN: Press this button and SCAN will appear on the
display.
Use SCAN to listen to stations for a few
seconds. The radio will
go to a station, stop for a few
seconds, then
go on to the next station. Press this button
again to stop scanning.
PUSHBUTTONS: The six numbered pushbuttons let
you return
to your favorite stations. You can set up to
I8 stations (six AM, six FM1 and six FM2). Just:
1. Turn the radio on.
2. Press BAND to select AM, FMl or FM2.
4. Press and hold one of the six numbered buttons until
you hear a chime.
A preset number will appear on
the display. The sound will mute. When it returns,
release
the button. Whenever you press that
numbered button,
the station you set will return.
5. Repeat the steps for each pushbutton.
PRESET SCAN: Press and hoId SCAN for two to three
seconds
until PRESET SCAN appears on the display to
listen to each of your prcset stations for a few seconds
(factoly presets which have
not been reprogrammed with
your stations will be ignored).
The radio will go to the first
preset station stored
on your pushbuttons, stop for a few
scconds,
then go on to.the next preset station. Press SCAN
again to stop scanning. If a preset station has weak
reception. the radio will not stop at the preset station.
Settirag
the Torre
BASS: Press this knob lightly so it extends. Turn the
knob clockwise to increase and counterclockwise to
decrease bass.
TREB: Press this knob lightly so it extends. Turn the
knob clockwise
to increase and counterclockwise to
decrease treble. If
a station is weak or noisy, you may
want to decrease the treble.