1997 BUICK PARK AVENUE light
[x] Cancel search: lightPage 108 of 420
To turn the feature on:
1.
2.
3.
4.
Press and hold the door lock switch on the door
throughout this procedure. All doors will lock.
Press the instant alarm button on the key transmitter
to enter the programming mode. Perimeter lighting
remains
off at this time and the horn will chirp
one time.
Press the instant alarm button on the transmitter
again. Perimeter lighting
is now enabled and the
horn will chirp two times.
Release the door lock switch. The perimeter lighting
feature
is now on.
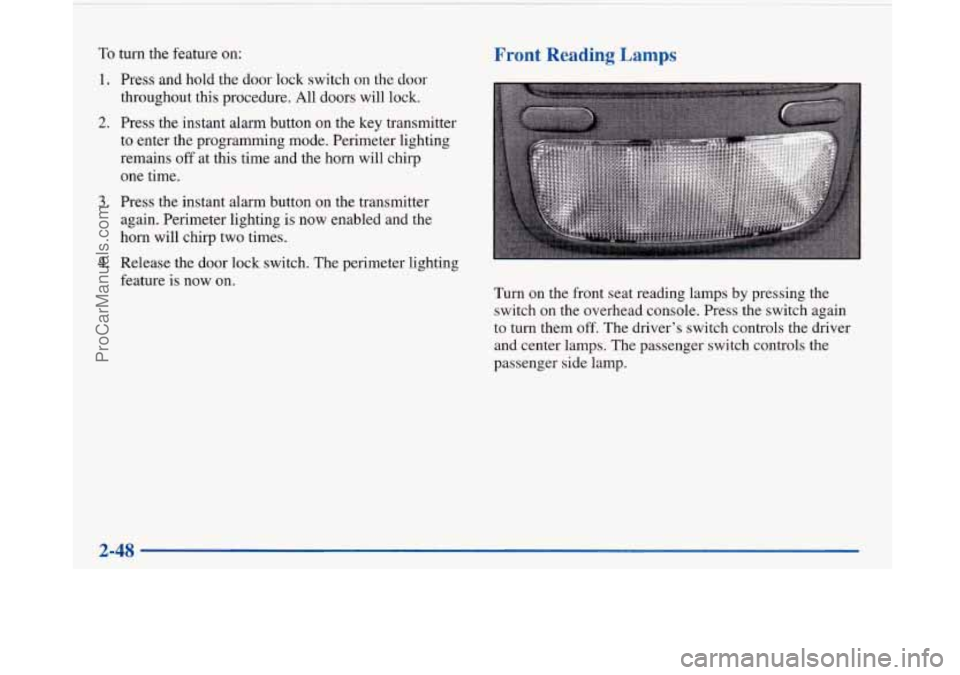
Front Reading Lamps
Turn on the front seat reading lamps by pressing the
switch on the overhead console. Press the switch again
to
turn them off. The driver’s switch controls the driver
and center lamps. The passenger switch controls the
passenger side lamp.
2-48
ProCarManuals.com
Page 109 of 420
Rear Reading Lamps Glove Box Lamp
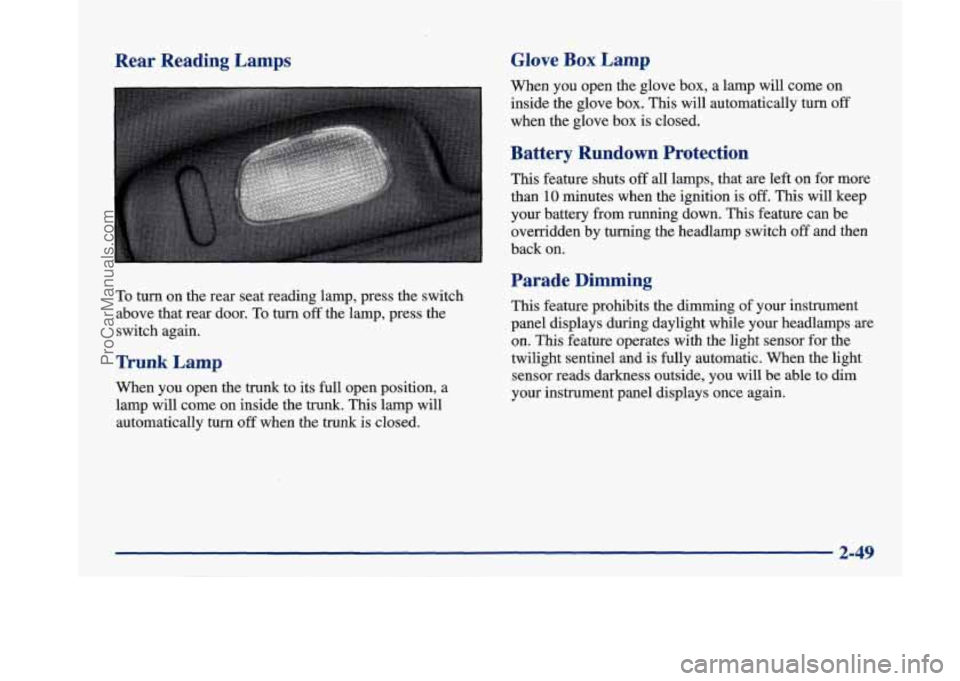
To turn on the rear seat reading lamp, press the switch
above that rear door.
To turn off the lamp, press the
switch again.
Trunk Lamp
When you open the trunk to its full open position, a
lamp will come on inside the trunk. This lamp will
automatically turn
off when the trunk is closed. When
you open the glove box, a lamp will come on
inside the glove box. This will automatically turn
off
when the glove box is closed.
Battery Rundown Protection
This feature shuts off all lamps, that are left on for more
than
10 minutes when the ignition is off. This will keep
your battery from running down.
This feature can be
overridden by turning the headlamp switch
off and then
back on.
Parade Dimming
This feature prohibits the dimming of your instrument
panel displays during daylight while your headlamps
are
on. This feature operates with the light sensor for the
twilight sentinel and is fully automatic. When the light
sensor reads darkness outside, you will be able to dim
your instrument panel displays once again.
2-49
ProCarManuals.com
Page 111 of 420
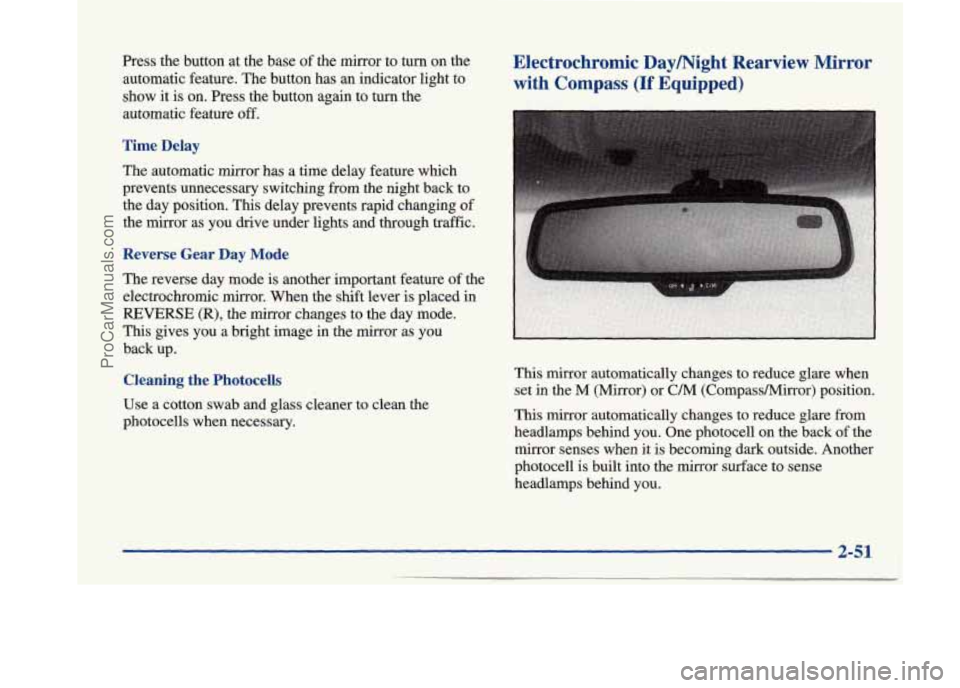
Press the button at the base of the mirror to turn on the
automatic feature. The button has an indicator light to
show it
is on. Press the button again to turn the
automatic feature
off.
Time Delay
The automatic mirror has a time delay feature which
prevents unnecessary switching from the night back to
the day position. This delay prevents rapid changing
of
the mirror as you drive under lights and through traffic.
Reverse Gear Day Mode
The reverse day mode is another important feature of the
electrochromic mirror. When the shift lever
is placed in
REVERSE (R), the mirror changes to the day mode.
This gives you a bright image in the mirror as you
back up.
Cleaning the Photocells
Use a cotton swab and glass cleaner to clean the
photocells when necessary.
Electrochromic Daymight Rearview Mirror
with Compass
(If Equipped)
This mirror automatically changes to reduce glare when
set in the
M (Mirror) or C/M (CornpassMirror) position.
This mirror automatically changes to reduce glare from
headlamps behind you. One photocell
on the back of the
mirror senses when it is becoming dark outside. Another
photocell is built into the mirror surface to sense
headlamps behind you.
2-51
ProCarManuals.com
Page 112 of 420
At night, when the glare is too high, the mirror will
gradually darken to reduce glare (this change may
take a
few seconds). The mirror will return to its clear daytime
state when the glare is reduced.
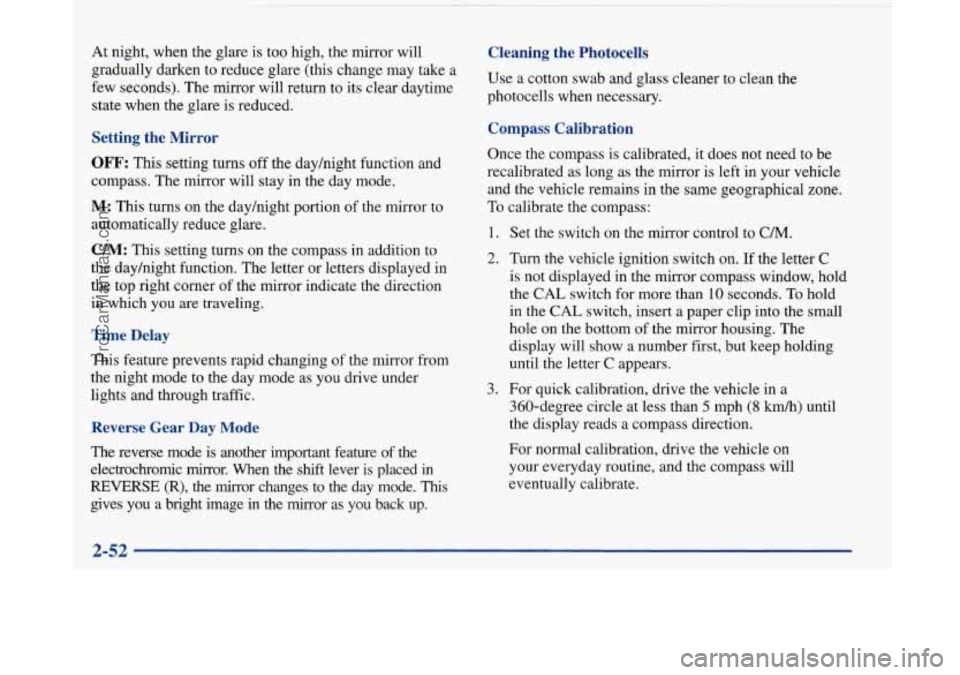
Setting the Mirror
OFF: This setting turns off the dayhight function and
compass. The mirror will stay in the day mode.
M: This turns on the dayhight portion of the mirror to
automatically reduce glare.
C/M: This setting turns on the compass in addition to
the dayhight function. The letter
or letters displayed in
the top right corner of the mirror indicate the direction
in which you are traveling.
Time Delay
This feature prevents rapid changing of the mirror from
the night mode to the day mode as you drive under
lights and through traffic.
Reverse Gear Day Mode
The reverse mode is another important feature of the
electrochromic mirror. When the
shift lever is placed in
REVERSE (R), the mirror changes to the day mode. This
gives you a bright image in the mirror as you back up.
Cleaning the Photocells
Use a cotton swab and glass cleaner to clean the
photocells when necessary.
Compass Calibration
Once the compass is calibrated, it does not need to be
recalibrated as long as the mirror is left in your vehicle
and the vehicle remains in the same geographical zone.
To calibrate the compass:
1. Set the switch on the mirror control to C/M.
2. Turn the vehicle ignition switch on. If the letter C
is not displayed in the mirror compass window, hold
the
CAL switch for more than 10 seconds. To hold
in the
CAL switch, insert a paper clip into the small
hole on the bottom
of the mirror housing. The
display will show a number first, but keep holding
until the letter
C appears.
360-degree circle at less than
5 mph (8 km/h) until
the display reads a compass direction.
3. For
quick calibration, drive the vehicle in a
For normal calibration, drive the vehicle on
your everyday routine, and the compass will
eventually calibrate.
2-52
ProCarManuals.com
Page 121 of 420
Convenience Net
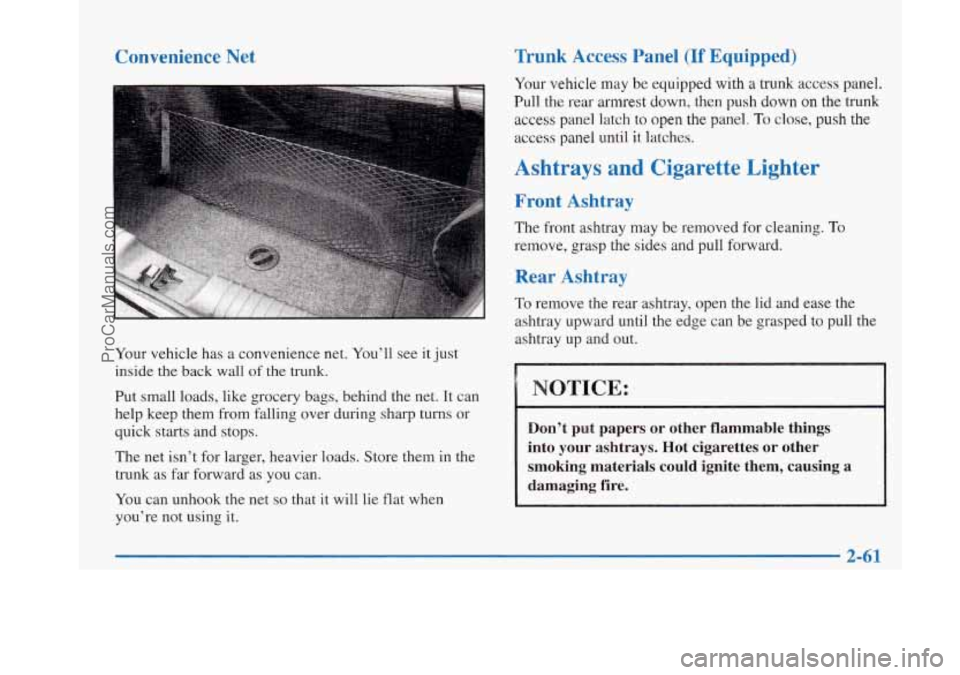
Your vehicle has a convenience net. You’ll see it just
inside the back wall
of the trunk.
Put small loads, like grocery bags, behind the net. It can
help keep them from falling over during sharp turns or
quick starts and stops.
The net isn’t for larger, heavier loads. Store them in the
trunk as far forward as you can.
You can unhook the net
so that it will lie flat when
you’re not using it.
Trunk Access Panel (If Equipped)
Your vehicle may be equipped with a trunk access panel.
Pull the rear armrest down, then push down on the
trunk
access panel latch to open the panel. To close, push the
access panel until it latches.
Ashtrays and Cigarette Lighter
Front Ashtray
The front ashtray may be removed for cleaning. To
remove, grasp the sides and pull forward.
Rear Ashtray
To remove the rear asnrray, open the lid and ease the
ashtray upward until the edge can be grasped to pull the
ashtray up and out.
NOTICE:
Don’t put papers or other flammable things
into your ashtrays. Hot cigarettes or other
smoking materials could ignite them, causing a
damaging fire.
2-61
ProCarManuals.com
Page 122 of 420
Cigarette Lighter
There are cigarette lighters near the front and rear
ashtrays. To use one, push it in all the way and let go.
When it’s ready, it will pop back by itself.
NOTICE:
If you hold a cigarette lighter in with your hand
while it is heating, it won’t be able to back away
from the heating element when it’s ready. That
can make it overheat, damaging the lighter and
the heating element.
Sun Visors
Illuminated Visor Vanity Mirror
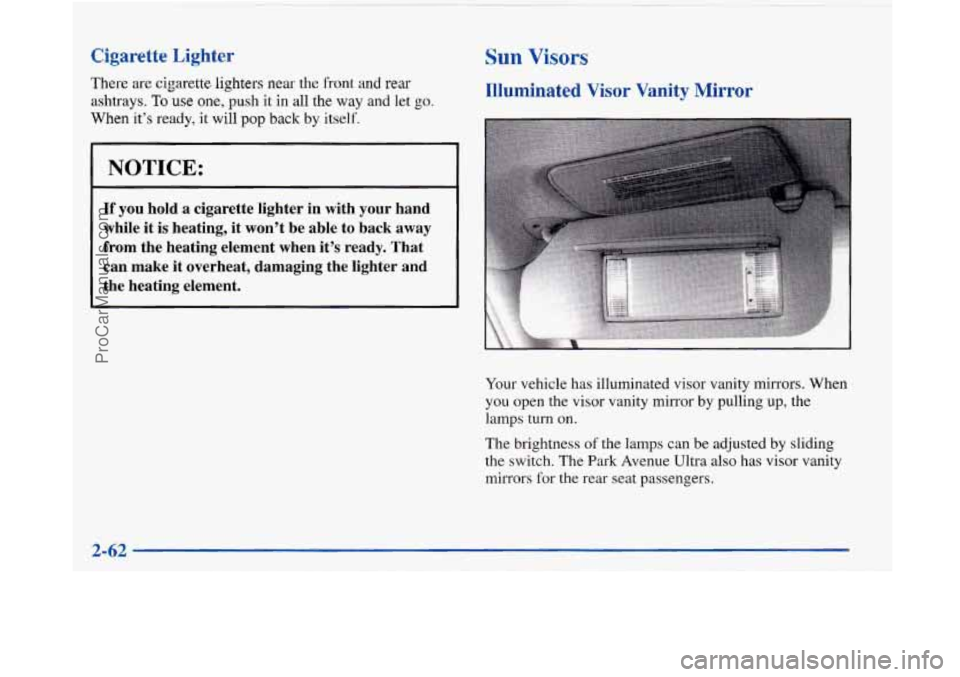
Your vehicle has illuminated visor vanity mirrors. When
you open the visor vanity mirror by pulling up, the
lamps turn
on.
The brightness of the lamps can be adjusted by sliding
the switch. The Park Avenue Ultra also has visor vanity
mirrors
for the rear seat passengers.
ProCarManuals.com
Page 125 of 420
It will operate garage doors and gates, or other devices
controlled by radio frequency such as home/office
lighting systems.
The transmitter will learn and transmit the frequencies
of most current transmitters and is powered by your
vehicle’s battery and charging system.
This device complies with Part
15 of the FCC Rules.
Operation is subject to the following two conditions:
(1) This device may not cause harmful interference,
and
(2) This device must accept any interference
received, including interference that may cause
undesired operation.
Programming the Transmitter
Do not use the universal transmitter with any garage
door opener that does not have the “stop and reverse”
safety feature. This includes any garage door opener
model manufactured before April 1, 1982.
Be sure that people and objects are clear of the garage
door
you are programming!
Your vehicle’s engine should be turned off while
programming your transmitter. Follow these steps to
program up to three channels:
1.
2.
3.
4.
If you have previously programmed a universal
transmitter channel, proceed to Step
2. Otherwise,
hold down the two outside buttons on the universal
transmitter until the amber light begins to flash
rapidly (approximately
20 seconds). Then release the
buttons. This procedure initializes the memory and
erases any previous settings for all three channels.
Hold the end of your hand-held transmitter against
the bottom surface of the universal transmitter
so
that you can still see the amber light.
Decide which one of the three channels you want to
program. Using both hands, press the hand-held
transmitter button and the desired button on the
universal transmitter. Continue to hold both buttons
through Step
4.
Hold down both buttons until you see the amber light
on the universal transmitter first flash slowly, then
rapidly. The rapid flashing, which could take up to
90 seconds, indicates that the universal transmitter
has been programmed. Release both buttons once the
light starts
to flash rapidly.
2-65
ProCarManuals.com
Page 126 of 420
If you have trouble programming the universal
transmitter, make sure that you have followed the
directions exactly as described and that the batteries in
the hand-held transmitter are not dead. If you still
cannot program it, rotate your hand-held transmitter end
over end and
try again. The universal transmitter may
not be compatible with a limited number of older
installations due to legislated changes in transmission
frequencies. If you cannot program the transmitter after
repeated attempts, consult your Buick dealer.
Be sure to keep your original hand-held transmitter
in case you need to erase and reprogram the
universal transmitter.
Note to Canadian Owners: During programming, your
hand-held transmitter may stop transmitting after one or
two seconds. If you
are programming from one of these
transmitters, you should press and re-press the button on
the hand-held transmitter every two seconds without
ever releasing the button on the universal transmitter.
Release both buttons when the amber light on the
universal transmitter begins to flash rapidly.
Operating the Transmitter
Press and hold the appropriate button on the universal
transmitter. The amber light comes on while the signal
is
being transmitted.
Note that the effective transmission range of the
universal transmitter may differ from your hand-held
transmitter and from one channel to another.
Training a Garage Door Opener Equipped
with “Rolling Codes”
If you programmed the universal transmitter, but the
garage door will not open, and if your garage door opener was manufactured after
1995, your garage door may have
a security feature that changes the “code”
of your garage
door opener every time
it is opened or closed.
To determine if your garage door opener has this rolling
code feature, press the appropriate button on the
universal transmitter that was programmed. If the amber
light flashes rapidly for one to two seconds, then turns
solid, your garage door opener has this feature.
2-66
ProCarManuals.com