Page 1496 of 2890
B5M0413
19. Rear Spoiler (4 Door Sedan 2500 cc
GT model only)
A: REMOVAL AND INSTALLATION
1) Open trunk lid.
2) Disconnect high-mount stop light connector located
inside the trunk lid.
3) Remove rubber caps.
B5M0414
4) Remove rear spoiler mounting nuts.
CAUTION:
When removing nuts, be careful not to drop them
inside rear gate.
5) Installation is in the reverse order of removal.
Tightening torque:
7.4±2.0 N⋅m (0.75±0.2 kg-m, 5.4±1.4 ft-lb)
B5M0305
20. Roof Spoiler (Station Wagon 2500
cc GT model only)
A: REMOVAL AND INSTALLATION
1) Open rear gate and remove rear gate trim upper and
side.
2) Remove high-mount stop light.
B5M0415A
3) Remove plastic caps and harness covers.
62
5-1SERVICE PROCEDURE
19. Rear Spoiler (4 Door Sedan 2500 cc GT model only) - 20. Roof Spoiler (Station Wagon 2500 cc GT model only)
Page 1497 of 2890
B5M0413
19. Rear Spoiler (4 Door Sedan 2500 cc
GT model only)
A: REMOVAL AND INSTALLATION
1) Open trunk lid.
2) Disconnect high-mount stop light connector located
inside the trunk lid.
3) Remove rubber caps.
B5M0414
4) Remove rear spoiler mounting nuts.
CAUTION:
When removing nuts, be careful not to drop them
inside rear gate.
5) Installation is in the reverse order of removal.
Tightening torque:
7.4±2.0 N⋅m (0.75±0.2 kg-m, 5.4±1.4 ft-lb)
B5M0305
20. Roof Spoiler (Station Wagon 2500
cc GT model only)
A: REMOVAL AND INSTALLATION
1) Open rear gate and remove rear gate trim upper and
side.
2) Remove high-mount stop light.
B5M0415A
3) Remove plastic caps and harness covers.
62
5-1SERVICE PROCEDURE
19. Rear Spoiler (4 Door Sedan 2500 cc GT model only) - 20. Roof Spoiler (Station Wagon 2500 cc GT model only)
Page 1498 of 2890
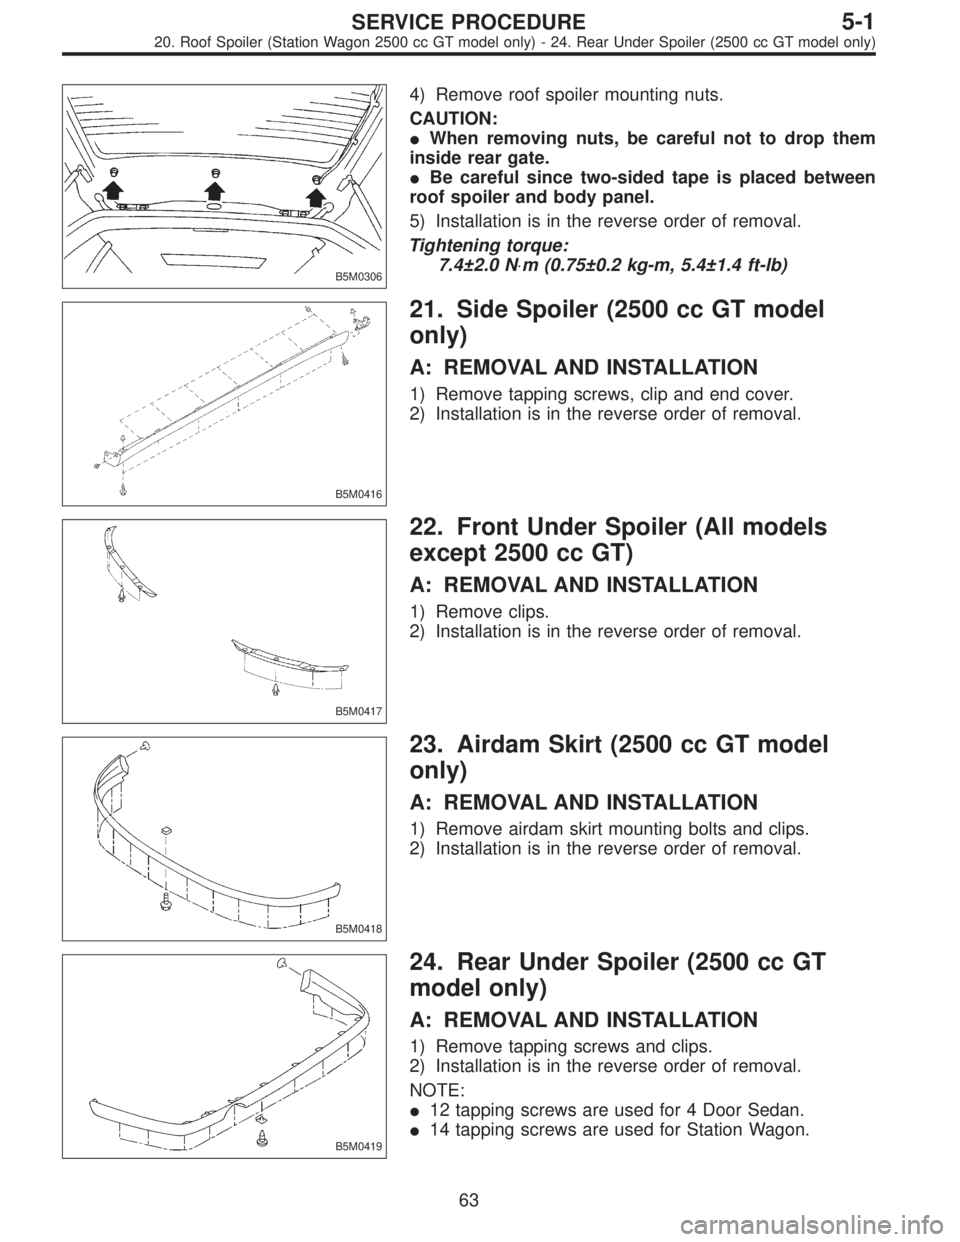
B5M0306
4) Remove roof spoiler mounting nuts.
CAUTION:
�When removing nuts, be careful not to drop them
inside rear gate.
�Be careful since two-sided tape is placed between
roof spoiler and body panel.
5) Installation is in the reverse order of removal.
Tightening torque:
7.4±2.0 N⋅m (0.75±0.2 kg-m, 5.4±1.4 ft-lb)
B5M0416
21. Side Spoiler (2500 cc GT model
only)
A: REMOVAL AND INSTALLATION
1) Remove tapping screws, clip and end cover.
2) Installation is in the reverse order of removal.
B5M0417
22. Front Under Spoiler (All models
except 2500 cc GT)
A: REMOVAL AND INSTALLATION
1) Remove clips.
2) Installation is in the reverse order of removal.
B5M0418
23. Airdam Skirt (2500 cc GT model
only)
A: REMOVAL AND INSTALLATION
1) Remove airdam skirt mounting bolts and clips.
2) Installation is in the reverse order of removal.
B5M0419
24. Rear Under Spoiler (2500 cc GT
model only)
A: REMOVAL AND INSTALLATION
1) Remove tapping screws and clips.
2) Installation is in the reverse order of removal.
NOTE:
�12 tapping screws are used for 4 Door Sedan.
�14 tapping screws are used for Station Wagon.
63
5-1SERVICE PROCEDURE
20. Roof Spoiler (Station Wagon 2500 cc GT model only) - 24. Rear Under Spoiler (2500 cc GT model only)
Page 1499 of 2890
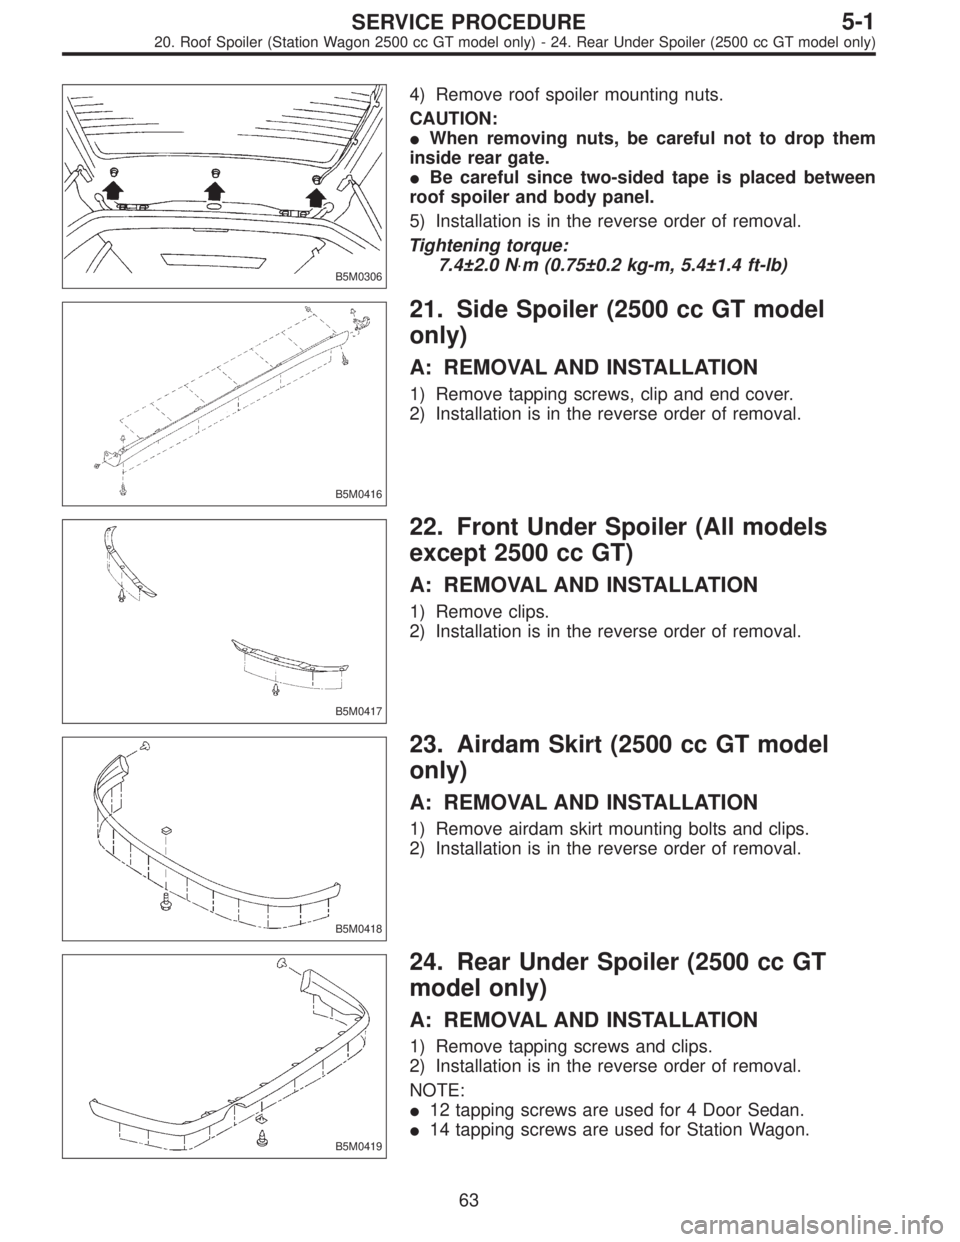
B5M0306
4) Remove roof spoiler mounting nuts.
CAUTION:
�When removing nuts, be careful not to drop them
inside rear gate.
�Be careful since two-sided tape is placed between
roof spoiler and body panel.
5) Installation is in the reverse order of removal.
Tightening torque:
7.4±2.0 N⋅m (0.75±0.2 kg-m, 5.4±1.4 ft-lb)
B5M0416
21. Side Spoiler (2500 cc GT model
only)
A: REMOVAL AND INSTALLATION
1) Remove tapping screws, clip and end cover.
2) Installation is in the reverse order of removal.
B5M0417
22. Front Under Spoiler (All models
except 2500 cc GT)
A: REMOVAL AND INSTALLATION
1) Remove clips.
2) Installation is in the reverse order of removal.
B5M0418
23. Airdam Skirt (2500 cc GT model
only)
A: REMOVAL AND INSTALLATION
1) Remove airdam skirt mounting bolts and clips.
2) Installation is in the reverse order of removal.
B5M0419
24. Rear Under Spoiler (2500 cc GT
model only)
A: REMOVAL AND INSTALLATION
1) Remove tapping screws and clips.
2) Installation is in the reverse order of removal.
NOTE:
�12 tapping screws are used for 4 Door Sedan.
�14 tapping screws are used for Station Wagon.
63
5-1SERVICE PROCEDURE
20. Roof Spoiler (Station Wagon 2500 cc GT model only) - 24. Rear Under Spoiler (2500 cc GT model only)
Page 1500 of 2890
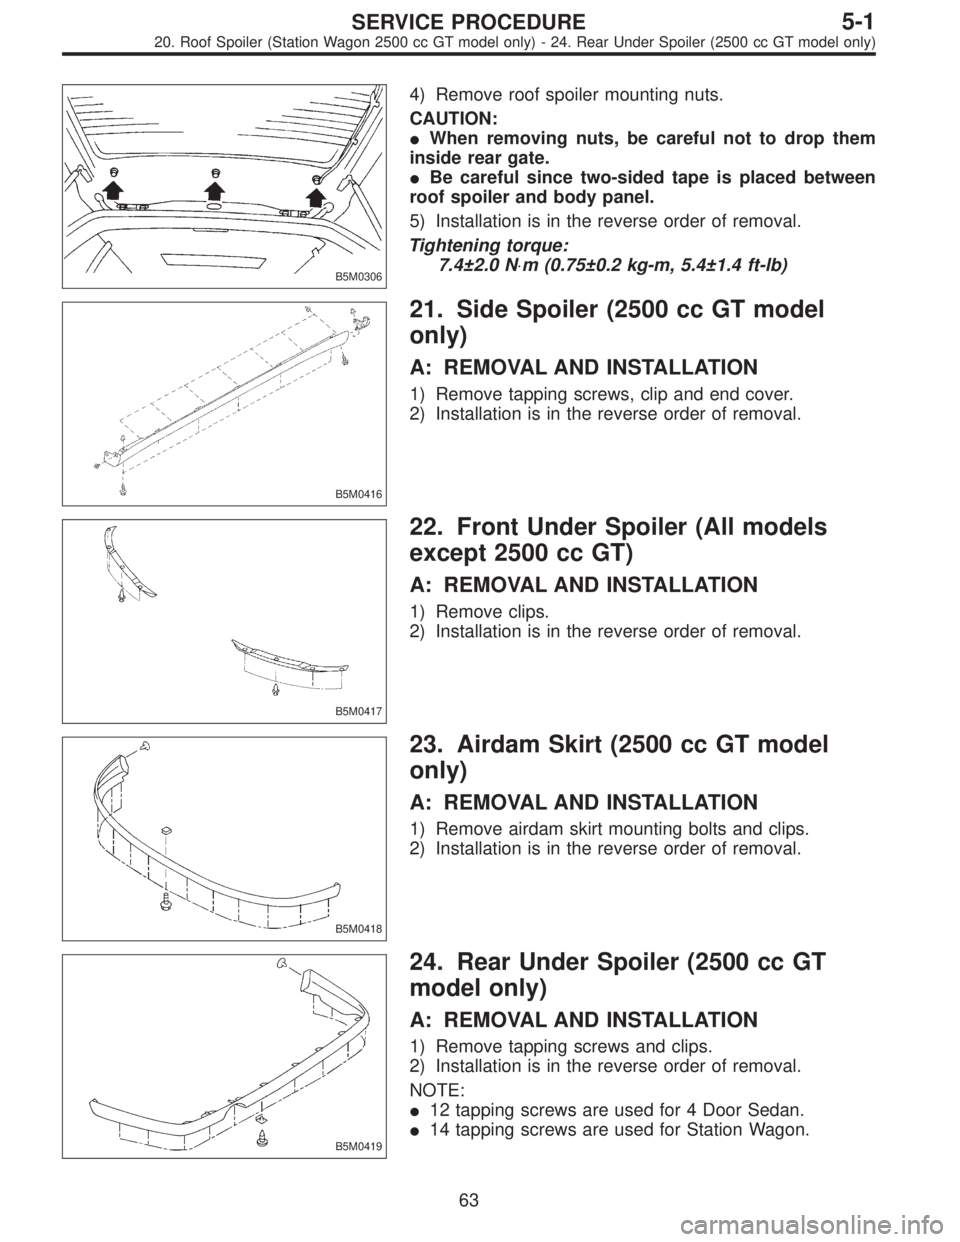
B5M0306
4) Remove roof spoiler mounting nuts.
CAUTION:
�When removing nuts, be careful not to drop them
inside rear gate.
�Be careful since two-sided tape is placed between
roof spoiler and body panel.
5) Installation is in the reverse order of removal.
Tightening torque:
7.4±2.0 N⋅m (0.75±0.2 kg-m, 5.4±1.4 ft-lb)
B5M0416
21. Side Spoiler (2500 cc GT model
only)
A: REMOVAL AND INSTALLATION
1) Remove tapping screws, clip and end cover.
2) Installation is in the reverse order of removal.
B5M0417
22. Front Under Spoiler (All models
except 2500 cc GT)
A: REMOVAL AND INSTALLATION
1) Remove clips.
2) Installation is in the reverse order of removal.
B5M0418
23. Airdam Skirt (2500 cc GT model
only)
A: REMOVAL AND INSTALLATION
1) Remove airdam skirt mounting bolts and clips.
2) Installation is in the reverse order of removal.
B5M0419
24. Rear Under Spoiler (2500 cc GT
model only)
A: REMOVAL AND INSTALLATION
1) Remove tapping screws and clips.
2) Installation is in the reverse order of removal.
NOTE:
�12 tapping screws are used for 4 Door Sedan.
�14 tapping screws are used for Station Wagon.
63
5-1SERVICE PROCEDURE
20. Roof Spoiler (Station Wagon 2500 cc GT model only) - 24. Rear Under Spoiler (2500 cc GT model only)
Page 1501 of 2890
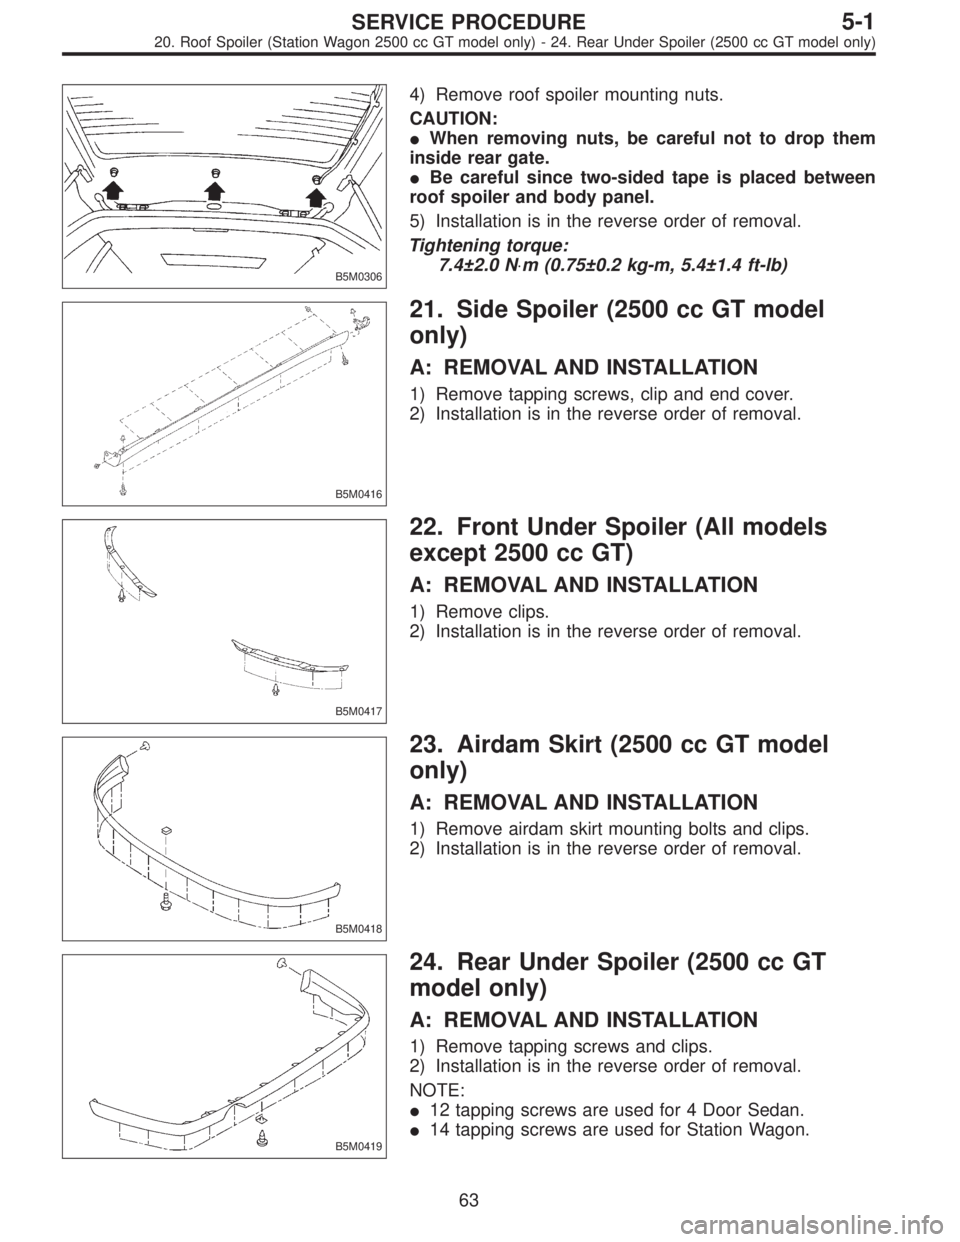
B5M0306
4) Remove roof spoiler mounting nuts.
CAUTION:
�When removing nuts, be careful not to drop them
inside rear gate.
�Be careful since two-sided tape is placed between
roof spoiler and body panel.
5) Installation is in the reverse order of removal.
Tightening torque:
7.4±2.0 N⋅m (0.75±0.2 kg-m, 5.4±1.4 ft-lb)
B5M0416
21. Side Spoiler (2500 cc GT model
only)
A: REMOVAL AND INSTALLATION
1) Remove tapping screws, clip and end cover.
2) Installation is in the reverse order of removal.
B5M0417
22. Front Under Spoiler (All models
except 2500 cc GT)
A: REMOVAL AND INSTALLATION
1) Remove clips.
2) Installation is in the reverse order of removal.
B5M0418
23. Airdam Skirt (2500 cc GT model
only)
A: REMOVAL AND INSTALLATION
1) Remove airdam skirt mounting bolts and clips.
2) Installation is in the reverse order of removal.
B5M0419
24. Rear Under Spoiler (2500 cc GT
model only)
A: REMOVAL AND INSTALLATION
1) Remove tapping screws and clips.
2) Installation is in the reverse order of removal.
NOTE:
�12 tapping screws are used for 4 Door Sedan.
�14 tapping screws are used for Station Wagon.
63
5-1SERVICE PROCEDURE
20. Roof Spoiler (Station Wagon 2500 cc GT model only) - 24. Rear Under Spoiler (2500 cc GT model only)
Page 1502 of 2890
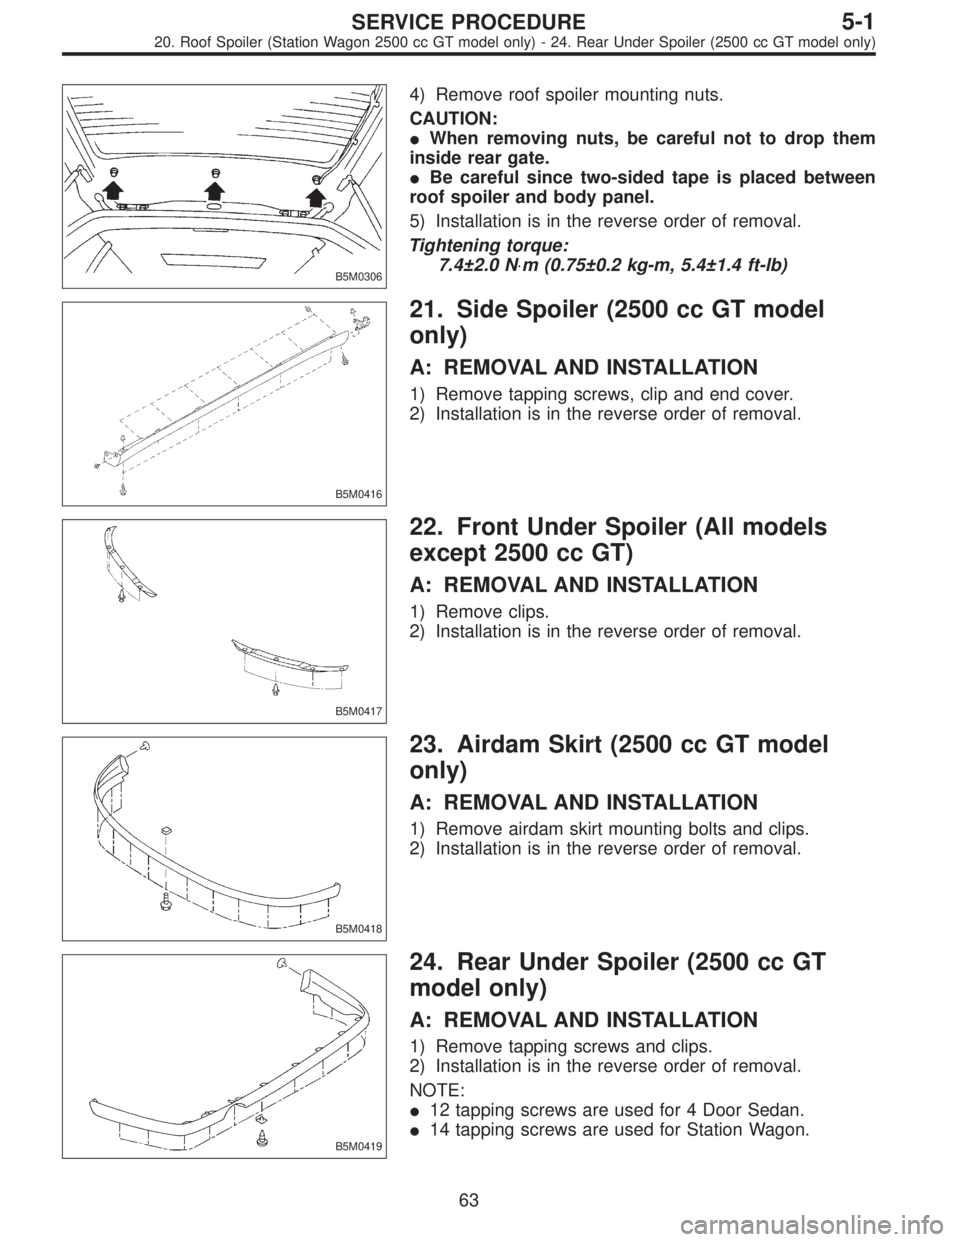
B5M0306
4) Remove roof spoiler mounting nuts.
CAUTION:
�When removing nuts, be careful not to drop them
inside rear gate.
�Be careful since two-sided tape is placed between
roof spoiler and body panel.
5) Installation is in the reverse order of removal.
Tightening torque:
7.4±2.0 N⋅m (0.75±0.2 kg-m, 5.4±1.4 ft-lb)
B5M0416
21. Side Spoiler (2500 cc GT model
only)
A: REMOVAL AND INSTALLATION
1) Remove tapping screws, clip and end cover.
2) Installation is in the reverse order of removal.
B5M0417
22. Front Under Spoiler (All models
except 2500 cc GT)
A: REMOVAL AND INSTALLATION
1) Remove clips.
2) Installation is in the reverse order of removal.
B5M0418
23. Airdam Skirt (2500 cc GT model
only)
A: REMOVAL AND INSTALLATION
1) Remove airdam skirt mounting bolts and clips.
2) Installation is in the reverse order of removal.
B5M0419
24. Rear Under Spoiler (2500 cc GT
model only)
A: REMOVAL AND INSTALLATION
1) Remove tapping screws and clips.
2) Installation is in the reverse order of removal.
NOTE:
�12 tapping screws are used for 4 Door Sedan.
�14 tapping screws are used for Station Wagon.
63
5-1SERVICE PROCEDURE
20. Roof Spoiler (Station Wagon 2500 cc GT model only) - 24. Rear Under Spoiler (2500 cc GT model only)
Page 2872 of 2890
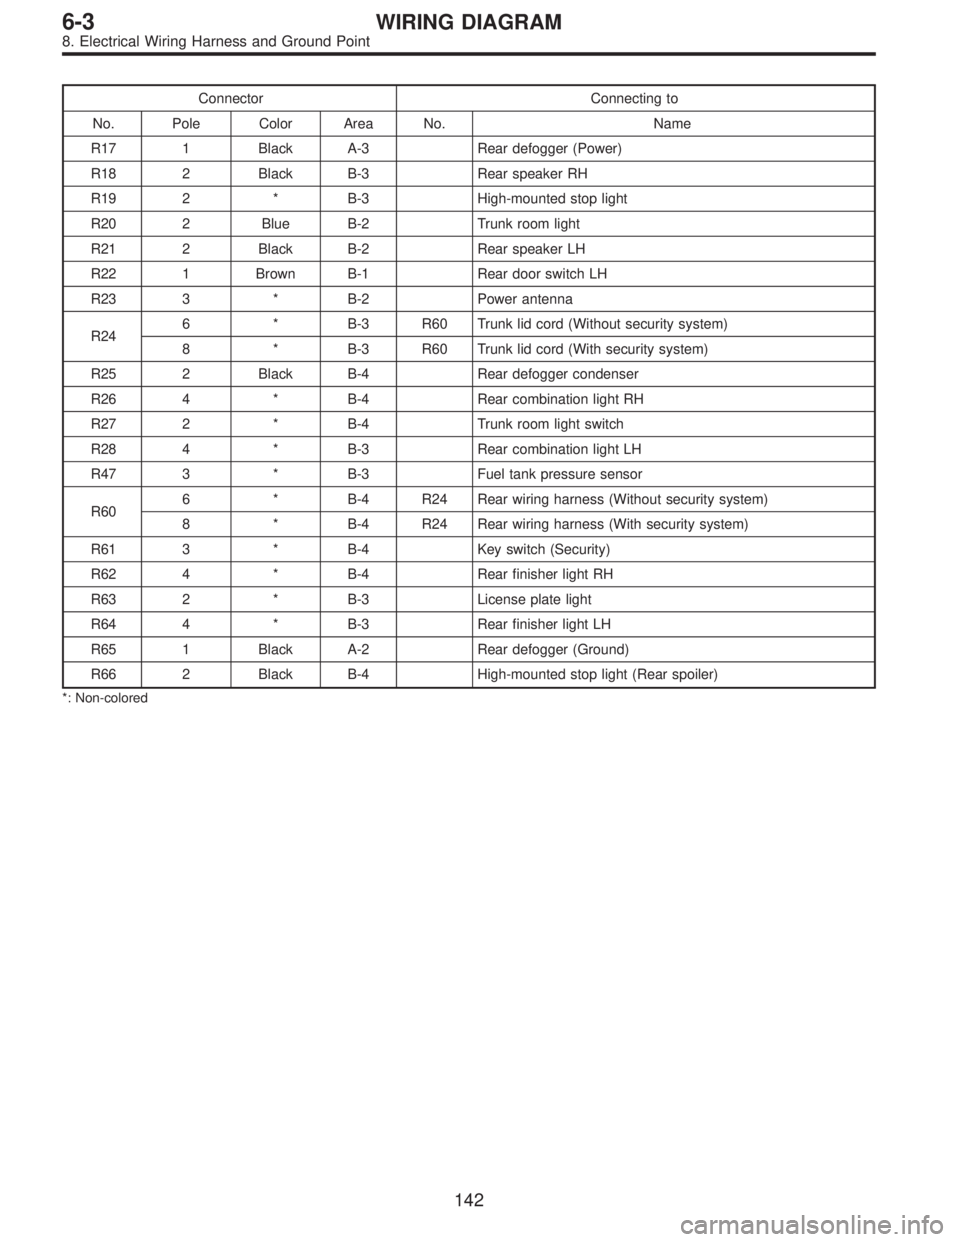
Connector Connecting to
No. Pole Color Area No. Name
R17 1 Black A-3 Rear defogger (Power)
R18 2 Black B-3 Rear speaker RH
R19 2 * B-3 High-mounted stop light
R20 2 Blue B-2 Trunk room light
R21 2 Black B-2 Rear speaker LH
R22 1 Brown B-1 Rear door switch LH
R23 3 * B-2 Power antenna
R246 * B-3 R60 Trunk lid cord (Without security system)
8 * B-3 R60 Trunk lid cord (With security system)
R25 2 Black B-4 Rear defogger condenser
R26 4 * B-4 Rear combination light RH
R27 2 * B-4 Trunk room light switch
R28 4 * B-3 Rear combination light LH
R47 3 * B-3 Fuel tank pressure sensor
R606 * B-4 R24 Rear wiring harness (Without security system)
8 * B-4 R24 Rear wiring harness (With security system)
R61 3 * B-4 Key switch (Security)
R62 4 * B-4 Rear finisher light RH
R63 2 * B-3 License plate light
R64 4 * B-3 Rear finisher light LH
R65 1 Black A-2 Rear defogger (Ground)
R66 2 Black B-4 High-mounted stop light (Rear spoiler)
*: Non-colored
142
6-3WIRING DIAGRAM
8. Electrical Wiring Harness and Ground Point