1996 PONTIAC BONNEVILLE radio
[x] Cancel search: radioPage 58 of 387
Remote Keyless Entry (Option)
If your Pontiac has this option, you can lock and unlock
your doors or unlock your trunk from up to
30 feet (9 m)
away using the key chain transmitter supplied with
your vehicle.
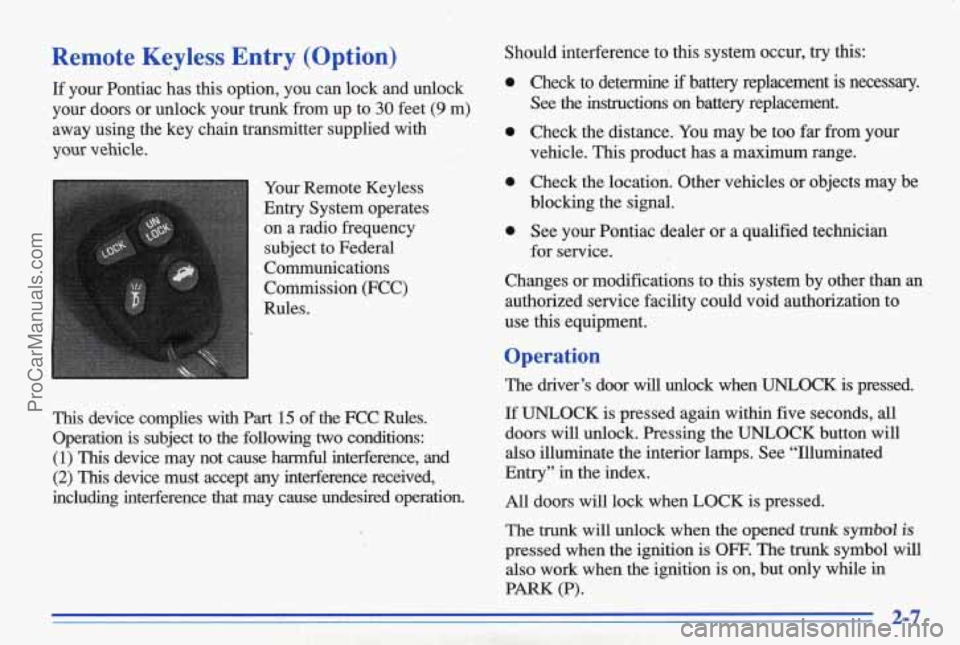
Your Remote Keyless
Entry System operates on a radio frequency
subject to Federal
Comrinunications
Commission (FCC)
This device complies with Part 15 of the FCC Rules.
Operation is subject
to the following two conditions:
(1) This device may not cause hannful interference, and
(2) This device must accept any interference received,
including interference that may cause undesired operation. Should interference to this system occur,
try this:
0
0
0
0
Check to determine if battery replacement is necessary.
See the instructions on battery replacement.
Check the distance. You may be
too far from your
vehicle.
This product has a maximum range.
Check the location. Other vehicles
dr objects may be
blocking the signal.
See your Pontiac dealer or a qualified technician
for service.
Changes or modifications to this system by other than
an
authorized service facility could void authorization to
use this equipment.
Operation
The driver’s door will unlock when UNLOCK is pressed.
If UNLOCK is pressed again within five seconds, all
doors
will unlock. Pressing the UNLOCK button will
also illuminate the interior lamps. See “Illuminated
Entry” in the index.
All doors
will lock when LOCK is pressed.
The
trunk will unlock when the opened trunk symbol is
pressed when the ignition is OFF. The trunk symbol will
also work when the ignition is
on, but ody while in
PARK (P).
ProCarManuals.com
Page 69 of 387
START (E): Starts the engine. When the engine st&&
release the key. The ignition switch
will return to RUN
for normal driving.
Note that even if the engine
is not running, the positions
ACCESSORY and RUN are on positions that allow you
to operate your electrical accessories, such as the radio.
Key Reminder Warning
If you leave your key in the ignition, in the OFF
position, you will hear a warning tone when you open
the driver’s door.
NOTICE:
If your key seem stuck in LOCK and you can’t
turn it, be sure
it is all the way in. If it is, then
turn the steering wheel left and right while you
turn the key hard. But turn the
key only with
your hand. Using a tool to force it could break
the key or the ignition switch.
If none of this
works, then your vehicle needs service.
Retained Accessory, Power (Option)
If you have this option, after you turn your ignition OFF
and even remove the key, you will still have electrical
power to such accessories
as the radio and power
windows for up to 10 minutes. But if you open a door,
power is turned off.
Starting Your ,Engine
Move your shift lever to PARK (P) or NEUTRAL (N).
Your engine won’t start in any other position -- that’s
a safety feature. To restart when you’re already ‘moving,
use NEUTRAL (N) only.
NOTICE:
Don’t try to shift to PARK (P) if y& Ponthc is
moving. If you do, you could damage the
transaxle. Shift to PARK (P) only when your
vehicle
is stopped.
2-18
ProCarManuals.com
Page 115 of 387
Battery Light Voltmeter
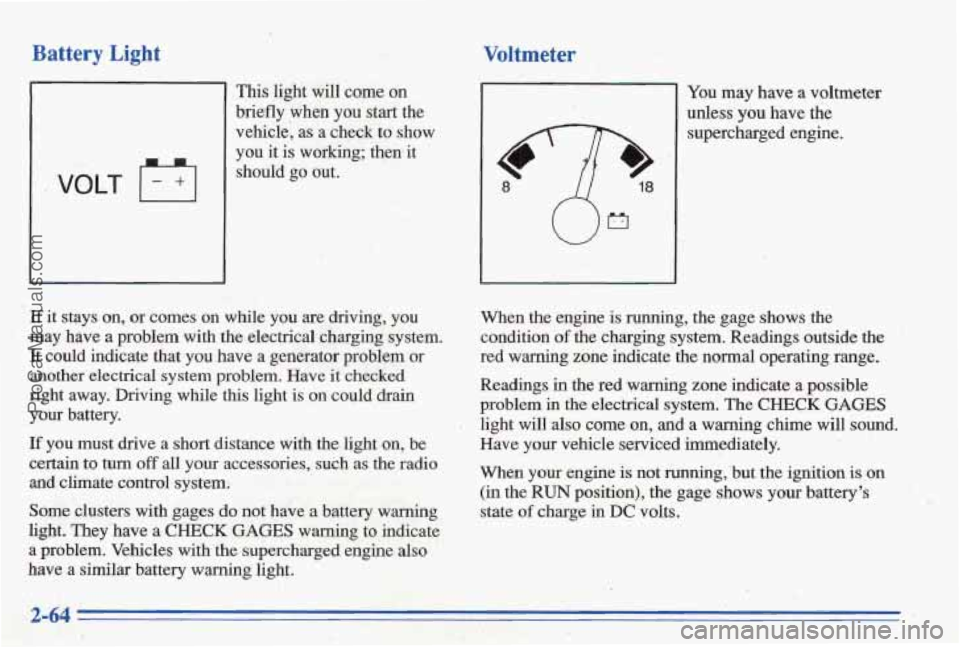
This light will come on
briefly When you start the
vehicle: as a check'to show
you it is working; thenlit
should
go .out.
If it stays on, or comes on while you axe driving, you
may have a problem with the electrical ,chatging system.
It could indicate that you have
a generator problem or
another electrical system problem. Have it checked
right away. Driving while
this light is on could drain
your battery.
If you must drive a short distance with the light on, be
oertain to turn off all your accessories, such as the radio
and, climate control system;
Some clusters with gages
do not have a battery warning
light. They have a CHECK GAGES warning to indicate
a problem. Vehicles with- the supercharged enginealso
have
a similar battery warning light.
<-fi 18
You may have a voltmeter
unless you have the
supercharged engine.
When the engine is
running, the gage shows the
coqdition of the charging system. Readings outside the '
red warning zone indicate the normal operating range.
Readings
in the red warning zone indicate a pos'sible
problem
in the electrical system. The CHECK GAGES
light will also come on, and a warning chime will sound.
Have your vehicle serviced immediately.
when your engine is not running, but the ignition is on
(in the RUN position), the gage shows your battery's
state
of charge in DC volts.
ProCarManuals.com
Page 141 of 387
Pressing the AUTO button will display the requested
temperature, fan speed'and
air delivery mode for five
seconds, then change to display the outside air
temperature. Be careful not to put anything over the
sensor located in the middle
of the instrument panel near
the windshield, or over the sensor
in the gnlle above the
radio. These sensors are used by the automatic system to
regulate temperature.
The exterior temperature display sensor is in front
of the
car, near the radiator. This displayed temperature is most
accurate when the vehicle
is moving. During stops, or
while idling, the display shows the previous driving
temperature for best system control.
To avoid blowing cold air in cold weather, the system
will delay turning
on the fan until warm air is available.
The length
of delay depends on outside air temperature,
engine coolant temperature, and time since the engine
was last started. Pushing the
fan button will override this
delay and change the fan to a selected single speed.
If you leave your vehicle, the system will remember the
control setting the next time you start your engine.
Manual Operation
You may also manually adjust the delivery mode or
fan speed.
'!! HEAT: Manually selecting HEAT by cycling
through the
MODE settings will deliver air to the floor
outlets.
+# DEFOG: Manually selecting DEFOG by cycling
through the
MODE settings will deliver air to the floor
and windshield outlets.
12 BI-LEVEL: Manually selecting BI-LEVEL by
cycling through the MODE setting will deliver warm air
to the floor and cooler air to the middle instrument panel outlets.
OFF: Press this button to turn the system off. Fresh air
will continue to flow through the vehicle, and the
system
will try to maintain the previously set
temperature. The outside temperature will show in the
display when the system
is OFF.
w.
ProCarManuals.com
Page 147 of 387
reo
1.
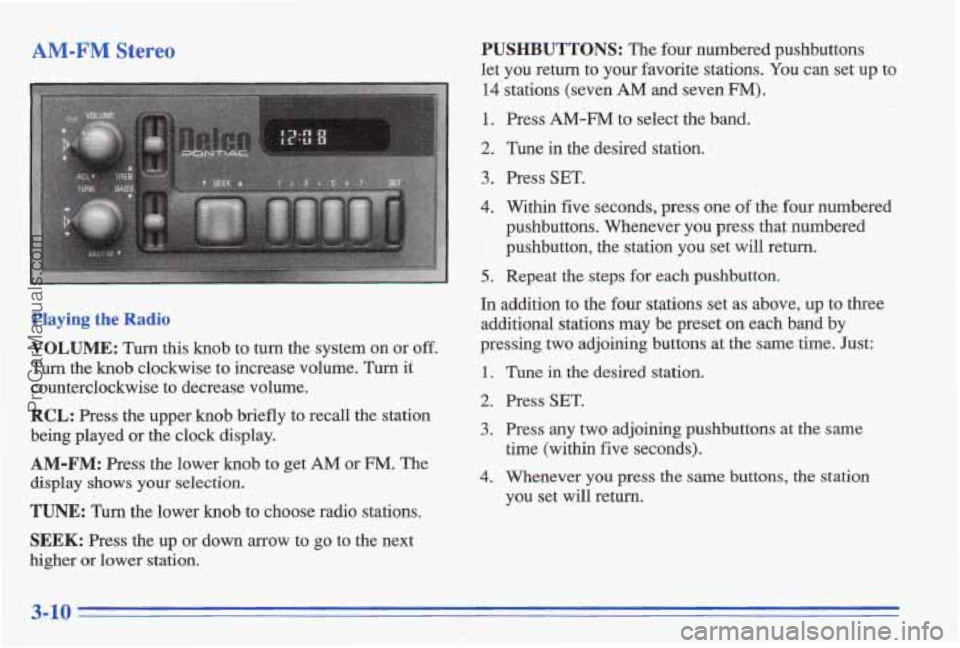
I ' Playing the I
VOLUME: Turn this knob to turn the system on or off.
Turn the knob clockwise to increase volume. Turn it
counterclockwise to decrease volume.
RCL: Press the upper knob briefly to recall the station
being played or the clock display.
AM-FM: Press the lower knob to get AM or FM. The
display shows your selection.
TUNE: Turn the lower knob to choose radio stations.
SEEK: Press the up or down arrow to go to the next
higher or lower station.
PUSHBUTTONS: The four numbered pushbuttons
let you return to your favorite stations.
You can set up to
14 stations (seven AM and seven FM).
1. Press AM-FM to select the band.
2. Tune in the desired station. 1
3. Press SET.
4. Within five seconds, press one of the four numbered
pushbuttons. Whenever you press that numbered
', pushbutton, the station you set will return.
5.. Repeat the steps for each pushbutton.
In addition to the four stations set as above, up to three
additional stations may be preset on each band by
pressing
two adjoining buttons at the same time. Just:
1.
2.
3.
4.
Tune iil the desired station.
Press
SET.
Press any two adjoining pushbuttons at the same
time (within five seconds).
Whenever
you press the same buttons, the station
you set
will return.
ProCarManuals.com
Page 148 of 387
Setting the Tone
BASS:
Slide the lever up or down to increase or
decrease bass.
TREB: Slide the lever up or down to increase or
decrease treble. If a station is weak or noisy, slide the
lever down to reduce the noise.
Adjusting the Speakers
BALANCE:
Turn the control behind the upper knob to
move the sound to the left or right speakers. Use the
middle position to bhance these speakers.
,i;.< . :-; ;:&
FADE: Turn the control behind the lower knob to move
the sound to the front or rear speakers. Use the middle
position to balance these speakers.
. , I&<, . ._', . - , -
AM-FM Stereo with Cassette Tape Player
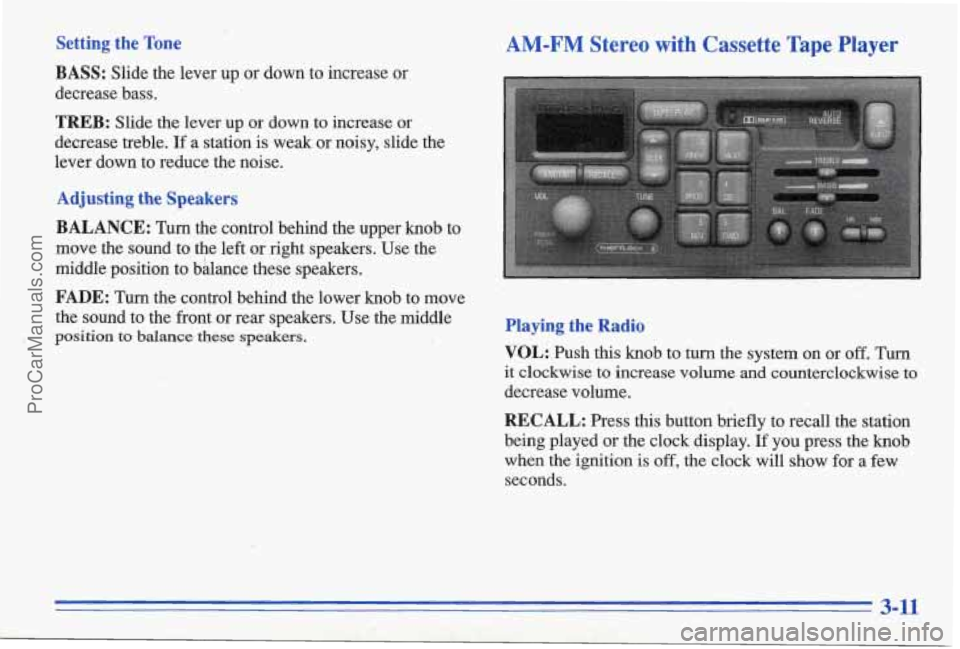
Playing the Radio
VOL:
Push this knob to turn the system on or off. Turn
it clockwise to increase volume and counterclockwise to
decrease volume.
RECALL: Press this button briefly to recall the station
being played or the clock display.
If you press the knob
when the ignition is
off, the clock will show for a few
seconds.
3-11
ProCarManuals.com
Page 149 of 387
Finding a Station’
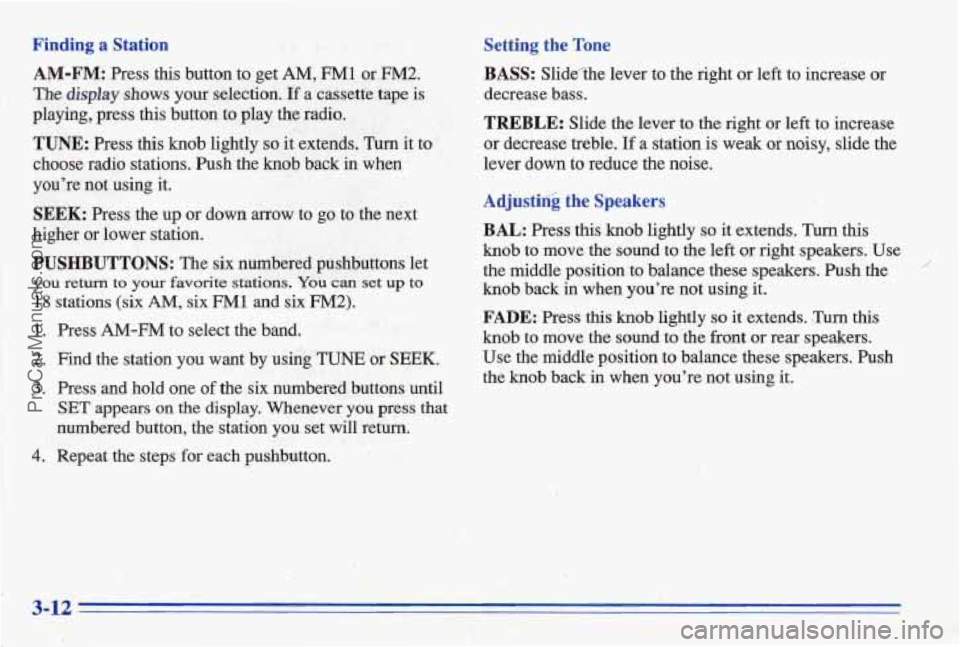
AM-FM:
Press this button to get AM, FM1 or FM2.
Tbe display shows your selection. If a cassette tape is
playing, press
this button to play the radio.
TUNE: Press this knob lightly so it extends. Turn it to
choose radio stations. Push
the hub back in when
you’re
not using it.
SEEK: Press the up or down arrow to go to the next
higher or lower station.
PUSHBUTTONS: The six numbered pushbuttons let
you return to your favorite stations. You can set up to
18 stations (six AM, six FM1 and six FM2).
1. Press AM-FM to select the band.
2. Find the station you want by using TUNE or SEEK.
3. Press and hold one of the six numbered buttons until
SET appears on the display. Whenever you press that
numbered button, the station you set will return.
t
4. Repeat the steps for each pushbutton. c I : 1. I ,:. , . ,-, . I.
Setting the Tone
BASS: Slidcthe lever to the right or left to b-crease or
decrease bass.
TREBLE: Slide the lever to the right or left to increase
or decrease treble.
If a station is weak or noisy, slide the
lever down
to reduce the noise.
Adjustin’g the Speakers
BAL: Press this knob lightly so it extehds. Turn this
knob to move the sound to the left or right speakers. Use
the middle position
to balance these speakers. Push the
knob
back in when you’re not using it.
FADE: Press this knob lightly so it extends. TLI~~ this
knob to move the sound to the front or rear speakers.
Use the middle position to balance these speakers. Push
the
knob back in when you’re not using it.
3-12
ProCarManuals.com
Page 150 of 387
Playing a Cassette Tape
You tape player is built to work best with tapes that are
30 to 45 minutes long on each side. Tapes longer than
that are
so thin they may not work well in this player.
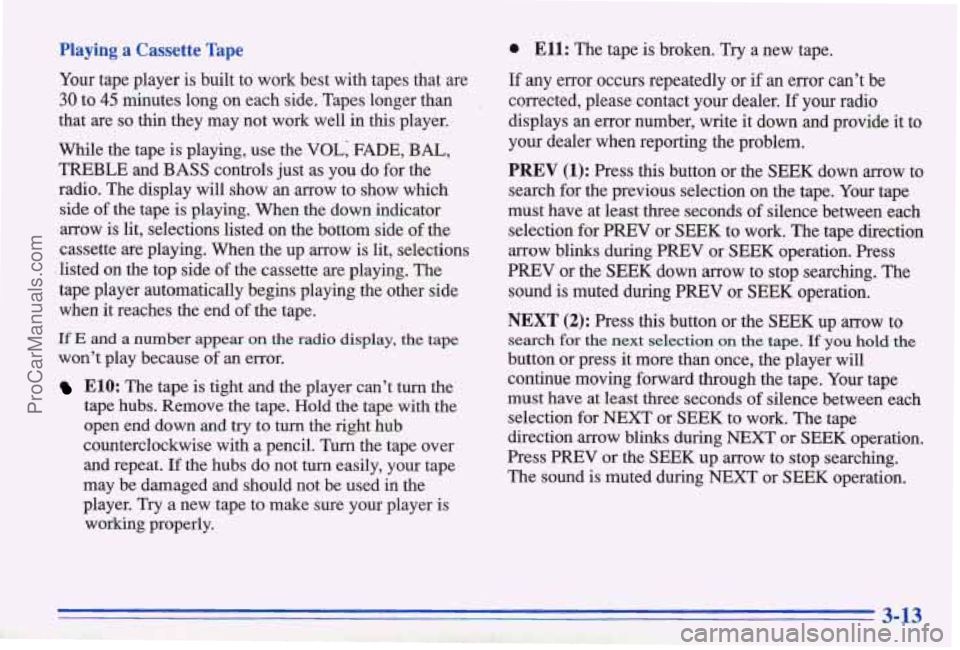
While the tape is playing, use the VOL; FADE, BAL,
TREBLE and BASS controls just as you do for the
radio. The display
will show an arrow to show which
side
of the tape is playing. When the down indicator
arrow is lit, selections listed
on the bottom side of the
cassette are playing. When the up arrow is lit, selections
listed on the top side of the cassette are playing. The
tape player automatically begins playing the other side
when
it reaches the end of the tape.
If E and a number appear on the radio display, the tape
won't play because of an error.
ElO: The tape is tight and the player can't turn the'
tape hubs. Remove the tape. Hold the tape
with the
open end down and
try to turn the right hub
counterclockwise'with
a pencil. Turn the tape over
and repeat.
If the hubs do not turn easily, your tape
may be damaged and should not be used in the
player. Try a new tape to make sure your player is
working properly.
0 Ell: The tape is broken. Try a new tape.
If any error occurs repeatedly or if an error can't be
corrected, please contact your dealer.
If your radio
displays an error number, write it down and provide it to
your dealer when reporting the problem.
PREV (1): Press this button or the SEEK down arrow to
search for the previous selection
on the tape. Your tape
must have at least three seconds of silence between each
selection for PREV or SEEK to work. The tape direction
arrow blinks during PREV or SEEK operation. Press
PREV or the SEEK down arrow to stop searching. The
sound
is muted during PREV or SEEK operation.
NEXT (2): Press this button or the SEEK up arrow to
search for the next selection on the tape. If you hold the
button or press it more than once, the player will
continue moving forward through the tape. Your tape
must have at least three seconds
of silence between each
selection for NEXT or SEEK to work. The tape
direction arrow blinks during
NEXT or SEEK operation.
Press PREV
or the SEEK up arrow to stop searching.
The sound is muted during NEXT or
SEEK operation.
3-13
ProCarManuals.com