1996 PONTIAC BONNEVILLE remote start
[x] Cancel search: remote startPage 56 of 387

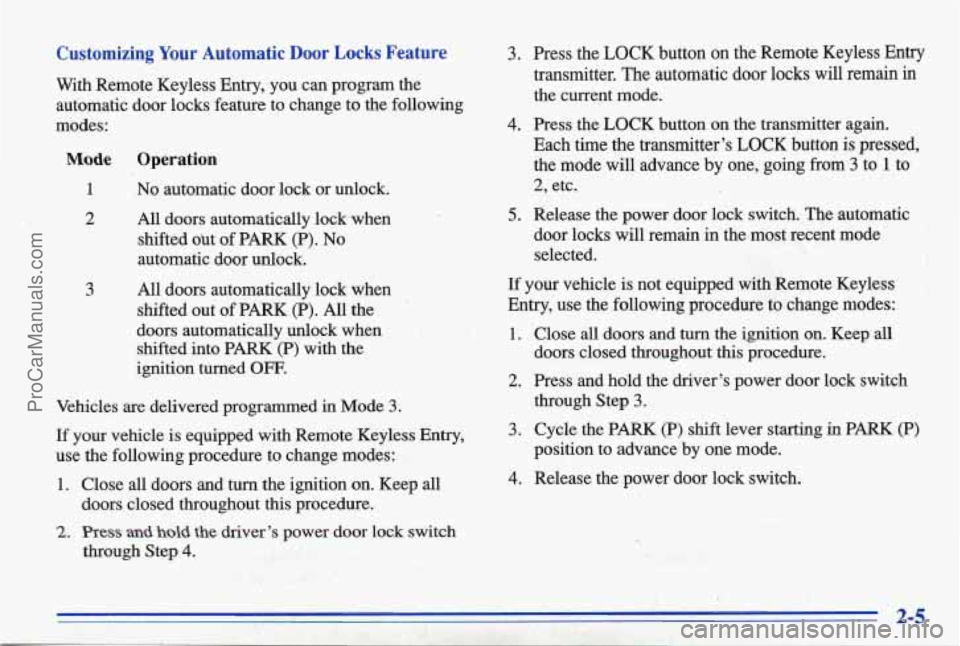
Customizing Your Automatic Door Locks Feature
With Remote Keyless Entry, you can program the: automatic door locks feature to change to the following
modes:
Mode
1
2
3
Operation
No automatic door lock or unlock.
All doors automatically lock when shifted out of PARK (P).
No
automatic door unlock.
All doors automatically lock when
shifted out of PARK (P). All the
doors automatically unlock when shifted into
PARK (P) with the
ignition turned
OFF.
Vehicles are delivered programmed in Mode 3.
If your vehicle is equipped with Remote Keyless Entry,
use the following procedure to change modes:
1. Close all doors and turn the ignition on. Keep all
doors closed throughout this procedure.
2. Press and hold the driver’s power door lock switch
through Step
4.
3.
4.
5.
Press the LOCK button on the Remote Keyless Entry
transmitter. The automatic door locks will remain in
the current mode.
Press the LOCK button on the transmitter again.
Each time the transmitter’s LOCK button
is pressed,
the mode will advance by one,
going from 3 to 1 to
2, etc.
Release the power door lock switch. The automatic door locks will remain in the most recent mode
selected.
If your vehicle is not equipped with Remote Keyless
Entry, use the following procedure to change modes:
1. Close all doors and turn the ignition on. Keep all
doors closed throughout this procedure.
2. Press and hold the driver’s power door lock switch
through Step
3.
3. Cycle the PARK (P) shift lever starting in PARK (P)
position to advance by one mode.
4. Release the power door lock switch.
ProCarManuals.com
Page 95 of 387

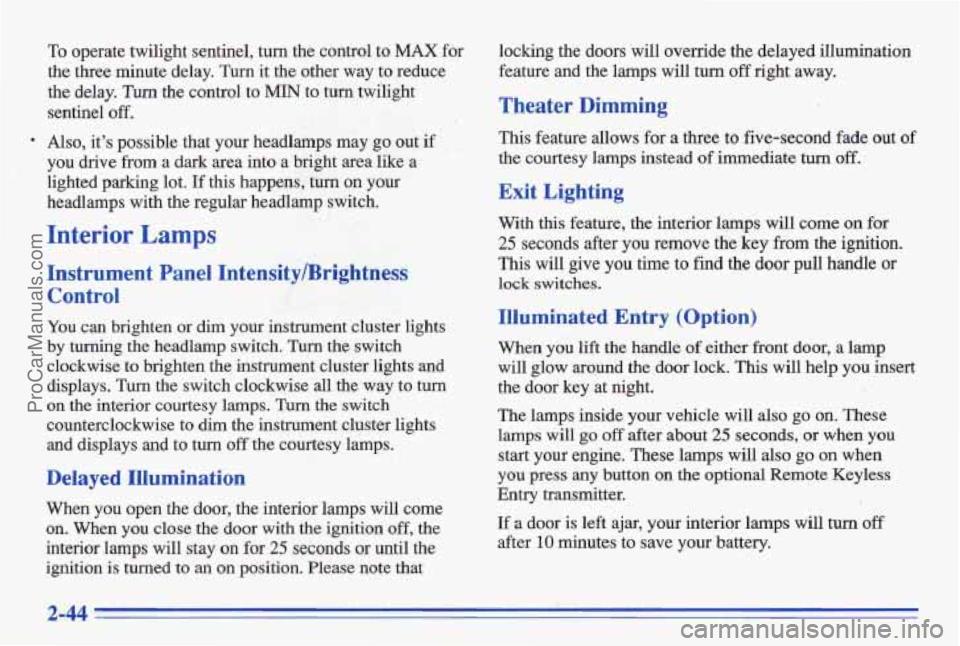
To operate twilight sentinel, turn the control to MAX for
the three minute delay.
Turn it the other way to reduce
the delay. Turn the control to MIN to turn twilight
sentinel
off.
,. Also, it's possible that your headlamps my go out if
': ,_ .:'. * , . :' you drive from a dark area into a bright area like a
' lighted parking lot. If this happens, turn on your
headlamps with the regular headlamp switch.
Interior Lamps
Instrument Panel .Intensity/Brightness
Control
You can brighten or dim your instrument cluster lights
by
turning the headlamp switch. Turn the switch
clockwise to brighten the instrument cluster lights
and
displays. Turn the switch clockwise all the way t'o turn
on the interior courtesy lamps. Turn the switch
counterclockwise to dim the instrument cluster lights
and displays and to turn off the courtesy lamps.
Delayed Illumination
When you open the door, the interior lamps will come
on. When you
close the door with the ignition off, the
interior lamps will stay on
for 25 seconds or until the
ignition
is turned to an on position. Please note that locking the doors
will override the delayed illumination
feature and the lamps will
turn off right away.
Theater Dimming
This feature allows for a thee to five-second fade out of
the courtesy lamps instead of immediate turn off.
Exit Lighting
With this feature, the interior lamps will come on for
25 seconds after you remove the key from the ignition.
This will give you time to fhd the door pull handle or
lock switches.
Illuminated Entry (Option)
When you lift the handle of either front door, a Imp
will glow around the door lock. This will help you insert
the door key at night.
The lamps inside your vehicle will also go on. These
lamps will
go off after about 25 seconds, or when you
start
your engine. These lamps will also go on when
you press any button on the optional Remote Keyless
Entry transmitter.
If a door is left ajar, your interior lamps will turn off
after 10 minutes to save your battery.
ProCarManuals.com
Page 253 of 387

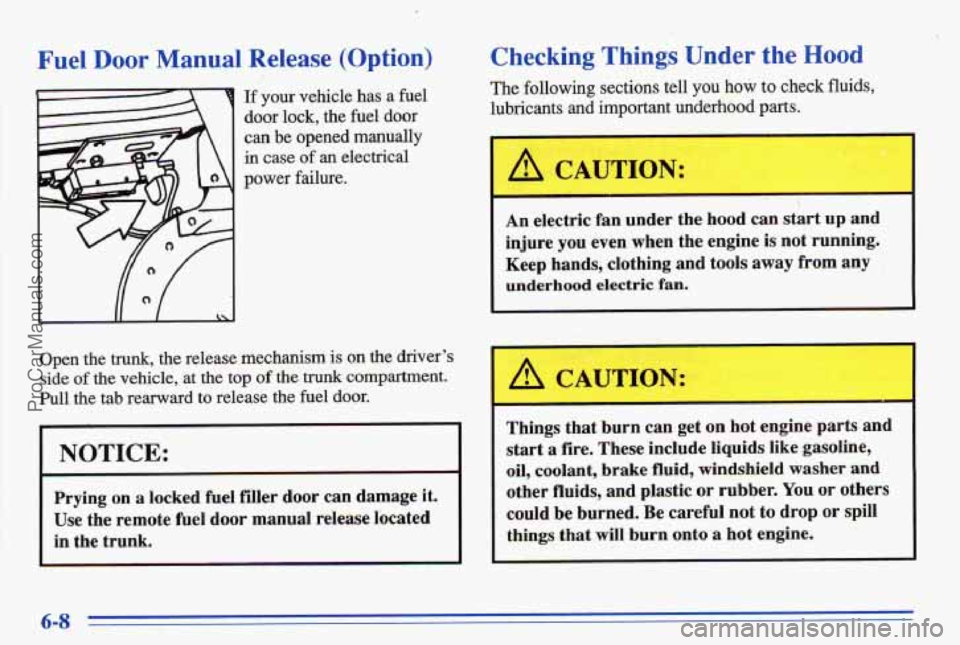
Fuel Door Manual Release (‘Option)
L
If your vehicle has a fuel
door lock, the fuel door
can be opened manually
in case of an electrical
power
failure.
Y
Open the trunk, the release mechanism is on the driver’s
side
of the vehicle, at the top of the trunk compartment.
Pull the tab rearward
to release the fuel door.
NOTICE:
Prying on a locked fuel filler door can damage it.
Use the remote fuel door manual release located
in the trunk.
Checking T,hings Under the Hood
The following sections tell you how to check fluids,
lubricants and important underhood
parts.
A CAUTION:
i
An electric fan under the hood can start up and
injure you even when the engine
is not running.
Keep hands, clothing and tools away from any
underhood electric fan.
A CAUTION:
Things that burn can get on hot engine parts and
start
a fire. These include liquids like gasoline,
oil, coolant, brake fluid, windshield washer and
other fluids,
and plastic or rubber. You or others
could be burned. Be careful not to drop
or spill
things that will burn onto a hot engine.
6-8
ProCarManuals.com
Page 375 of 387

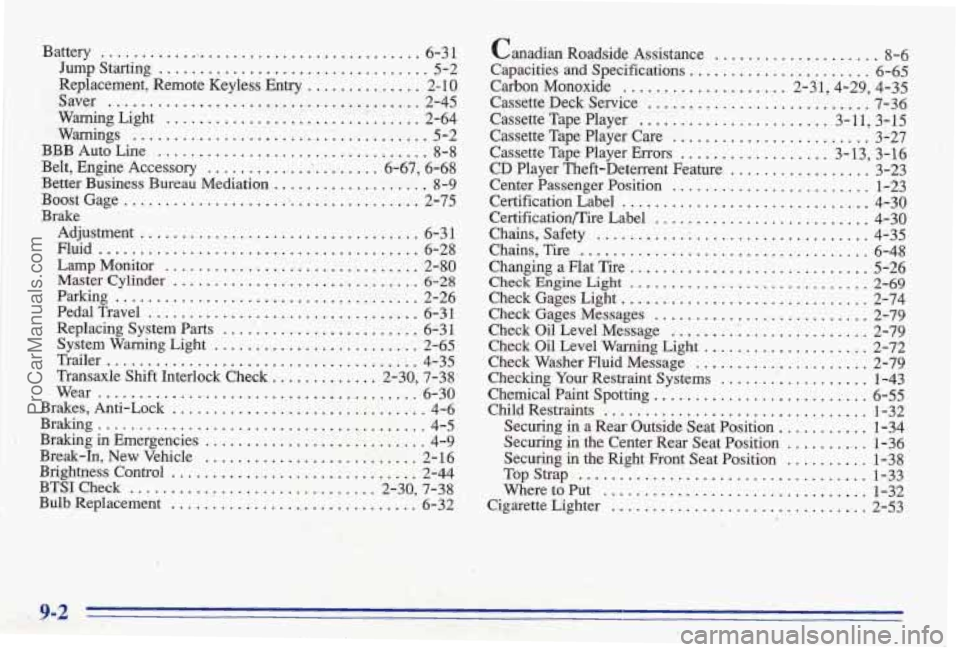
Battery ........................................ 6-3 1
Jump Starting ....... ! ......................... 5-2
Replacement. Remote Keyless Entry
.............. 2- 10
Warning Light
............................... 2-64
BBB Auto Line
................................. 8-8
Better Business Bureau Mediation ................... 8-9
BoostGage
.................................... 2-75
Adjustment
.................................. 6-3 1
Fluid
....................................... 6-28
Lamp Monitor
............................... 2-80
Master Cylinder .............................. 6-28
Parking ..................................... 2-26
Replacing System Parts
........................ 6-3 1
System Warning Light
......................... 2-65
Transaxle Shift Interlock Check
............. 2-30. 7-38
Brakes. Anti-Lock ............................... 4-6
Braking ........................................ 4-5
Braking in Emergencies ........................... 4-9
Break-In. New Vehicle .......................... 2- 16
Brightness Control
.............................. 2-44
BTSI Check
.............................. 2-30. 7-38
Bulb Replacement .............................. 6-32
Saver
.........'............................. 2-45
Warnings
.................................... 5-2
Belt. Engine Accessory
...................... 6-67. 6-68
Brake
PedalTravel
................................. 6-31
Trailer ...................................... 4-35
Wear
....................................... 6-30
Canadian Roadside Assistance .................... 8-6
Capacities and Specifications
...................... 6-65
Carbon Monoxide .................... 2-31.4-29. 4-35
Cassette Deck Service
........................... 7.36
Cassette Tape Player ....................... 3- 11 . 3-15
Cassette Tape Player Care ........................ 3-27
Cassette Tape Player Errors
.................. 3.13. 3.16
CD Player Theft-Deterrent Feature ................. 3-23
Center Passenger Position
........................ 1-23
Certification Label
.............................. 4-30
CertificationRire Label .......................... 4-30
Changing a Flat Tire ............................. 5-26
Check Engine Light ............................. 2-69
Check Gages Light
.............................. 2-74
Check Gages Messages
.......................... 2-79
Check Oil Level Warning Light .................... 2-72
Check Washer Fluid Message ..................... 2-79
Checking Your Restraint Systems
.................. 1-43
Chemical Paint Spotting
.......................... 6-55
Child Restraints
................................ 1-32
Securing
in a Rear Outside Seat Position ........... 1-34
Securing in the Center Rear Seat Position .......... 1-36
Securing in the Right Front Seat Position
.......... 1-38
Where to Put
................................ 1-32
Cigarette Lighter
............................... 2-53
Chains. Safety
................................. 4-35
Chains. Tire
................................... 6-48
Check Oil Level Message ........ ............... 2-79
TopStrap
................................... 1-33
9-2
ProCarManuals.com