Page 18 of 235

Daytime light system
(for Canada)
Even if the headlight control dial is off, the
headlight high beams come on after starting
the engine. The headlights are a little dim-
mer than they are with the light switch in the
position.
If the parking brake is applied before the
engine is started, the daytime lights do not
illuminate. The daytime light system illumi-
nates once the parking brake is released.
Thereafter, the daytime lights do not turn off
when using the parking brake at stop sig-
nals, etc.
WARNING
When the daytime light system is ac-
tive, tail lights on your vehicle will not
be on. It is necessary at dusk to turn on
your headlights. Failure to do so could
cause an accident injuring yourself and
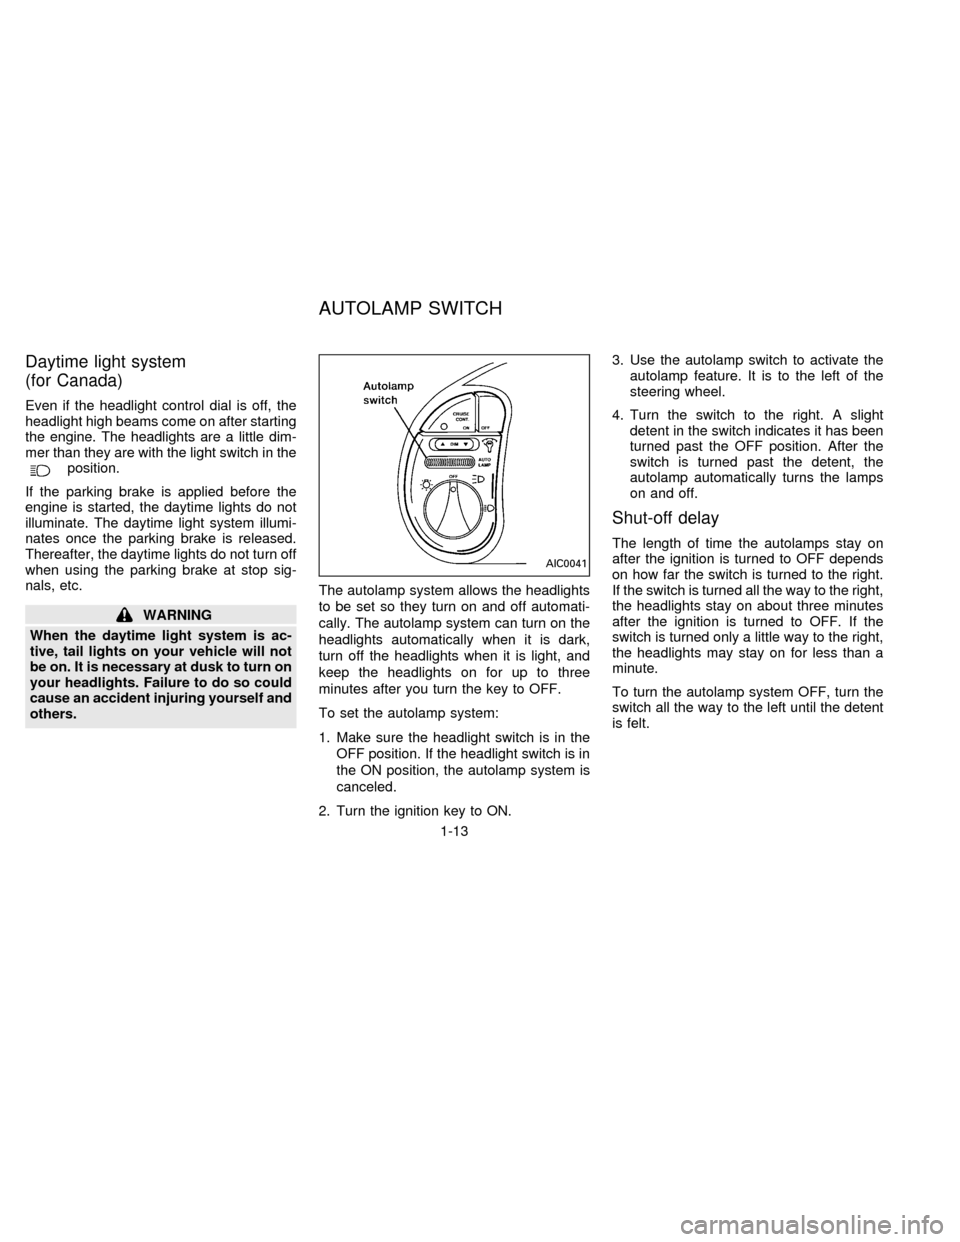
others.The autolamp system allows the headlights
to be set so they turn on and off automati-
cally. The autolamp system can turn on the
headlights automatically when it is dark,
turn off the headlights when it is light, and
keep the headlights on for up to three
minutes after you turn the key to OFF.
To set the autolamp system:
1. Make sure the headlight switch is in the
OFF position. If the headlight switch is in
the ON position, the autolamp system is
canceled.
2. Turn the ignition key to ON.3. Use the autolamp switch to activate the
autolamp feature. It is to the left of the
steering wheel.
4. Turn the switch to the right. A slight
detent in the switch indicates it has been
turned past the OFF position. After the
switch is turned past the detent, the
autolamp automatically turns the lamps
on and off.
Shut-off delay
The length of time the autolamps stay on
after the ignition is turned to OFF depends
on how far the switch is turned to the right.
If the switch is turned all the way to the right,
the headlights stay on about three minutes
after the ignition is turned to OFF. If the
switch is turned only a little way to the right,
the headlights may stay on for less than a
minute.
To turn the autolamp system OFF, turn the
switch all the way to the left until the detent
is felt.
AIC0041
AUTOLAMP SWITCH
1-13
ZX
Page 19 of 235
Be sure you do not put anything on top
of the photo sensor located in the top
right side of the instrument panel. The
photo sensor controls the autolamp; if it
is covered, the photo sensor reacts as if
it is dark out and the headlights will
illuminate.
AIC0101
1-14
ZX
Page 20 of 235
To turn on the spotlights, press the switches
next to the lights. To turn them off, press the
switches again.Turn signal
Move the lever up or down to signal the
turning direction. When the turn is com-
pleted, the turn signal cancels automati-
cally.
Lane change signal
To indicate a lane change, move the lever
up or down to the point where the light
begins to flash, but the lever does not latch.
Passing signal
Pulling the lever toward you turns the head-
light high beam on. Release it and the
headlight high beam goes off.
AIC0049AIC0560
SPOTLIGHTS TURN SIGNAL SWITCH
1-15
ZX
Page 21 of 235
The cornering light provides additional illu-
mination toward the turning direction. The
light on the turning direction side comes on
when a turn is signaled with the headlights
on.The instrument brightness control operates
when the light switch is in theorposition, or when the autolamp system
is operating.
Pressing the right side of the switch bright-
ens the instrument panel lights; pressing the
left side of the switch dims the instrument
panel lights.Push the switch to warn other drivers when
you must stop or park under emergency
conditions. All turn signal lights flash. Press
the switch again to turn the hazard warning
flashers off.
WARNING
cWhen stalled or stopped on the road-
way under emergency conditions,
move the vehicle well off the road.
cDo not use the switch while moving
on the highway unless unusual cir-
cumstances force you to drive so
AIC0102AIC0011AIC0574
CORNERING LIGHT INSTRUMENT BRIGHTNESS
CONTROLHAZARD WARNING FLASHER
SWITCH
1-16
ZX
Page 22 of 235

slowly that your vehicle might be-
come a hazard to other traffic.
cSome state laws may prohibit the
use of the hazard warning flasher
switch while driving.
cTurn signals do not work when the
switch is operating.
The flashers can be actuated with the igni-
tion switch either OFF or ON.
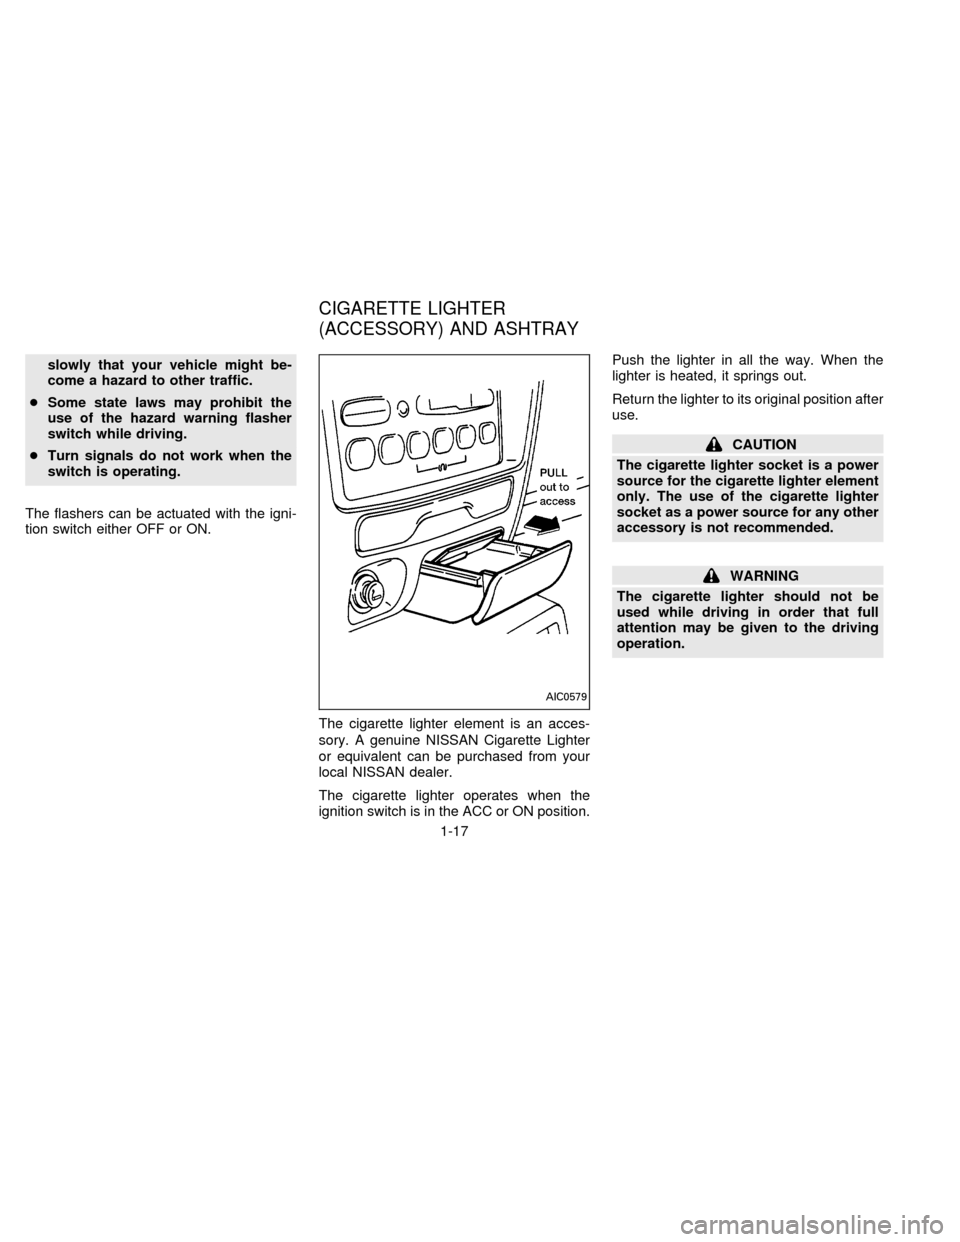
The cigarette lighter element is an acces-
sory. A genuine NISSAN Cigarette Lighter
or equivalent can be purchased from your
local NISSAN dealer.
The cigarette lighter operates when the
ignition switch is in the ACC or ON position.Push the lighter in all the way. When the
lighter is heated, it springs out.
Return the lighter to its original position after
use.
CAUTION
The cigarette lighter socket is a power
source for the cigarette lighter element
only. The use of the cigarette lighter
socket as a power source for any other
accessory is not recommended.
WARNING
The cigarette lighter should not be
used while driving in order that full
attention may be given to the driving
operation.
AIC0579
CIGARETTE LIGHTER
(ACCESSORY) AND ASHTRAY
1-17
ZX
Page 24 of 235

The audio cassette and compact disc stor-
age compartment is located in the instru-
ment panel below the ashtray and lighter.
To open the storage compartment, pull out
on the handle.The main switch (on the driver side) opens
or closes the driver's or the passenger's
window.
To open the window, press the switch down.
To close the window, lift the switch up.
The power windows operate when the igni-
tion key is in the ON position, or for 15
minutes after the ignition key is turned to the
OFF position. If the driver's door is opened
during this 15 minute period, delayed power
to the windows is cancelled.Automatic power window switch
To fully open the driver side window, press
down firmly on the switch and release it; you
do not need to hold the switch down. The
window automatically opens all the way.
The automatic feature can be interrupted
before the window is fully open by briefly
lifting up on the switch as the window moves
down.
AHA0014AIC0576AIC0577
COMPACT DISC AND AUDIO
CASSETTE STORAGE
COMPARTMENTPOWER WINDOW
1-19
ZX
Page 28 of 235

The interior lights operate regardless of
ignition key position.
One interior light is located overhead near
the front seats and one is overhead near the
rear seat.
The interior lights have three-position
switches:
cWhen the switch is in the OFF position,
the interior light does not illuminate, re-
gardless of door position.
cWhen the switch is in the center O posi-
tion, the light illuminates when a door is
opened.cWhen the switch is in the ON position,
the interior light illuminates, whether any
door is open or closed.
NOTE: Leaving the interior light switch in
the ON position for extended periods of time
will result in a discharged battery.
LUGGAGE COMPARTMENT
LIGHTS
When the back door is opened, the luggage
compartment light and the rear interior light
illuminate.
When the back door is closed the lights go
off.
PERSONAL READING LIGHT
The driver's side, second row seating posi-
tion has a personal reading light located in
the overhead trim panel.
To turn the light on, press once on the
right-hand side of the light cover.
To turn the light off, press again on the
right-hand side of the light cover.
AIC0053AIC0582
INTERIOR LIGHTS
1-23
ZX
Page 30 of 235

2 Pre-driving checks and adjustments
Key ....................................................................... 2-2
Door locks ............................................................ 2-2
Multi-remote control system (If so equipped) ...... 2-7
Battery replacement ............................................. 2-8
Hood release ...................................................... 2-10
Rear door lock .................................................... 2-11
Cargo net............................................................ 2-13
Luggage rack...................................................... 2-14
Fuel filler lid and cap .......................................... 2-15
Seats/floor mats ................................................. 2-15
Floor mat positioning .......................................... 2-17
Seat positions ..................................................... 2-21
Cup holder .......................................................... 2-31
Flexible seating .................................................. 2-33
Removing and installing the second row
bench seat .......................................................... 2-33Removing second row bucket seats .................. 2-35
Sliding three-passenger seat ............................. 2-39
Supplemental restraint system
(air bag system) ................................................. 2-42
Warning labels.................................................... 2-45
Supplemental air bag warning light.................... 2-45
Seat belts ........................................................... 2-47
Child restraints for infants and small children .. 2-58
Child restraint with top tether strap .................... 2-62
Tilting steering wheel ......................................... 2-74
Outside mirror control......................................... 2-75
Outside mirrors ................................................... 2-76
Inside mirror ....................................................... 2-76
Vanity mirror ....................................................... 2-76
ZX