1996 NISSAN FRONTIER child lock
[x] Cancel search: child lockPage 21 of 198
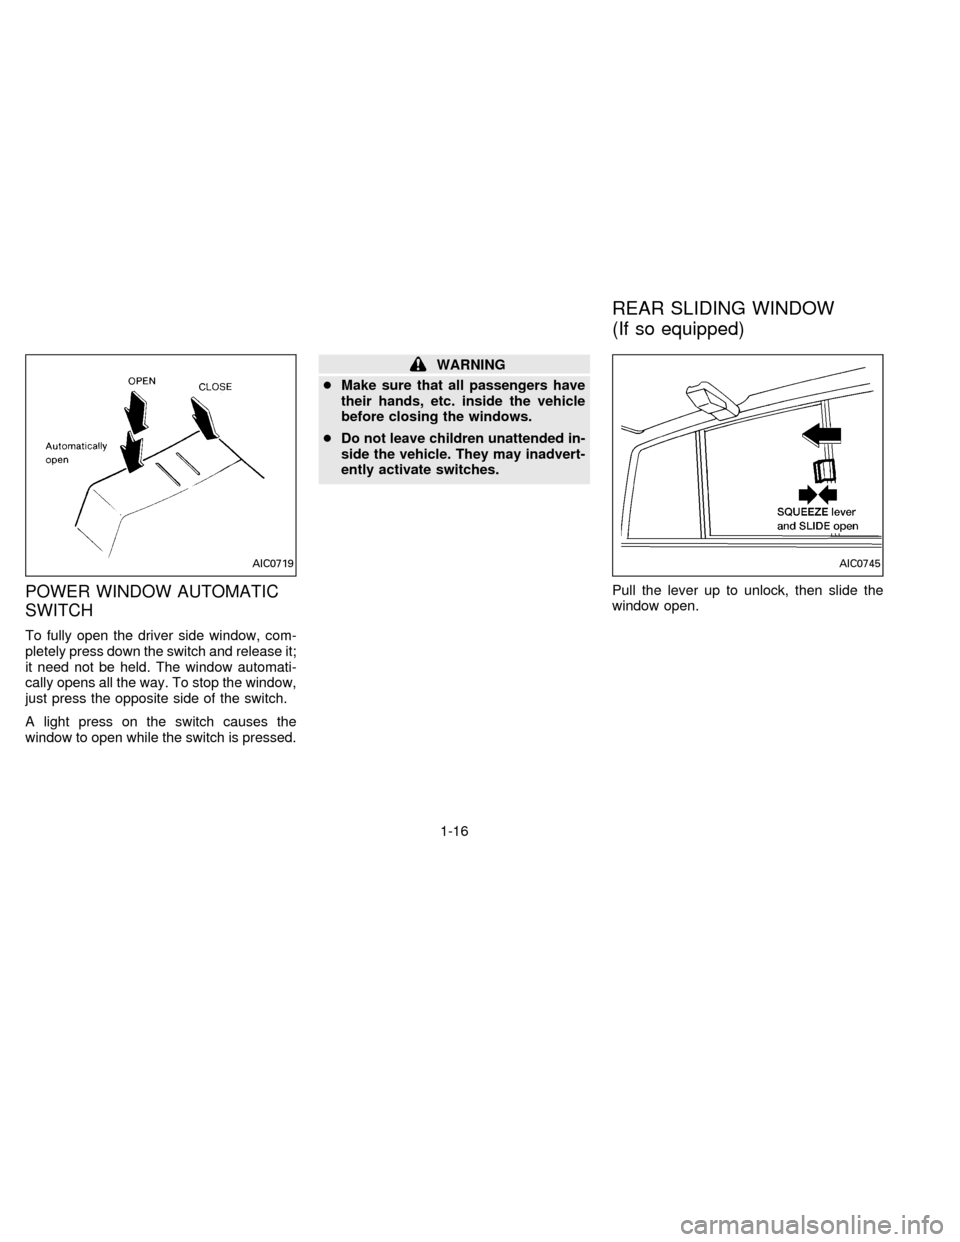
POWER WINDOW AUTOMATIC
SWITCH
To fully open the driver side window, com-
pletely press down the switch and release it;
it need not be held. The window automati-
cally opens all the way. To stop the window,
just press the opposite side of the switch.
A light press on the switch causes the
window to open while the switch is pressed.
WARNING
cMake sure that all passengers have
their hands, etc. inside the vehicle
before closing the windows.
cDo not leave children unattended in-
side the vehicle. They may inadvert-
ently activate switches.
Pull the lever up to unlock, then slide the
window open.
AIC0719AIC0745
REAR SLIDING WINDOW
(If so equipped)
1-16
ZX
Page 26 of 198

2 Pre-driving checks and adjustments
Key ..................................................................... 2-2
Door locks .......................................................... 2-2
Hood release ...................................................... 2-4
Glove box lock (If so equipped) ......................... 2-4
Fuel filler cap ...................................................... 2-5
Tailgate latch ...................................................... 2-5
Tie down hook .................................................... 2-7
Front separate seats ............................................ 2-8
Bench seat ....................................................... 2-10
Jump seat ......................................................... 2-11
Supplemental restraint system
(Supplemental air bag system) ........................ 2-12
Supplemental air bag system ........................... 2-13
Warning labels .................................................. 2-15
Supplemental air bag warning light .................. 2-15
Seat belts ......................................................... 2-17
Child restraints for infants and small children .. 2-22
Tilting steering wheel (If so equipped) ............. 2-26
Outside mirror remote control (If so equipped) . 2-26
Outside mirrors ................................................. 2-26
Inside mirror ..................................................... 2-27
Vanity mirror (If so equipped) .......................... 2-27
ZX
Page 28 of 198
prevent persons from being thrown
from the vehicle. This also helps keep
children and others from unintention-
ally opening the doors, and will help
keep out intruders.
POWER DOOR LOCK
(If so equipped)
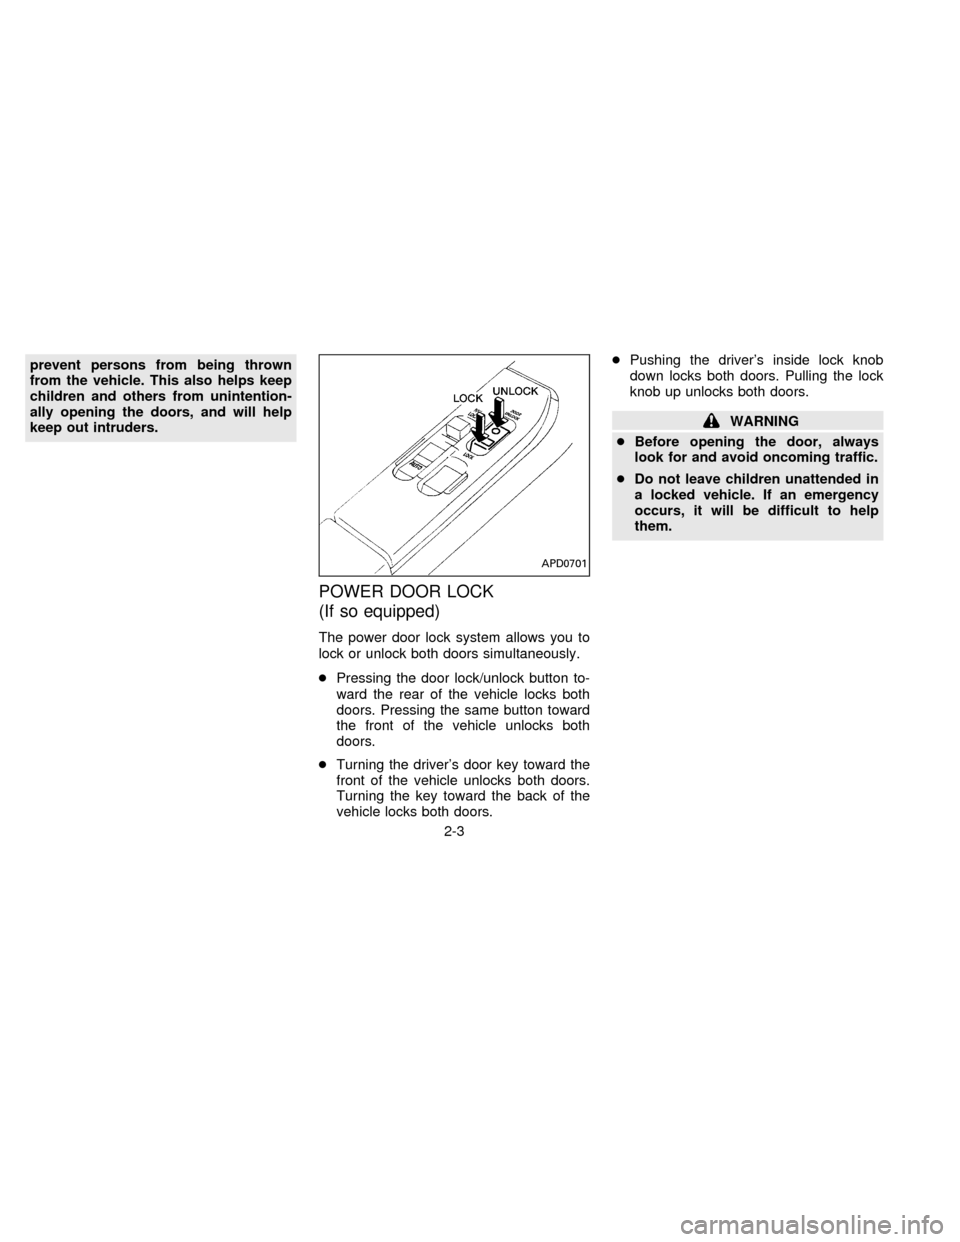
The power door lock system allows you to
lock or unlock both doors simultaneously.
cPressing the door lock/unlock button to-
ward the rear of the vehicle locks both
doors. Pressing the same button toward
the front of the vehicle unlocks both
doors.
cTurning the driver's door key toward the
front of the vehicle unlocks both doors.
Turning the key toward the back of the
vehicle locks both doors.cPushing the driver's inside lock knob
down locks both doors. Pulling the lock
knob up unlocks both doors.
WARNING
cBefore opening the door, always
look for and avoid oncoming traffic.
cDo not leave children unattended in
a locked vehicle. If an emergency
occurs, it will be difficult to help
them.
APD0701
2-3
ZX
Page 36 of 198
downward. The seatback automatically
moves forward.
WARNING
After adjustment, gently rock in the
seat to make sure it is securely locked.
NOTE:
The head restraints on the bench-type
seats are not adjustable.
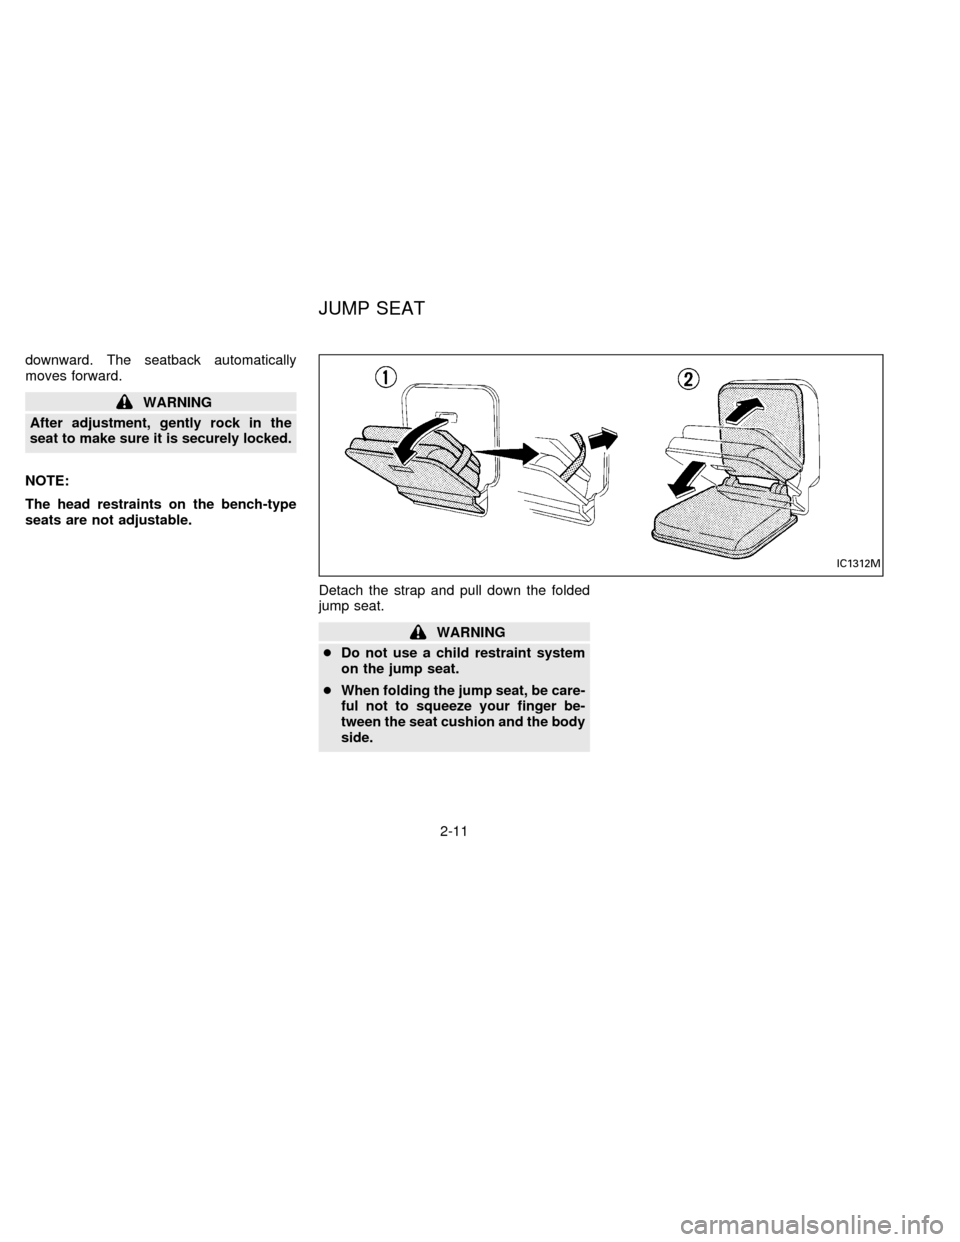
Detach the strap and pull down the folded
jump seat.
WARNING
cDo not use a child restraint system
on the jump seat.
cWhen folding the jump seat, be care-
ful not to squeeze your finger be-
tween the seat cushion and the body
side.
IC1312M
JUMP SEAT
2-11
ZX
Page 44 of 198
belts are most effective when the pas-
senger sits well back and straight up in
the seat. If the seat is reclined, the risk
of sliding under the lap belt and being
injured is increased.
2. Slowly pull the seat belt out of the retrac-
tor and insert the tongue into the buckle
until it snaps.
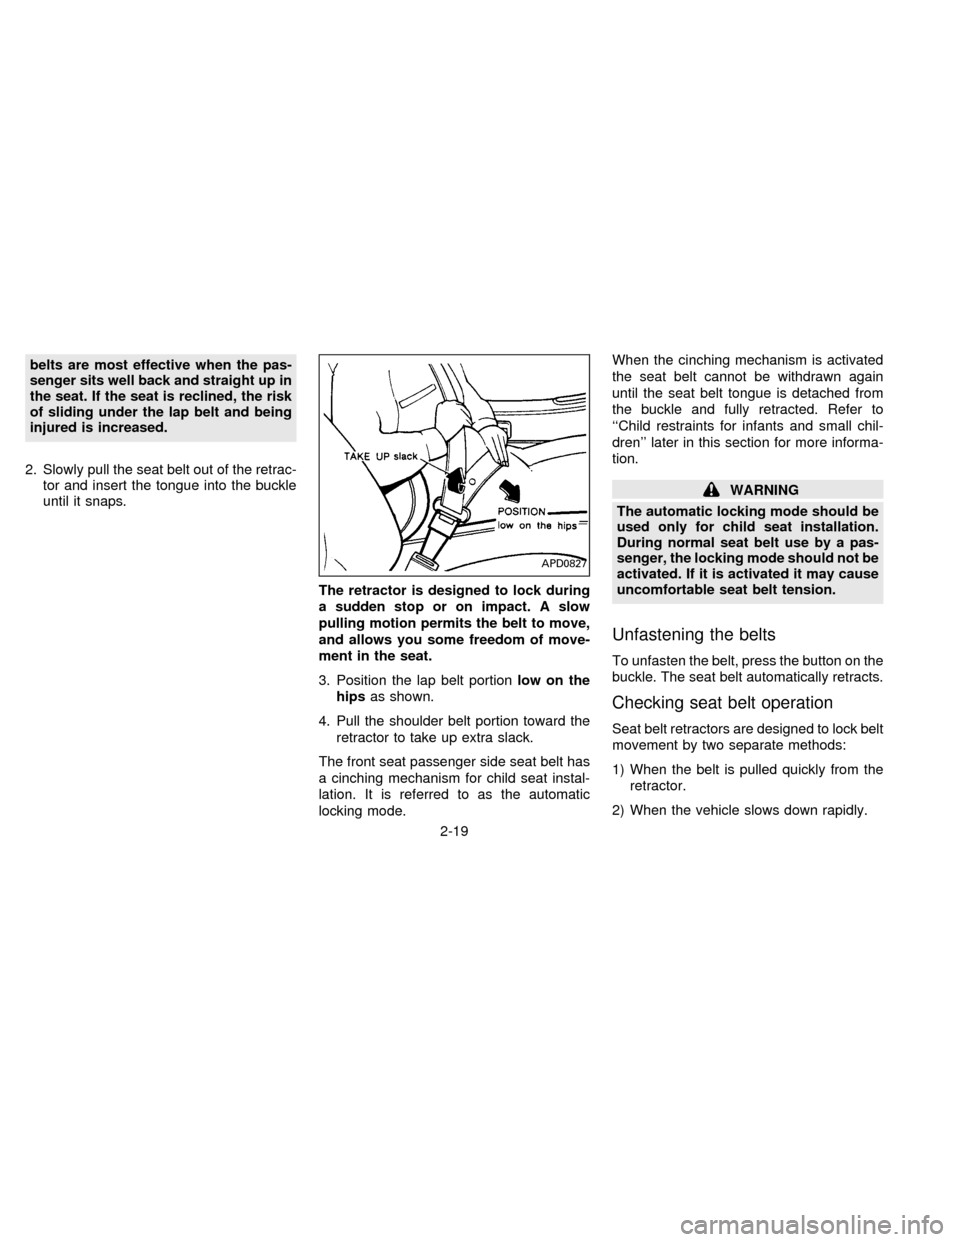
The retractor is designed to lock during
a sudden stop or on impact. A slow
pulling motion permits the belt to move,
and allows you some freedom of move-
ment in the seat.
3. Position the lap belt portionlow on the
hipsas shown.
4. Pull the shoulder belt portion toward the
retractor to take up extra slack.
The front seat passenger side seat belt has
a cinching mechanism for child seat instal-
lation. It is referred to as the automatic
locking mode.When the cinching mechanism is activated
the seat belt cannot be withdrawn again
until the seat belt tongue is detached from
the buckle and fully retracted. Refer to
``Child restraints for infants and small chil-
dren'' later in this section for more informa-
tion.
WARNING
The automatic locking mode should be
used only for child seat installation.
During normal seat belt use by a pas-
senger, the locking mode should not be
activated. If it is activated it may cause
uncomfortable seat belt tension.
Unfastening the belts
To unfasten the belt, press the button on the
buckle. The seat belt automatically retracts.
Checking seat belt operation
Seat belt retractors are designed to lock belt
movement by two separate methods:
1) When the belt is pulled quickly from the
retractor.
2) When the vehicle slows down rapidly.
APD0827
2-19
ZX
Page 48 of 198
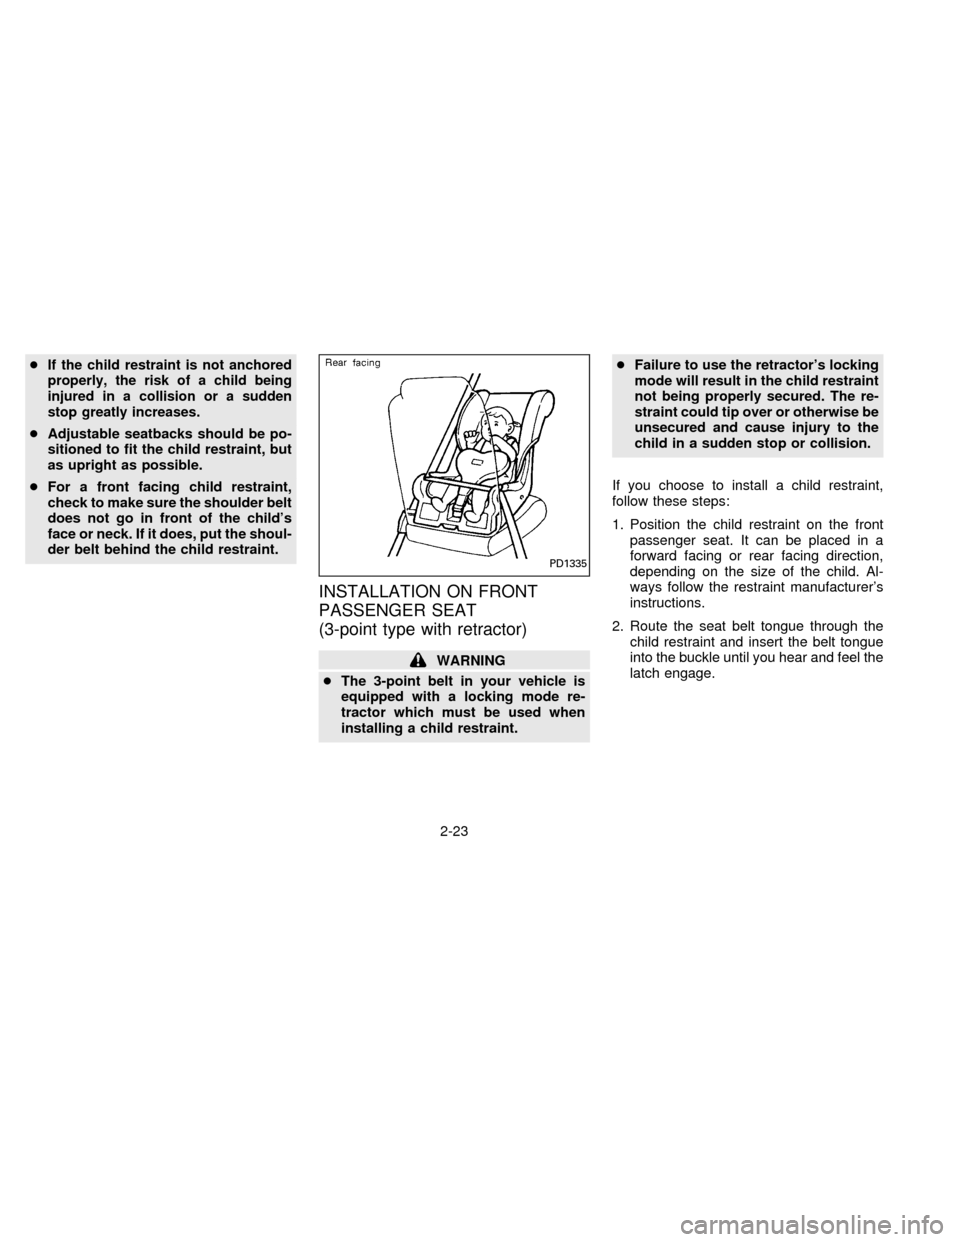
cIf the child restraint is not anchored
properly, the risk of a child being
injured in a collision or a sudden
stop greatly increases.
cAdjustable seatbacks should be po-
sitioned to fit the child restraint, but
as upright as possible.
cFor a front facing child restraint,
check to make sure the shoulder belt
does not go in front of the child's
face or neck. If it does, put the shoul-
der belt behind the child restraint.
INSTALLATION ON FRONT
PASSENGER SEAT
(3-point type with retractor)
WARNING
cThe 3-point belt in your vehicle is
equipped with a locking mode re-
tractor which must be used when
installing a child restraint.cFailure to use the retractor's locking
mode will result in the child restraint
not being properly secured. The re-
straint could tip over or otherwise be
unsecured and cause injury to the
child in a sudden stop or collision.
If you choose to install a child restraint,
follow these steps:
1. Position the child restraint on the front
passenger seat. It can be placed in a
forward facing or rear facing direction,
depending on the size of the child. Al-
ways follow the restraint manufacturer's
instructions.
2. Route the seat belt tongue through the
child restraint and insert the belt tongue
into the buckle until you hear and feel the
latch engage.
PD1335
2-23
ZX
Page 49 of 198

Be sure to follow the child restraint manu-
facturer's instructions for belt routing.
3. Pull on the shoulder belt until all of the
belt is fully extended and a click is heard.
At this time, the belt retractor is in the
automatic locking mode (child restraint
mode). It reverts back to emergency
locking mode when the belt is fully re-
tracted.
4. Allow the belt to retract. A clicking sound
is heard as the belt retracts. This indi-
cates that the retractor is in the automatic
locking mode. Pull up on the belt to
remove any slack in the belt.5. Before placing the child in the child re-
straint, use force to tilt the child restraint
from side to side, and tug it forward to
make sure it is securely held in place.
6. Ensure the retractor is in the automatic
locking mode by trying to pull more belt
out of the retractor. If you cannot pull any
more belt webbing out of the retractor,
the belt is in the automatic locking mode.
7. Check to make sure the child restraint is
properly secured prior to each use. If the
lap belt is not locked, repeat steps 3
through 6.
After the child restraint is removed and the
seat belt is allowed to wind back into the
retractor, the automatic locking mode (child
restraint mode) is canceled; the emergency
locking retractor may be used as normal
and will only lock during a sudden stop or
impact.TOP STRAP CHILD RESTRAINT
If your child restraint has a top strap, install
the anchor bracket to the provided anchor
point. Secure the child restraint with the
seat belt and latch the top strap hook onto
the appropriate anchor bracket. Make sure
the shoulder belt is placed between the seat
back and child restraint. To install the an-
chor bracket, a metric bolt of the dimensions
listed below must be used.
Bolt diameter: 8.0 mm
Bolt length: more than 1.18 in (30 mm)
Thread pitch: 1.25 mm
PD1336SIC0132
2-24
ZX
Page 100 of 198
WARNING
The transfer control lever must
be in the 2H, 4H or 4L position to
prevent the vehicle from rolling.
Never place it in the N position. Other-
wise, the vehicle could roll unexpect-
edly even if the manual transmission is
in gear.
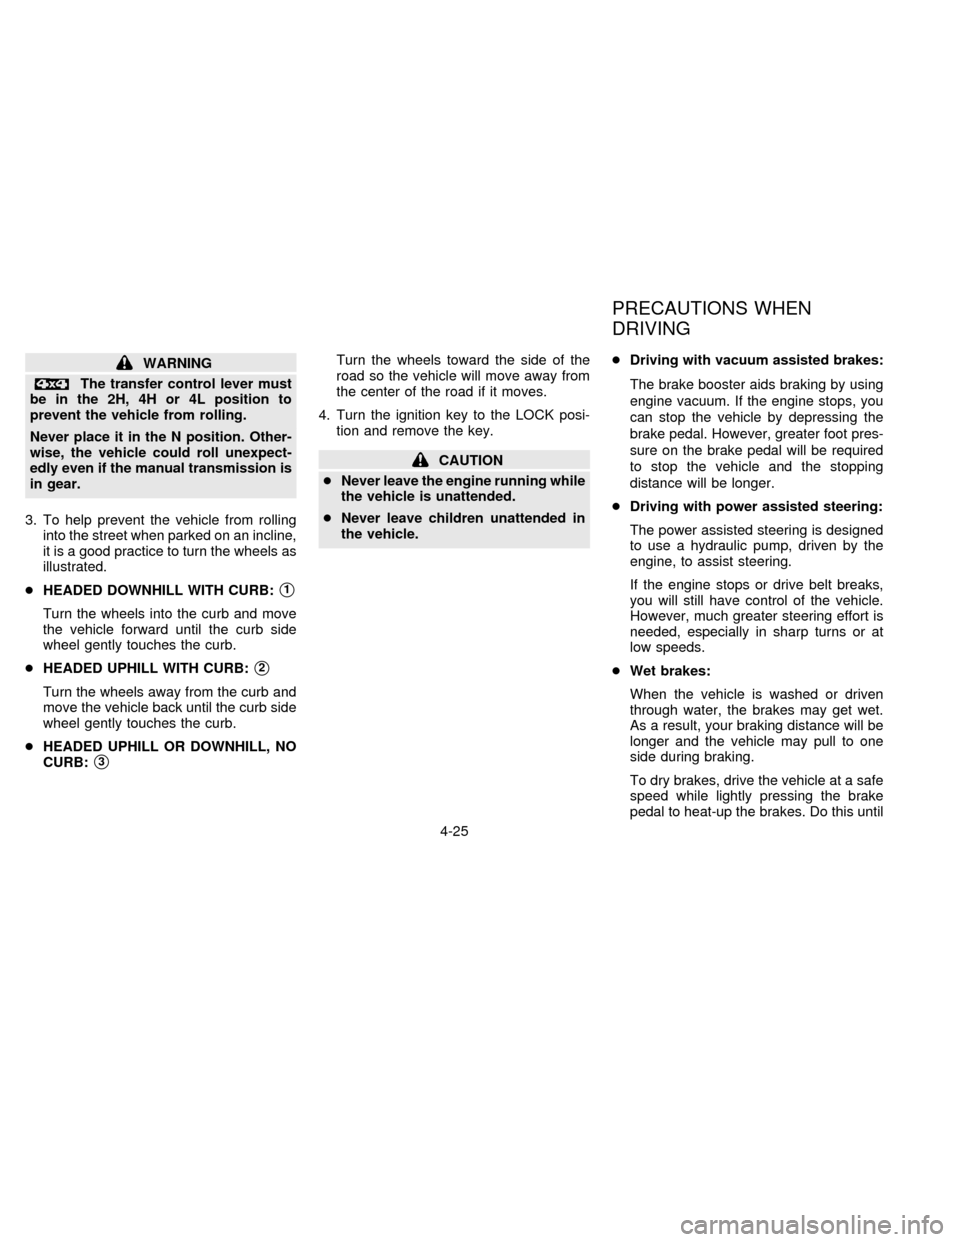
3. To help prevent the vehicle from rolling
into the street when parked on an incline,
it is a good practice to turn the wheels as
illustrated.
cHEADED DOWNHILL WITH CURB:
s1
Turn the wheels into the curb and move
the vehicle forward until the curb side
wheel gently touches the curb.
cHEADED UPHILL WITH CURB:
s2
Turn the wheels away from the curb and
move the vehicle back until the curb side
wheel gently touches the curb.
cHEADED UPHILL OR DOWNHILL, NO
CURB:
s3
Turn the wheels toward the side of the
road so the vehicle will move away from
the center of the road if it moves.
4. Turn the ignition key to the LOCK posi-
tion and remove the key.
CAUTION
cNever leave the engine running while
the vehicle is unattended.
cNever leave children unattended in
the vehicle.cDriving with vacuum assisted brakes:
The brake booster aids braking by using
engine vacuum. If the engine stops, you
can stop the vehicle by depressing the
brake pedal. However, greater foot pres-
sure on the brake pedal will be required
to stop the vehicle and the stopping
distance will be longer.
cDriving with power assisted steering:
The power assisted steering is designed
to use a hydraulic pump, driven by the
engine, to assist steering.
If the engine stops or drive belt breaks,
you will still have control of the vehicle.
However, much greater steering effort is
needed, especially in sharp turns or at
low speeds.
cWet brakes:
When the vehicle is washed or driven
through water, the brakes may get wet.
As a result, your braking distance will be
longer and the vehicle may pull to one
side during braking.
To dry brakes, drive the vehicle at a safe
speed while lightly pressing the brake
pedal to heat-up the brakes. Do this until
PRECAUTIONS WHEN
DRIVING
4-25
ZX