Page 262 of 403
Downloaded from www.Manualslib.com manuals search engine A. Battery
B. Air Cleaner
C. Radiator Cap
D. Coolant Recovery Tank
E. Air Filter Restriction Indicator
F. Engine Oil Dipstick
G. Automatic Transmission Dipstick
H. Fan
I. Power Steering Fluid Reservoir
J. Engine Oil Fill
. I '.. t .. L $K. , .,J Brake Fluid Reservoir
L. Windshield Washer Fluid Reservoir
M. Fusemelay Center
N. Storage Compartment
6-9
Page 264 of 403
Downloaded from www.Manualslib.com manuals search engine A. Battery
8. Coolant Recovery’Tank
C. Air Cleaner
D. Radiator Cap
E. Air Filter Restriction Indicator
E Engine Oil Dipstick
G. .Automatic Transmission Dipstick
H. Engine Oil Fill
I. Fan
J. Power Steering Fluid Reservoir
K. Brake Fluid Reservoir
L. Storage Compartment
M. Windshield Washer Fluid Reservoir
N. Fuse/Relay Center
.. 6-11
Page 278 of 403

Downloaded from www.Manualslib.com manuals search engine Engine Coolant
The cooling system in your vehicle is filled with new
DEX-COOL TM (orange-colored, silicate-free) engine
coolant. This coolant is designed to remain in your
vehicle for
5 years or 100,000 miles (166 000 km),
whichever occurs first.
The following explains your cooling system and how
to add coolant when it is low. If you have a problem
with engine overheating, see “Engine Overheating”
in the Index.
A 50/50 mixture of water and the proper coolant for
your vehicle will:
Give freezing protection down to -34°F (-37°C).
0 Give boiling protection up to 265 “F (129 ” C).
Protect against rust and corrosion.
Help keep the proper engine temperature.
Let the warning gages work as they should.
NOTICE:
When adding coolant it is important that you use
DEX-COOL (orange-colored, silicate-free)
coolant meeting
GM Specification 6277111.
If silicated coolant is added to the system,
premature engine, heater core or radiator
corrosion may result. In addition, the engine
coolant will require change sooner
-- at
30,000 miles (50 000 km) or 24 months,
whichever occurs first.
6-25
Page 279 of 403

Downloaded from www.Manualslib.com manuals search engine What to Use
Use a mixture of one-half clean water (preferably
distilled) and one-half DEX-COOL
TM (orange-colored,
silicate-free) antifreeze that meets
GM Specification
6277M, which won’t damage aluminum parts. Use
GM Engine Coolant Supplement (sealer) (GM Part
No. 3634621) with any complete coolant change. If you
use this mixture, you don’t need
to add anything else.
Adding only plain water to your cooling system
can be dangerous. Plain water, or some other
liquid like alcohol, can boil before the proper
coolant mix will. Your vehicle’s coolant warning
system is set for ‘the proper coolant mix. With
plain water or the wrong mix, your engine could
get too hot but you wouldn’t get the overheat
warning. Your engine could catch fire and you or
others could be burned. Use
a 50/50 mix of clean
water and
DEX-COOL TM (orange-colored,
silicate-free) antifreeze.
NOTICE:
If you use an improper coolant mix, your engine
could overheat and be badly damaged. The
repair cost wouldn’t be covered by your
warranty.
Too much water in the mix can freeze
and crack the engine, radiator, heater core and
other parts.
[f you have to add coolant more than four times a year,
have your dealer check your cooling system.
NOTICE:
If you use the proper coolant, you don’t have to
add extra inhibitors
or additives which claim to
improve the system. These can be harmful.
6-26
Page 280 of 403

Downloaded from www.Manualslib.com manuals search engine Checking Coolant Adding Coolant
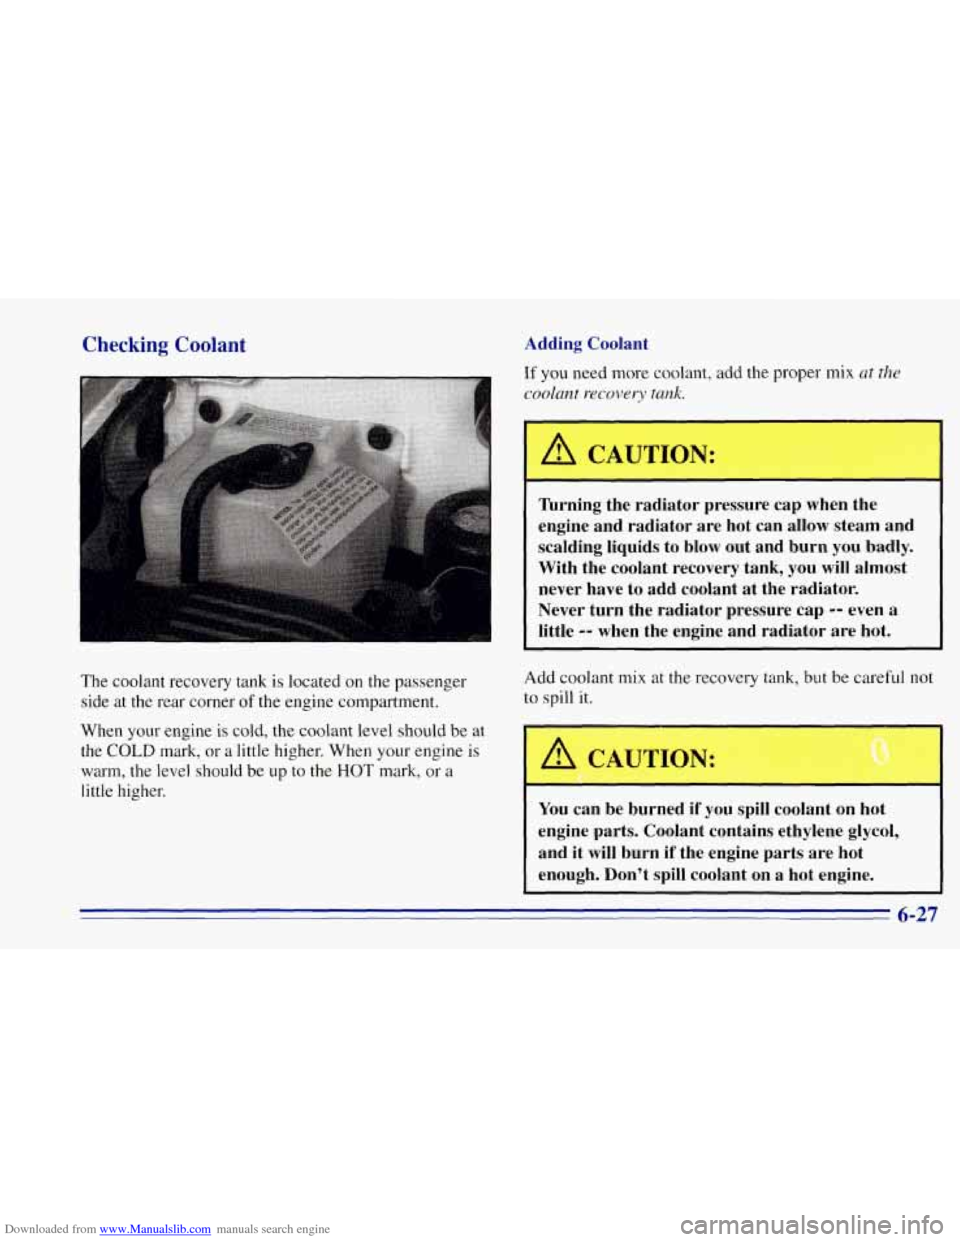
The coolant recovery tank is located on the passenger side at the rear corner
of the engine compartment.
When your engine
is cold, the coolant level should be at
the
COLD mark, or a little higher. When your engine is
warm, the level should be up to the HOT mark, or a
little higher.
If you need more coolant, add the proper mix at the
coolant
recovery tank.
A CAUTION:
' Turning the radiator pressure cap when the
engine and radiator are hot can allow steam and
scalding liquids to
blow out and burn you badly.
With the coolant recovery tank, you will almost
never have to add coolant at the radiator.
Never turn the radiator pressure cap
-- even a
~ little -- when the engine and radiator are hot.
Add coolant mix at the recovery tank, but be careful not
to spill
it.
AUTION: 0
You can be burned if you spill coolant on hot
engine parts. Coolant contains ethylene glycol,
and it will burn if the engine parts are hot
enough. Don't spill coolant on a hot engine.
6-27
Page 281 of 403
Downloaded from www.Manualslib.com manuals search engine Radiator Pressure Cap
I
The radiator pressure cap must be tightly installed with
the arrows on the cap lined up with the overflow tube on
the radiator filler neck.
NOTICE:
Your radiator cap is a 15 psi (105 kPa)
pressure-type cap and must be tightly installed to
prevent coolant loss and possible engine damage
from overheating. Be sure the arrows on the cap
line up with the overflow tube
on the radiator
filler neck.
Thermostat
Engine coolant temperature is controlled by a thermostat
in the engine coolant system. The thermostat stops the
flow
of coolant through the radiator until the coolant
reaches a preset temperature.
When you replace your thermostat, an
AC@ thermostat
is recommended.
6-28
Page 283 of 403

Downloaded from www.Manualslib.com manuals search engine Windshield Washer Fluid
What to Use
When you need windshield washer fluid, be sure to read
the manufacturer’s instructions before use.
If you will be
operating your vehicle in an area where the temperature
may fall below freezing, use a fluid that has sufficient
protection against freezing.
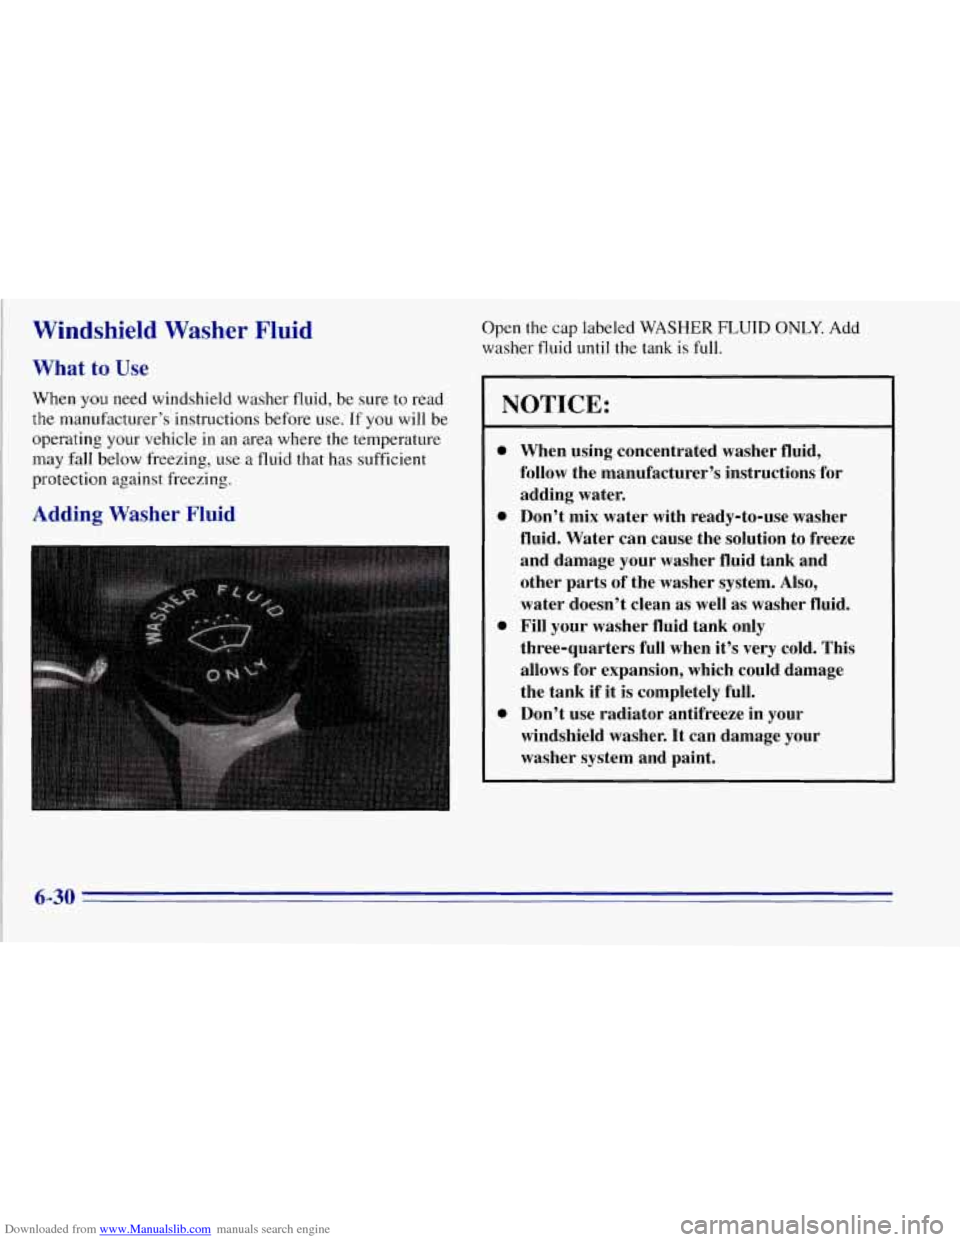
Adding Washer Fluid
Open the cap labeled WASHER FLUID ONLY. Add
washer fluid until the tank is full.
NOTICE:
0 When using concentrated washer fluid,
follow the manufacturer’s instructions for
adding water.
0 Don’t mix water with ready-to-use washer
fluid. Water can cause the solution to freeze
and damage your washer fluid tank and
other parts of the washer system. Also,
water doesn’t clean as well as washer fluid.
three-quarters full when it’s very cold. This
allows for expansion, which could damage
the tank if it is completely full.
windshield washer. It can damage your
washer system and paint.
0 Fill your washer fluid tank only
0 Don’t use radiator antifreeze in your
Page 290 of 403
Downloaded from www.Manualslib.com manuals search engine Composite Headlamps
1. Remove the two
screws at the top of
the radiator support.
2. Pull the headlamp lens assembly out.
4.
5.
6.
7.
3. Unplug the
connector. electrical
Turn the bulb to the left and remove it.
Put the new bulb in the lens assembly and turn it to
the right until it is tight.
Plug in the electrical connector.
Put the headlamp lens assembly back into the
vehicle. Install and tighten the two screws.
6-37