1996 CHEVROLET TAHOE automatic transmission
[x] Cancel search: automatic transmissionPage 71 of 403
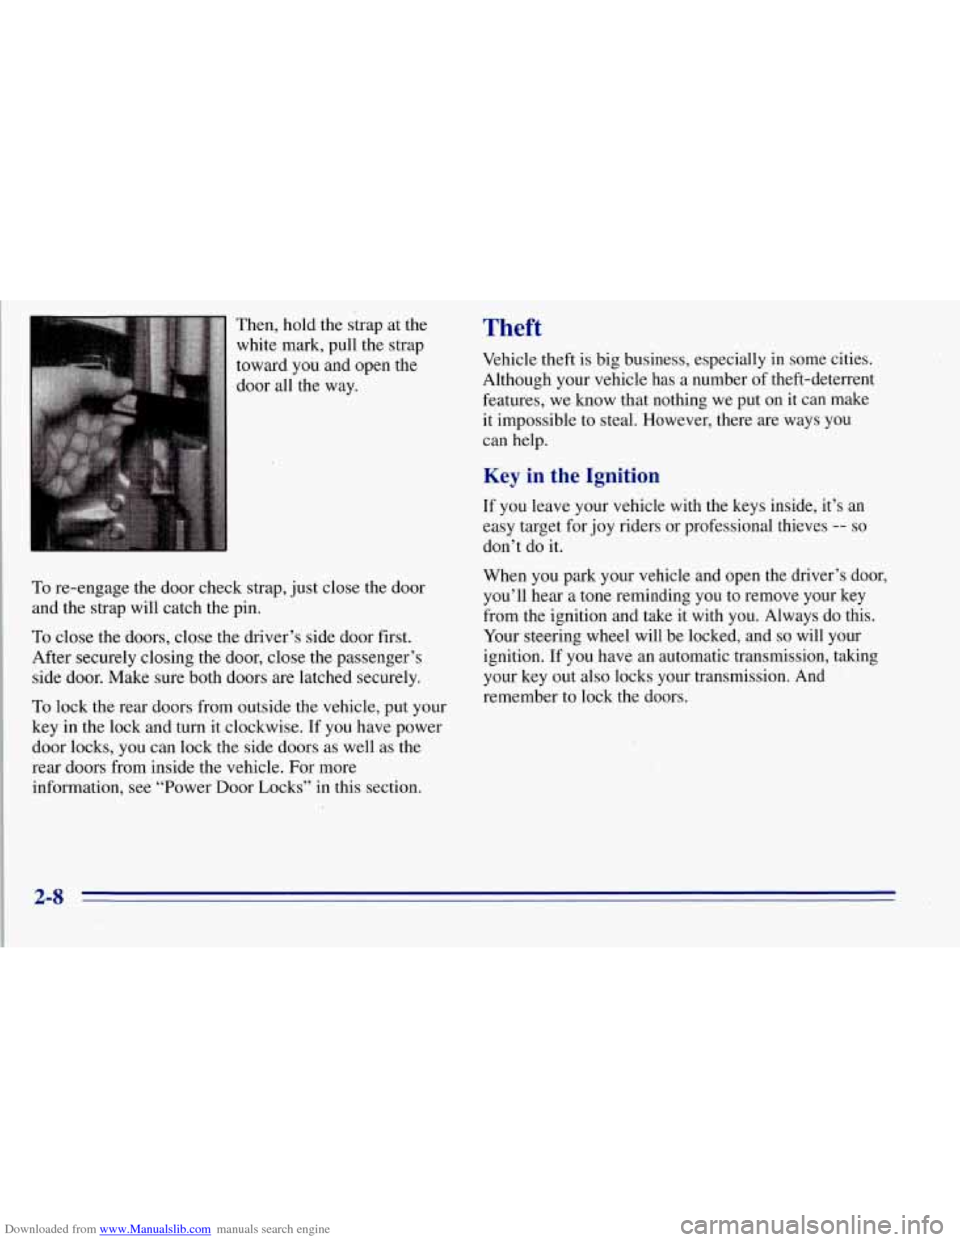
Downloaded from www.Manualslib.com manuals search engine Then, hold the strap at the
white mark, pull the strap
toward you and open the
door all the way.
To re-engage the door check strap, just close the door
and the strap will catch the pin.
To close the .doors, close the driver’s side door first.
After securely closing the door, close the passenger’s
side door. Make sure both doors
are latched securely.
To lock the rear doors from outside the vehicle, put your
key in the lock and turn it clockwise. If you have power
door locks, you can lock the side doors as well as the
rear doors from inside the vehicle. For more
information, see “Power Door Locks” in this section.
Theft
Vehicle theft is big business, especially in some cities.
Although your vehicle
has a number of theft-deterrent
features, we
know that nothing we put on it can make
it impossible
to steal. However, there are ways you
can help.
Key in the Ignition
If you leave your vehicle with the keys inside, it’s an
easy target for joy riders or professional thieves -- so
don”t do it.
When you park your vehicle and open the driver’s door,
you’ll hear a tone reminding you to remove your key
from the ignition and take it with you. Always do this.
Your steering wheel will be locked, and
so will your
ignition.
If you have an automatic transmission, taking
your key
out also locks your transmission. And
remember to lock the doors.
34
Page 77 of 403
Downloaded from www.Manualslib.com manuals search engine Automatic Transmission Operation
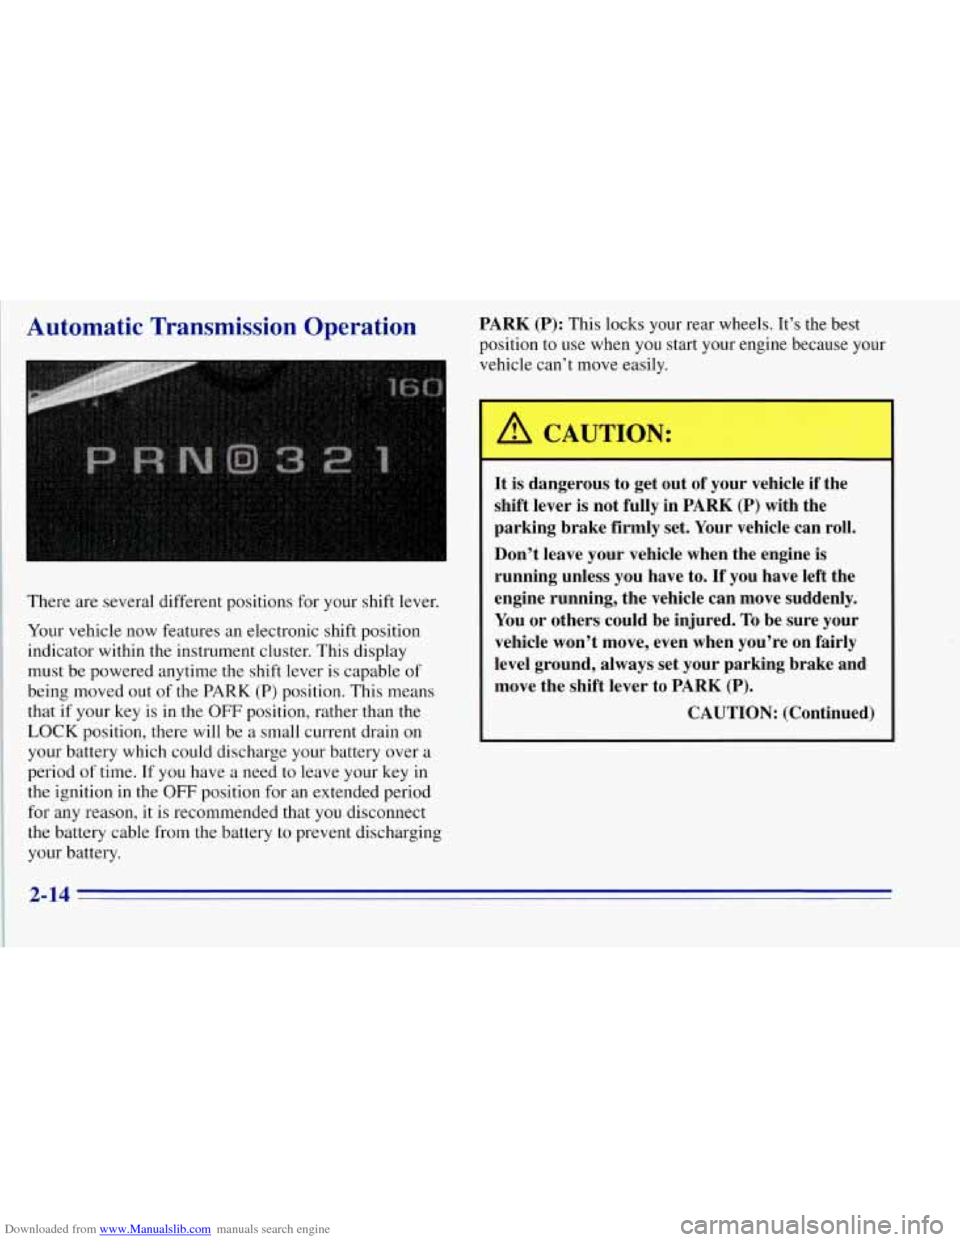
There are several different positions for your shift lever.
Your vehicle now features an electronic shift position
indicator within the instrument cluster. This display
must be powered anytime the shift lever is capable of
being moved out
of the PARK (P) position. This means
that if your key is in the
OFF position, rather than the
LOCK position, there will be a small current drain on
your battery which could discharge your battery over a
period
of time. If you have a need to leave your key in
the ignition in the
OFF position for an extended period
for any reason, it
is recommended that you disconnect
the battery cable from the battery to prevent discharging
your battery.
PARK (P): This locks your rear wheels. It’s the best
position to use when you start your engine because your
vehicle can’t move easily.
A CAUTION:
It is dangerous to get out of your vehicle if the
shift lever is not fully in PARK (P) with the
parking brake firmly set. Your vehicle can roll.
Don’t leave your vehicle when the engine is
running unless you have to.
If you have left the
engine running, the vehicle can move suddenly.
You or others could be injured. To be sure your
vehicle won’t move, even when you’re
on fairly
level ground, always set your parking brake and
move the shift lever to PARK (P).
CAUTION: (Continued)
2-14
Page 79 of 403
Downloaded from www.Manualslib.com manuals search engine AUTOMATIC OVERDRIVE (@): This position is
for normal dri,ving. If you need more power for passing,
and you’re:
Going less than about 35 mph (56 M), push your
accelerator pedal about halfway down.
accelerator all the way down.
You’ll shift down to the next gear and have more power.
Going about 35 mph (56 M) or more, push the
AUTOMATIC OVERDRIVE
(@) can be used when
towing a trailer. You may want
to shift the transmission
to THIRD (3) or, if necessary, a lower gear selection if
the transmission shifts too often when carrying a heavy
load, driving on steep hills or for off-road driving.
THIRD (3): This position is also used for normal
driving, however, it offers more power and lower fuel
economy than AUTOMATIC OVERDRIVE
(@).
SECOND (2): This position gives you more power but
lower fuel economy. You can use SECOND
(2) on hills.
It can help control your speed as you
go down steep
mountain roads, but then you would also want to use
your brakes off and on. If
you manually select
SECOND (2), the transmission
will drive in second gear. You may use this feature
for reducing torque to the rear wheels when
you are
trying to start your vehicle from a stop on slippery
road surfaces.
FIRST (1): This position gives you even more power
(but lower fuel economy) than SECOND
(2). You can
use it on very steep hills, or in deep snow or mud. If the
selector lever is put in FIRST
(1) while the vehicle is
moving forward, the transmission won’t shift into first
gear until the vehicle is going slowly enough.
NOTICE:
I,
If your rear wheels can’t rotate, don’t try to
drive. This might happen if you were stuck in
very deep sand or
mud or were up against a solid
object. You could damage your transmission.
Also, if you stop when going uphill, don’t hold your vehicle there with only the accelerator pedal. This could overheat and damage the transmission.
Use your brakes or shift into PARK (P) to hold
your vehicle in position on a hill.
2-16
Page 83 of 403
Downloaded from www.Manualslib.com manuals search engine 4HI: This setting engages your front axle to help
drive your vehicle. Use 4HI when
you need extra
traction, such as on snowy or icy roads, or in most
off-road situations.
4LO: This setting also engages your front axle'to give
you extra traction.
You may never need 4LO. It sends
the maximum power to all four wheels. You might
choose 4LO if
you were driving off-road in sand, mud
or deep snow and climbing or descending steep hills.
Indicator lights in the switches show
you which setting
you are in. The indicatorlights will come on briefly
when ,you turn on the ignition and one will stay on. If
the lights do not come on, you should take your vehicle
in for service. An indicator light will flash while
shifting. It will remain illuminated when the shift
is completed.
Shifting from 2HI to 4HI
,Press and release the 4HI switch. This can be done at any
speed,
and the indicator light will flash while shifting. It
will remain illuminated when the shift is completed.
Shifting from 4HI to 2HI
Press and release the 2HI switch. This can be done at
any speed, and the system will unlock automatically.
Shifting from 2HI or 4HI to 4LO
To shift from 2HI or 4HI to 4L0, the vehicle must be
stopped or moving less than
3 mph (4.8 km/h) with the
transmission in NEUTRAL (N). The preferred method
for shifting into 4LO is to have your vehicle moving
1 to 2 mph (1.6 to 3.2 km/h). Press and release the
4LO switch. You must wait for the 4LO indicator light
to stop flashing and remain illuminated before shifting
your transmission into gear.
If the 4LO switch is pressed when your vehicle is in
gear and/or moving, the 4LO indicator light will flash
for
30 seconds and not complete the shift unless your
vehicle is moving slower than
3 mph (4.8 km/h) and the
transmission is in NEUTRAL (N).
I 2-20
Page 204 of 403
Downloaded from www.Manualslib.com manuals search engine If You Do Decide To Pull A Trailer
If you do, here are some important points:
0
0
0 0
0
There are many different laws, including speed limit
restrictions, having
to do with trailering. Make sure
your rig will be legal, not only where you live but
also where you’ll be driving. A good source for this
information can be state or provincial police.
Consider using a sway control if your trailer will
weigh
4,000 lbs. (1 800 kg) or. less. You should
always use a sway control if your trailer will weigh
more than
4,000 lbs. (1 800 kg). You can ask a hitch
dealer about sway controls.
Don’t tow a trailer at all during the first
500 miles
(800 km) your new vehicle is driven. Your engine,
axle or other parts could be damaged.
Then, during the first
500 miles (800 km) that you
tow a trailer, don’t drive over
50 mph (80 kmk) and
don’t make starts at full throttle. This helps your
engine and other parts of your vehicle wear in at the
heavier loads.
If you have an automatic transmission, you can tow
in OVERDRIVE
(OD). You may want to shift the
transmission to DRIVE (D) or,
if necessary, a lower
gear selection
if the transmission shifts too often
(e.g., under heavy loads and/or hilly conditions). Three important
considerations have to do with weight:
the weight of the trailer,
the weight
of the trailer tongue
and the weight on your vehicle’s tires.
Weight of the Trailer
How heavy can a trailer safely be?
It depends on how you plan to use your rig. For
example, speed, altitude, road grades, outside
temperature and how much your vehicle is used to pull a
trailer are all important. And, it can also depend on any
special equipment that you have
on your vehicle.
Use the following chart to determine how much your
vehicle can weigh, based upon your vehicle model
and options.
Maximum trailer weight is calculated assuming the
driver and one passenger are in the tow vehicle and it
has all the required trailering equipment. The weight of
additional optional equipment, passengers and cargo in
the tow vehicle must be subtracted from the maximum
trailer weight.
Above the 2,000 lbs.
(908 kg) trailer rating, the
engine oil cooler is required on C/K-
1500 models with
5.7L engine and C/K-2500 Suburban models with
5.7L engine and 3.73 axle ratio.
4-45
Page 210 of 403
Downloaded from www.Manualslib.com manuals search engine Making Turns
NOTICE:
Making very sharp turns while trailering could
cause the trailer to come in contact with the
vehicle. Your vehicle could be damaged. Avoid
making very sharp turns while trailering.
When you’re turning with a trailer, make wider turns than
normal.
Do this so your trailer won’t strike soft shoulders,
curbs, road signs, trees or other objects. Avoid jerky or
sudden maneuvers. Signal well in advance.
nrn Signals When Towing a Trailer
The green arrows on your instrument panel will flash
whenever you signal
a turn or lane change. Properly
hooked up, the trailer lamps will also flash, telling other
drivers you’re about to turn, change lanes or stop.
When towing a trailer, the green arrows on your
instrument panel will flash for turns even if the bulbs on
the trailer are burned out. Thus, you may think drivers
behind you are seeing your signal
when they are not. It’s
important to check occasionally to be sure the trailer
bulbs are still working.
Driving On Grades
Reduce speed and shift to a lower gear before you start
down
a long or steep downgrade. If you don’t shift
down,
you might have to use your brakes so much that
they would get hot and no longer work well.
On a long uphill grade, shift down and reduce your
speed to around
45 mph (70 km/h) to reduce the
possibility of engine and transmission overheating.
If you have an automatic transmission you should use
THIRD
(3) (or, as you need to, a lower gear) when
towing a trailer. Operating your vehicle in THIRD
(3)
when towing a trailer will minimize heat buildup and
extend the life of your transmission.
When towing at high altitude
on steep uphill grades,
consider the following: Engine coolant will boil at a
lower temperature than at normal altitudes. If you turn
your engine off immediately after towing at high altitude
on steep uphill grades, your vehicle may show signs
similar to engine overheating. To avoid this, let the
engine run while parked (preferably on level ground)
with the automatic transmission in
PARK (P) for a
few minutes before turning the engine off. If you do
get the overheat warning, see “Engine Overheating”
in the Index.
4-51
Page 212 of 403
Downloaded from www.Manualslib.com manuals search engine When You Are Ready to Leave After
Parking on a Hill
1. Apply your regular brakes and hold the pedal down
while you:
0 Start your engine;
Shift into a gear; and
Release the parking brake.
2. Let ,up on the brake pedal.
3. Drive slowly until the trailer is clear of the chocks.
4. Stop and have someone pick up and store the chocks.
Maintenance When Trailer Towing
Your vehicle will need service more often when you’re
pulling a trailer. See the Maintenance Schedule for more
on this. Things that are especially important in trailer
operation are automatic transmission fluid (don’t overfill), engine oil, axle lubricant, belt, cooling system
and brake adjustment. Each
of these is covered in this
manual, and the Index will help you find them qoickly.
If you’re trailering, it’s a good idea to review these
sections before you start your trip.
Check periodically to see that all hitch nuts and bolts
are tight.
Trailer Wiring Harness
A seven-wire harness is stored under the rear of your
vehicle, between the frame rails. An electrical connector
will need to be added at the trailer end
of the harness, by
a qualified electrical technician. For additional trailer
wiring and towing information, please consult your
dealer. Securely attach the harness to the trailer, then
tape or strap it to your vehicle’s frame rail. Be
sure you
leave it loose enough so the wiring won’t bind or break
when turning with the trailer, but not
so loose that it
drags on the ground. Store’ the harness in its original
position. Wrap the harness together and tie it neatly
so it
won’t be damaged.
If you tow a trailer, your Center
High-Mounted Stoplamp (CHMSL) may not be
properly visible from behind.
You should select a trailer
with a CHMSL on
it or, if one is not available, have one
installed. See your GM dealer about how to connect
your vehicle’s wiring to a trailer CHMSL.
4-53
Page 217 of 403
Downloaded from www.Manualslib.com manuals search engine Other Warning Devices
If you carry reflective triangles, you can set one up at .
the side of the road about 300 feet (100 m) behind
your vehicle.
Jump Starting
If your battery ,(or batteries) has run down, you may
want
to use another vehicle and some jumper cables to
start your vehicle. But please use the following steps to
do it safqly.
A CAUTION:
Batteries can hurt you! They can be dangerous
because:
0 They contain acid that can burn you.
They contain gas that can explode or ignite.
0 They contain enough electricity to
If you don’t follow these steps exactly, some or all
of these things can hurt you.
burn
you.
NOTICE:
Ignoring these steps could result in costly damage
to your vehicle that wouldn’t be covered by your
vehicle warranty.
Trying to start your vehicle by pushing or pulling
it could damage your vehicle. With an automatic
transmission,
it won’t start that way.
1. Get the vehicles close enough so the jumper cables
can reach, but be sure the vehicle’s aren’t touching
each other. If they are, it could cause a ground
connection you don’t want. You wouldn’t be able to
start your vehicle, and the bad grounding could
damage the electrical systems.
To avoid the possibility
of the vehicles rolling, set
the parking brake firmly on both vehicles involved in
the jump start procedure. Put an automatic
transmission in
PARK (P). If you have a
four-wheel-drive vehicle, be sure the transfer case
is not in NEUTRAL (N).
5-2