1996 CHEVROLET TAHOE service indicator
[x] Cancel search: service indicatorPage 83 of 403
Downloaded from www.Manualslib.com manuals search engine 4HI: This setting engages your front axle to help
drive your vehicle. Use 4HI when
you need extra
traction, such as on snowy or icy roads, or in most
off-road situations.
4LO: This setting also engages your front axle'to give
you extra traction.
You may never need 4LO. It sends
the maximum power to all four wheels. You might
choose 4LO if
you were driving off-road in sand, mud
or deep snow and climbing or descending steep hills.
Indicator lights in the switches show
you which setting
you are in. The indicatorlights will come on briefly
when ,you turn on the ignition and one will stay on. If
the lights do not come on, you should take your vehicle
in for service. An indicator light will flash while
shifting. It will remain illuminated when the shift
is completed.
Shifting from 2HI to 4HI
,Press and release the 4HI switch. This can be done at any
speed,
and the indicator light will flash while shifting. It
will remain illuminated when the shift is completed.
Shifting from 4HI to 2HI
Press and release the 2HI switch. This can be done at
any speed, and the system will unlock automatically.
Shifting from 2HI or 4HI to 4LO
To shift from 2HI or 4HI to 4L0, the vehicle must be
stopped or moving less than
3 mph (4.8 km/h) with the
transmission in NEUTRAL (N). The preferred method
for shifting into 4LO is to have your vehicle moving
1 to 2 mph (1.6 to 3.2 km/h). Press and release the
4LO switch. You must wait for the 4LO indicator light
to stop flashing and remain illuminated before shifting
your transmission into gear.
If the 4LO switch is pressed when your vehicle is in
gear and/or moving, the 4LO indicator light will flash
for
30 seconds and not complete the shift unless your
vehicle is moving slower than
3 mph (4.8 km/h) and the
transmission is in NEUTRAL (N).
I 2-20
Page 125 of 403
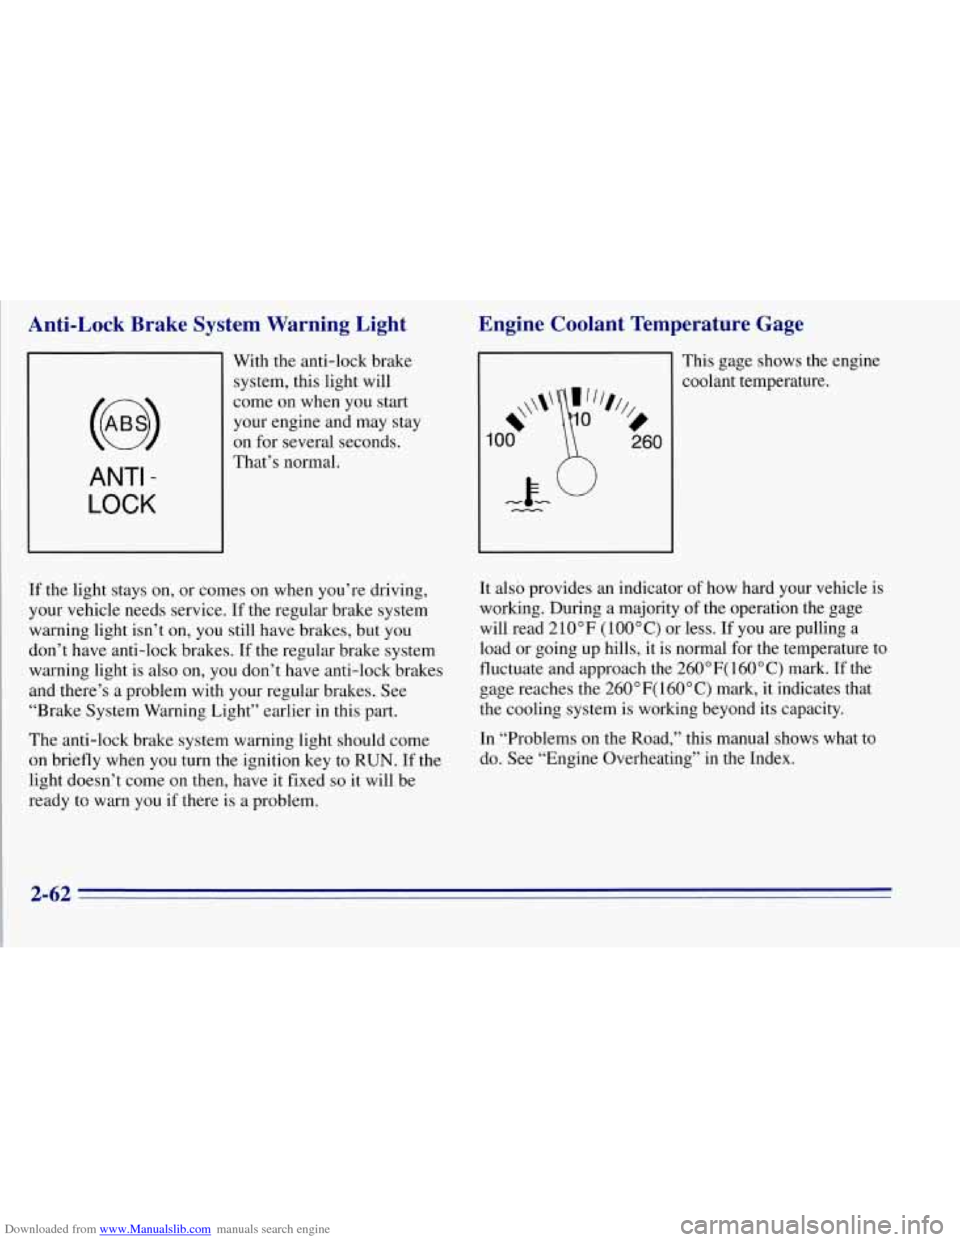
Downloaded from www.Manualslib.com manuals search engine Anti-Lock Brake System Warning Light
ANTI -
LOCK
With the anti-lock brake
system, this light will
come on when you start
your engine and may stay
on for several seconds.
That’s normal.
If the light stays on, or comes on when you’re driving,
your vehicle needs service. If the regular brake system
warning light isn’t
on, you still have brakes, but you
don’t have anti-lock brakes. If the regular brake system
warning light is also on, you don’t have anti-lock brakes
and there’s a problem with your regular brakes. See
“Brake System Warning Light” earlier in this part.
The anti-lock brake system warning light should come
on briefly when you turn the ignition key to RUN. If the
light doesn’t come
on then, have it fixed so it will be
ready to warn
you if there is a problem.
Engine Coolant Temperature Gage
This gage shows the engine
coolant temperature.
It also provides an indicator of how hard your vehicle is
working. During a majority of the operation the gage
will read 2
10 OF ( 100 ” C) or less. If you are pulling a
load or going up hills, it is normal for the temperature to
fluctuate and approach the 260”F( 160°C) mark. If the
gage. reaches the 260”F( 160°C) mark, it indicates that
the cooling system is working beyond its capacity.
In “Problems on the Road,” this manual shows what to
do. See “Engine Overheating” in the Index.
2-62
Page 126 of 403
Downloaded from www.Manualslib.com manuals search engine Malfunction Indicator Lamp (Service
Engine
Soon Light) (Gasoline Engine)
SERVICE
ENGINE
SOON
Your vehicle is equipped
with a computer which
monitors operation of the
fuel, ignition and emission
control systems.
This system is called OBD I1 (On-Board
Diagnostics-Second Generation) and is intended
to assure that emissions are at acceptable levels for
the life
of the vehicle, helping to produce a cleaner
environment. (In Canada, OBD
I1 is replaced by
Enhanced Diagnostics.) The SERVICE ENGINE
SOON
light comes on to indicate that there is a problem and
service is required. Malfunctions often will be indicated
by the system before any problem is apparent, which
may prevent more serious damage to your vehicle. This
system
is also designed to assist your service technician
in correctly diagnosing any malfunction.
NOTICE:
If you keep driving your vehicle with this light
on, after a while, your emission controls may not
work as well, your fuel economy may not be as
good and your engine may not run as smoothly.
This could lead to costly repairs that may not be
covered by your warranty.
This light should come on, as a check to show you it is
working, when the ignition is
on and the engine is not
running. If the light doesn’t come on, have it repaired.
This light will also come on during a malfunction in one
of two ways:
Light Flashing -- A misfire condition has been
detected. A misfire increases vehicle emissions and
may damage
the emission control system on your
vehicle. Dealer or qualified service center diagnosis
and service is required.
Light On Steady -- An emission control system
malfunction has been detected on your vehicle.
Dealer or qualified service center diagnosis and
service may be required.
2-63
Page 129 of 403
Downloaded from www.Manualslib.com manuals search engine 1 CAUTION:
Don't keep driving if the oil pressure is low. If
you do, your engine can become so hot that it
catches fire. You or others could be burned.
Check your oil as soon
as possible and have your
vehicle serviced.
I NOTICE:
Damage to your engine from neglected oil
problems can be costly and
is not covered by
your warranty.
Daytime Running Lamps (DRL) Indicator Light
This light will go on
whenever the
DRL are on.
When it begins to get dark, the
DRL indicator light is a
reminder
to turn on your headlamps.
2-66
Page 130 of 403
Downloaded from www.Manualslib.com manuals search engine Check Gages Light
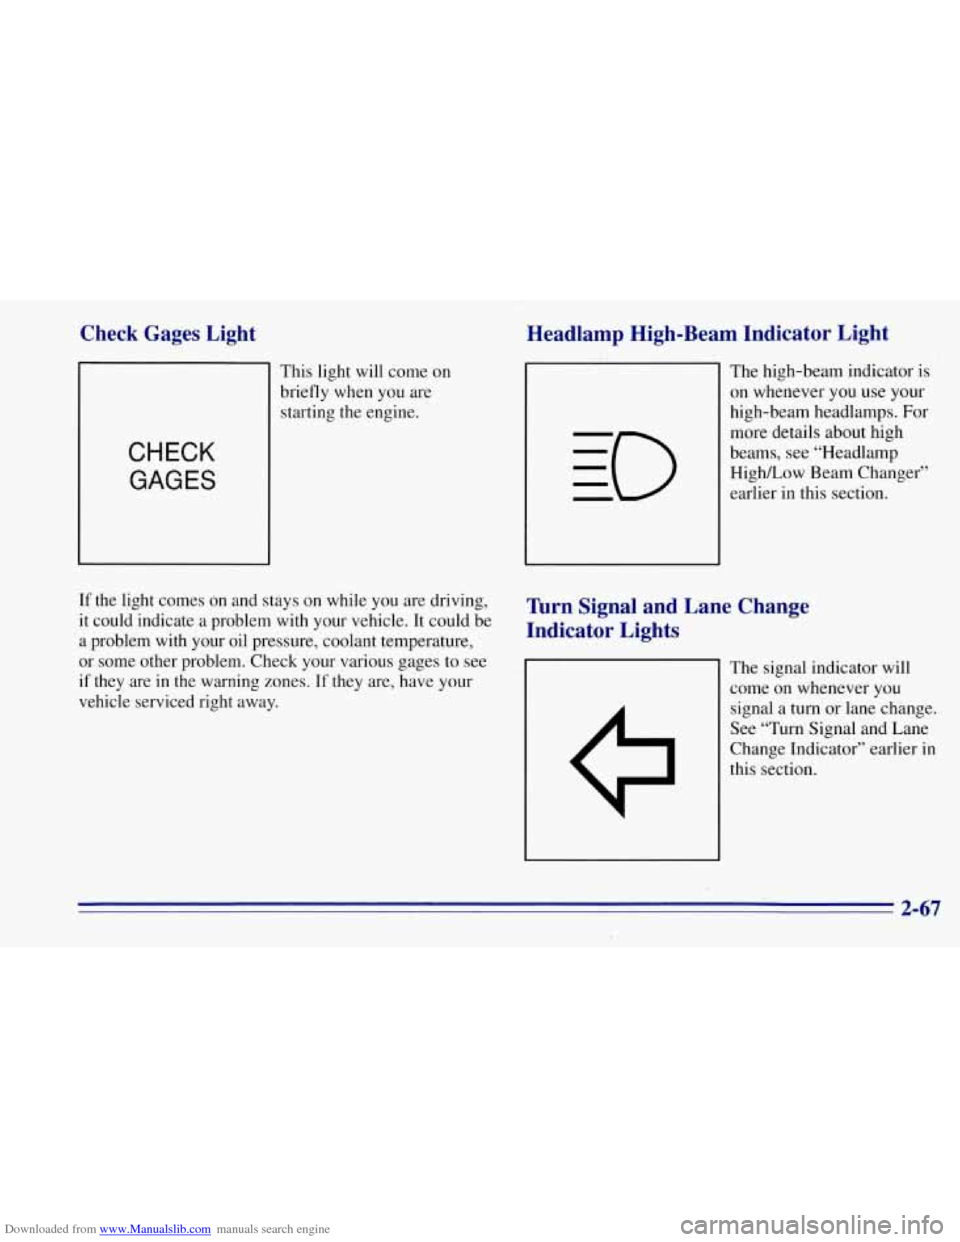
This light will come on
briefly when you are
starting the engine.
CHECK
GAGES
If the light comes on and stays on while you are driving,
it could indicate a problem with your vehicle. It could be
a problem with your oil pressure, coolant temperature,
or some other problem. Check your various gages to see
if they are in the warning zones.
If they are, have your
vehicle serviced right away.
Headlamp High-Beam Indicator Light
The high-beam indicator is
on whenever you use your
high-beam headlamps.
For
more details about high
beams,
see “Headlamp
HighLow Beam Changer”
earlier in this section.
Turn Signal and Lane Change
Indicator Lights
The signal indicator will
come on whenever
you
signal a turn or lane change.
See “Turn Signal and Lane
Change Indicator’’ earlier in
this section.
2-67
Page 256 of 403
Downloaded from www.Manualslib.com manuals search engine Fuel (Gasoline Engine)
If your vehicle has a diesel engine, see “Diesel Fuel
Requirements and Fuel System”
in the Diesel Engine
Supplement. For vehicles with gasoline engines, please
read this.
Use regular unleaded gasoline rated at 87 octane or
higher. At a minimum, it should meet specifications
ASTM D4814 in the United States and CGSB 3.5-M93
in Canada. Improved gasoline specifications have been
developed by the American Automobile Manufacturers
Association (AAMA) for better vehicle performance
and engine protection. Gasolines meeting the AAMA
specification could provide improved driveability and
emission control system protection compared to
other gasolines.
Be sure the posted octane is at least 87. If the octane is
less than 87, you may get a heavy knocking noise when
you drive. If it’s bad enough, it can damage your engine.
If you’re using fuel rated at 87 octane or higher and
you
still hear heavy knocking, your engine needs service.
But don’t worry if you hear a little pinging noise when
you’re accelerating or driving up a hill. That’s normal,
and you don’t have to buy a higher octane fuel to get rid
of pinging. It’s the heavy, constant knock that means
you have a problem. If
your vehicle is certified to meet California Emission
Standards (indicated on the underhood tune-up label),
it is designed to operate on,fuels that meet California
specifications. If such fuels are not available in states
adopting California emissions standards, your vehicle
will operate satisfactorily on fuels meeting federal
specifications, but emission control system performance
may be affected. The malfunction indicator lamp on
your instrument panel may turn on and/or your vehicle
may fail a smog-check test. If this occurs, return to your
authorized GM dealer for diagnosis
to determine the
cause of failure. In
the event it is determined that the
cause of the condition is the type
of fuels used, repairs a
may not be covered by your warranty.
In Canada, some gasolines contain an octane-enhancing
additive called MMT. If you use such fuels, your
emission control system performance may deteriorate
and the malfunction indicator lamp on your instrument
panel may turn on.
If this happens, return to your
authorized GM dealer for service.
6-3
Page 269 of 403
Downloaded from www.Manualslib.com manuals search engine Air Cleaner
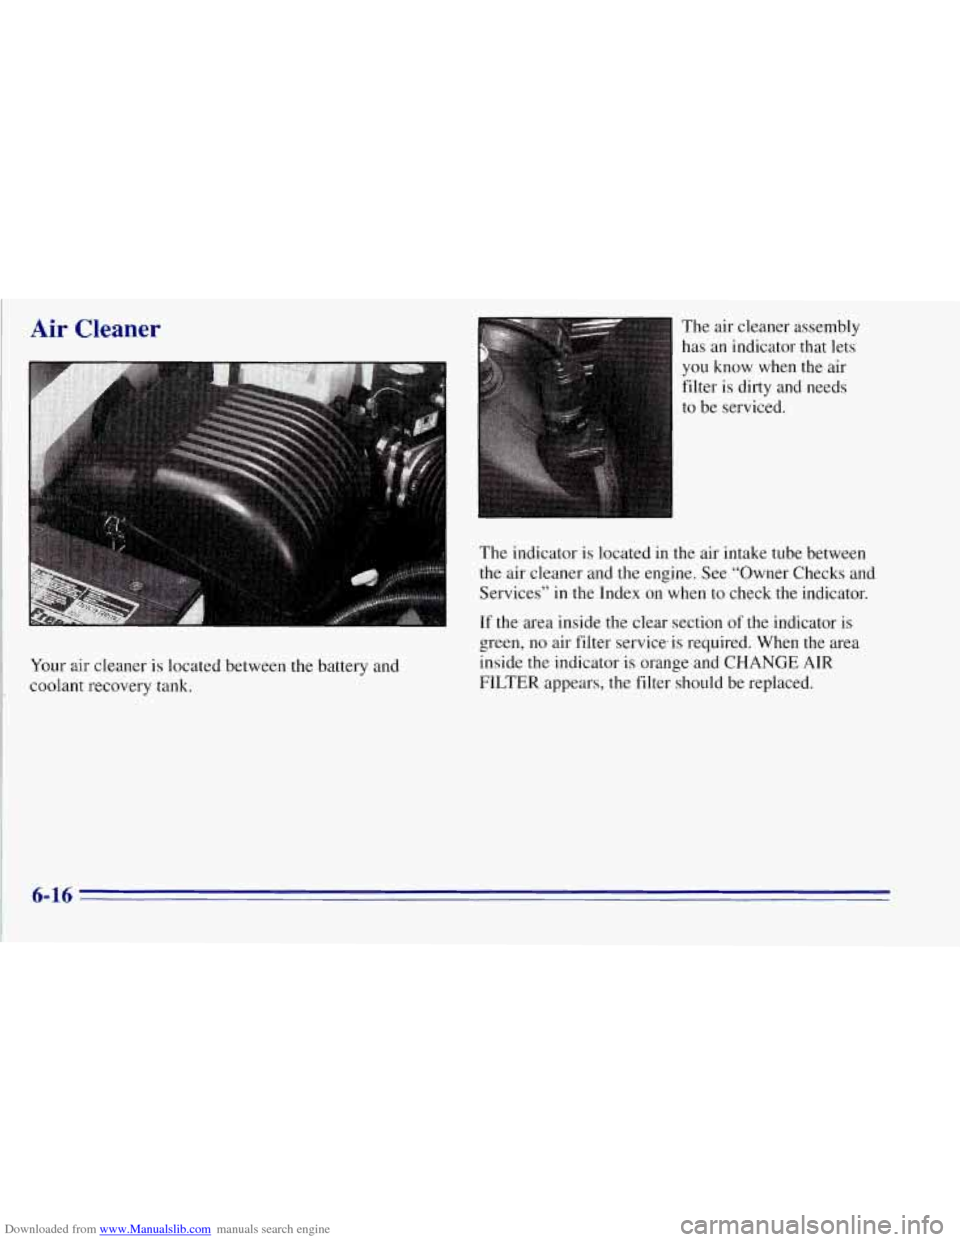
Your air cleaner is located between the battery and
coolant recovery tank. The
air cleaner assembly
has an indicator that lets
you know when the air
filter is dirty and needs
to be serviced.
The indicator is located in the air intake tube between
the air cleaner and the engine. See “Owner Checks and
Services” in the Index on when to check the indicator.
If
the area inside the clear section of the indicator is
green, no air filter service.is required. When the area
inside the indicator is orange and CHANGE AIR
FILTER appears, the filter should be replaced.
Page 270 of 403
Downloaded from www.Manualslib.com manuals search engine To remove the air filter, unhook the retainer clips and
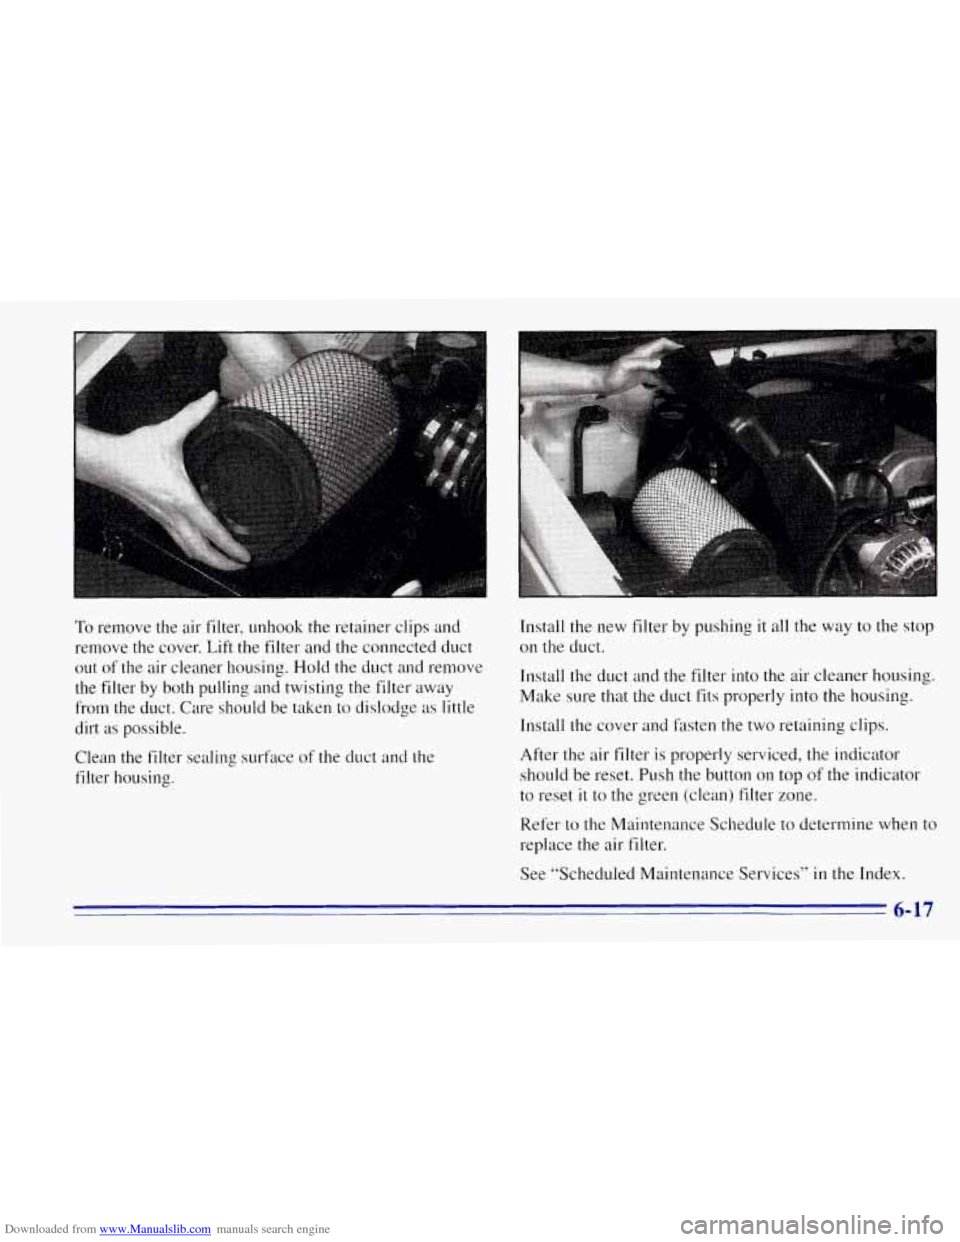
remove the cover. Lift the filter and the connected duct Install the
new filter by pushing it all the way to the stop
on the duct.
Out Of the air housing. the duct and remove Install the duct and the filter into the air cleaner housing.
the filter by both pulling and twisting the filter away
from the duct. Care should be taken to dislodge as little
dirt
as possible. Install the cover and fasten the two retaining clips.
Make
sure that the duct fits properly into the housing.
Clean the filter sealing surfdce of the duct and the
filter housing. After the air filter
is properly serviced, the
indicator
should be reset. Push the button on top
of the indicator
to reset
it to the green (clean) filter zone.
Refer to the Maintenance Schedule to determine when to
replace the air filter.
See “Scheduled Maintenance Services” in the Index.
6-17