Page 6 of 372
Downloaded from www.Manualslib.com manuals search engine I
In 1932 Chevrolet
introduced the
Synchro-Mesh transmission and
.
oflered a host of
accessories -- including
such niceties as a clock?
I The legacy of America’s favorite sportscar I I I I began-in 1953, when 319 hand-assembled ;
launched the I
first use of a
fiberglass
body in . I
a production car.
= white Corvettes
I I
iv
Page 12 of 372
Downloaded from www.Manualslib.com manuals search engine Pull the lever in front of the front passenger’s seat up to
unlock it. Slide the seat to where you want it. Then
release the lever and try to move the seat with your
body, to make sure the seat is locked into place.
Manual Lumbar Support (Convertible with
White Vinyl
Seats Only)
The manual lumbar support control is located at the
front
of the driver’s seat, toward the right. Turn the knob
clockwise or counterclockwise to increase or decrease
the amount
of support to your lower back.
Reclining Front Seatbacks
L
To adjust the seatback, lift the lever on the outer side of
the seat and move the seatback to where you want it.
1-2
Page 97 of 372
Downloaded from www.Manualslib.com manuals search engine Lamps
The band on the turn signal/multifunction lever controls
your vehicle’s lamps.
PARKING LAMPS
pf This position will turn on the following:
0 Parking Lamps
0 Sidemarker Lamps
0 Taillamps
0 Instrument Panel Lights
HEADLAMPS
This position will turn on the following:
0 Headlamps
Parking Lamps
0 Sidemarker Lamps
0 Taillamps
Instrument Panel Lights
Turn the band clockwise all the way
to turn the
lamps
off.
Lamps On Reminder
If you open the driver’s door with the ignition off and
the lamps on, you will hear a warning chime.
2-39
Page 101 of 372

Downloaded from www.Manualslib.com manuals search engine Battery Saver
Your Chevrolet is equipped with a battery saver feature
designed to protect your vehicle’s battery.
When any interior lamp
(trunk, reading, dome, glove
box, etc.) is left on and the ignition is turned OFF, the
battery rundown protection system will automatically
turn the lamp off after
20 minutes. This will avoid
draining the battery. This system does not protect
against leaving on the headlamps.
To reactivate the interior lamps, either:
The ignition must be turned on,
The activated lamp switch must be turned off, then
on,
OR
Mirrors
A front door must be opened.
Inside DaylNight Rearview Mirror
The battery rundown protection feature will also be
activated when any door is left open.
If your vehicle is left with the ignition off for over
24 days, the battery power to the clock and audio system
will turn
off to reduce the battery drain. When the
ignition
is turned on again, battery power will be
resupplied. Under these conditions it will be necessary
to reset the clock and audio system settings.
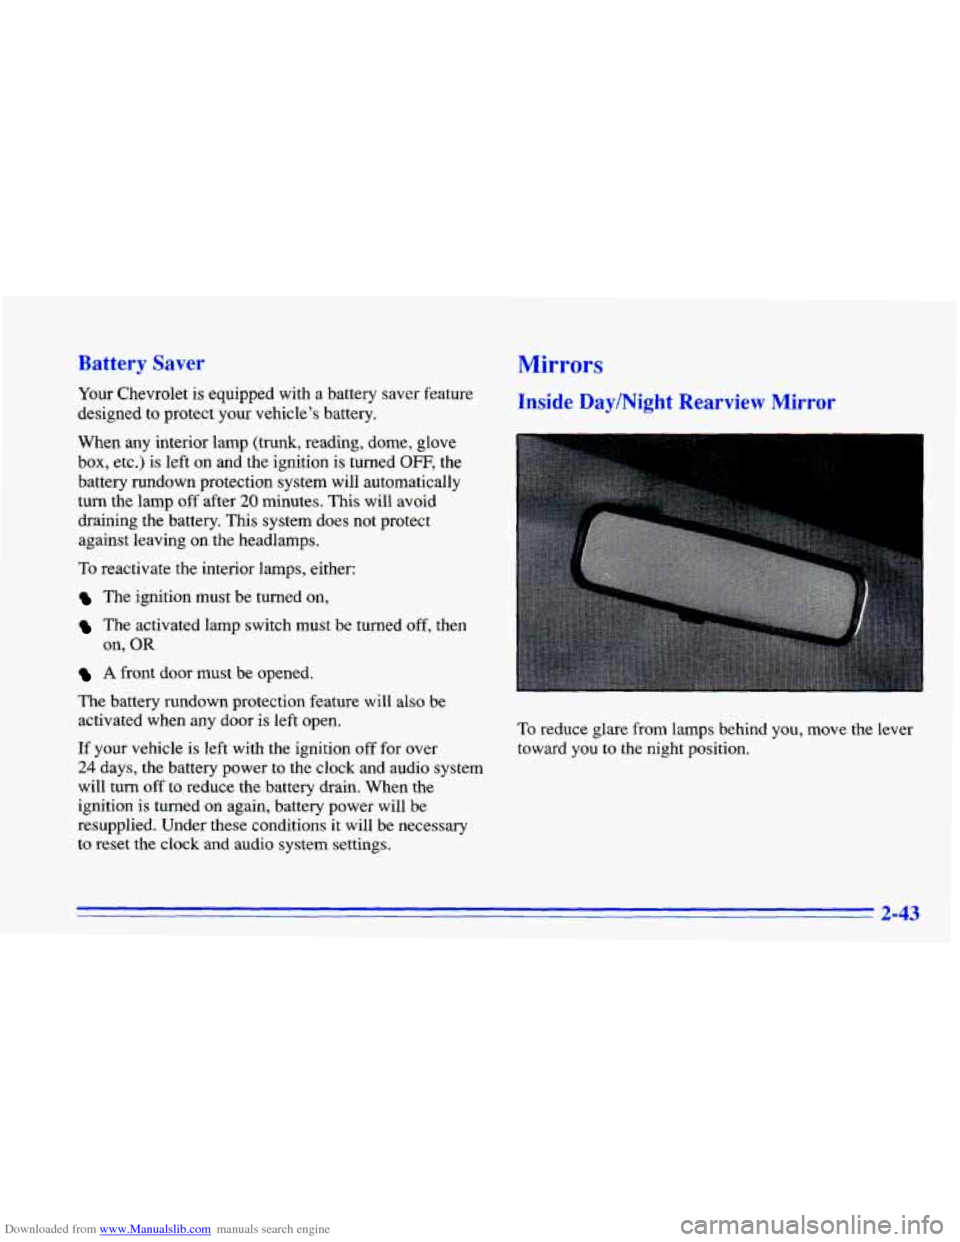
To reduce glare from lamps behind you, move the lever
toward you to the night position.
2-43
Page 102 of 372
Downloaded from www.Manualslib.com manuals search engine Manual Remote Control Mirror
The outside rearview mirror
should be adjusted
so you
can just see the side
of your
vehicle when you are sitting
in a comfortable driving
position.
I
Adjust the driver’s side outside mirror with the control
lever on the driver’s door.
To adjust your passenger’s side mirror, sit in the driver’s
seat and have
a passenger adjust the mirror,for you.
The mirror is a spring-loaded breakaway design.
Power Remote Control Mirrors (Option)
The mirror control is
located on the driver’s door.
Rotate the control clockwise
or counterclockwise to
choose the mirror you want
to adjust.
Then move the control in the direction you want the
mirror to move. Adjust each mirror
so you can just see
the side
of your vehicle when you are sitting in a
comfortable driving position.
The mirror is a spring-loaded breakaway design.
2-44
Page 138 of 372

Downloaded from www.Manualslib.com manuals search engine Fan Knob
The left knob selects the force of air you want. Turn the
knob clockwise to increase fan speed and counterclockwise to decrease fan speed.
To turn the fan
off, turn the mode knob all the way counterclockwise. In
any other setting, the fan will run continuously.
Temperature Knob
The center knob changes the temperature of the air
coming through the system. Turn this knob toward
red (clockwise) for warmer air. Turn it toward blue
(counterclockwise) for cooler air.
Mode Knob
The right knob has several settings to control the
direction of airflow. For each setting, set the temperature
to a comfortable setting.
2 VENT This setting brings in outside air and
directs it through the middle instrument panel outlets.
12 BI-LEVEL: This setting brings in outside air
and directs it two ways. Some air is directed through
the instrument panel outlets. Most of the air is directed
through the floor ducts and a little to the defrost and
side window vents.
Id FLOOR: This setting sends most of the air through
the ducts near the floor. The rest comes out of the
defroster and side window vents.
9 DEFOG: This setting allows half of the air to go
to the floor ducts and half to the defroster
and side
window vents.
DEFROST This setting directs most of the air
through the defroster and side window vents. Some of
the air goes to the floor ducts.
3-2
Page 139 of 372

Downloaded from www.Manualslib.com manuals search engine Climate Control System with Air
Con g (Optiol
-. . .
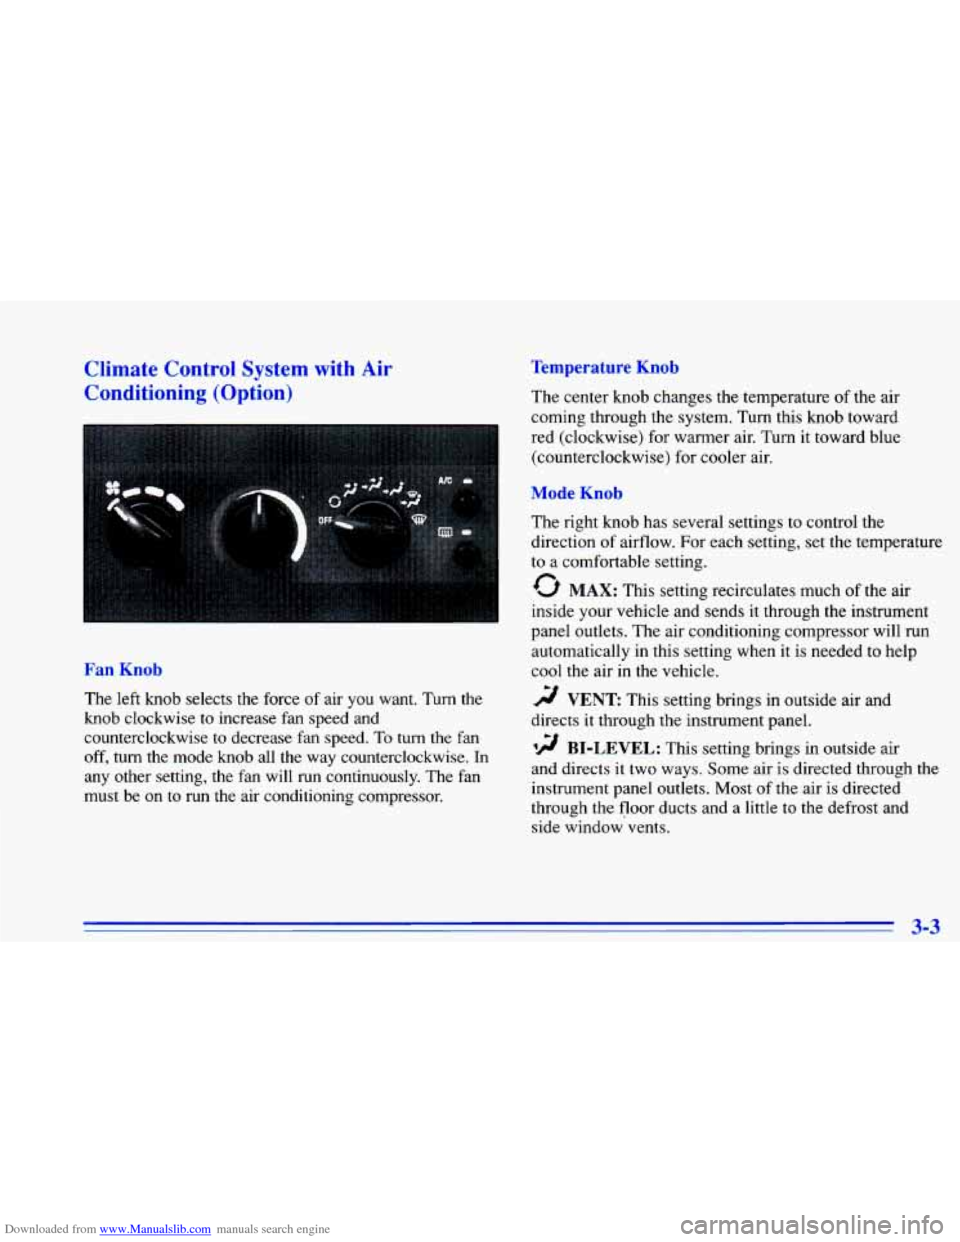
Fan Knob
The left knob selects the force of air you want. Turn the
knob clockwise to increase fan speed and
counterclockwise
to decrease fan speed. To turn the fan
off, turn the mode knob all the way counterclockwise. In
any other setting,
the fan will run continuously. The fan
must be on
to run the air conditioning compressor.
Temperature Knob
The center knob changes the temperature of the air
coming through the system.
Turn this knob toward
red (clockwise) for warmer air. Turn it toward blue
(counterclockwise) for cooler air.
Mode Knob
The right knob has several settings to control the
direction
of airflow. For each setting, set the temperature
to a comfortable setting.
0 MAX: This setting recirculates much of the air
inside
your vehicle and sends it through the instrument
panel outlets. The air conditioning compressor will run
automatically in this setting when it is needed to help
cool
the air in the vehicle.
r;/ VENT This setting brings in outside air and
directs it through the instrument panel.
'!! BI-LEVEL: This setting brings in outside air
and directs it two ways. Some air is directed through the
instrument panel outlets. Most of the air is directed
through the floor ducts and a little to the defrost and
side window vents.
3-3
Page 143 of 372

Downloaded from www.Manualslib.com manuals search engine Rear Window Defogger (Option)
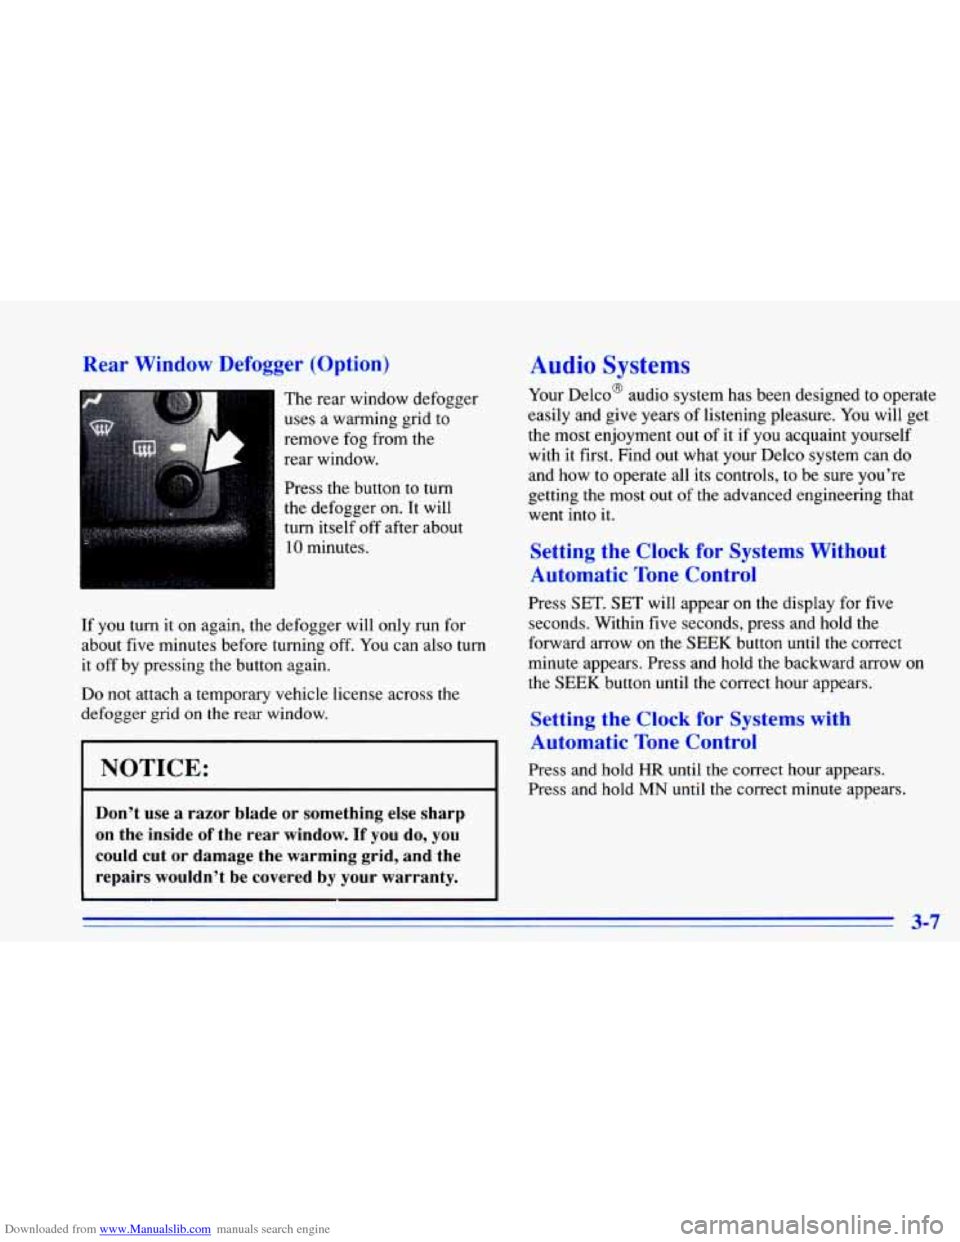
The rear window defogger
uses a warming grid to
remove fog from the
rear window.
Press the button
to turn
the defogger on. It will
turn itself off after about
10 minutes.
If you turn it on again, the defogger will only run for
about five minutes before turning off. You can also turn
it off by pressing the button again.
Do not attach a temporary vehicle license across the
defogger grid
on the rear window.
Audio Systems
Your Delco@ audio system has been designed to operate
easily and give years of listening pleasure. You will get
the most enjoyment out of
it if you acquaint yourself
with it first. Find out what your Delco system can do
and how to operate all its controls,
to be sure you’re
getting the most out
of the advanced engineering that
went into it.
Setting the Clock for Systc __ ‘. . - - -101 .
Automatic Tone Control
Press SET. SET will appear on the display for five
seconds. Within five seconds, press and hold the
forward arrow on the
SEEK button until the correct
minute appears. Press and hold the backward arrow
on
the SEEK button until the correct hour appears.
Setting the Clock for Systems with
. Automatic Tone Control
NOTICE: Press and hold HR until the correct hour appears.
Press and hold
MN until the correct minute appears.
Don’t use a razor blade or something else sharp
on the inside
of the rear window. If you do, you
could cut or damage
the warming grid, and the
repairs wouldn’t be covered by your warranty.
3-7