1996 CHEVROLET CAVALIER change wheel
[x] Cancel search: change wheelPage 88 of 372
Downloaded from www.Manualslib.com manuals search engine Tilt Steering Wheel (Option)
I
Turn Signal/Multifunction Lever
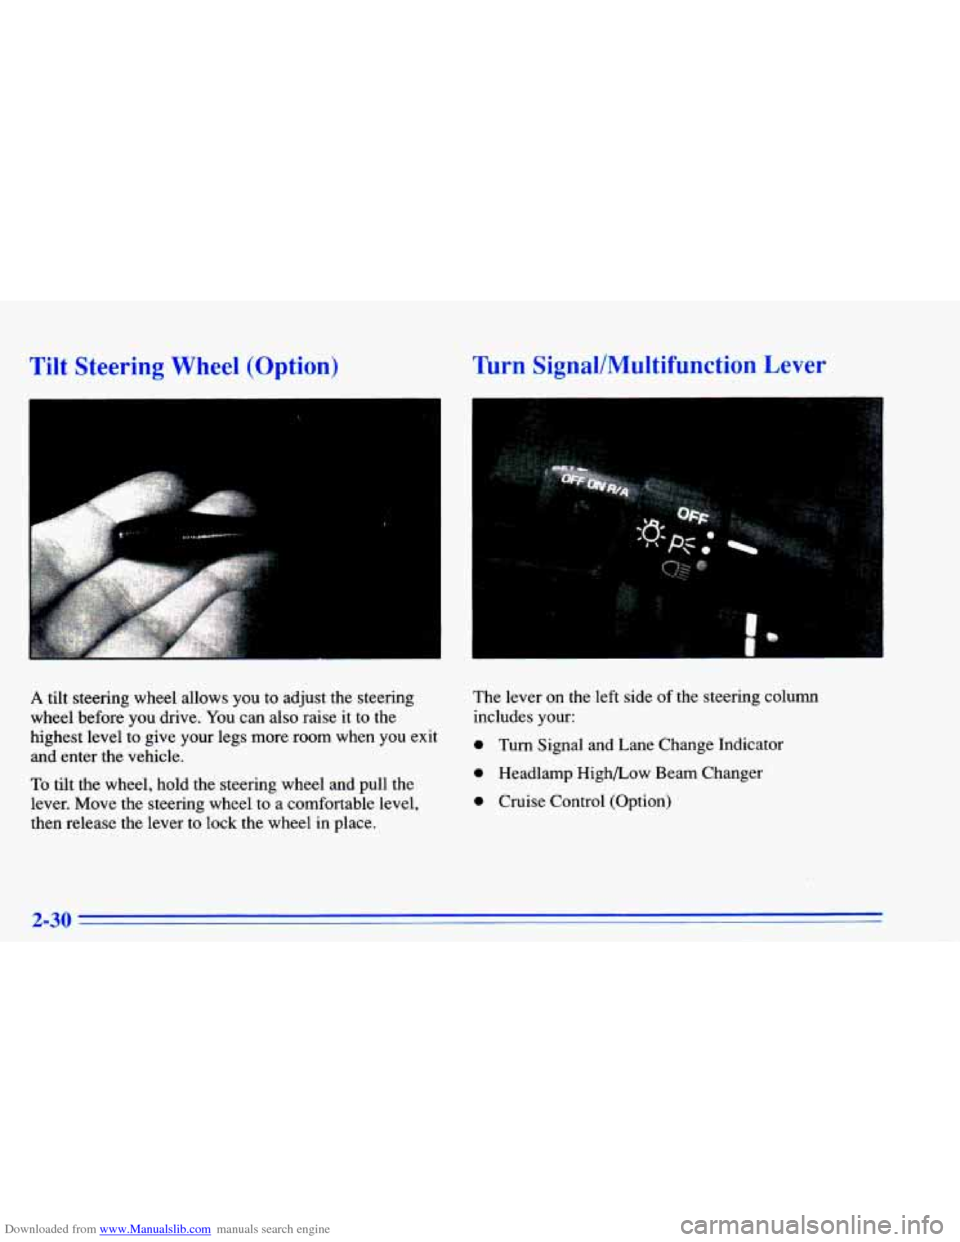
A tilt steering wheel allows you to adjust the steering
wheel before you drive. You can also raise it
to the
highest level to give your legs more room when you exit
and enter the vehicle.
To tilt the wheel, hold the steering wheel and pull the
lever. Move the steering wheel
to a comfortable level,
then release the lever to lock the wheel in place. The lever
on the left
side of the steering column
includes your:
0 Turn Signal and Lane Change Indicator
0 Headlamp High/Low Beam Changer
0 Cruise Control (Option)
2-30
Page 93 of 372
Downloaded from www.Manualslib.com manuals search engine Cruise Control (Option)
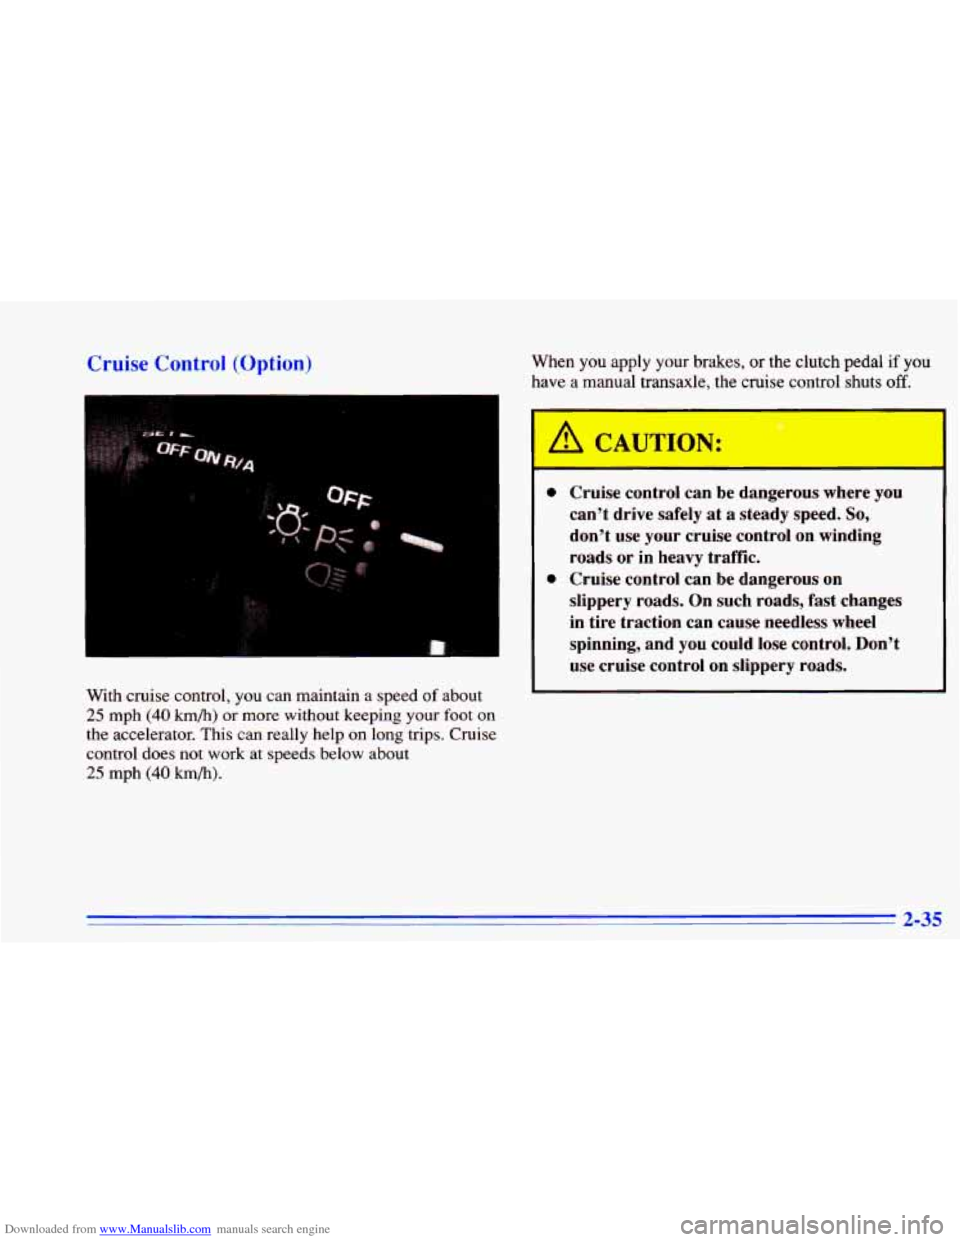
With cruise control, you can maintain a speed of about
25 mph (40 km/h) or more without keeping your foot on
the accelerator. This can really help on long trips. Cruise
control does not work at speeds below about
25 mph (40 km/h).
When you apply your brakes, or the clutch pedal if you
have a manual transaxle, the
c ‘se contrc jhu off. *
I
A CAUTION:
0
0
- - -
Cruise control can be dangerous where you
can’t drive safely at a steady speed. So,
don’t use your cruise control on winding
roads or in heavy traffic.
Cruise control can be dangerous on
slippery roads. On such roads, fast changes
in tire traction can cause needless wheel
spinning, and
you could lose control. Don’t
use cruise control on slippery roads.
2-35
Page 169 of 372
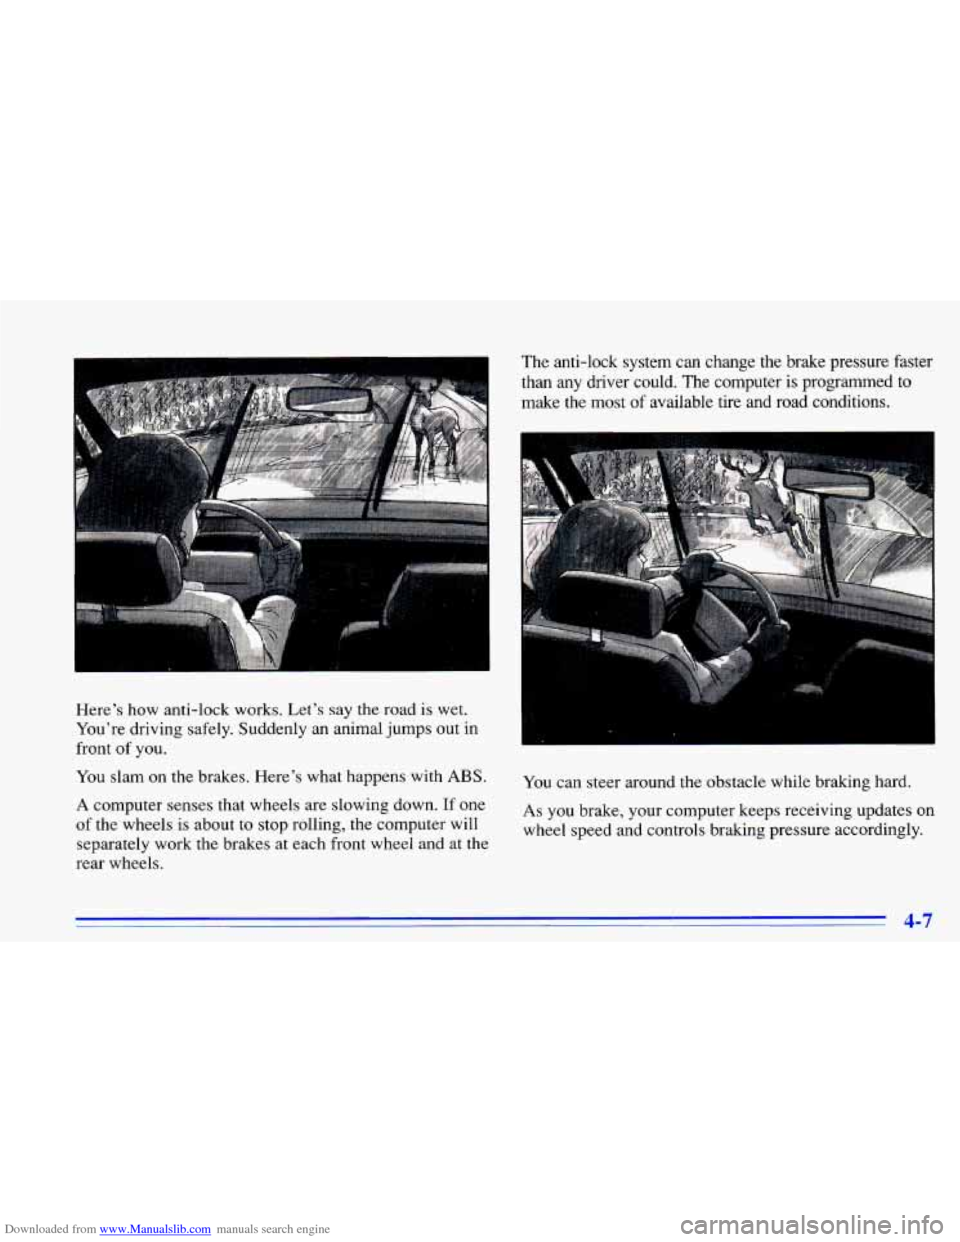
Downloaded from www.Manualslib.com manuals search engine Here's how anti-lock works. Let's say the road is wet.
You're driving safely. Suddenly an animal jumps out in
front of you.
You slam on
the brakes. Here's what happens with ABS.
A computer senses that wheels are slowing down. If one
of the wheels is about to stop rolling, the computer will
separately work the brakes at each front wheel and at the
rear wheels. The anti-lock system can change the brake pressure faster
than any driver could.
The computer
is programmed to
make the most of available tire and road conditions.
You can steer around the obstacle while braking hard.
As you brake, your computer keeps receiving updates on
wheel speed and controls braking pressure accordingly.
4-7
Page 170 of 372

Downloaded from www.Manualslib.com manuals search engine Remember: Anti-lock doesn’t change the time you need
to get your foot up to the brake pedal or always decrease
stopping distance. If you get too close to the vehicle in
front of you, you won’t have time to apply your brakes
if that vehicle suddenly slows or stops. Always leave
enough room up ahead to stop, even though you have
anti-lock brakes.
Using Anti-Lock
Don’t pump the brakes. Just hold the brake pedal
down and let anti-lock work for you. You may feel
the
system working, or you may notice some noise, but this
is normal.
Enhanced Traction System
If your vehicle has the optional four-speed automatic
transaxle, it also has an Enhanced Traction System
(ETS) that limits wheel spin. This is especially useful
in slippery road conditions. The system operates only
when the transaxle shift lever is in the
THIRD (3) or
OVERDRIVE
(a) position and the system senses
that one or both of the front wheels are spinning or
beginning to lose traction. When this happens, the system reduces engine power and may also upshift the
transaxle to limit wheel spin.
LOW
TRAC
This light will come on
when your Enhanced
Traction System is limiting
wheel spin. See “Enhanced
Traction System Active
Light” in the Index.
You
may feel or hear the system working, but this
is normal.
4-8
Page 172 of 372
Downloaded from www.Manualslib.com manuals search engine Steering Tips
Driving on Curves
It’s important to take curves at a reasonable speed.
A lot of the “driver lost control” accidents mentioned on
the news happen on curves. Here’s why:
Experienced driver or beginner, each of us is subject to
the same laws of physics when driving on curves. The
traction of the tires against the road surface makes it
possible for the vehicle to change its path when you turn
the front wheels. If there’s no traction, inertia will keep
the vehicle going in the same direction. If you’ve ever
tried to steer
a vehicle on wet ice, you’ll understand this.
The traction you can get in a curve depends on the
condition
of your tires and the road surface, the angle at
which the curve is banked, and your speed. While you’re
in a curve, speed is the one factor you can control. Suppose you’re steering through
a sharp curve. Then you
suddenly accelerate. Both control systems
-- steering and
acceleration
-- have to do their work where the tires meet
the road. Unless you have the Enhanced Traction System
and the transaxle shift lever is in the
OVERDRIVE (0)
position, adding the sudden acceleration can demand too
much
of those places. You can lose control.
What should you do if this ever happens? Ease up on the
accelerator pedal, steer the vehicle the way you want it
to go, and slow down.
Speed limit signs near curves warn that you should
adjust your speed. Of course, the posted speeds are
based on good weather and road conditions. Under less
favorable conditions you’ll want to go slower.
If you need to reduce your speed as you approach a
curve, do it before you enter the curve, while your front
wheels are straight ahead.
Try
to adjust your speed so you can “drive” through the
curve. Maintain a reasonable, steady speed. Wait to
accelerate until you are out
of the curve, and then
accelerate gently into the straightaway.
4-10
Page 176 of 372
Downloaded from www.Manualslib.com manuals search engine Loss of Control
Let’s review what driving experts say about what
happens when the three control systems (brakes, steering and acceleration) don’t have enough friction where the
tires meet the road to do what the driver has asked.
In any emergency, don’t give up. Keep trying to steer and
constantly seek an escape route or area
of less danger.
Skidding
In a skid, a driver can lose control of the vehicle.
Defensive drivers avoid most skids by taking reasonable
care suited to existing conditions, and by not “overdriving”
those conditions. But skids are always possible.
The three types of skids correspond to your Chevrolet’s
three control systems. In the braking skid, your wheels
aren’t rolling. In the steering or cornering skid, too
much speed or steering in a curve causes tires to slip and
lose cornering force. And
in the acceleration skid, too
much throttle causes the driving wheels to spin.
A cornering skid is best handled by easing your foot off
the accelerator pedal.
If you have the Enhanced Traction System, remember: It
helps avoid only the acceleration skid. If you
do not have the Enhanced Traction System, or
if
the transaxle shift lever is not in the OVERDRIVE (@)
position, then an acceleration skid is also best handled
by easing your foot
off the accelerator pedal.
If your vehicle starts to slide, ease your foot
off the
accelerator pedal and quickly steer the way you want the
vehicle to go.
If you start steering quickly enough, your
vehicle may straighten out. Always be ready for a
second skid if it occurs.
Of course, traction is reduced when water, snow, ice,
gravel or other material is
on the road. For safety, you’ll
want to slow down and adjust your driving
to these
conditions. It
is important to slow down on slippery
surfaces because stopping distance will be longer and
vehicle control more limited.
While driving on a surface with reduced traction, try
your best to avoid sudden steering, acceleration or
braking (including engine braking by shifting to a lower
gear). Any sudden changes could cause the tires to slide.
You may not realize the surface is slippery until your
vehicle is skidding. Learn to recognize warning
clues
-- such as enough water, ice or packed snow on
the road
to make a “mirrored surface” -- and slow
down when
you have any doubt.
Remember: Any anti-lock brake system (ABS) helps avoid only the braking skid.
4-14
Page 196 of 372
Downloaded from www.Manualslib.com manuals search engine NOTICE:
Pulling a trailer improperly can damage your
vehicle and result in costly repairs not covered by
your warranty.
To pull a trailer correctly, follow
the advice in this part, and see your Chevrolet
dealer for important information about towing a
trailer with your vehicle.
Do not tow a trailer if your vehicle is equipped with a
2.2L (Code
4) engine. You also cannot tow a trailer if
your vehicle is equipped with
a manual or a three-speed
automatic transaxle, or is a convertible model.
Your vehicle can tow
a trailer if it is equipped with a
2.4L (Code
T) engine, a four-speed automatic transaxle
and proper trailer towing equipment.
To identify what
the vehicle trailering capacity
is for your vehicle, you should read the informarlon in “Weight of the Trailer’’\
that appears later in this section. But trailering is
different than just driving your vehicle by itself.
Trailering .means changes
in handling, durability, and
fuel economy. Successful, safe trailering takes correct
equipment, and it has to be used properly.
That’s the reason for this part. In
it are many
time-tested, important trailering tips and safety rules.
Many of these
are important for your safety and that of
your passengers.
So please read this section carefully
before you pull a trailer.
Load-pulling components such as the engine, transaxle,
wheel assemblies and tires are forced to work harder
against the drag
of the added weight. The engine is
required to operate at relatively higher speeds and under
greater loads, generating extra heat. What’s more, the
trailer adds considerably to wind resistance, increasing
the pulling requirements.
4-34
Page 201 of 372
Downloaded from www.Manualslib.com manuals search engine firn Signals When Towing a Trailer
The green arrows on your instrument panel will flash
whenever you signal a turn or lane change. Properly
hooked up, the trailer lamps will also flash, telling other
drivers you’re about to turn, change lanes or stop.
When towing a trailer, the green arrows on your
instrument panel will flash for turns even if the bulbs on
the trailer are burned out. Thus, you may think drivers
behind you are seeing your signal when they are not.
It’s important to check occasionally to be sure the trailer
bulbs are still working.
Driving On Grades
Reduce speed and shift to a lower gear before you start
down
a long or steep downgrade. If you don’t shift
down, you might have to use your brakes
so much that
they would get hot and no longer work well.
On a long uphill grade, shift down and reduce your
speed to around
45 mph (70 km/h) to reduce the
possibility of engine and transaxle overheating.
Parking on Hills
You really should not park your vehicle, with a trailer
attached, on a hill. If something goes wrong, your
rig
could start to move. People can be injured, and both
your vehicle and the trailer can be damaged.
But if you ever have to park your rig on a hill, here’s
how to do
it:
1. Apply your regular brakes, but don’t shift into
2. Have someone place chocks under the trailer wheels. PARK
(P) yet.
3. When the wheel
chocks are in place, release the
regular brakes until the chocks absorb the load.
4. Reapply the regular brakes. Then apply your parking
brake, and then shift to PARK
(P).
5. Release the regular brakes.
4-39