1996 CHEVROLET CAVALIER four wheel drive
[x] Cancel search: four wheel drivePage 77 of 372

Downloaded from www.Manualslib.com manuals search engine lever is put in FIRST (l), the transaxle won’t shift into
first gear until the vehicle is going slowly enough.
NOTICE:
If your front wheels can’t rotate, don’t try to
drive. This might happen if you were stuck in
very deep sand or mud or were up against a solid
object.
You could damage your transaxle. Also, if
you stop when going uphill, don’t hold your
vehicle there with only the accelerator pedal.
This could overheat and damage the transaxle.
Use your brakes or shift into PARK (P) to hold
your vehicle in position
on a hill.
Forward Gears (4-Speed)
AUTOMATIC OVERDRIVE (D): This position is for
normal driving with the fourspeed automatic transaxle.
If you need more power for passing, and you’re:
Going less than about 35 mph (56 km/h), push your
accelerator pedal about halfway down.
Going about 35 mph (56 km/h), push your
accelerator
all the way down. THIRD
(3): This position is also used for normal
driving, however, it offers more power and lower fuel
economy than AUTOMATIC OVERDRIVE
(D). Here
are some times you might choose
THIRD (3) instead of
AUTOMATIC OVERDRIVE (D):
When driving on hilly, winding roads.
0 When going down a steep hill.
SECOND
(2): This position gives you more power but
lower fuel economy.
You can use SECOND (2) on hills.
It can help control your speed as you go down steep
mountain roads, but then you would
also want to use
your brakes
off and on.
NOTICE:
Don’t drive in SECOND (2) for more than
25 miles (41 km), or at speeds over 55 mph
(88 km/h), or you can damage your transaxle.
Use AUTOMATIC OVERDRIVE (D) or
THIRD
(3) as much as possible. Don’t shift
into
SECOND (2) unless you are going slower
than
65 mph (105 km/h), or you can damage
your engine.
2-19
Page 87 of 372

Downloaded from www.Manualslib.com manuals search engine Windows
On a vehicle with manual windows, use the window
crank to open and close each window.
Power Windows (Option)
The driver’s window switch has an auto-down feature.
The driver’s window can be opened to the desired
amount by pushing the rear of the switch to the first
detent. For the auto-down feature, push the rear of the
switch all the way down. The window will continue
going down until fully opened.
To stop the window while it is lowering, briefly press
the switch forward, then release.
To raise the window, press and hold the switch forward.
In a sedan model, you may also have a lockout switch.
Press
it to disable the rear passenger power window
switches. This will prevent rear passengers from
opening and closing the windows. The driver can still
control all windows with the switch in the lock position.
rress the lockout button again to enable the passenger
window switches.
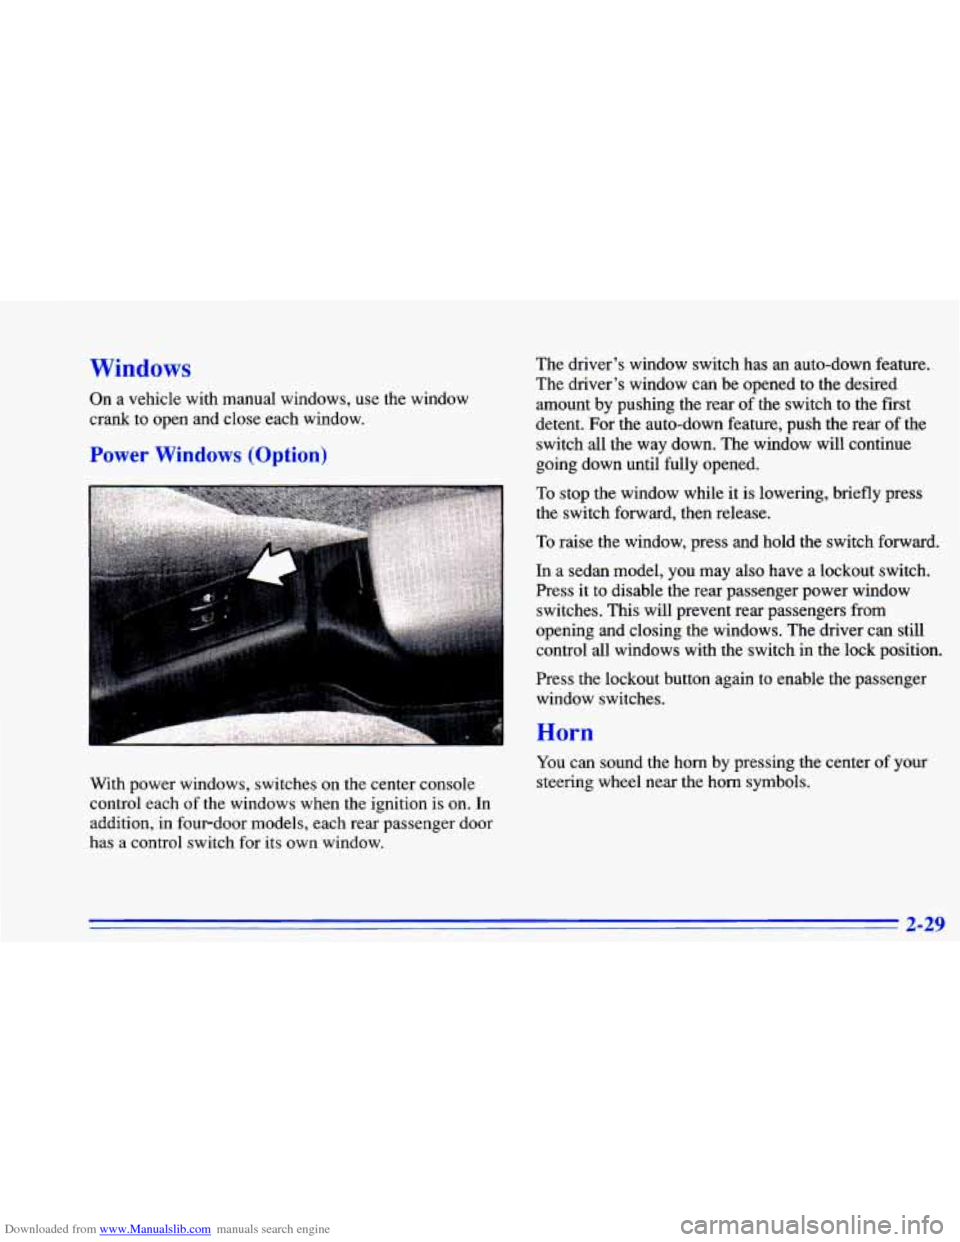
With power windows, switches on the center console
control each
of the windows when the ignition is on. In
addition, in fourdoor models, each rear passenger door
has a control switch for its own window.
Horn
You can sound the horn by pressing the center of your
steering wheel near the horn symbols.
2-29
Page 170 of 372

Downloaded from www.Manualslib.com manuals search engine Remember: Anti-lock doesn’t change the time you need
to get your foot up to the brake pedal or always decrease
stopping distance. If you get too close to the vehicle in
front of you, you won’t have time to apply your brakes
if that vehicle suddenly slows or stops. Always leave
enough room up ahead to stop, even though you have
anti-lock brakes.
Using Anti-Lock
Don’t pump the brakes. Just hold the brake pedal
down and let anti-lock work for you. You may feel
the
system working, or you may notice some noise, but this
is normal.
Enhanced Traction System
If your vehicle has the optional four-speed automatic
transaxle, it also has an Enhanced Traction System
(ETS) that limits wheel spin. This is especially useful
in slippery road conditions. The system operates only
when the transaxle shift lever is in the
THIRD (3) or
OVERDRIVE
(a) position and the system senses
that one or both of the front wheels are spinning or
beginning to lose traction. When this happens, the system reduces engine power and may also upshift the
transaxle to limit wheel spin.
LOW
TRAC
This light will come on
when your Enhanced
Traction System is limiting
wheel spin. See “Enhanced
Traction System Active
Light” in the Index.
You
may feel or hear the system working, but this
is normal.
4-8
Page 192 of 372

Downloaded from www.Manualslib.com manuals search engine 5. Clamp the steering wheel in a straight-ahead position
6. Release the parking brake.
When you
are finished towing, make sure you replace
the CLS/PCM fuse in the instrument panel fuse block.
with a clamping device designed for towing.
Towing Your Vehicle from the Front
(Four-Speed Automatic
or Five-Speed
Manual Transaxles Only)
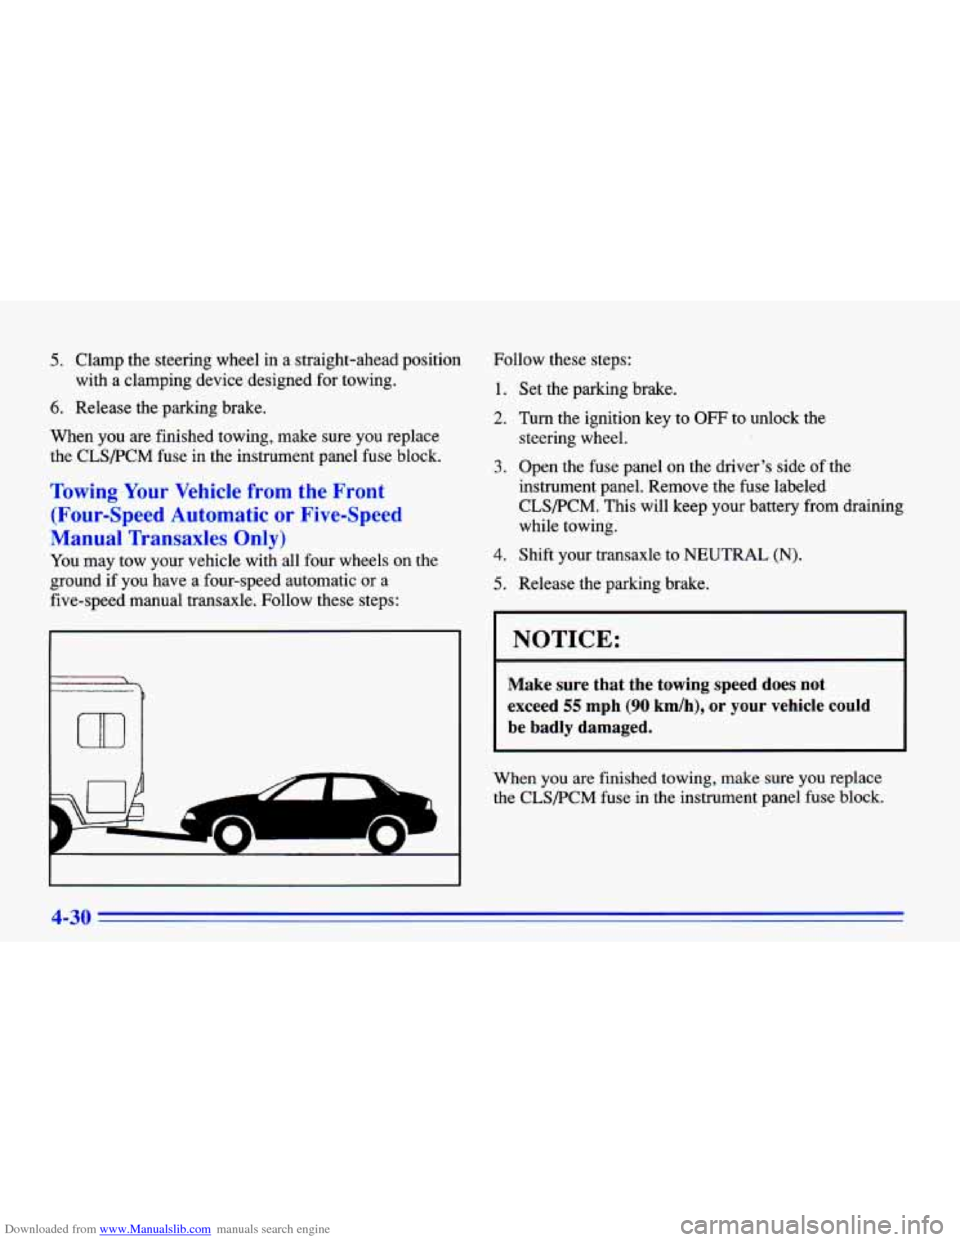
You may tow your vehicle with all four wneels on the
ground
if you have a four-speed automatic or a
five-speed manual transaxle. Follow these steps:
r
m
.
*-
Follow these steps:
1. Set the parking brake.
2. Turn the ignition key to OFF to unlock the
3. Open the fuse panel on the driver’s side of the
instrument panel. Remove the fuse labeled
CLS/PCM. This will keep your battery from draining
while towing. steering wheel.
4. Shift your transaxle to NEUTRAL (N).
5. Release the parking brake.
NOTICE:
Make sure that the towing speed does not
exceed
55 mph (90 km/h), or your vehicle could
be badly damaged.
When you are finished towing, make sure you replace
the CLS/PCM fuse in the instrument panel fuse block.
4-30
Page 278 of 372

Downloaded from www.Manualslib.com manuals search engine Uniform Tire Quality Grading
The following information relates to the system developed
by the United States National Highway Traffic Safety Administration, which grades tires by treadwear, traction
and temperature performance.
(This applies only to
vehicles sold
in the United States.) The grades are molded
on the sidewalls of most passenger car tires. The Uniform
Tire Quality Grading system does not apply
to deep tread,
A CAUTION:
Mixing tires could cause you to lose control while
driving. If you mix tires of different sizes or types
(radial and bias-belted tires), the vehicle may not
handle properly, and
you could have a crash.
Using tires of different sizes may also cause
damage to your vehicle. Be sure to use the same
size and type tires on all four wheels.
It’s all right to drive with your compact spare,
though. It was developed for use on
your vehicle.
winter-type snow tires, space-saver or temporary use spare
tires, tires with nominal rim diameters of 10 to 12 inches
(25 to 30 cm), or to some limited-production tires. While
the tires available
on General Motors passenger
cars and light trucks may vary with respect
to these
grades, they must also conform
to Federal safety
requirements and additional General Motors Tire
Performance Criteria
(TPC) standards.
Treadwear
The treadwear grade is a comparative rating based on the
wear rate of the tire when tested under controlled conditions
on a specified government test course. For example, a tire
graded 150 would wear one and a half
(1 1/2) times as well
on
the government course as a tire graded 100. The relative
performance
of tires depends upon the actual conditions of
their use, however, and may depart significantly fiom the
norm due
to variations in driving habits, service practices
and differences in road characteristics and climate.
Traction - A, B, C
The traction grades, from highest to lowest, are A, B, and
C, and they represent the tire’s ability to stop on wet
pavement as measured under controlled conditions on
k
specified government test surfaces of asphalt and concrete.
A tire marked C may have poor traction performance.
Warning: The traction grade assigned to this tire is based
on braking (straightahead) traction tests and does not
include cornering (turning) traction.
6-40