Page 155 of 372

Downloaded from www.Manualslib.com manuals search engine Adjusting the Speakers BAL:
Press this button lightly so it extends. Turn the
knob to move the sound to the left or right speakers. The
middle position is a detent and balances the speakers.
Turn the knob clockwise for right speakers and
counterclockwise for left speakers.
FADE: Press this button lightly so it extends. Turn the
knob to move the sound to the front or rear speakers.
The middle position is a detent and balances the speakers.
Turn the knob clockwise to adjust the sound to the front speakers and counterclockwise for the rear speakers.
Push the knobs back in when you’re not using them.
It is dirty, scratched or wet.
e It is very humid. (If so, wait about an hour and
RECALL: Press this button to see which track is
playing. Press it again within
five seconds to see how
long it has been playing (elapsed time). The track
number also appears when a new track starts to play.
PREV (1): Press this button or the SEEK arrow
pointing to the left to go to the start of a current track.
If you hold the button or press it more than once, the
player will continue moving back through the disc. The
sound will be muted while seeking. try again.)
Playing a Compact Disc
With the radio
on or off, insert a disc partway into the
slot, label side up. The player will pull it in. The disc
should begin playing. The display will show CD and the
CD symbol.
,If you’re driving on a very rough road or
if it’s very hot,
the disc may not play and ERR (error) may appear on
the display. Press RECALL
to take ERR off the display.
When things get back to normal, the disc should play.
If
the disc comes out, it could be that:
0 The disc is upside down.
RDM (2): Press this button to hear the tracks in random
rather than sequential
(1 , 2,3. . .) order. RANDOM will
show on the display. Press RDM again to return to
sequential order. RANDOM is set to
OFF when the disc
is ejected.
NEXT (3): Press this button or the SEEK arrow
pointing to the right to
go to the next track. If you hold
the button
or press it more than once, the player will
continue moving forward through the disc. The sound
will be muted while seeking.
REV (4): Press and hold this button to return to a
passage quickly. Release it to play the passage. You can
3-19
Page 173 of 372

Downloaded from www.Manualslib.com manuals search engine Steering in Emergencies
There are times when steering can be more effective
than bralung. For example, you come over a hill and
find a truck stopped in your lane, or a car suddenly pulls
out from nowhere, or a child darts out from between
parked cars and stops right in front
of you. You can
avoid these problems by braking
-- if you can stop in
time. But sometimes you can’t; there isn’t room.
That’s the time for evasive action
-- steering around
the problem.
Your Chevrolet can perform very well in emergencies
like these. First apply your brakes. (See “Braking in
Emergencies’’ earlier in this section.) It is better to
remove as much speed as you can from a possible
collision. Then steer around the problem, to the left or
right depending on the space available.
I I
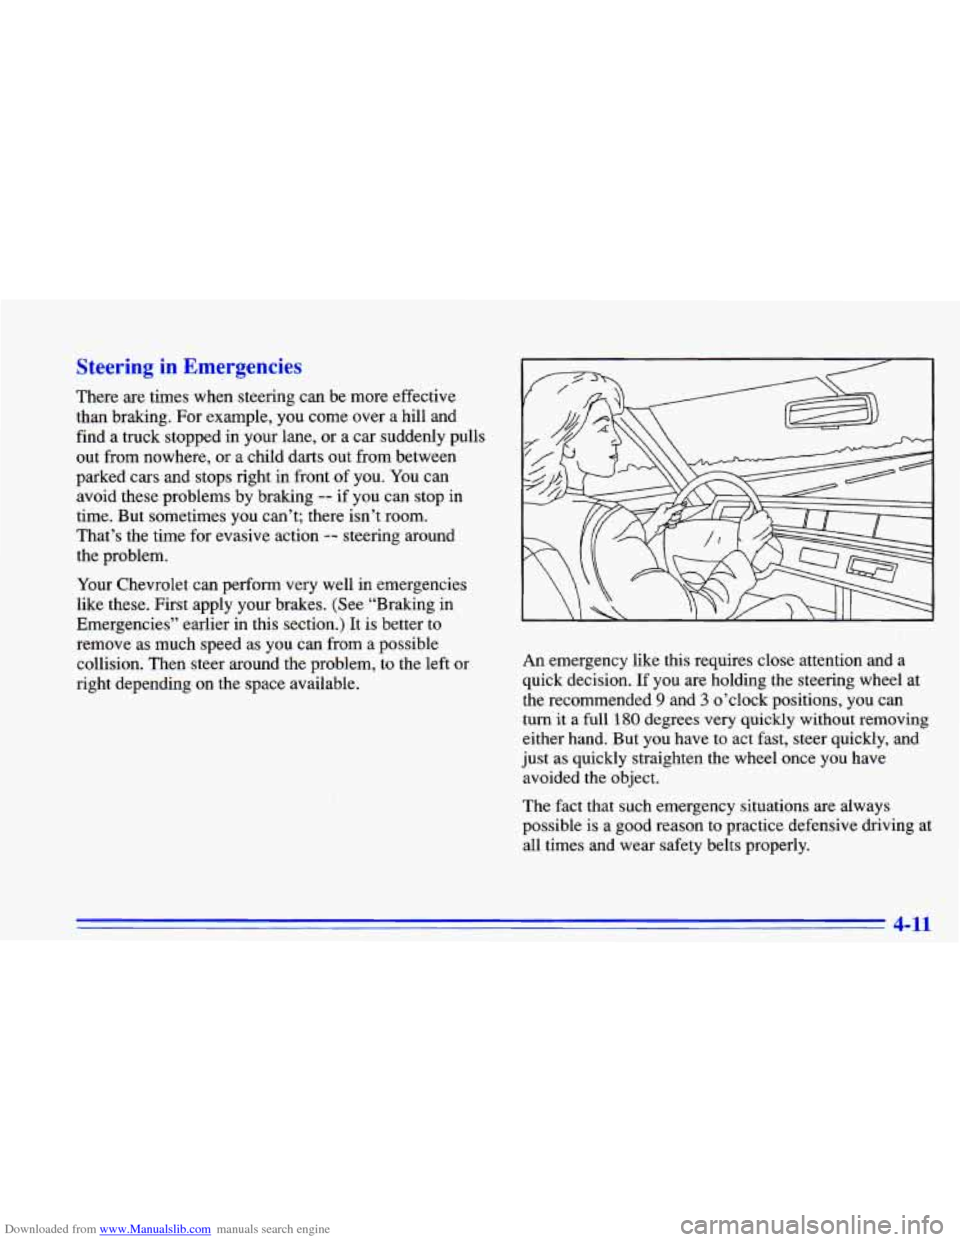
An emergency like this requires close attention and a
quick decision. If you are holding the steering wheel at
the recommended
9 and 3 o’clock positions, you can
turn
it a full 180 degrees very quickly without removing
either hand. But you have to
act fast, steer quickly, and
just as quickly straighten the wheel once you have
avoided the object.
The fact that such emergency situations are always
possible is a good reason to practice defensive driving at
all times and wear safety belts properly.
4-11
Page 226 of 372
Downloaded from www.Manualslib.com manuals search engine need is in the t&. Turn
the center retainer nut
on
the compact spare cover
counterclockwise to
remove it.
Lift
and remove the cover. See “Compact Spare Tire”
later in this section for more information about the
compact spare.
The following steps will tell
you how to use the jack and
change a tire.
5-22
Page 227 of 372
Downloaded from www.Manualslib.com manuals search engine Turn the wing nut counterclockwise and
remove it. Then lift
off the
adapter and remove the
spare tire. Remove the
jack and wheel wrench
from the trunk. Yo1
vehicle’s jack and wheel wrench are stored in a foam
tray. Remove the band around the jack.
The tools you’ll be using include the jack
(A) and wheel
wrench
(B).
5-23
Page 230 of 372
Downloaded from www.Manualslib.com manuals search engine I NOTICE:
I I
Raising your vehicle with the jack improperly
positioned will damage the vehicle or may allow
the vehicle to fall off the jack. Be sure to fit the
jack lift head into the proper location before
raising your vehicle.
Do not jack or lift the vehicle using the oil pan.
Pans could crack and begin to leak fluid.
1
A
n
5. Raise the vehicle by rotating the wheel wrench
clockwise. Raise the vehicle far enough
off the ground
so there is enough room for the spare tire to fit.
5-26
Page 232 of 372
Downloaded from www.Manualslib.com manuals search engine Never use oil or grease on stud! r nuts. If you
do, the nuts might come loose. Your wheel could
fall off, causing a serious accident.
Replace the wheel nuts
with the rounded end
of the nuts toward the
wheel. Tighten each
nut by hand or with
the wheel wrench
until the wheel is held
against the hub.
10. Lower the vehicle by rotating the wheel wrench
counterclockwise. Lower the jack completely.
Page 242 of 372
Downloaded from www.Manualslib.com manuals search engine Filling Your Tank
Gasoline vapor is highly flammable. It burns
violently, and that can cause very bad injuries. Don't smoke if you're near gasoline or refueling
your vehicle. Keep sparks, flames, and smoking
materials away from gasoline.
The cap is behind a hinged door on the right side of
your vehicle.
While refueling, hang the tethered cap inside the
fuel door.
To take off the cap, turn it slowly to the left
(counterclockwise).
6-4
-
Page 271 of 372
Downloaded from www.Manualslib.com manuals search engine 1. Remove the first bolt and carefully pry up the shield
that covers the headlamp assembly. Be careful not to
break the fasteners that hold the shield in place. 2. Remove the other bolt that anchors the headlamp
assembly. Pull the headlamp assembly toward the
front of the vehicle to access the bulb assembly.
3. Twist the bulb assembly one-eighth of a turn
counterclockwise and remove it from the
headlamp assembly.