Page 114 of 372
Downloaded from www.Manualslib.com manuals search engine 12. Push the button in the latch handle and turn the
handle down. Push the handle forward toward the
windshield and hold it until the convertible top is
fully raised, and the latch pins are all the way in the
holes above the windshield. 13. Turn the latch handle up to lock the top.
Page 117 of 372
Downloaded from www.Manualslib.com manuals search engine 9. Pull down on the top and turn the latch handle up to
lock the convertible top.
OPERATION position.
10. Press the bypass switch up to the NORMAL
11. Close the trunk.
12, Raise the rear seatback to the up position. Push the
seat back to make sure it is latched.
2-59
Page 126 of 372
Downloaded from www.Manualslib.com manuals search engine Anti-Lock Brake System Warning Light
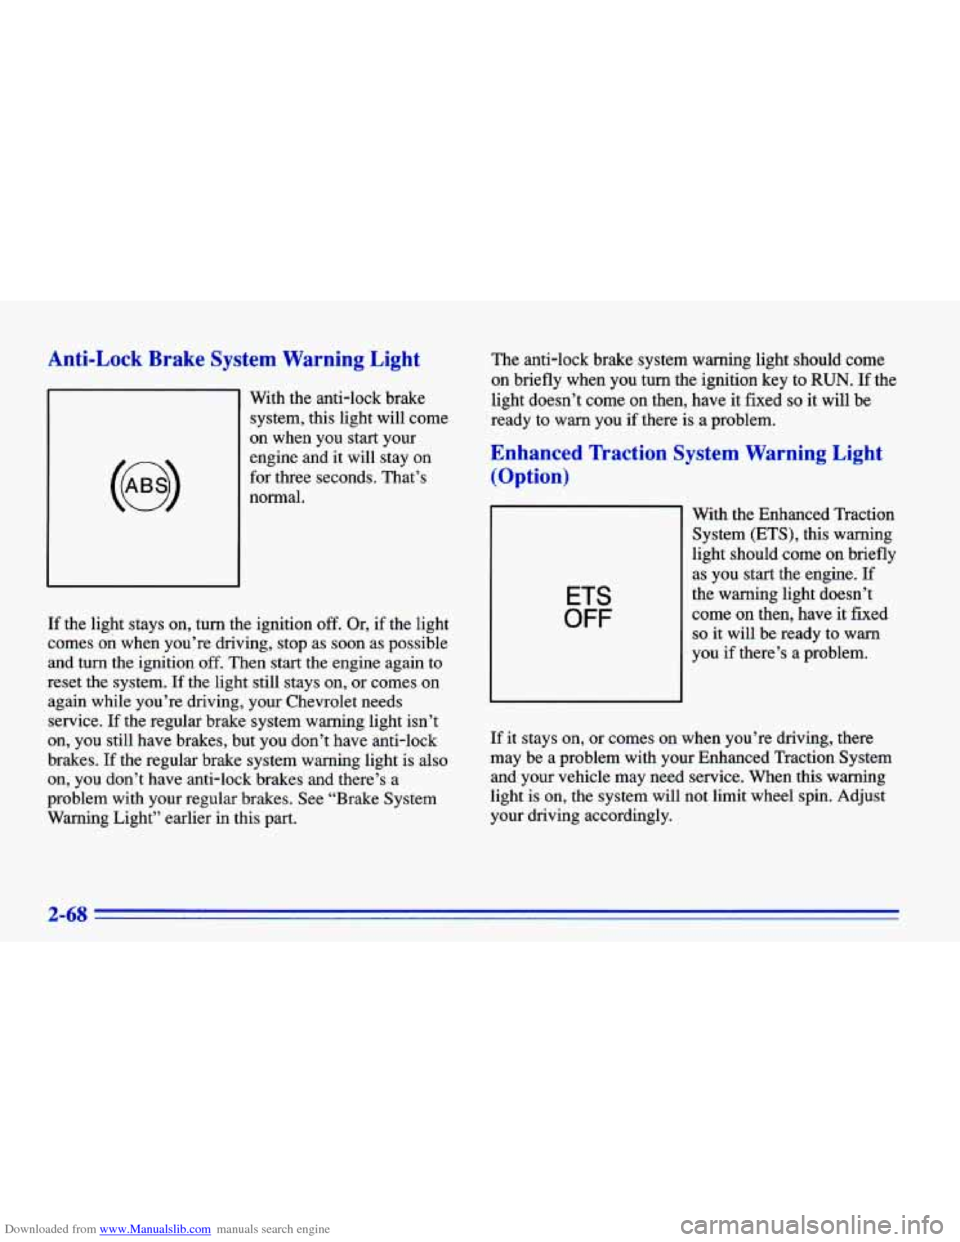
With the anti-lock brake
system, this light will come
on when you start your
engine and
it will stay on
for three seconds. That’s
normal.
If the light stays on, turn the ignition off. Or, if the light
comes
on when you’re driving, stop as soon as possible
and turn the ignition off. Then start the engine again to
reset the system. If the light still stays on, or comes on
again while you’re driving, your Chevrolet needs
service.
If the regular brake system warning light isn’t
on, you still have brakes, but you don’t have anti-lock
brakes.
If the regular brake system warning light is also
on, you don’t have anti-lock brakes and there’s a
problem with your regular brakes. See “Brake System
Warning Light” earlier in this part. The
anti-lock brake system warning light should come
on briefly when you turn the ignition key to
RUN. If the
light doesn’t come
on then, have it fixed so it will be
ready to warn you if there is a problem.
Enhanced lkaction System Warning Light
(Option)
ETS
OFF
With the Enhanced Traction
System (ETS), this warning
light should come
on briefly
as you start the engine.
If
the warning light doesn’t
come
on then, have it fixed
so it will be ready to warn
you if there’s a problem.
If
it stays on, or comes on when you’re driving, there
may be a problem with your Enhanced Traction System
and your vehicle may need service. When this warning
light is on, the system will not limit wheel spin. Adjust
your driving accordingly.
2-68
Page 133 of 372
Downloaded from www.Manualslib.com manuals search engine Passlock Warning Light
THEFT
SYSTEM
This light will come on
when you turn the key
towards the START
position.
If the light flashes, the Passlock system has entered a
tamper mode.
If the vehicle fails to start, see “Passlock”
in the Index.
If the light comes on continuously while driving and
stays on, there may be
a problem with the Passlock
system. Your vehicle will not be protected by Passlock,
and you should see your dealer.
Up-Shift Light (Manual Transaxle)
This light comes on when
you need
to shift to the next
higher gear. See “Manual
Transaxle” in the Index.
SHIFT
Check Gages Light
CHECK
GAGES
This light will come on
briefly when
you are
starting the engine. If the
light comes on and stays on
while you are driving, check
your various gages to see if
they are in the warning
zones.
2-75
Page 138 of 372
Downloaded from www.Manualslib.com manuals search engine Fan Knob
The left knob selects the force of air you want. Turn the
knob clockwise to increase fan speed and counterclockwise to decrease fan speed.
To turn the fan
off, turn the mode knob all the way counterclockwise. In
any other setting, the fan will run continuously.
Temperature Knob
The center knob changes the temperature of the air
coming through the system. Turn this knob toward
red (clockwise) for warmer air. Turn it toward blue
(counterclockwise) for cooler air.
Mode Knob
The right knob has several settings to control the
direction of airflow. For each setting, set the temperature
to a comfortable setting.
2 VENT This setting brings in outside air and
directs it through the middle instrument panel outlets.
12 BI-LEVEL: This setting brings in outside air
and directs it two ways. Some air is directed through
the instrument panel outlets. Most of the air is directed
through the floor ducts and a little to the defrost and
side window vents.
Id FLOOR: This setting sends most of the air through
the ducts near the floor. The rest comes out of the
defroster and side window vents.
9 DEFOG: This setting allows half of the air to go
to the floor ducts and half to the defroster
and side
window vents.
DEFROST This setting directs most of the air
through the defroster and side window vents. Some of
the air goes to the floor ducts.
3-2
Page 139 of 372
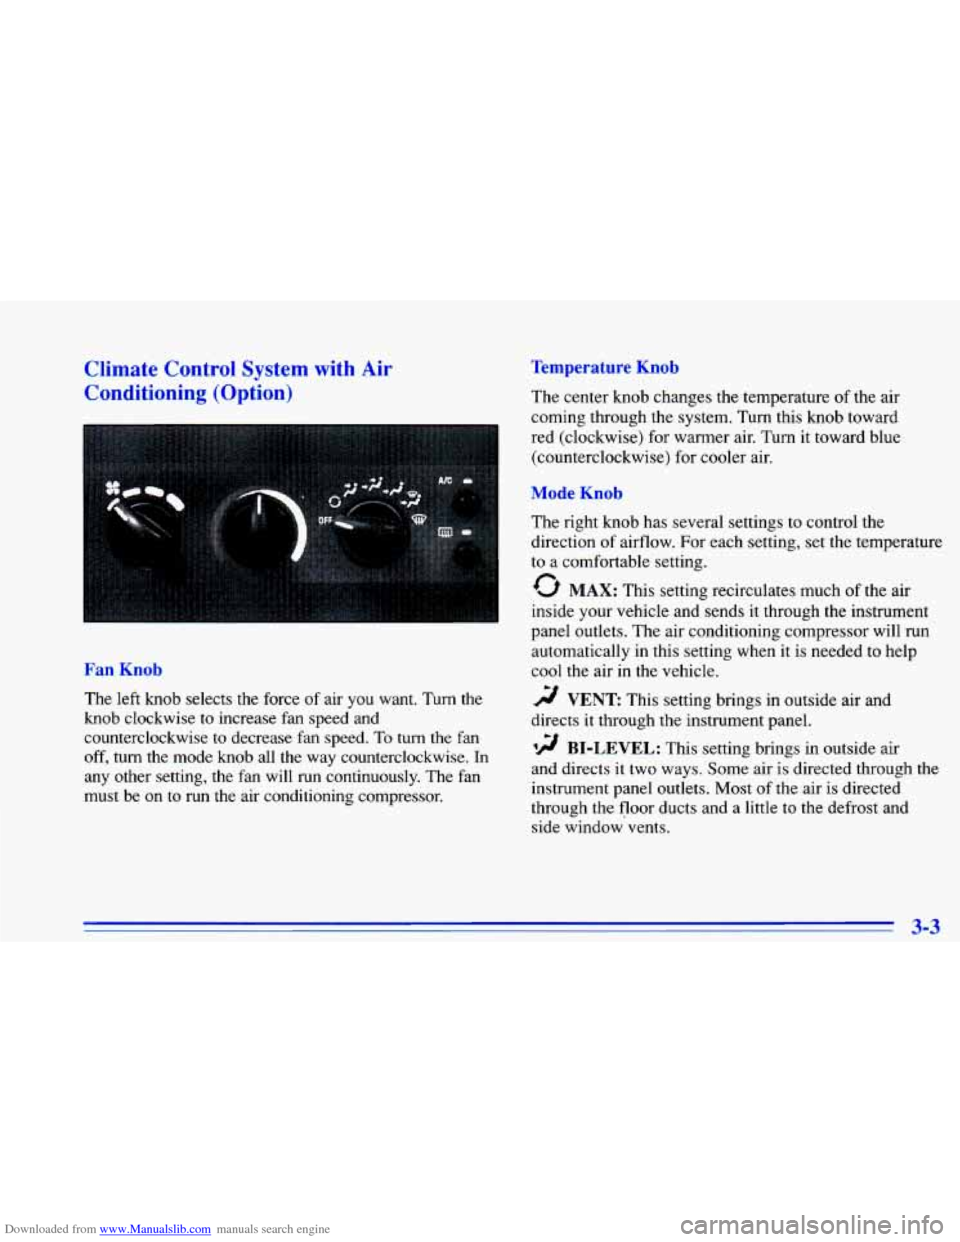
Downloaded from www.Manualslib.com manuals search engine Climate Control System with Air
Con g (Optiol
-. . .
Fan Knob
The left knob selects the force of air you want. Turn the
knob clockwise to increase fan speed and
counterclockwise
to decrease fan speed. To turn the fan
off, turn the mode knob all the way counterclockwise. In
any other setting,
the fan will run continuously. The fan
must be on
to run the air conditioning compressor.
Temperature Knob
The center knob changes the temperature of the air
coming through the system.
Turn this knob toward
red (clockwise) for warmer air. Turn it toward blue
(counterclockwise) for cooler air.
Mode Knob
The right knob has several settings to control the
direction
of airflow. For each setting, set the temperature
to a comfortable setting.
0 MAX: This setting recirculates much of the air
inside
your vehicle and sends it through the instrument
panel outlets. The air conditioning compressor will run
automatically in this setting when it is needed to help
cool
the air in the vehicle.
r;/ VENT This setting brings in outside air and
directs it through the instrument panel.
'!! BI-LEVEL: This setting brings in outside air
and directs it two ways. Some air is directed through the
instrument panel outlets. Most of the air is directed
through the floor ducts and a little to the defrost and
side window vents.
3-3
Page 143 of 372
Downloaded from www.Manualslib.com manuals search engine Rear Window Defogger (Option)
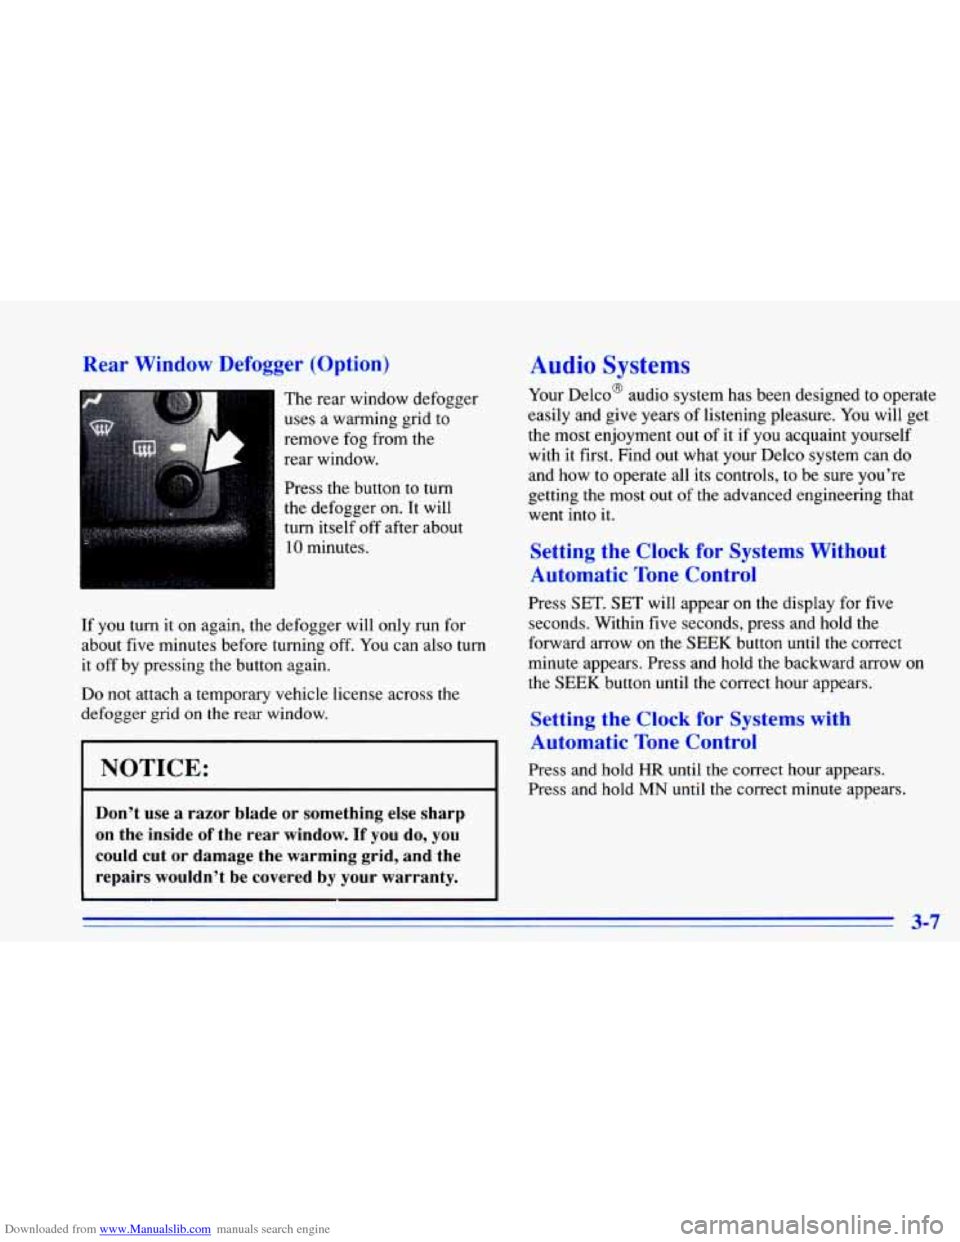
The rear window defogger
uses a warming grid to
remove fog from the
rear window.
Press the button
to turn
the defogger on. It will
turn itself off after about
10 minutes.
If you turn it on again, the defogger will only run for
about five minutes before turning off. You can also turn
it off by pressing the button again.
Do not attach a temporary vehicle license across the
defogger grid
on the rear window.
Audio Systems
Your Delco@ audio system has been designed to operate
easily and give years of listening pleasure. You will get
the most enjoyment out of
it if you acquaint yourself
with it first. Find out what your Delco system can do
and how to operate all its controls,
to be sure you’re
getting the most out
of the advanced engineering that
went into it.
Setting the Clock for Systc __ ‘. . - - -101 .
Automatic Tone Control
Press SET. SET will appear on the display for five
seconds. Within five seconds, press and hold the
forward arrow on the
SEEK button until the correct
minute appears. Press and hold the backward arrow
on
the SEEK button until the correct hour appears.
Setting the Clock for Systems with
. Automatic Tone Control
NOTICE: Press and hold HR until the correct hour appears.
Press and hold
MN until the correct minute appears.
Don’t use a razor blade or something else sharp
on the inside
of the rear window. If you do, you
could cut or damage
the warming grid, and the
repairs wouldn’t be covered by your warranty.
3-7
Page 144 of 372
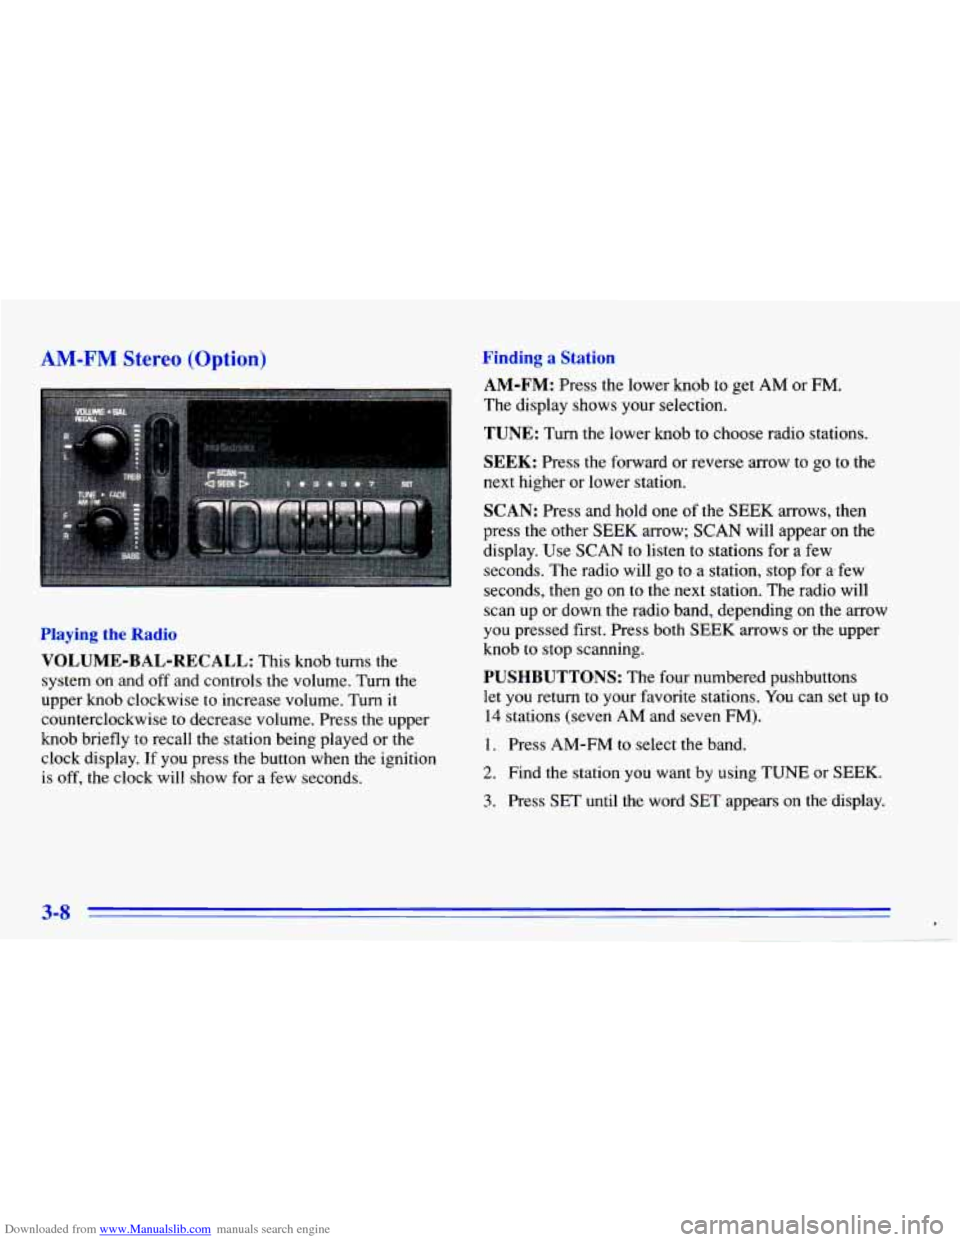
Downloaded from www.Manualslib.com manuals search engine AM-FM Stereo (Option)
Playing the Radio
VOLUME-BAL-RECALL: This knob turns the
system on and off and controls the volume. Turn the
upper knob clockwise to increase volume. Turn it
counterclockwise
to decrease volume. Press the upper
knob briefly
to recall the station being played or the
clock display. If
you press the button when the ignition
is off, the clock will show for a few seconds.
Finding a Station
AM-FM: Press the lower knob to get AM or FM.
The display shows your selection.
TUNE: Turn the lower knob to choose radio stations.
SEEK: Press the forward or reverse arrow to go to the
next higher or lower station.
SCAN: Press and hold one of the SEEK arrows, then
press the other
SEEK arrow; SCAN will appear on the
display. Use
SCAN to listen to stations for a few
seconds. The radio will go to
a station, stop for arfew
seconds, then
go on to the next station. The radio will
scan up or down the radio band, depending on the
arrow
you pressed first. Press both SEEK arrows or the upper
knob to stop scanning.
PUSHBUTTONS: The four numbered pushbuttons
let you return to your favorite stations. You can set up to
14 stations (seven AM and seven FM).
1. Press AM-FM to select the band.
2. Find the station you want by using TUNE or SEEK.
3. Press SET until the word SET appears on the display.
3-8 *