1996 CHEVROLET CAVALIER parking brake
[x] Cancel search: parking brakePage 191 of 372
Downloaded from www.Manualslib.com manuals search engine Run your engine only as long as you must. This saves
fuel. When you run the engine, make it.go a little faster
than just idle. That is, push the accelerator slightly. This
uses less fuel for the heat that you get and it keeps the
battery charged.
You will need a well-charged battery to
restart the vehicle, and possibly for signaling later
on
with your headlamps. Let the heater run for awhile.
Then, shut the engine off and close the window almost
all the way
to preserve the heat. Start the engine again
and repeat this only when you feel really uncomfortable
from the cold. But do it as little as possible. Preserve the
fuel as long as you can.
To help keep warm, you can get
out of the vehicle and do some fairly vigorous exercises
every half hour or
so until help comes.
Recreational Vehicle Towing
You can tow your vehicle behind another vehicle for use
at your destination. Be sure
to use the proper towing
equipment designed for recreational towing. Follow the
instructions for the towing equipment.
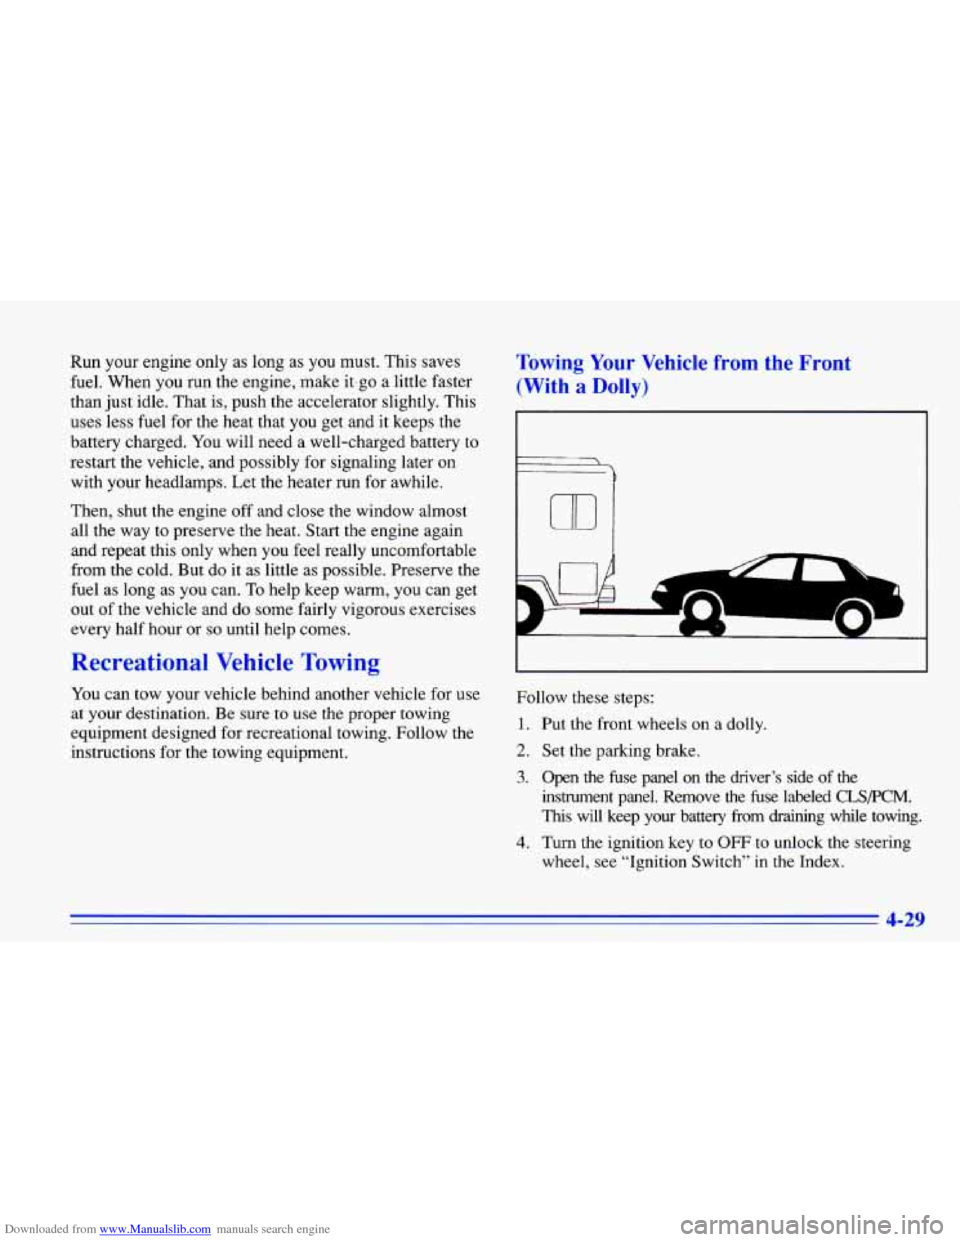
Towing Your Vehicle from the Front
(With a Dolly)
€
7
m
Follow these steps:
1. Put the front wheels on a dolly.
2. Set the parking brake.
3. Open the fuse panel on the driver’s side of the
instrument panel. Remove the fuse labeled
CLSPCM.
This will keep your battery from draining while towing.
4. Turn the ignition key to OFF to unlock the steering
wheel, see “Ignition Switch’’ in the Index.
4-29
Page 192 of 372
Downloaded from www.Manualslib.com manuals search engine 5. Clamp the steering wheel in a straight-ahead position
6. Release the parking brake.
When you
are finished towing, make sure you replace
the CLS/PCM fuse in the instrument panel fuse block.
with a clamping device designed for towing.
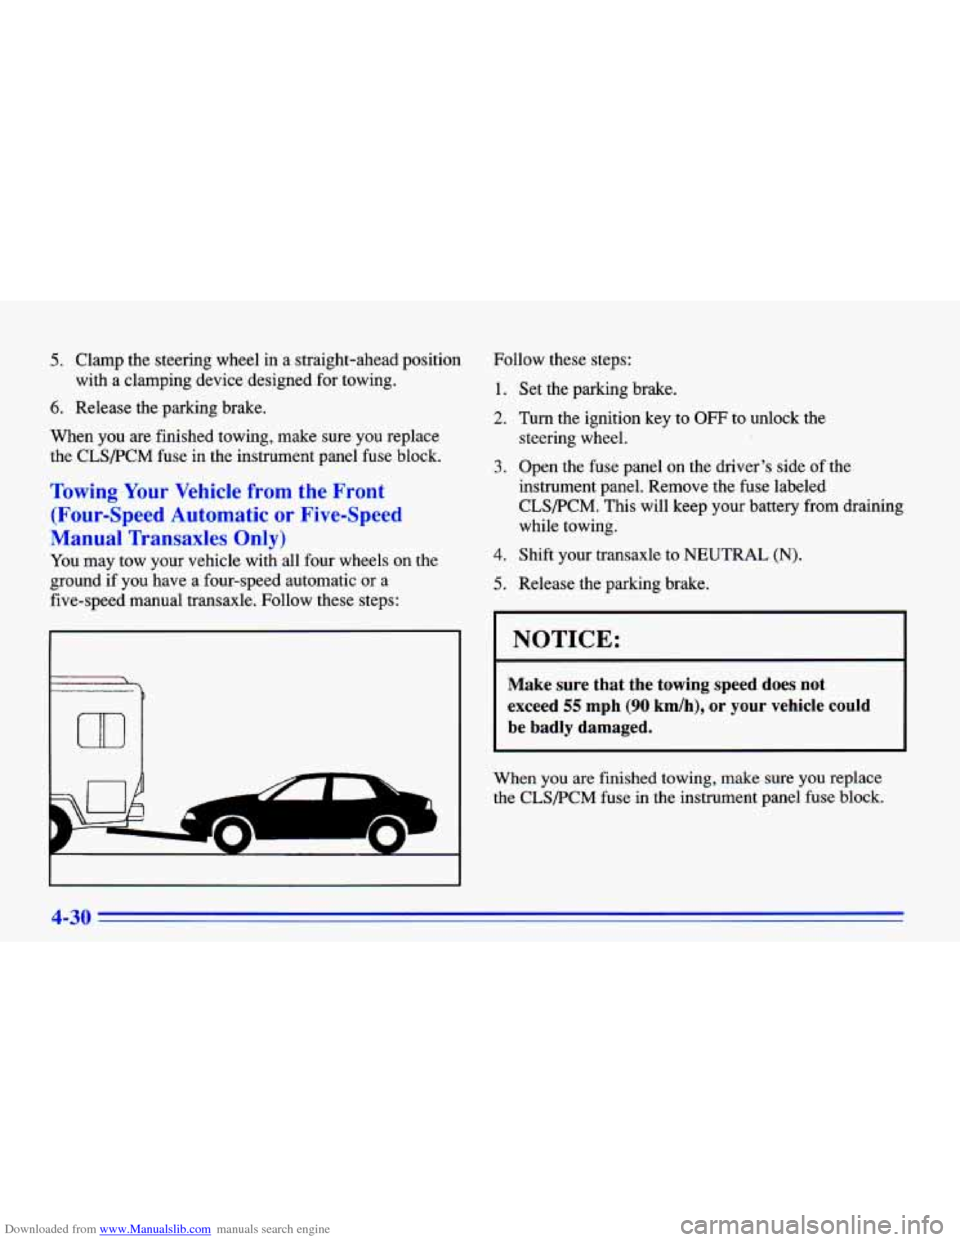
Towing Your Vehicle from the Front
(Four-Speed Automatic
or Five-Speed
Manual Transaxles Only)
You may tow your vehicle with all four wneels on the
ground
if you have a four-speed automatic or a
five-speed manual transaxle. Follow these steps:
r
m
.
*-
Follow these steps:
1. Set the parking brake.
2. Turn the ignition key to OFF to unlock the
3. Open the fuse panel on the driver’s side of the
instrument panel. Remove the fuse labeled
CLS/PCM. This will keep your battery from draining
while towing. steering wheel.
4. Shift your transaxle to NEUTRAL (N).
5. Release the parking brake.
NOTICE:
Make sure that the towing speed does not
exceed
55 mph (90 km/h), or your vehicle could
be badly damaged.
When you are finished towing, make sure you replace
the CLS/PCM fuse in the instrument panel fuse block.
4-30
Page 201 of 372
Downloaded from www.Manualslib.com manuals search engine firn Signals When Towing a Trailer
The green arrows on your instrument panel will flash
whenever you signal a turn or lane change. Properly
hooked up, the trailer lamps will also flash, telling other
drivers you’re about to turn, change lanes or stop.
When towing a trailer, the green arrows on your
instrument panel will flash for turns even if the bulbs on
the trailer are burned out. Thus, you may think drivers
behind you are seeing your signal when they are not.
It’s important to check occasionally to be sure the trailer
bulbs are still working.
Driving On Grades
Reduce speed and shift to a lower gear before you start
down
a long or steep downgrade. If you don’t shift
down, you might have to use your brakes
so much that
they would get hot and no longer work well.
On a long uphill grade, shift down and reduce your
speed to around
45 mph (70 km/h) to reduce the
possibility of engine and transaxle overheating.
Parking on Hills
You really should not park your vehicle, with a trailer
attached, on a hill. If something goes wrong, your
rig
could start to move. People can be injured, and both
your vehicle and the trailer can be damaged.
But if you ever have to park your rig on a hill, here’s
how to do
it:
1. Apply your regular brakes, but don’t shift into
2. Have someone place chocks under the trailer wheels. PARK
(P) yet.
3. When the wheel
chocks are in place, release the
regular brakes until the chocks absorb the load.
4. Reapply the regular brakes. Then apply your parking
brake, and then shift to PARK
(P).
5. Release the regular brakes.
4-39
Page 202 of 372
Downloaded from www.Manualslib.com manuals search engine When You Are Ready to Leave After
Parking on
a Hill
1. Apply your regular brakes and hold the pedal down
while you:
Start your engine;
Shift into a gear; and
0 Release the parking brake.
2. Let up on the brake pedal.
3. Drive slowly until the trailer is clear of the chocks.
4. Stop and have someone pick up and store the chocks.
Maintenance When Trailer Towing
Your vehicle will need service more often when you’re
pulling a trailer.
See the Maintenance Schedule for more
on
this. Things that are especially important in trailer
operation are automatic transaxle fluid (don’t overfill),
engine
oil, belt, cooling system and brake adjustment.
Each of these is covered
in this manual, and the Index will
help you find them quickly. If you’re trailering, it’s a good
idea to review these sections before you
start your trip.
Check periodically to see that all hitch nuts and bolts
are tight.
Towing A Trailer (Except Models
with 2.4L Engine and 4-Speed
Automatic Transaxle)
Do not tow a trailer with a Cavalier if your vehicle is:
0 a convertible model.
equipped with a 2.2L (Code 4) engine.
equipped with a manual transaxle or a three-speed
Your Cavalier is neither designed nor intended to
tow
a trailer.
automatic transaxle.
4-40
Page 207 of 372
Downloaded from www.Manualslib.com manuals search engine 2. Get the vehicles close enough so the jumper cables
can reach, but be sure the vehicles aren’t touching
each other. If they are, it could cause
a ground
connection you don’t want. You wouldn’t be able to
start your Chevrolet, and the bad grounding could
damage the electrical systems.
You could be injured if the vehicles roll. Set the
parking brake firmly on each vehicle. Put an
automatic transaxle in
PARK (P) or a manual
transaxle in
NEUTRAL (N).
3. Turn off the ignition on both vehicles. Unplug
unnecessary accessories plugged into the cigarette
lighter.
Turn off all lamps that aren’t needed as well
as radios. This will avoid sparks and help save both
batteries. In addition, it could save your ra&o.
NOTICE:
If you leave your radio on, it could be badly
damaged. The repairs wouldn’t be covered by
your warranty.
4. Open the hoods and locate the batteries.
An electric fan can start up even when the engine
is not running and can injure you. Keep hands,
clothing and tools away from any underhood
electric fan.
5. Find the positive (+) and negative (-) terminals on
each battery.
5-3
Page 212 of 372
Downloaded from www.Manualslib.com manuals search engine -- IO Iontinut I I
Never get under your vehicle after it has
been lifted by the tow truck.
Always secure the vehicle on each side with
separate safety chains when towing it.
Never use J-hooks. Use T-hooks instead.
When
your vehicle is being towed, have the ignition
key OFF. The steering wheel should be clamped in a
straight-ahead position, with a clamping device
designed
for towing service. Do not use the vehicle’s
steering column lock for this. The transaxle should be
in
NEUTRAL (N) and the parking brake released.
A CAUTION:
I
A vehicle can fall from a car carrier if it isn’t
adequately secured. This can cause
a collision,
serious personal injury and vehicle damage. The
vehicle should be tightly secured with chains or
steel cables before it is transported.
Don’t
use substitutes (ropes, leather straps,
canvas webbing, etc.) that can be cut by sharp
edges underneath the towed vehicle. Always use
T-hooks inserted in the T-hook slots. Never use
J-hooks. They will damage drivetrain and
suspension components.
5-8
Page 225 of 372
Downloaded from www.Manualslib.com manuals search engine If a Tire Goes Flr Changing a Flat Tire
It’s unusual for a tire to “blow out” while you’re driving,
especially if you maintain your tires properly.
If air goes
out of a tire, it’s much more likely to leak out slowly.
But if you should ever have a “blowout,”
here are a few
tips about what to expect and what to do:
If a front
tire fails, the flat tire will create a drag that
pulls the vehicle toward that side. Take your foot off the
accelerator pedal and grip the steering wheel firmly.
Steer to maintain lane position, and then gently brake to
a stop well out of the traffic lane.
A rear blowout, particularly on a curve, acts much like a
skid and may require the same correction you’d use in a
skid. In any rear blowout, remove your foot from the
accelerator pedal. Get the vehicle under control by
steering the way you want the vehicle to
go. It may be
very bumpy and noisy, but you can still steer. Gently
brake
to a stop -- well off the road if possible.
If a tire goes flat, the next
part shows how to use your
jacking equipment to change a flat tire safely.
If a tire goes rlat, avoid further tire and wheel damage
by driving slowly to a level place. Turn on your hazard
warning flashers.
I
Changing a tire can cause an injury. The vehicle
can slip
off the jack and roll over you or other
people. You and they could be badly injured.
Find
a level place to change your tire. To help
prevent the vehicle from moving:
1. Set the parking brake firmly.
2. Put an automatic transaxle shift lever in
PARK (P), or shift a manual transaxle to
FIRST
(1) or REVERSE (R).
3. lbrn off the engine.
To be even more certain the vehicle won’t move,
you can put blocks
at the front and rear of the
tire farthest away from the one being changed.
That would be the tire on the other side of the
vehicle,
at the opposite end.
5-21
Page 256 of 372
Downloaded from www.Manualslib.com manuals search engine Checking the Fluid Level
0 Park your vehicle on a level place. Keep the engine .
With the parking brake applied, place the shift lever
0 With your foot on the brake pedal, move the shift
lever through each gear range, pausing for about
three seconds in each range. Then, position the shift
lever
in PARK (P).
running.
in PARK (P).
0 Let the engine run at idle for three to five minutes.
Then, without shutting
off the engine, follow these steps:
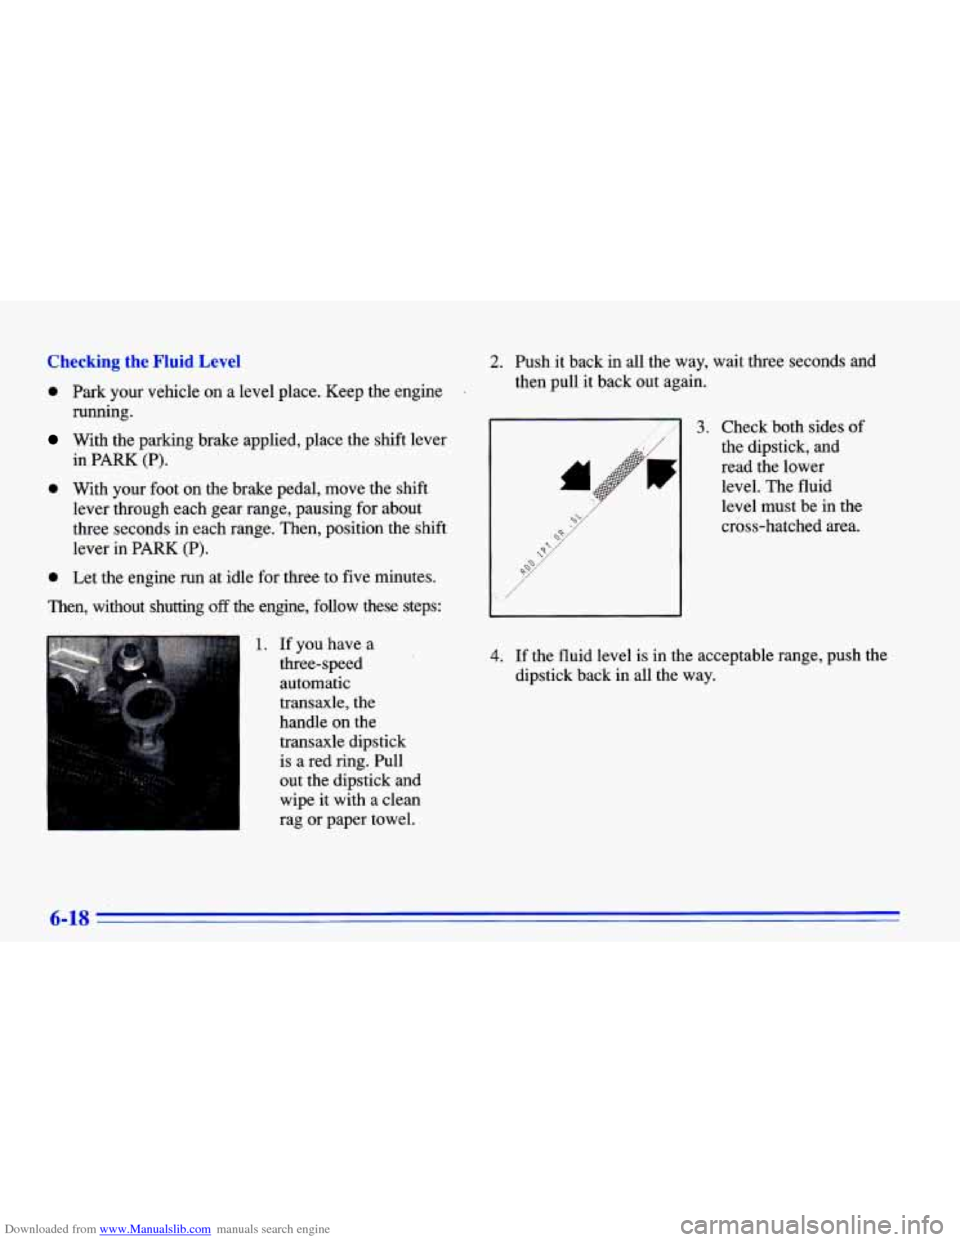
1. If you have a
three-speed
automatic
transaxle, the
handle on the
transaxle dipstic .k
is a red ring. Pull
out the dipstick and
wipe
it with a clean
rag or paper towel.
2. Push it back in all the way, wait three seconds and
then pull it back out again.
3. Check both sides of
the dipstick, and
read the lower level. The fluid
level must be in the
cross-hatched area.
4. If the fluid level is in the acceptable range, push the
dipstick back
in all the way.
6-18