1996 CHEVROLET CAVALIER parking brake
[x] Cancel search: parking brakePage 98 of 372
Downloaded from www.Manualslib.com manuals search engine Daytime Running Lamps
Daytime Running Lamps (Dm) can make it easier for
others to see the front of your vehicle during the day.
DRL can be helpful in many different driving
conditions, but they can be especially helpful
in the
short periods after dawn and before sunset.
The
DRL system will make your high-beam headlamps
come on at reduced brightness
in daylight when:
the ignition is on with the engine running,
the headlamp switch is OFF,
the parking brake is released and
0 the transaxle is not in PARK (P) or NEUTRAL (N)
on models with an automatic transaxle.
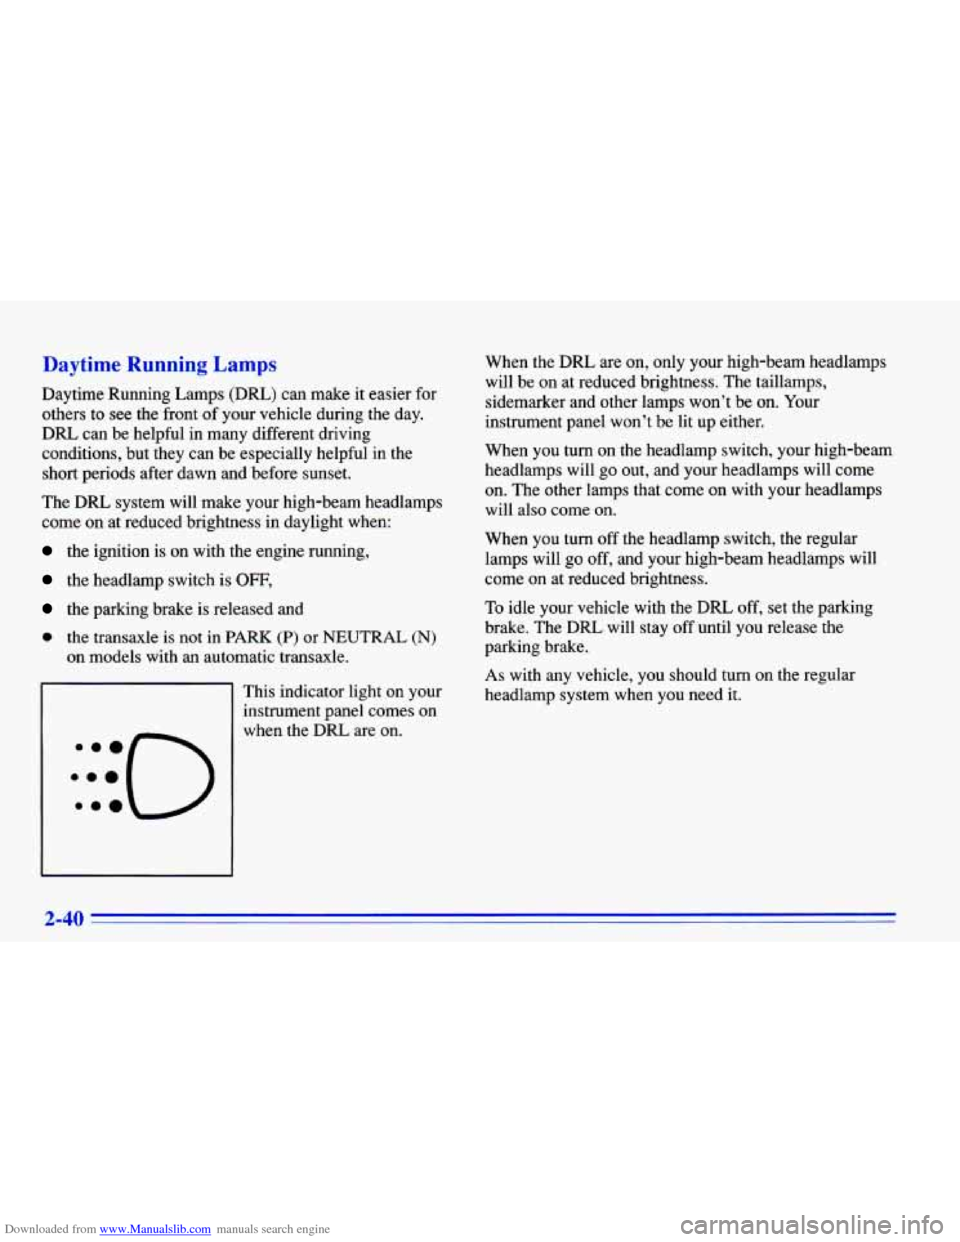
This indicator light on your
instrument panel comes on When the
DRL are
on, only your high-beam headlamps
will be on at reduced brightness. The taillamps,
sidemarker and other lamps won’t be on. Your
instrument panel won’t be lit up either.
When you turn on the headlamp switch, your high-beam
headlamps will go out, and your headlamps will come
on. The other lamps that come on with your headlamps
will also come on.
When you turn
off the headlamp switch, the regular
lamps will go off, and your high-beam headlamps will
come on at reduced brightness.
To idle your vehicle with the DRL off, set the parking
brake. The
DRL will stay off until you release the
parking brake.
As with any vehicle, you should turn on the regular
headlamp system when
you need it.
2-40
Page 107 of 372
Downloaded from www.Manualslib.com manuals search engine Convertible Top (Option)
The following steps explain the proper operation of your
convertible top.
NOTICE:
0
0
0
Remove any items from the convertible top
storage area before you lower the top. Even
small items in the storage area can damage
the top
or other parts of the system.
Don’t raise or lower the convertible top
when the temperature is below
20°F
(-7°C). The cold can cause cracks and
other damage to the top
as it is being
lowered
or raised.
Don’t raise or lower the convertible top
while the vehicle is moving. The wind could
damage the top. Bring the vehicle to
a
complete stop before attempting to raise or
lower the top. Always make sure that
the top is securely latched before driving
the vehicle.
Lowering Your Convertible Top
1. Set the parking brake and shift your automatic
transaxle to
PARK (P) or your manual transaxle to
NEUTRAL
(N).
2. Turn the ignition to the RUN position. Lower the
3. Push the button in the latch handle and turn the
side door
windows.
handle down to unhook the latch pins from the holes
over the windshield.
2-49
Page 111 of 372
Downloaded from www.Manualslib.com manuals search engine Raising Your Convertible Top
1. Set the parking brake and shift your automatic
transaxle to
PARK (P) or your manual transaxle to
NEUTRAL (N).
2. Open the trunk and leave it open.
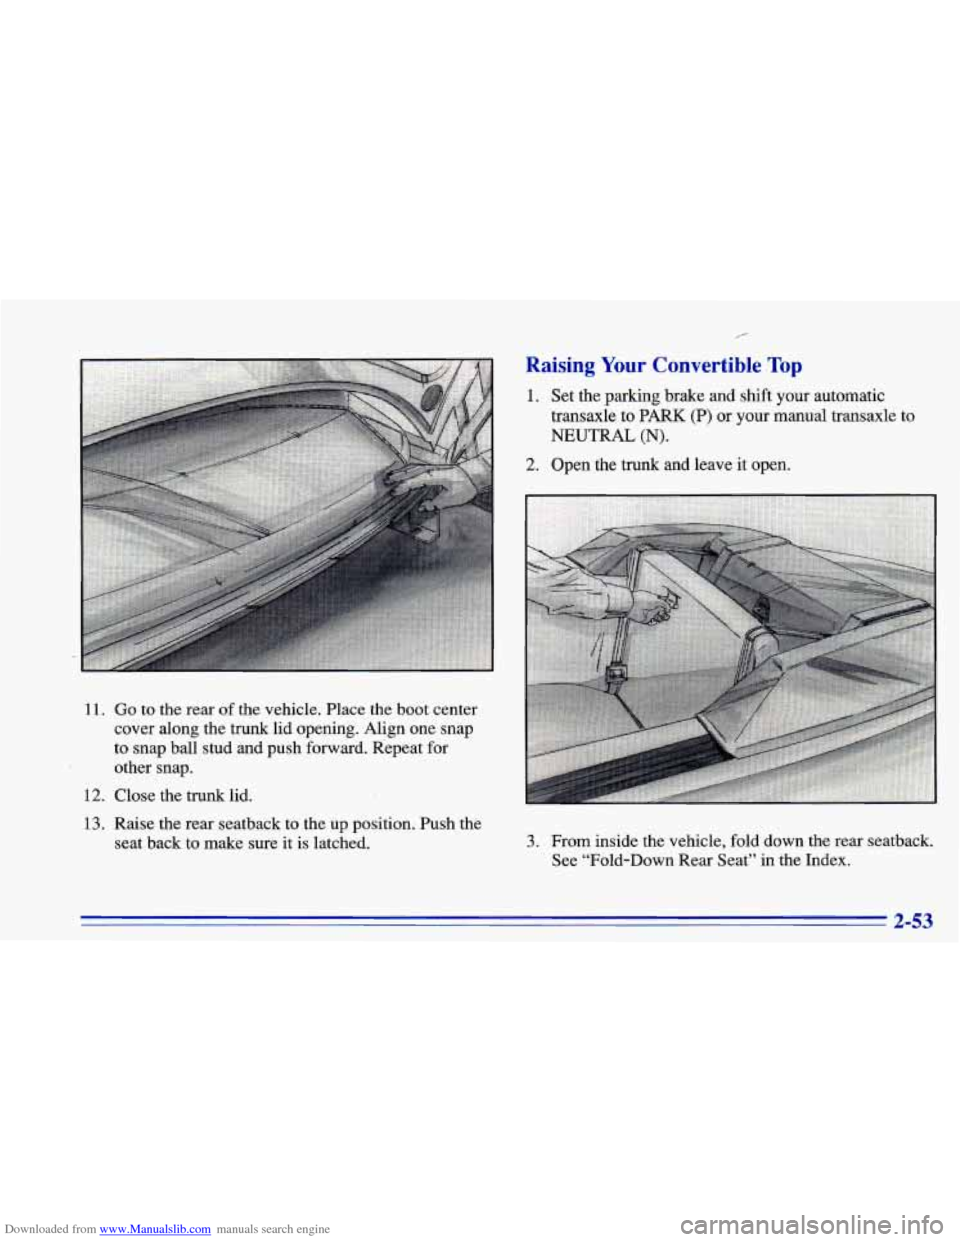
11. Go to the rear of the vehicle. Place the boot center
cover along the trunk lid opening. Align one snap
to snap ball stud and Dush forward. Repeat for
other snap.
12. Close the trunk lid.
13. Raise the rear seatback to the up position. Push the
seat back to make sure it is latched.
3. From inside the vehicle, fold down the rear seatback.
See “Fold-Down Rear Seat” in the Index.
2-53
Page 115 of 372
Downloaded from www.Manualslib.com manuals search engine Lowering the Top Manually
NOTICE:
Do not attempt to lower the top manually as
damage to the vehicle will occur. If the top fails to
raise or lower completely, see “Raising the Top
Manually” following.
1. Set the parking brake and shift your automatic
transaxle to PARK (P)
or your manual transaxle to
NEUTRAL
(N). Turn the engine off.
2. Push the button in the latch handle and turn the
handle down.
3. Open the trunk.
I I
Raising the Top Manually
If your vehicle loses power, or something else happens
that prevents you from raising the top electrically, you
may need to raise the top manually. This will allow you
to safely drive the vehicle until you can get the top
repaired. Raising the convertible top manually should
only be done in an emergency and requires two people.
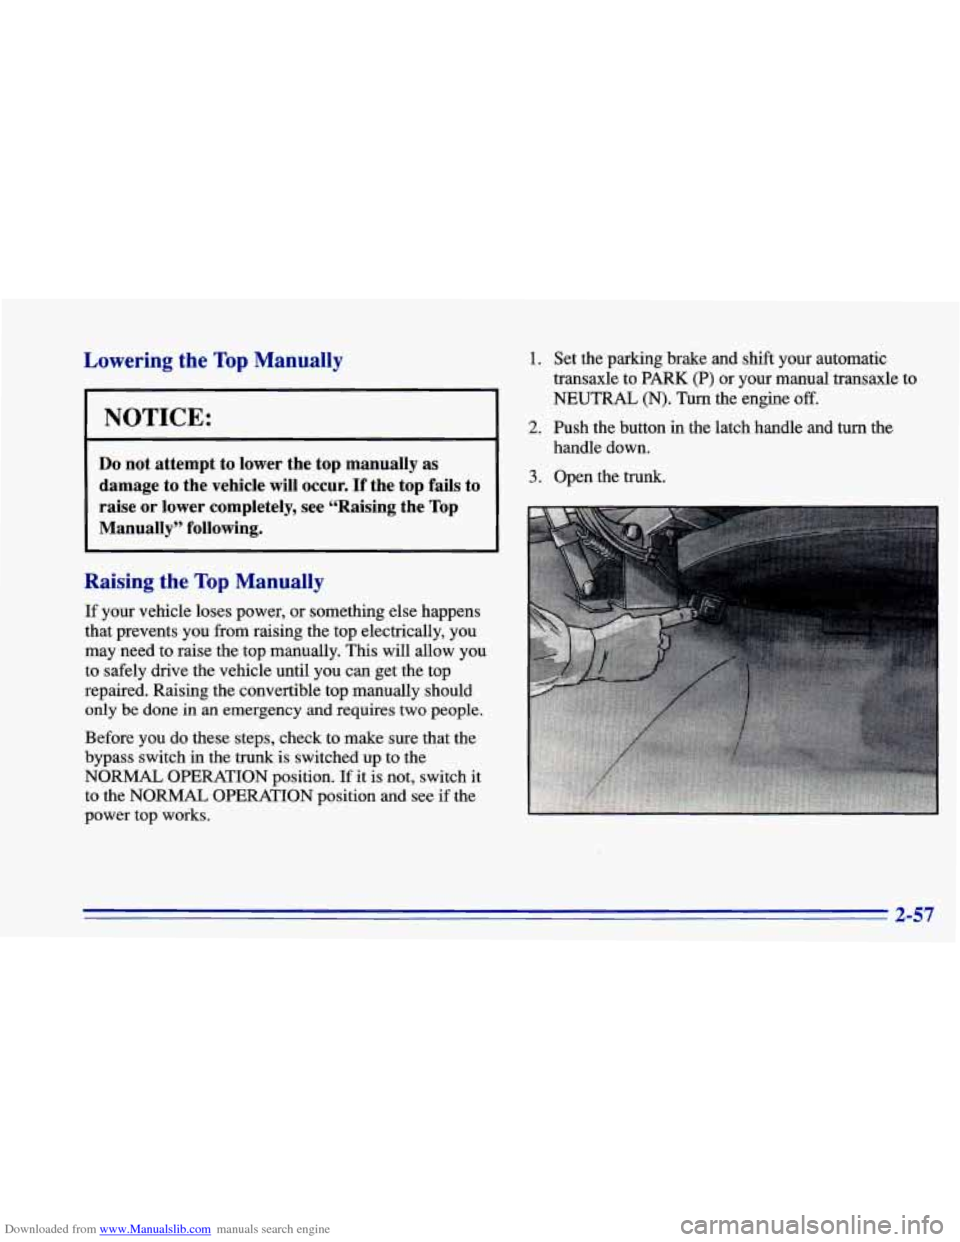
Before you do these steps, check to make sure that the
bypass switch in the
trunk is switched up to the
NORMAL OPERATION position.
If it is not, switch it
to the
NORMAL OPERATION position and see if the
power top works.
2-57
Page 119 of 372
Downloaded from www.Manualslib.com manuals search engine Your instrument panel is designed to let you know at a glance how your vehicle is running. You’ll know how fast
you’re going, how much fuel you’re using, and many other things you’ll need to drive safely and economically.
The main components of your instrument panel are:
1. Instrument Panel Intensity Control
2. Turn Signal/Multifunction Lever
3. Hazard Warning Flashers Switch
4. Ignition Switch
5. Windshield Wiperwasher Controls
6. Audio System
7. Climate Controls and Rear Window Defogger
8. Ashtray .
9. Parking Brake Lever
10. Tilt Steering Wheel Lever (Option)
11. Hood Release Lever
12. Fuse Panel
2-61
Page 125 of 372
Downloaded from www.Manualslib.com manuals search engine Brake System Warning Light
Your Chevrolet’s hydraulic brake system is divided into
two parts. If one part isn’t working, the other part can
still work and stop you. For good braking, though, you
need both parts working well.
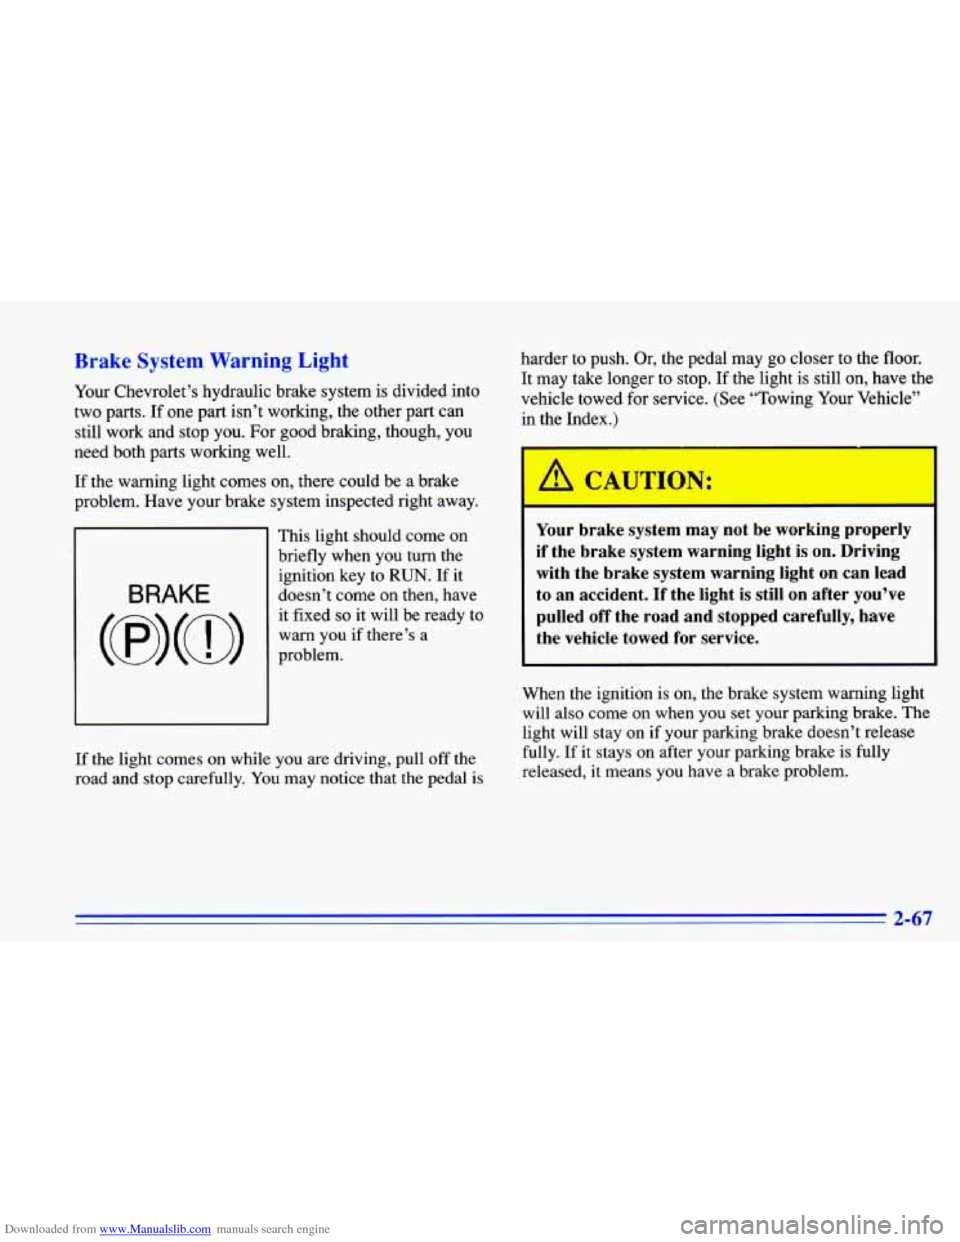
If the warning light comes on, there could be a brake
problem. Have your brake system inspected right away.
This light should come on
briefly when
you turn the
ignition key to
RUN. If it
doesn’t come on then, have
BRAKE
(@) (a)
warn you if there’s a
it fixed
so it will
be ready to
problem.
If the light comes on while you are driving, pull off the
road and stop carefully.
You may notice that the pedal is
harder to push. Or, the pedal may go closer to the floor.
It may take longer to stop. If the light is still on, have the
vehicle towed for service. (See “Towing Your Vehicle”
in the Index.)
Your brake system may not be working properly
if the brake system warning light is on. Driving
with the brake system warning light on can lead
to an accident. If the light is still on after you’ve
pulled off the road and stopped carefully, have
the vehicle towed for service.
When the ignition is on, the brake system warning light
will also come on when you set your parking brake. The
light will stay on if your parking brake doesn’t release
fully. If it stays on after your parking brake is fully
released, it means you have a brake problem.
Page 127 of 372
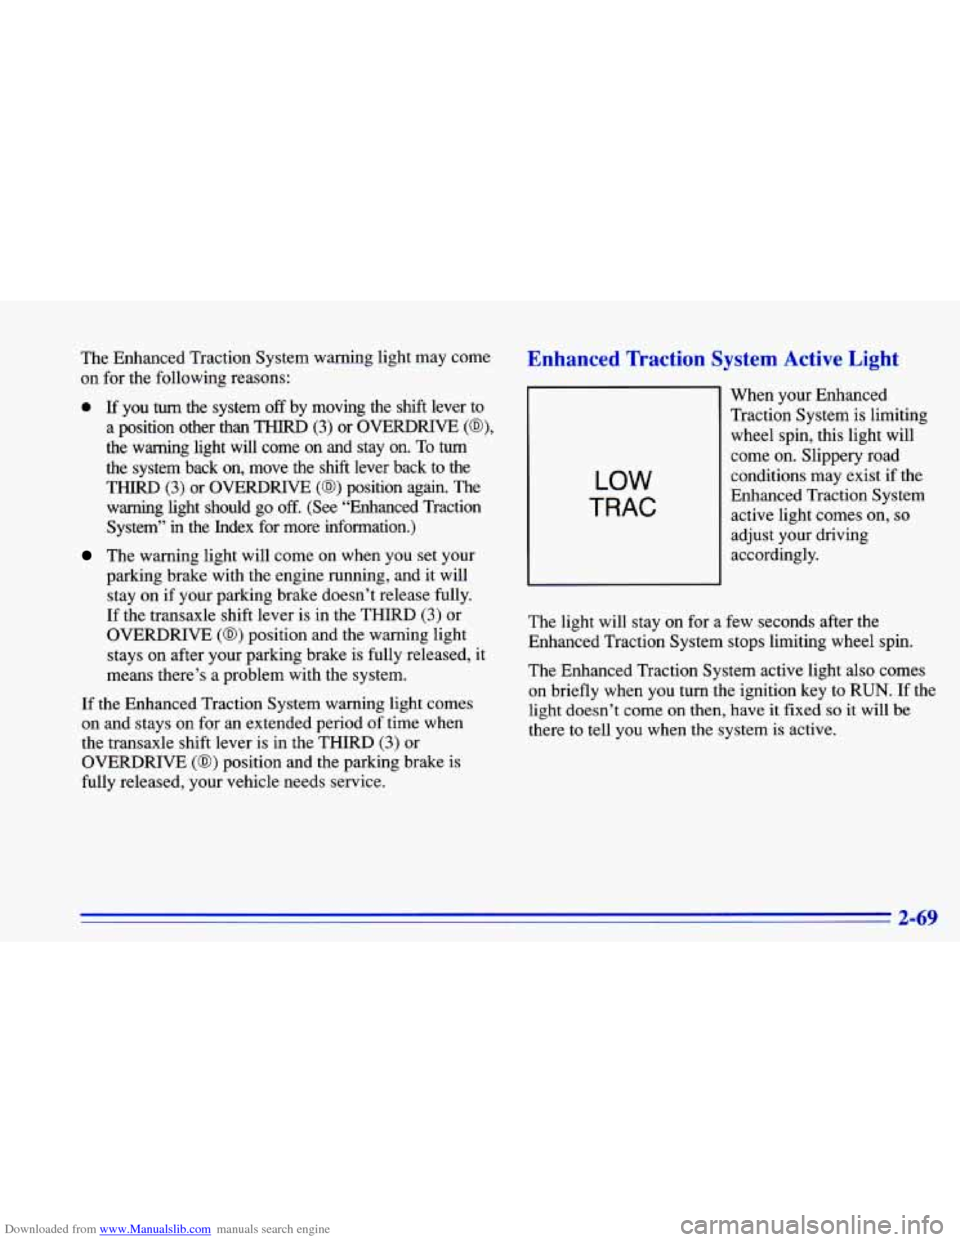
Downloaded from www.Manualslib.com manuals search engine The Enhanced Traction System warning light may come
on for the following reasons:
0 If you turn the system off by moving the shift lever to
a position other than THIRD
(3) or OVERDRIVE (a)?
the warning light will come on and stay on. To turn
the system back on, move the shift lever back to the
THIRD (3) or OVERDRIVE (a) position again. The
warning light should go
off. (See “Enhanced Traction
System”
in the Index for more information.)
The warning light will come on when you set your
parking brake with the engine running, and
it will
stay on if your parking brake doesn’t release fully.
If the transaxle shift lever is in the THIRD
(3) or
OVERDRIVE
(@) position and the warning light
stays on after your parking brake is fully released, it
means there’s
a problem with the system.
If the Enhanced Traction System warning light comes
on and stays on for an extended period
of time when
the transaxle shift lever is in the THIRD
(3) or
OVERDRIVE
(0) position and the parking brake is
fully released, your vehicle needs service.
Enhanced Traction System Active Light
LOW
TRAC
When your Enhanced
Traction System is limiting wheel spin, this light will
come on. Slippery road
conditions may exist if the
Enhanced Traction System
active light comes on,
so
adjust your driving
accordingly.
The light will stay on for a few seconds after the
Enhanced Traction System stops limiting wheel spin.
The Enhanced Traction System active light also comes
on’briefly when you turn the ignition key
to RUN. If the
light doesn’t come on then, have it fixed so it will be
there to tell you when the system is active.
2-69
Page 171 of 372

Downloaded from www.Manualslib.com manuals search engine ETS
OFF
When the transaxle shift
lever
is in the THIRD (3) or
OVERDRIVE
(Q) position
and the parking brake is
fully released, this warning
light will come on to let you
know if there’s a problem
with the system.
See “Enhanced Traction System Warning Light” in the
Index. When this warning light is on, the system will not
limit wheel spin. Adjust your driving accordingly.
The Enhanced Traction System can operate only
when the transaxle shift lever is in the THIRD
(3) or
OVERDRIVE
(a) position. To limit wheel spin,
especially in slippery road conditions, you should use
the other shift lever positions only when necessary.
See
“Automatic Transaxle” in the Index. (If your vehicle
ever gets stuck in sand, mud, ice or snow, see “Rocking
Your Vehicle” in the Index.) When you move the shift lever
to a position other than
THIRD
(3) or OVERDRIVE (@), the system will turn
off. The Enhanced Traction System warning light will
come on and stay on. If the Enhanced Traction System is
limiting wheel spin when you move the shift lever to
another position, the system won’t turn off right away. It
will wait until there’s no longer a current need to limit
wheel spin.
You can turn the system back on at any time by
moving the shift lever back to the THIRD
(3) or
OVERDRIVE
(@) position again. The Enhanced
Traction System warning light should go off.
Braking in Emergencies
Use your anti-lock braking system when you need to.
With anti-lock, you can steer and brake at the same
time. In many emergencies, steering can help you more
than even the very best braking.
Steering
Power Steering
If you lose power steering assist because the engine
stops or the system is not functioning, you can steer but
it will take much more effort.
4-9