1996 CHEVROLET CAVALIER set clock
[x] Cancel search: set clockPage 101 of 372
Downloaded from www.Manualslib.com manuals search engine Battery Saver
Your Chevrolet is equipped with a battery saver feature
designed to protect your vehicle’s battery.
When any interior lamp
(trunk, reading, dome, glove
box, etc.) is left on and the ignition is turned OFF, the
battery rundown protection system will automatically
turn the lamp off after
20 minutes. This will avoid
draining the battery. This system does not protect
against leaving on the headlamps.
To reactivate the interior lamps, either:
The ignition must be turned on,
The activated lamp switch must be turned off, then
on,
OR
Mirrors
A front door must be opened.
Inside DaylNight Rearview Mirror
The battery rundown protection feature will also be
activated when any door is left open.
If your vehicle is left with the ignition off for over
24 days, the battery power to the clock and audio system
will turn
off to reduce the battery drain. When the
ignition
is turned on again, battery power will be
resupplied. Under these conditions it will be necessary
to reset the clock and audio system settings.
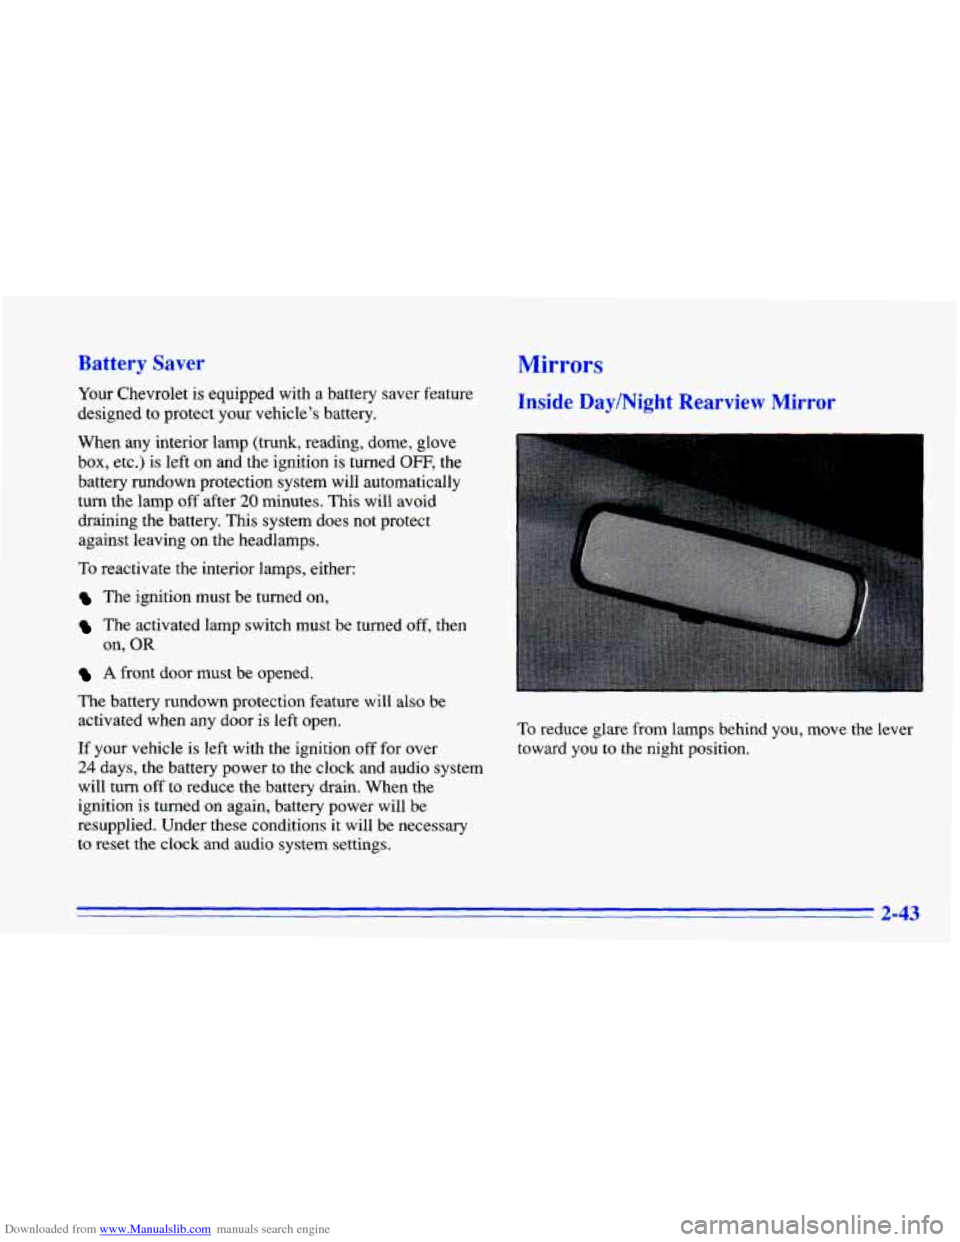
To reduce glare from lamps behind you, move the lever
toward you to the night position.
2-43
Page 138 of 372
Downloaded from www.Manualslib.com manuals search engine Fan Knob
The left knob selects the force of air you want. Turn the
knob clockwise to increase fan speed and counterclockwise to decrease fan speed.
To turn the fan
off, turn the mode knob all the way counterclockwise. In
any other setting, the fan will run continuously.
Temperature Knob
The center knob changes the temperature of the air
coming through the system. Turn this knob toward
red (clockwise) for warmer air. Turn it toward blue
(counterclockwise) for cooler air.
Mode Knob
The right knob has several settings to control the
direction of airflow. For each setting, set the temperature
to a comfortable setting.
2 VENT This setting brings in outside air and
directs it through the middle instrument panel outlets.
12 BI-LEVEL: This setting brings in outside air
and directs it two ways. Some air is directed through
the instrument panel outlets. Most of the air is directed
through the floor ducts and a little to the defrost and
side window vents.
Id FLOOR: This setting sends most of the air through
the ducts near the floor. The rest comes out of the
defroster and side window vents.
9 DEFOG: This setting allows half of the air to go
to the floor ducts and half to the defroster
and side
window vents.
DEFROST This setting directs most of the air
through the defroster and side window vents. Some of
the air goes to the floor ducts.
3-2
Page 139 of 372
Downloaded from www.Manualslib.com manuals search engine Climate Control System with Air
Con g (Optiol
-. . .
Fan Knob
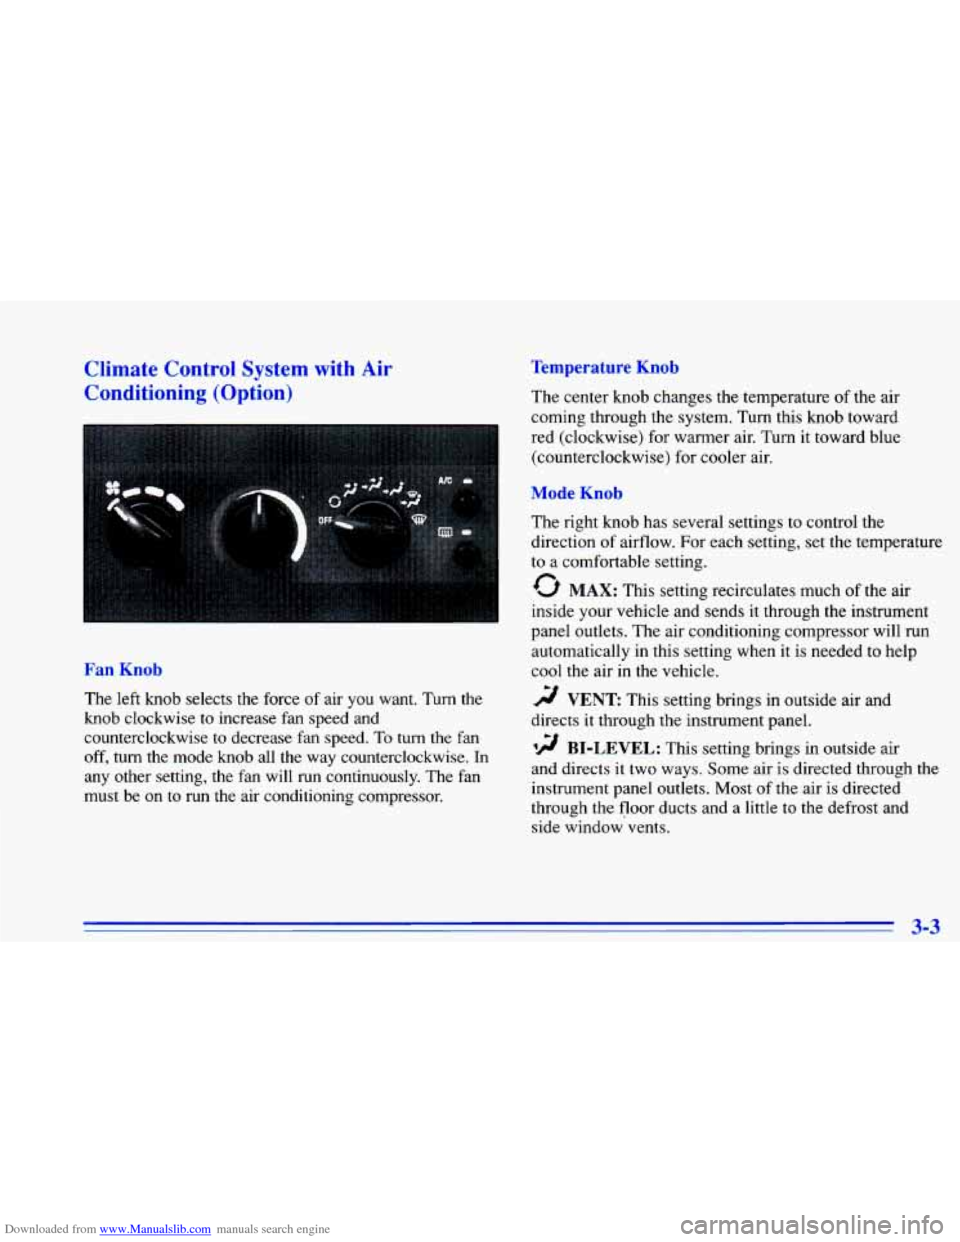
The left knob selects the force of air you want. Turn the
knob clockwise to increase fan speed and
counterclockwise
to decrease fan speed. To turn the fan
off, turn the mode knob all the way counterclockwise. In
any other setting,
the fan will run continuously. The fan
must be on
to run the air conditioning compressor.
Temperature Knob
The center knob changes the temperature of the air
coming through the system.
Turn this knob toward
red (clockwise) for warmer air. Turn it toward blue
(counterclockwise) for cooler air.
Mode Knob
The right knob has several settings to control the
direction
of airflow. For each setting, set the temperature
to a comfortable setting.
0 MAX: This setting recirculates much of the air
inside
your vehicle and sends it through the instrument
panel outlets. The air conditioning compressor will run
automatically in this setting when it is needed to help
cool
the air in the vehicle.
r;/ VENT This setting brings in outside air and
directs it through the instrument panel.
'!! BI-LEVEL: This setting brings in outside air
and directs it two ways. Some air is directed through the
instrument panel outlets. Most of the air is directed
through the floor ducts and a little to the defrost and
side window vents.
3-3
Page 143 of 372
Downloaded from www.Manualslib.com manuals search engine Rear Window Defogger (Option)
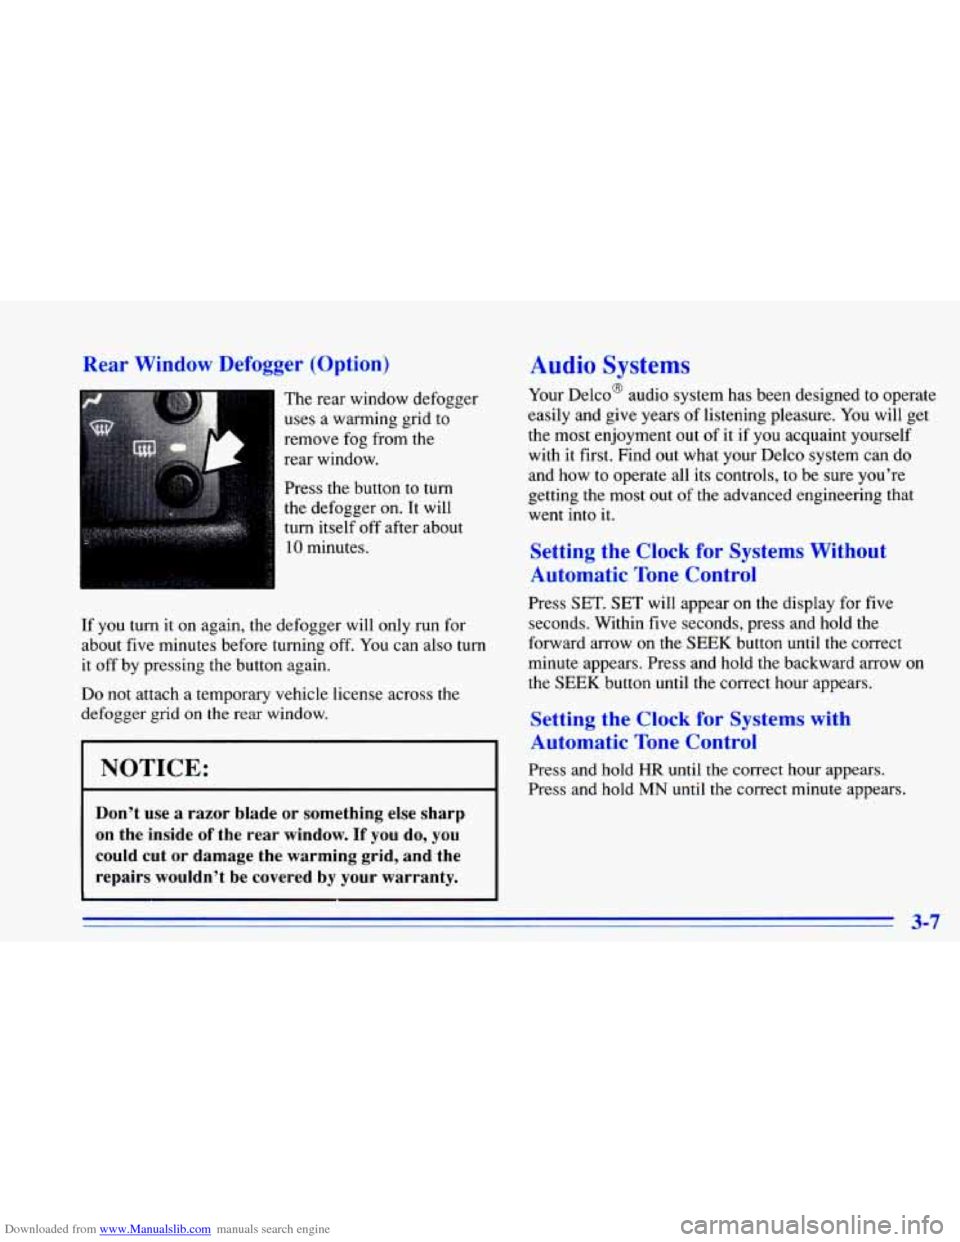
The rear window defogger
uses a warming grid to
remove fog from the
rear window.
Press the button
to turn
the defogger on. It will
turn itself off after about
10 minutes.
If you turn it on again, the defogger will only run for
about five minutes before turning off. You can also turn
it off by pressing the button again.
Do not attach a temporary vehicle license across the
defogger grid
on the rear window.
Audio Systems
Your Delco@ audio system has been designed to operate
easily and give years of listening pleasure. You will get
the most enjoyment out of
it if you acquaint yourself
with it first. Find out what your Delco system can do
and how to operate all its controls,
to be sure you’re
getting the most out
of the advanced engineering that
went into it.
Setting the Clock for Systc __ ‘. . - - -101 .
Automatic Tone Control
Press SET. SET will appear on the display for five
seconds. Within five seconds, press and hold the
forward arrow on the
SEEK button until the correct
minute appears. Press and hold the backward arrow
on
the SEEK button until the correct hour appears.
Setting the Clock for Systems with
. Automatic Tone Control
NOTICE: Press and hold HR until the correct hour appears.
Press and hold
MN until the correct minute appears.
Don’t use a razor blade or something else sharp
on the inside
of the rear window. If you do, you
could cut or damage
the warming grid, and the
repairs wouldn’t be covered by your warranty.
3-7
Page 144 of 372
Downloaded from www.Manualslib.com manuals search engine AM-FM Stereo (Option)
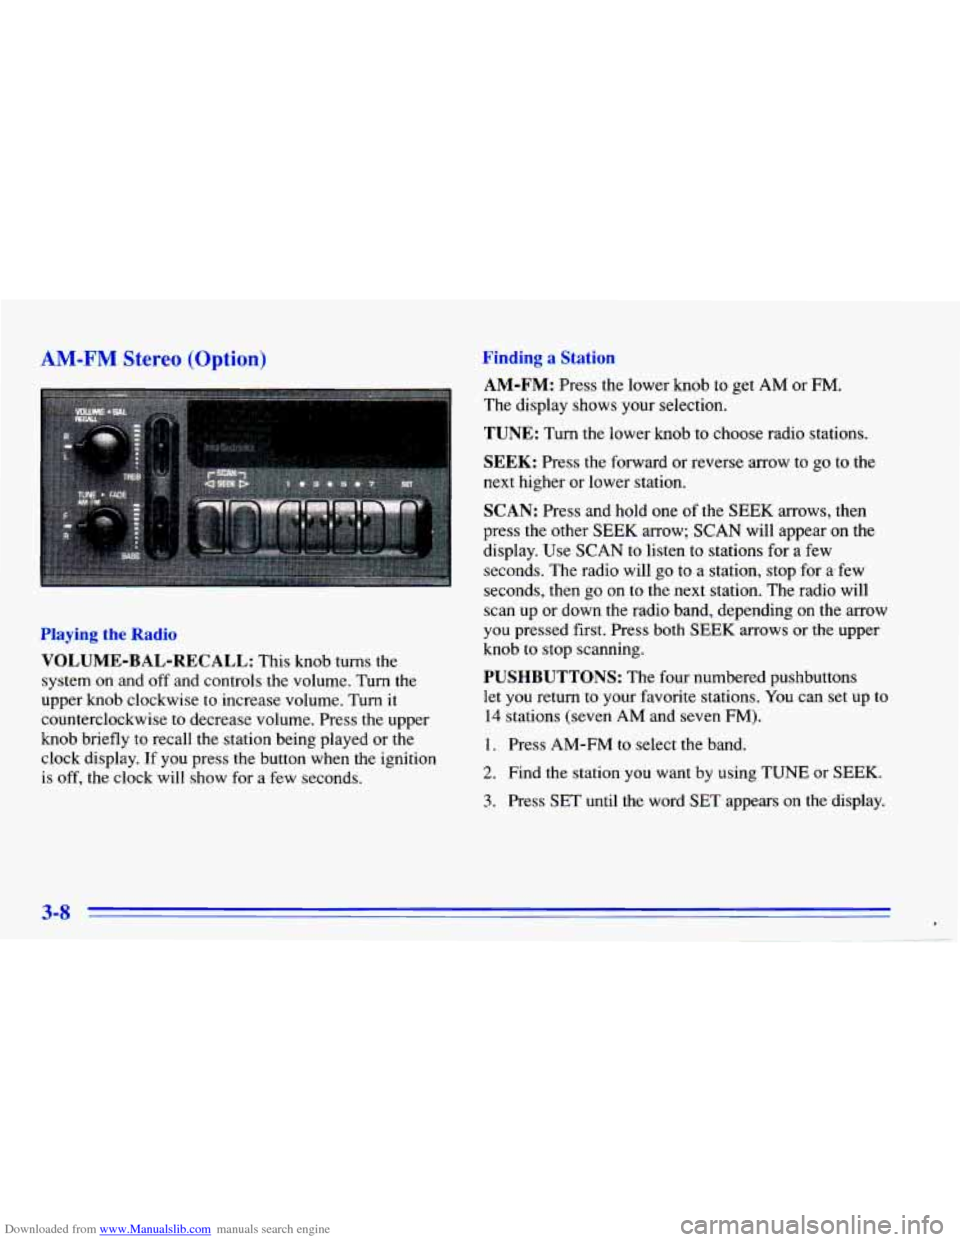
Playing the Radio
VOLUME-BAL-RECALL: This knob turns the
system on and off and controls the volume. Turn the
upper knob clockwise to increase volume. Turn it
counterclockwise
to decrease volume. Press the upper
knob briefly
to recall the station being played or the
clock display. If
you press the button when the ignition
is off, the clock will show for a few seconds.
Finding a Station
AM-FM: Press the lower knob to get AM or FM.
The display shows your selection.
TUNE: Turn the lower knob to choose radio stations.
SEEK: Press the forward or reverse arrow to go to the
next higher or lower station.
SCAN: Press and hold one of the SEEK arrows, then
press the other
SEEK arrow; SCAN will appear on the
display. Use
SCAN to listen to stations for a few
seconds. The radio will go to
a station, stop for arfew
seconds, then
go on to the next station. The radio will
scan up or down the radio band, depending on the
arrow
you pressed first. Press both SEEK arrows or the upper
knob to stop scanning.
PUSHBUTTONS: The four numbered pushbuttons
let you return to your favorite stations. You can set up to
14 stations (seven AM and seven FM).
1. Press AM-FM to select the band.
2. Find the station you want by using TUNE or SEEK.
3. Press SET until the word SET appears on the display.
3-8 *
Page 146 of 372
Downloaded from www.Manualslib.com manuals search engine AM-FM Stereo with Cassette Tape Player
(Option)
... . . . . .
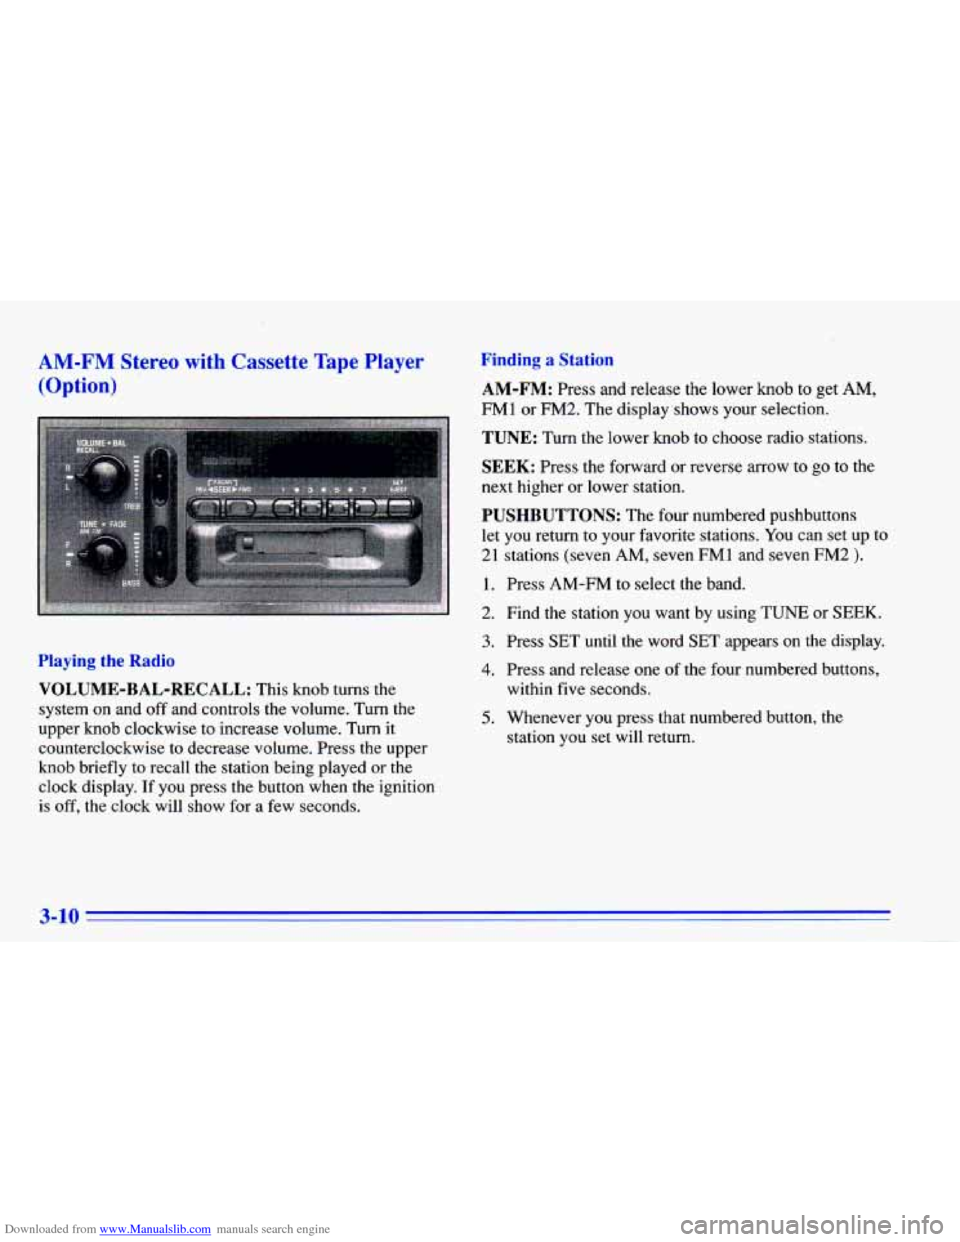
Playing the Radio
VOLUME-BAL-RECALL: This knob turns the
system on and off and controls the volume. Turn the
upper knob clockwise to increase volume. Turn it
counterclockwise to decrease volume. Press the upper
knob briefly to recall the station being played or the
clock display.
If you press the button when the ignition
is off, the clock will show for a few seconds.
Finding a Station
AM-FM: Press and release the lower knob to get AM,
FMl or FM2. The display shows your selection.
TUNE: Turn the lower knob to choose radio stations.
SEEK: Press the forward or reverse arrow to go to the
next higher or lower station.
PUSHBUTTONS: The four numbered pushbuttons
let you return to your favorite stations. You can set
up to
21 stations (seven AM, seven FMl and seven FM2 ).
1. Press AM-FM to select the band.
2. Find the station you want by using TUNE or SEEK.
3. Press SET until the word SET appears on the display.
4. Press and release one of the four numbered buttons,
within five seconds.
5. Whenever you press that numbered button, the
station you set will return.
Page 148 of 372
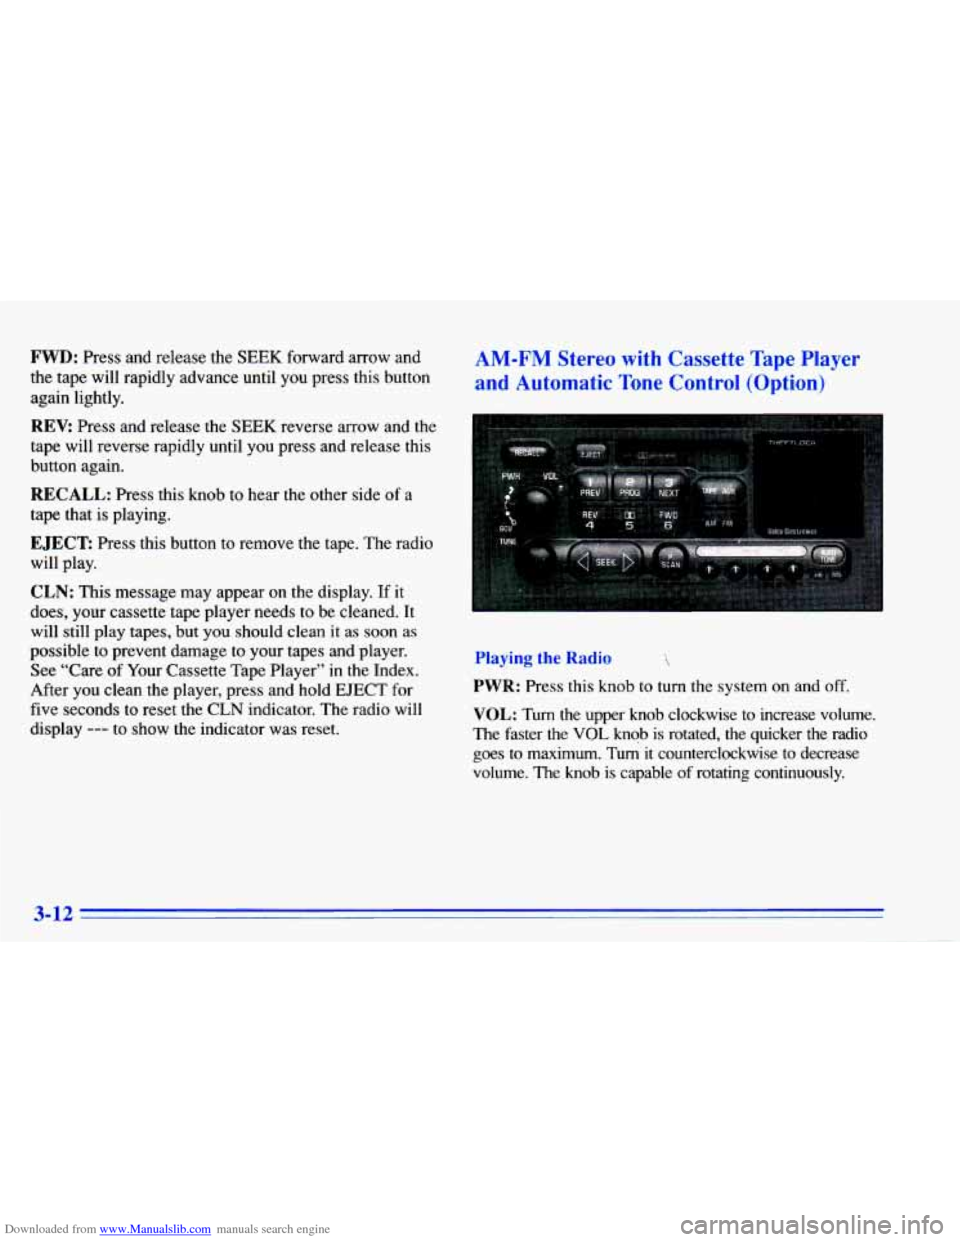
Downloaded from www.Manualslib.com manuals search engine FWD: Press and release the SEEK forward arrow and
the tape will rapidly advance until you press this button
again lightly.
REV: Press and release the SEEK reverse arrow and the
tape will reverse rapidly until you press and release this
button again.
RECALL: Press this knob to hear the other side of a
tape that is playing.
EJECT Press this button to remove the tape. The radio
will play.
CLN: This message may appear on the display. If it
does, your cassette tape player needs to be cleaned. It
will still play tapes, but you should clean it
as soon as
possible to prevent damage to your tapes and player.
See “Care of Your Cassette Tape Player” in the Index.
After you clean the player, press and hold
EJECT for
five seconds to reset the CLN indicator. The radio will
display
--- to show the indicator was reset.
AM-FM Stereo with Cassette Tape Player
and Automatic
Tone Control (Option)
Playing the Radio
PWR: Press this knob to turn the system on and off.
VOL: Turn the upper knob clockwise to increase volume.
The faster the
VOL knob is rotated, the quicker the radio
goes to maximum. Tu4 it counterclockwise to decrease
volume. The
knob is capable of rotating continuously.
3-12
Page 149 of 372
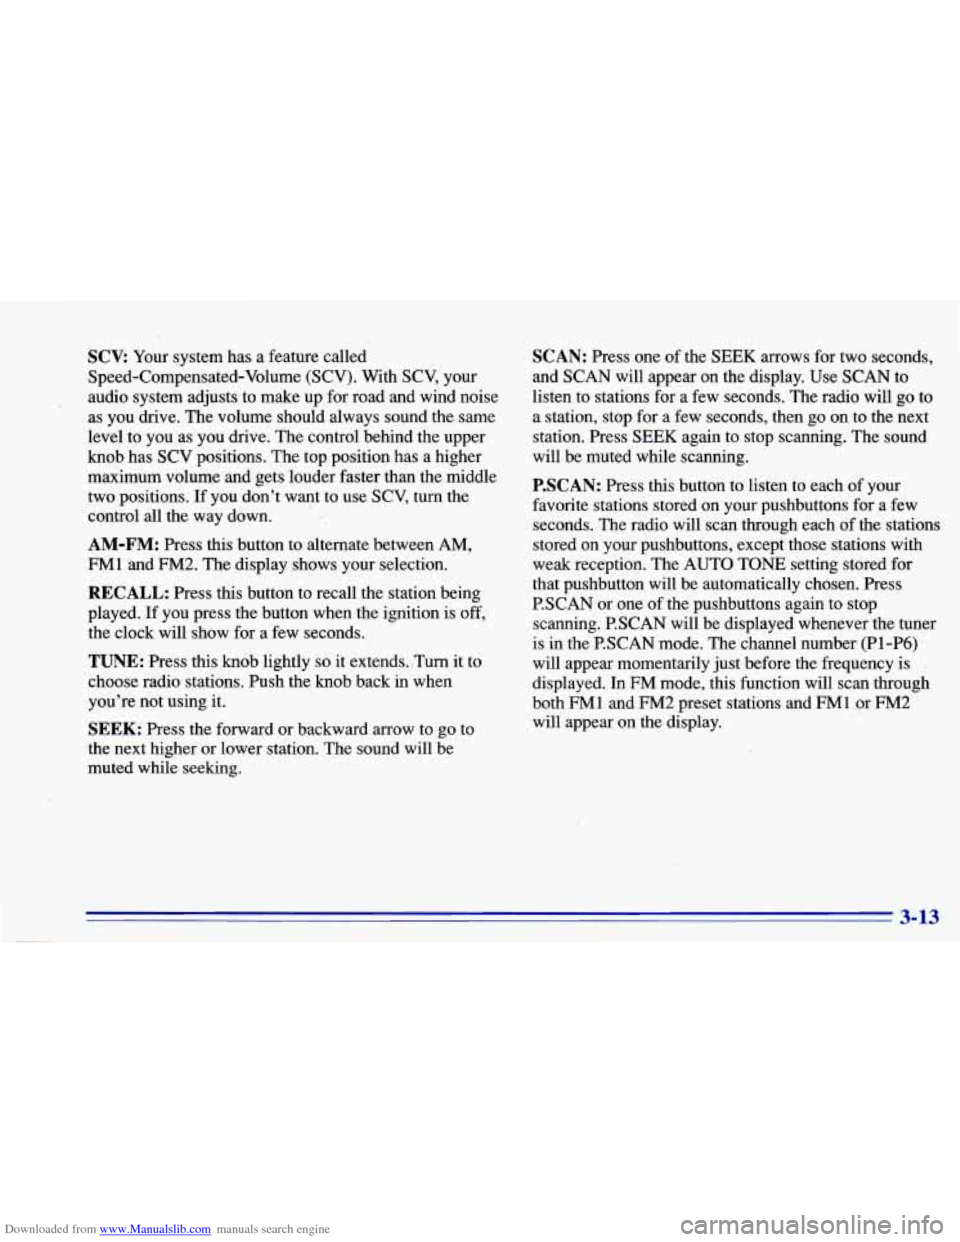
Downloaded from www.Manualslib.com manuals search engine SCV Your system has a feature called
Speed-Compensated-Volume (SCV). With SCV,’ your
audio system adjusts to make up for road and wind noise
as you drive. The volume should always sound the same
level to you as you drive. The control behind the upper
knob has SCV positions. The top position has a higher
maximum volume and gets louder faster than the middle
two positions. If you don’t want to use
SCV, turn the
control all the way down.
AM-FM: Press this button to alternate between AM,
FM1 and FM2. The display shows your selection.
RECALL: Press this button to recall the station being
played. If you press the button when the ignition is
off,
the clock will show for a few seconds.
TUNE: Press this knob lightly so it extends. ,Turn it to
choose radio stations. Push the knob back in when
you’re not using it.
SEEK: Press the forward or backward arrow to go to
the next higher or lower station. The sound will be
muted while seeking.
SCAN: Press one of the SEEK arrows for two seconds,
and SCAN will appear on the display. Use SCAN to
listen to stations for a few seconds. The radio will go
to
a station, stop for a few seconds, then go on to the next
station. Press SEEK again to stop scanning. The sound
will be muted while scanning.
P.SCAN: Press this button to listen to each of your
favorite stations stored on your pushbuttons for a few
seconds. The radio will scan through each
of the stations
stored on your pushbuttons, except those stations with
weak reception. The
AUTO TONE setting stored for
that pushbutton will be automatically chosen. Press
P.SCAN or one of the pushbuttons again to stop
scanning. P.SCAN will be displayed whenever the tuner
is in the P.SCAN mode. The channel number
(Pl-P6)
will appear momentarily just before the frequency is
displayed. In
FM mode, this function will scan through
both FM1 and FM2 preset stations and FM1 or FM2
will appear on the display.
3-13