1996 CADILLAC ELDORADO sensor
[x] Cancel search: sensorPage 144 of 354

Downloaded from www.Manualslib.com manuals search engine SERVICE RIDE CONTROL - 84: This message is
displayed to indicate that the suspension system
is not
operating properly. To correct this problem have your
vehicle serviced at your Cadillac dealership.
SERVICE TRANSMISSION - 100: If a problem is
detected with the transaxle, this message will appear.
Have your vehicle checked by your Cadillac dealership.
SPEED SENSOR FAULT - 109: A circuit problem
with the vehicle speed sensor will trigger this message
to appear. Have your Cadillac dealership service your
vehicle.
STARTING DISABLED DUE TO THEFT SYSTEM
REMOVE IGNITION KEY
- 33: This message will
appear when the Personalized Automotive Security
System (PASS-Key
11) senses that an improper ignition
key is being used to try to start the vehicle. Check the
ignition key for damage.
If it is damaged, it may need to
be replaced.
If you see no damage, clean the pellet
contacts with a soft cloth
or napkin. Remove the ignition
key and wait for the DIC to display WAIT
3 MINUTES.
The instrument panel cluster will then run a timer and
change
the messages to WAIT 2 MINUTES, WAIT
1 MINUTE and then START CAR. When the START
CAR message is displayed, try again to start the engine.
STOP ENGINE ENGINE OVERHEATED - 42: This
message will appear when the engine has overheated.
Stop and turn the engine
off immediately to avoid severe
engine damage. See “Engine Overheating” in the Index.
STOP ENGINE LOW OIL PRESSURE - 35: If this
message appears while the engine is running, stop the
engine and do not operate
it until the cause of low oil
pressure is corrected. Severe damage to the engine
can result.
THEFT SYSTEM PROBLEMKAR MAY NOT
RESTART
- 34: This message means there is a problem
in the Personalized Automotive Security System
(PASS-Key 11). A fault has been detected in the system
which means that the PASS-Key I1 system is disabled
and is not protecting the vehicle. The vehicle usually
restarts however, you may want to take your vehicle to
a
proper service center before turning off the engine.
TOP SPEED FUEL CUT-OFF - 111: This message
will appear when the PCM senses that the maximum
speed for your Cadillac has been reached. The speed of
your vehicle will decrease several mph as the fuel
supply is cutoff. This allows your vehicle to stay in a
stable operating range.
2-83
1
Page 146 of 354
Downloaded from www.Manualslib.com manuals search engine Traction Active
When your traction control system is limiting wheel spin,
the TRACTION ACTIVE message will
be displayed.
Slippery road conditions may exist
if this message is
displayed,
so adjust your driving accordingly. This
message will stay on for a few seconds after the traction
control system stops limiting wheel spin.
Road Sensing Suspension
The Road Sensing Suspension (RSS) and the optional
Continuous Variable-Road Sensing Suspension
(CV-RSS) automatically adjust the ride of your vehicle,
with the CV-RSS having a wider range of control.
Automatic ride control is achieved through the RSS
controller, a computer used to control and monitor the
suspension system. The controller receives inputs from
various sensors to determine the proper system response.
If the controller detects a problem within the system, the
DIC will display
a SERVICE RIDE CONTROL
message. If this message appears, have your vehicle
serviced at your Cadillac dealership.
Oil Life Indicator
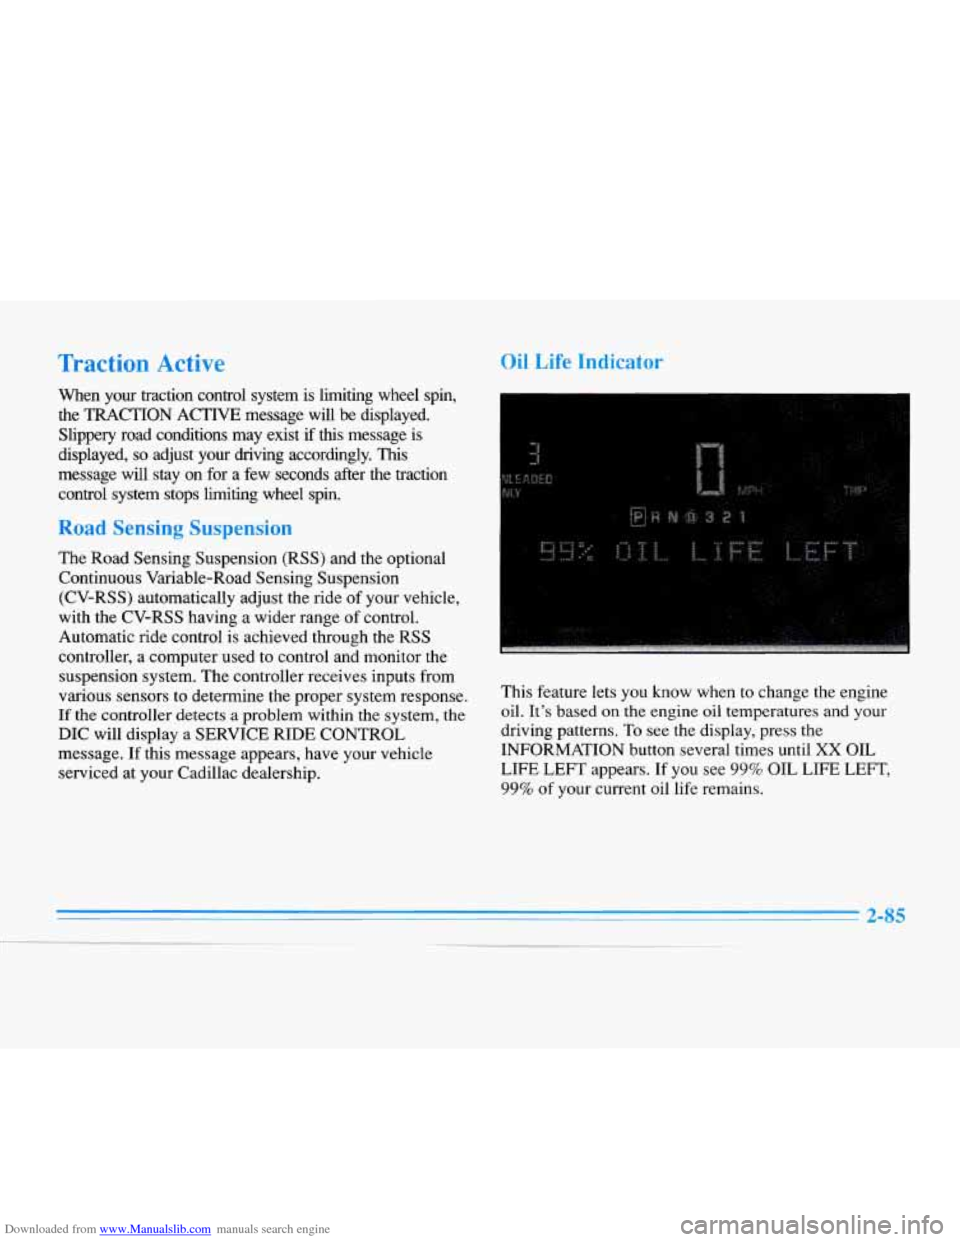
This feature lets you know when to change the engine
oil.
It’s based on the engine oil temperatures and your
driving patterns. To see the display, press the
INFORMATION button several times until
XX OIL
LIFE
LEFT appears. If you see 99% OIL LIFE LEFT,
99% of your current oil life remains.
2-85
-__
Page 149 of 354
Downloaded from www.Manualslib.com manuals search engine n Rmttn
'l'he button with the fan symbol adjusts the fan speed.
Press the up arrow to increase fan speed and the down
arrow to decrease fan speed.
mperature Butt
The red and blue temperature buttons adjust the air
temperature coming through the system. Press the blue
button for
a cooler setting or the red button for a warmer
setting. The outside temperature is always displayed
when your vehicle is running.
You can change it from
Fahrenheit to Celsius by pressing
the ENG/MET
(English/metric) button on the DIC.
2C ntrols
The AUTO/ECON button automatically controls the
direction
of air delivery for air conditioning and non-air
conditioning modes.
Automatic Operation
When the system is set for AUTO, sensors will control
the air delivery mode. Air
will come from the floor,
middle or windshield outlets. The i'an speed
will vary as
the system maintains the selected temperature setting. Be careful not to put anything over the solar sensor
located
in the middle of the instrument panel near the
windshield. This sensor is used by the automatic system
to regulate temperature.
To
find your comfort zone, start with 75°F (24°C)
setting, allow about 20 minutes for the system to
regulate. Press the red or blue temperature buttons to
adjust the temperature if necessary. If you choose
60°F
(lb"C), the system will remain at that maximum cooling
setting and
will not regulate fan speed. If you choose the
temperature of
90°F (32"C), the system will remain at
that maximum heating setting and
will not regulate fan
speed. Choosing either maximum setting
will not cause
the system to heat or cool any faster.
With this setting, the air conditioning compressor
automatically cycles when needed to cool the air. In
cold weather, when the system senses the need for
heat, the airflow will
be directed out the floor outlets.
As the interior temperature approaches a desired setting,
the blower speed will decrease. To maintain interior
comfort. the airflow may move to the instrument panel
air outlets and floor outlets
(BI-LEVEL mode). On
bright,
sunny days in cold weather, the airflow may
come out
of the A/C outlets (A/C mode) to maintain
comfort and prevent stuffiness.
Page 152 of 354
Downloaded from www.Manualslib.com manuals search engine Electronic Solar Sensor
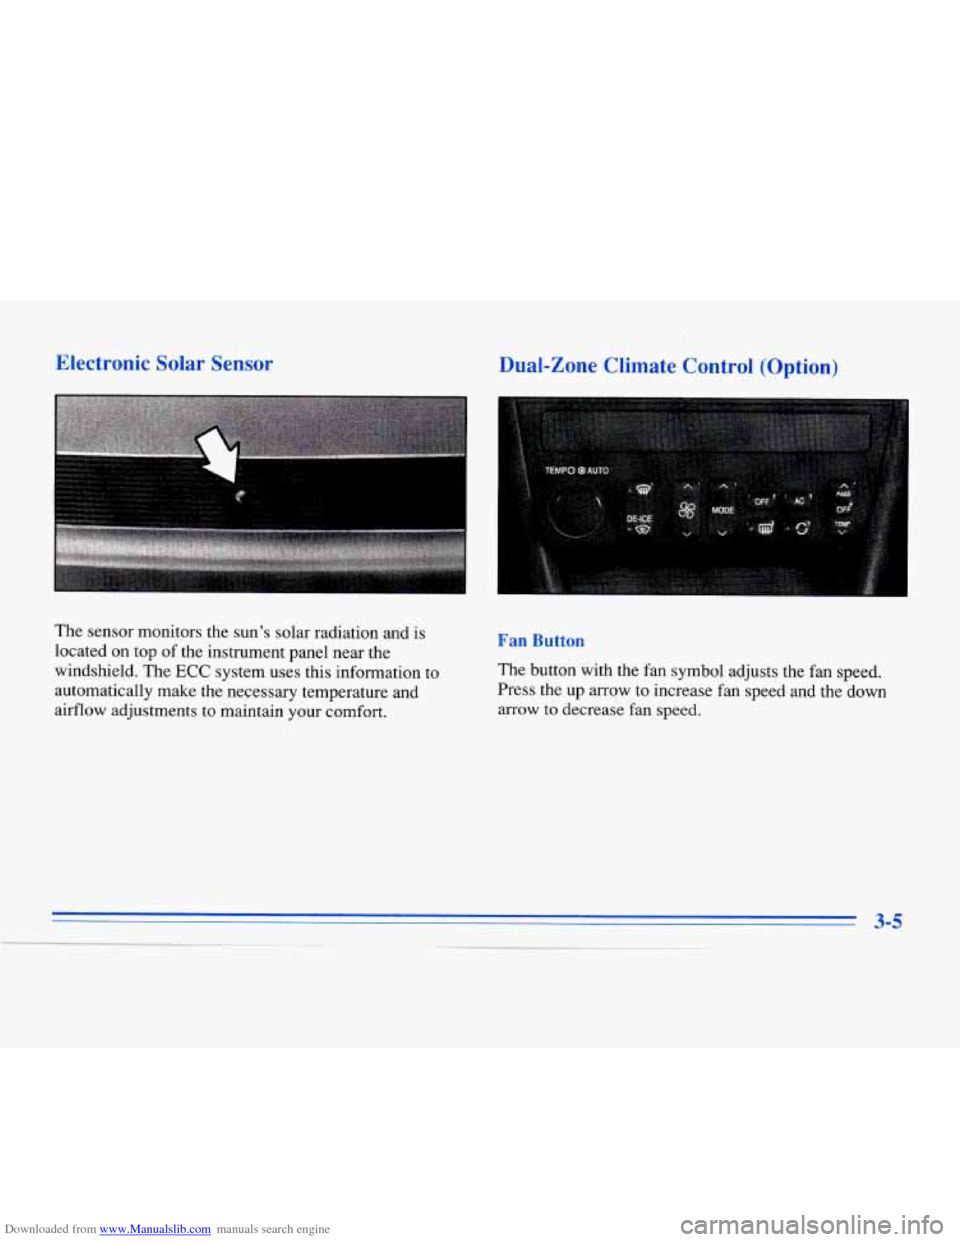
The sensor monitors the sun’s solar radiation and is
located on top of the instrument panel near the
windshield. The
ECC system uses this information to
automatically make the necessary temperature and
airflow adjustments
to maintain your comfort.
Dual-Zone Climate Control (Option)
Fan Button
The button with the fan symbol adjusts the fan speed.
Press the up arrow to increase fan speed and the down
arrow
to decrease fan speed.
Page 153 of 354

Downloaded from www.Manualslib.com manuals search engine The TEMP knob adjusts the air temperature coming
through the system.
Turn the TEMP knob clockwise to
increase the temperature and counterclockwise
to
decrease the temperature. The outside temperature is
always displayed when your vehicle is running.
Modt :ton
Press this button to deliver air through the floor, middle
or windshield outlets. The system will stay
in the
selected mode until the
MODE button is pushed again.
Press the up or down arrow to cycle through the
available modes.
When the system is set for AUTO, sensors will control
the air delivery mode. Air will come from the floor,
middle or windshield outlets. The fan speed will vary
as
the system maintains the selected temperature setting.
Be careful
not to put anything over the solar sensor
located in the middle of
the instrument panel near the
windshield. This sensor is used by the automatic system
to regulate temperature.
To find your comfort zone, start with
75°F (24°C)
setting, allow about
20 minutes for the system to
regulate. Press the red or blue temperature buttons to
adjust the temperature if necessary. If you choose 60°F
(16"C), the system will remain at that maximum cooling
setting and will not regulate fan speed.
If you choose the
temperature of 90°F (32"C), the system will remain at
that maximum heating setting and will not regulate fan
speed. Choosing either lnaximum setting will not cause
the system to heat or cool any faster.
With this setting, the air conditioning compressor
automatically cycles when needed to cool the air.
In cold
weather, when the system senses the need for heat, the
airflow will be directed out the floor outlets.
As the
interior temperature approaches a desired setting, the
blower speed will decrease.
To maintain interior
comfort, the airflow may move to the instrument panel
air outlets and floor outlets (BI-LEVEL mode). On
bright, sunny days in cold weather, the airflow may
come out of the
A/C outlets (AC mode) to maintain
comfort and prevent stuffiness.
If your vehicle is sitting out
on a hot day and you have it
set
on AUTO, the air will first flow out the floor air
outlets for a few seconds. That is normal. This is
to
expel hot air in the air outlets. As the air is cooled, the
airflow will move through the A/C outlets. If you start
your vehicle
with the fan setting on HI it will skip the
A/C Purge.
Page 272 of 354
Downloaded from www.Manualslib.com manuals search engine Air Cleaner
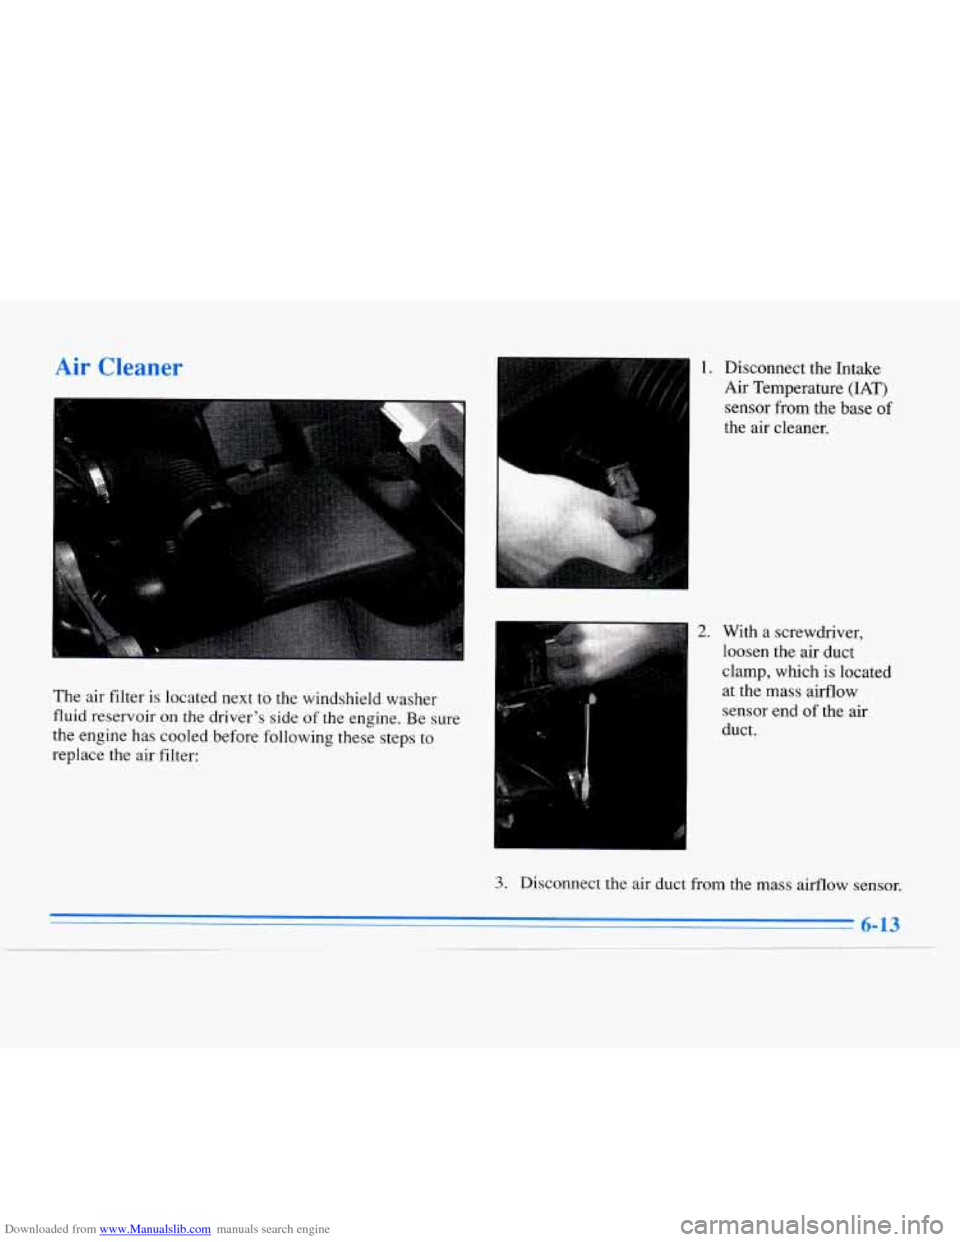
The air filter is located next to the windshield washer
fluid reservoir
on the driver’s side of the engine. Be sure
the engine has cooled before following these steps
to
replace the air filter:
I
1. Disconnect the Intake
Air Temperature
(IAT)
sensor from the base of
the air cleaner.
2. With a screwdriver,
loosen the air duct
clamp, which is located
at the mass airflow
sensor end
of the air
duct.
3. Disconnect the air duct from the mass airflow sensor.
6-13
Page 273 of 354
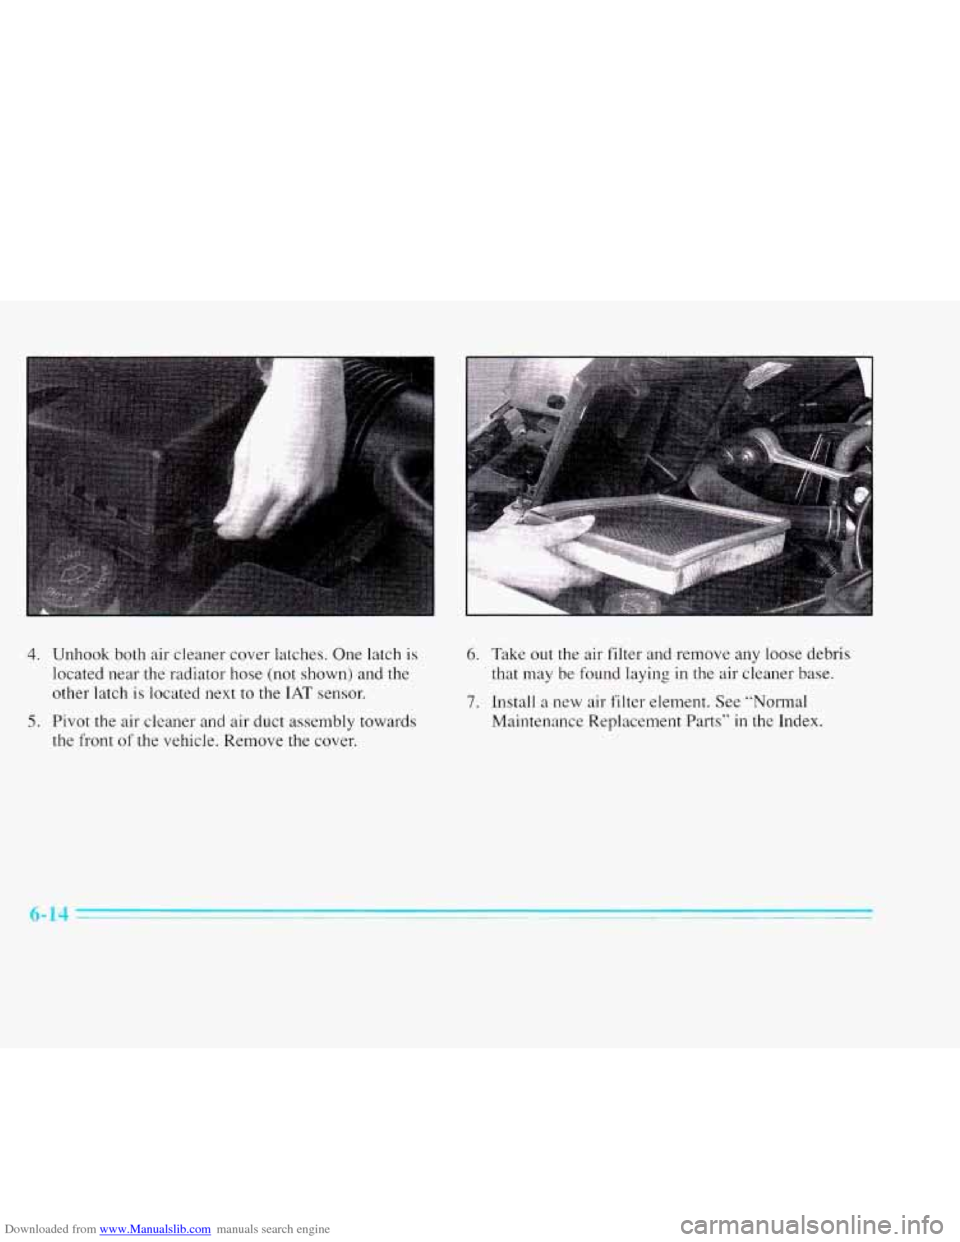
Downloaded from www.Manualslib.com manuals search engine 4. Unhook both air cleaner cover latches. One latch is
located near the radiator hose (not shown) and the
other latch
is located next to the IAT sensor.
5. Pivot the air cleaner and air duct assembly towards
the front
of the vehicle. Remove the cover.
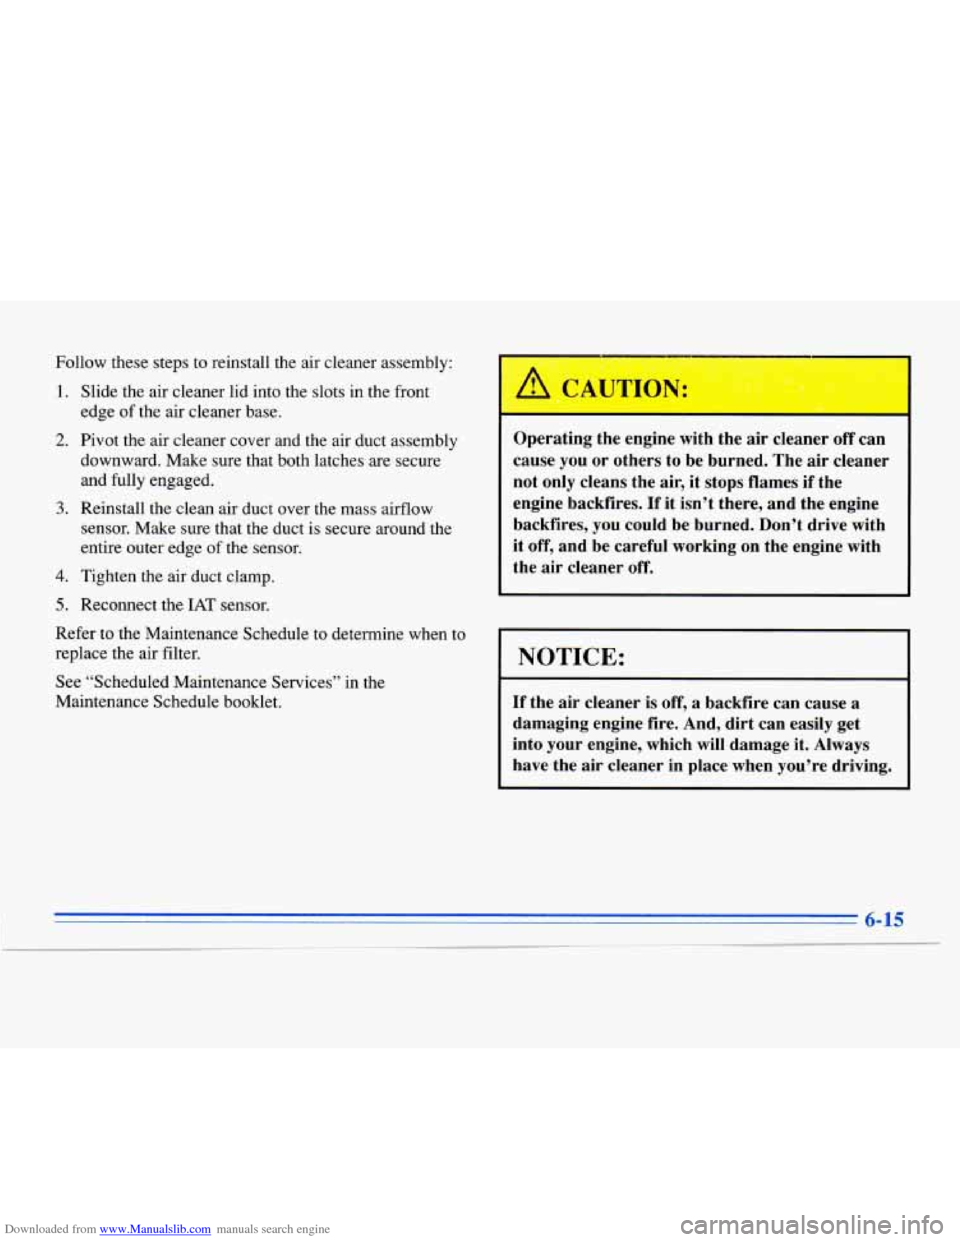
6. Take out the air filter and remove any loose debris
that may be found laying
in the air cleaner base.
7. Install a new air filter element. See “Normal
Maintenance Replacement Parts”
in the Index.
6-14
Page 274 of 354
Downloaded from www.Manualslib.com manuals search engine Follow these steps to reinstall the air cleaner assembly:
1.
2.
3.
4.
5.
Slide the air cleaner lid into the slots in the front
edge
of the air cleaner base.
Pivot the air cleaner Cover and the air duct assembly
downward. Make sure that both latches are secure
and fully engaged.
Reinstall the clean air duct over the mass airflow
sensor. Make sure that the duct is secure around the
entire outer edge of the sensor.
Tighten the air duct clamp.
Reconnect the
IAT sensor.
Refer
to the Maintenance Schedule to determine when to
replace the air filter.
See “Scheduled Maintenance Services” in the
Maintenance Schedule booklet.
Operating the engine with the air cleaner off can
cause you or others to be burned. The air cleaner
not only cleans the air, it stops flames if the
engine backfires.
If it isn’t there, and the engine
backfires, you could be burned. Don’t drive with
it off, and be careful working on the engine with
the air cleaner off.
I NOTICE:
If the air cleaner is off, a backfire can cause a
damaging engine fire. And, dirt can easily get
into your engine, which
will damage it. Always
have the air cleaner in place when you’re driving.
6- 15