Page 74 of 324
Downloaded from www.Manualslib.com manuals search engine Parking Brake
The parking brake uses the brakes on the rear wheels.
To set the parking brake,
hold the regular brake pedal
down with your right foot.
Push down the parking
brake pedal with your left
foot.
To release the parking brake, hold the regular brake
pedal down with your right foot and push the parking
brake pedal with your left foot. When you lift your left
foot, the parking brake pedal will follow it to the
released position. I NOTICE:
Driving with the parking brake on can cause
your rear brakes
to overheat. You may have to
replace them, and you could also damage other
parts
of your vehicle.
~
If you are towing a trailer and are parking on any hill,
see “Towing a Trailer” in the Index. That section shows
what to do first to keep the trailer from moving.
Shifting Into PARK (P)
2-18
Page 75 of 324
Downloaded from www.Manualslib.com manuals search engine Column Shift
1. Hold the brake pedal down with your right foot and
set the parking brake.
2. Move the shift lever into PARK (P) position like
this:
0 Move the lever up as far
as it will go.
0 Pull the lever toward
you.
3. Move the ignition key to LOCK.
4. Remove the key and take it with you. If you can
walk away from your vehicle with the ignition key
in
your hand, your vehicle is in PARK (P).
2-19
Page 76 of 324
Downloaded from www.Manualslib.com manuals search engine Console Shift
1. Hold the brake pedal down with your right foot and
2. Move the shift lever into PARK (P) position like
set
the parking brake.
this:
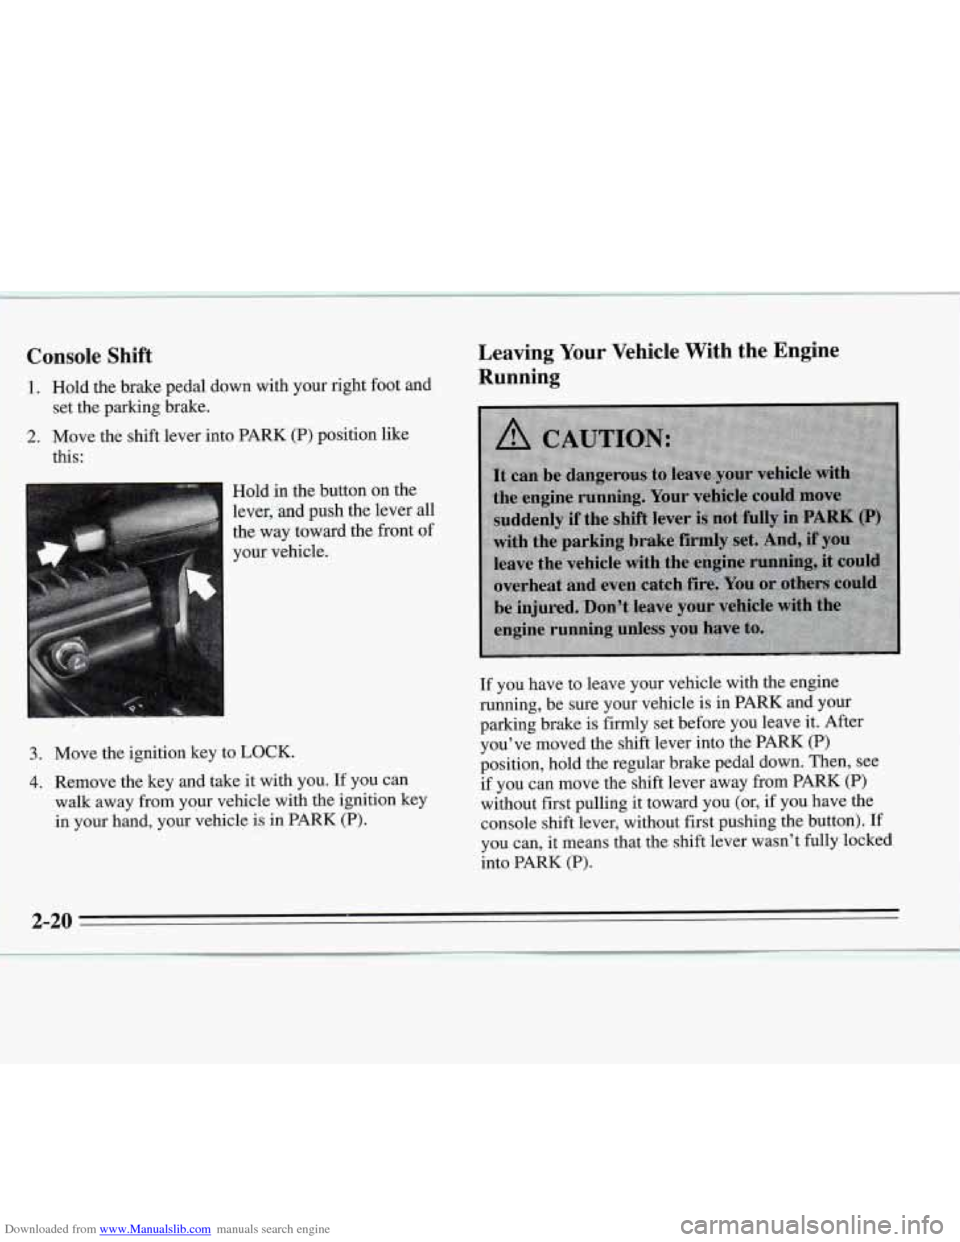
Hold in the button on the
lever,
and push the lever all
the way toward the front of
your vehicle.
3. Move the ignition key to LOCK.
4. Remove the key and take it with you. If you can
walk away from your vehicle with the ignition key
in your hand, your vehicle is in PARK
(P).
Leaving Your Vehicle With the Engine
Running
If you have to leave your vehicle with the engine
running, be sure your vehicle is in PARK and your
parking brake is firmly set before you leave it. After
you’ve moved the shift lever into the PARK (P)
position, hold
the regular brake pedal down. Then, see
if you can move the shift lever away
from PARK (P)
without first pulling it toward you (or, if you have the
console shift lever, without first pushing the button).
If
you can, it means that the shift lever wasn’t fully locked
into PARK (P).
2-20
___c
Page 82 of 324
Downloaded from www.Manualslib.com manuals search engine As you signal a turn or a lane change, if the arrow
flashes faster than normal, a signal bulb may be burned
out and other drivers won’t
see your turn signal.
If a bulb is burned out, replace it to help avoid an
accident. If the green arrows don’t
go on at all when you
signal a turn, check the fuse (see “Fuses and Circuit
Breakers’’ in the Index) and for burned-out bulbs.
A chime will sound if you leave your turn signal on for
more than
1/2 mile (0.8 km).
Headlamp High-Low Beam Windshield Wipers
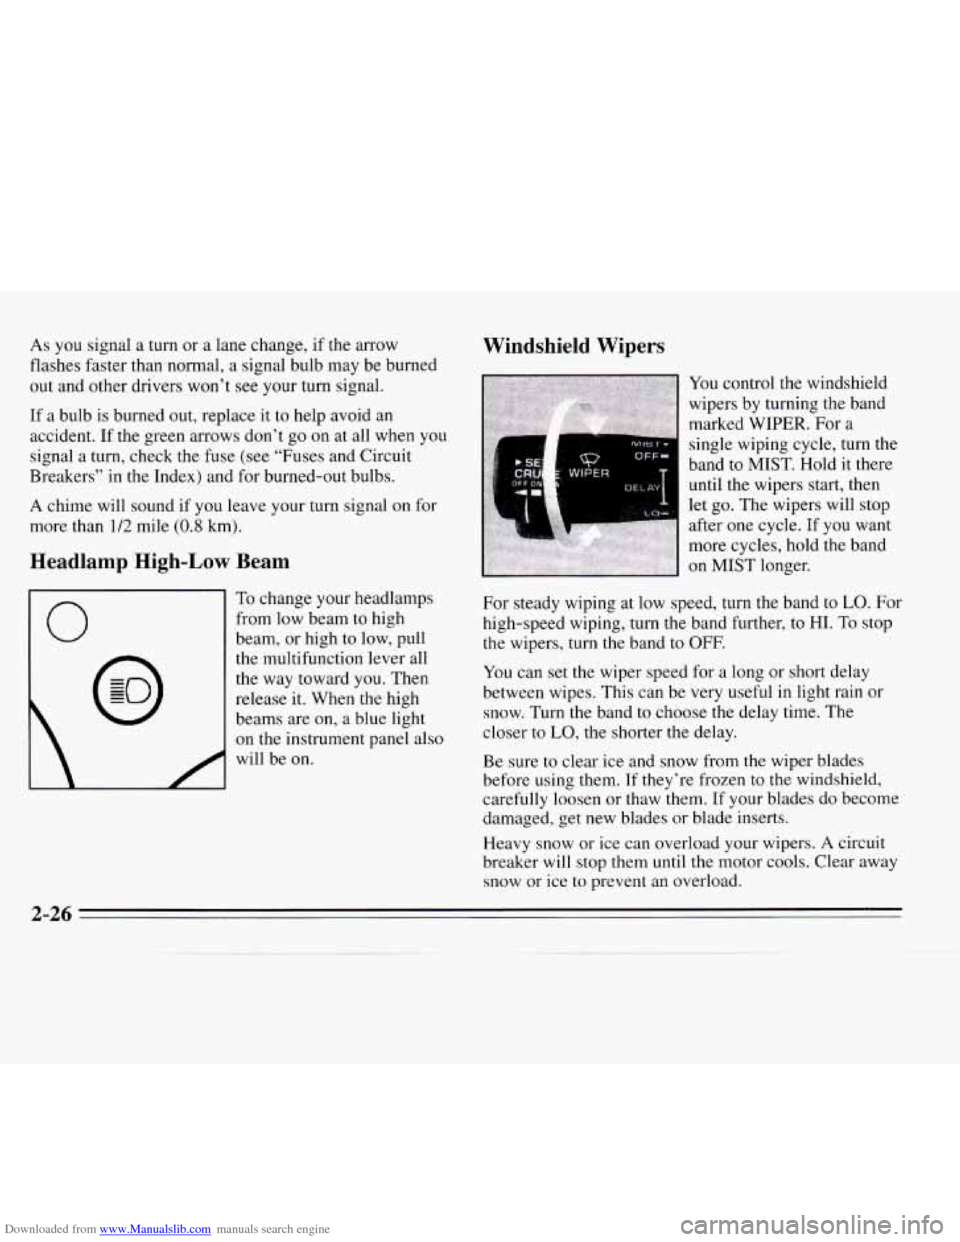
You control the windshield
wipers by turning the band
marked WIPER. For a
6s WIPER
single wiping cycle, turn the
band to
MIST. Hold it there
until the wipers start, then
let
EO. The wipers will stop
0
To change your headlamps
from low beam
to high
beam, or high to low, pull
the multifunction lever all
the way toward you. Then
release it. When
the high
beams are on, a blue light
on the instrument panel also
will be on.
For steady wiping at low speed, turn the band to LO. For
high-speed wiping, turn the band further, to
HI. To stop
the wipers, turn the band
to OFF.
You can set the wiper speed for a long or short delay
between wipes. This can be very useful in light rain or
snow.
Turn the band to choose the delay time. The
closer to
LO, the shorter the delay.
Be sure to clear ice and
snow from the wiper blades
before using them.
If they’re frozen to the windshield,
carefully loosen or thaw them, If your blades
do become
damaged, get new blades or blade inserts.
Heavy snow or ice can overload your wipers.
A circuit
breaker will stop them until the motor cools. Clear away
snow or ice to prevent an overload.
2-26
Page 101 of 324
Downloaded from www.Manualslib.com manuals search engine Brake System Warning Light
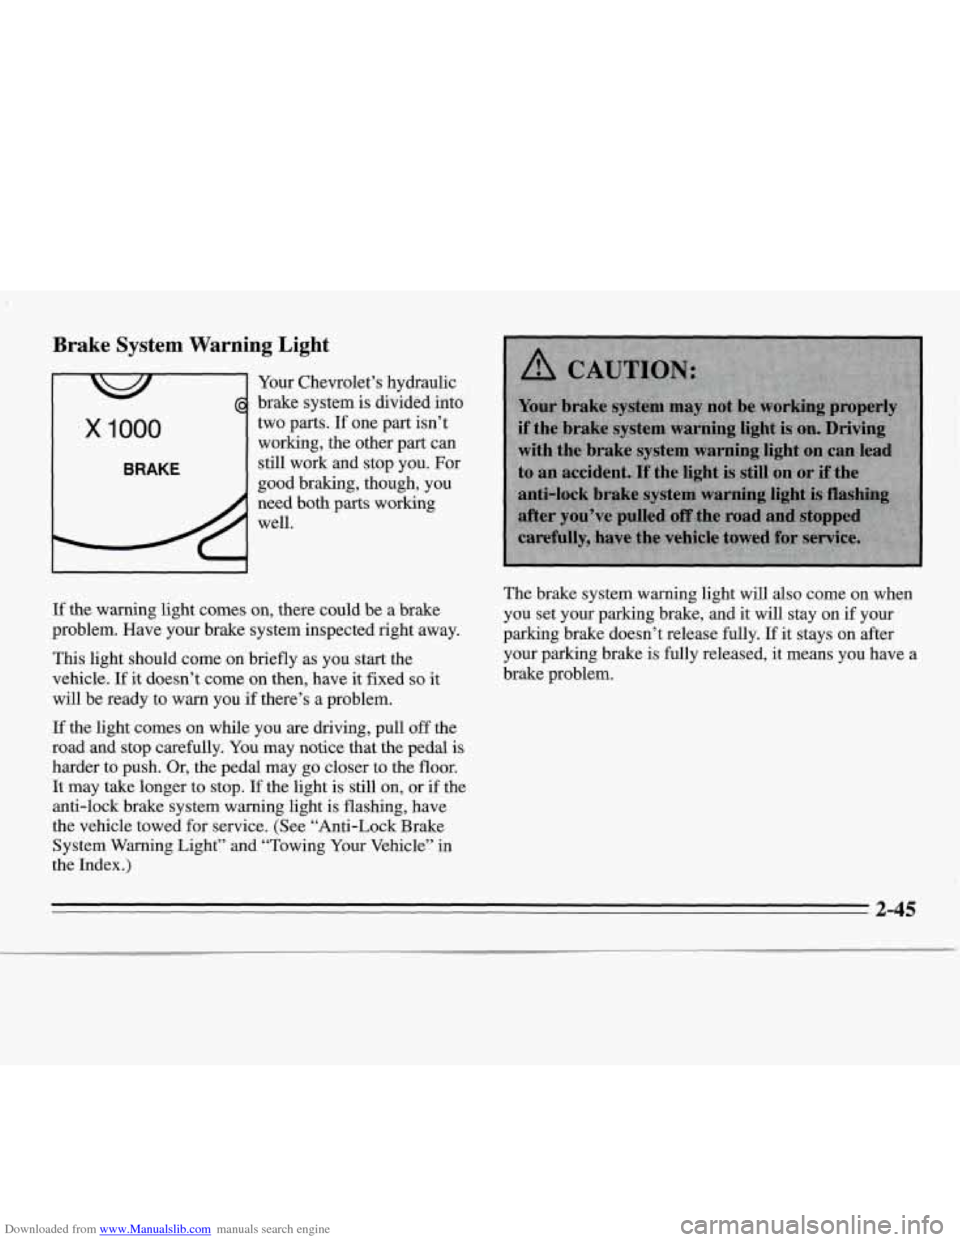
Your Chevrolet’s hydraulic
brake system is divided into
x 1000
BRAKE
two parts. If one part isn’t
working, the other part can
still work and stop you. For
good braking, though, you
need both parts working
well.
If the warning light comes on, there could be a brake
problem. Have your brake system inspected right away.
This light should come on briefly as you start the
vehicle.
If it doesn’t come on then, have it fixed so it
will be ready to warn you if there’s a problem. The
brake system warning light
will also come on when
you set your parking brake,
and it will stay on if your
parking brake doesn’t release fully.
If it stays on after
your parking brake is fully released, it means you have a
brake problem.
If the light comes on while you are driving, pull off the
road and stop carefully. You may notice that the pedal is
harder to push. Or, the pedal may go closer to the floor.
It may take longer to stop.
If the light is still on, or if the
anti-lock brake system warning light is flashing, have
the vehicle towed
for service. (See “Anti-Lock Brake
System
Warning Light” and “Towing Your Vehicle” in
the Index.)
2-45
Page 102 of 324
Downloaded from www.Manualslib.com manuals search engine Anti-Lock Brake System Warning Light
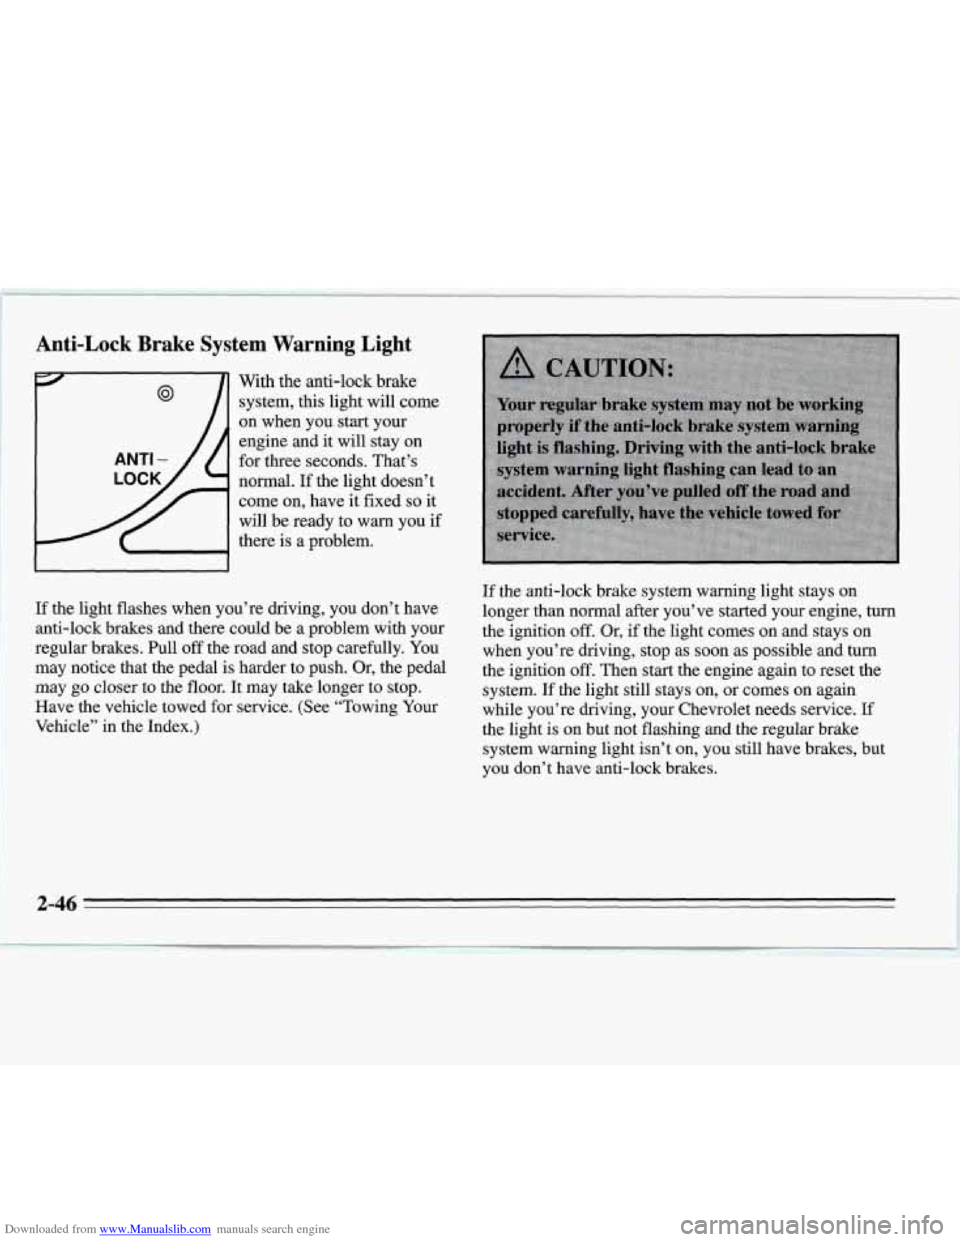
With the anti-lock brake
system,
this light will come
on when you start your
engine and
it will stay on
@
ANTI - for three seconds. That’s
normal.
If the light doesn’t
come on, have it fixed
so it
will be ready to warn you
if
there is a problem.
If the light flashes when you’re driving, you don’t have
anti-lock brakes and there could be a problem with your
regular brakes. Pull
off the road and stop carefully. You
may notice that the pedal is harder to push. Or, the pedal
may go closer to the floor. It may take longer to stop.
Have the vehicle towed for service. (See “Towing Your
Vehicle” in the Index.)
If the anti-lock brake system warning light stays on
longer than normal after you’ve started your engine, turn
the ignition
off. Or, if the light comes on and stays on
when you’re driving, stop as
soon as possible and tum
the ignition off. Then start the engine again to reset the
system.
If the light still stays on, or comes on again
while you’re driving, your Chevrolet needs service.
If
the light is on but not flashing and the regular brake
system warning light isn’t on, you still have brakes, but
you don’t have anti-lock brakes.
Page 112 of 324

Downloaded from www.Manualslib.com manuals search engine System Controls
Fan Knob
The knob with the fan symbol selects the force of air
you want. To
turn the fan off, turn the knob to OFF.
Temperature Control
If your system does not have the auxiliary temperature
control option, the right knob changes the temperature
of the air coming through the system. Turn this knob
toward red (clockwise) for warmer air. Turn it toward
blue (counterclockwise) for cooler air.
If your system does have the auxiliary temperature
control option, the center levers change the temperature
of the air coming through the system. The DRIV lever
sets the temperature for the driver and rear seat
passengers, and the
PASS lever sets the temperature for
the front seat passenger.
Mode Knob
The left knob has several settings to control the direction
of air flow. For each setting, set the temperature
to a
comfortable setting.
MAX: This setting recirculates much of the air inside
your vehicle and sends
it through the instrument panel
outlets.
A/C: This setting brings in outside air and directs it
through the instrument panel outlets.
'fl BI-LEVEL: This setting brings in the outside
air and directs it two ways. Half of the air is directed
through the instrument panel outlets. Most of
the
remaining air is directed through the floor ducts and a
little to the defrost and side window vents.
fl VENT This setting brings in outside air and
directs it through the instrument panel outlets.
+fl FLOOR: This setting sends most of the air
through the ducts near the floor. The rest comes out of
the defrost and side window vents.
+' DEFOG: This setting allows half of the air to go
to the floor ducts and half to the defrost and side
window vents.
9 DEFROST This setting directs most of the air
through the defrost and side window vents. Some of the
air goes to the floor ducts.
I,.
e.
.
w.
3-2
Page 156 of 324
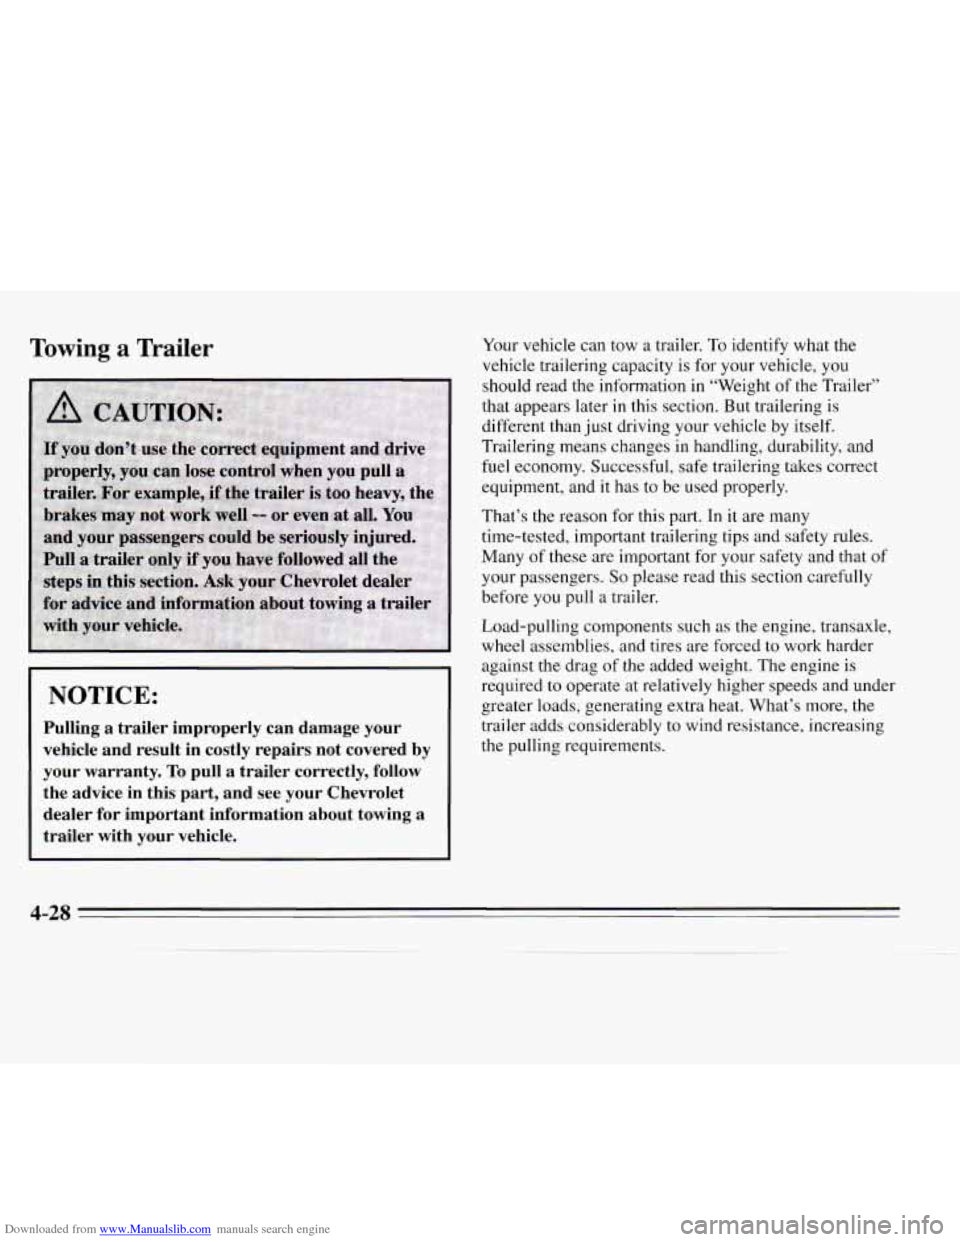
Downloaded from www.Manualslib.com manuals search engine Towing a Trailer
NOTICE:
Pulling a trailer improperly can damage your
vehicle and result in costly repairs not covered by
your warranty.
To pull a trailer correctly, follow
the advice in this part, and see your Chevrolet dealer for important information about towing a
trailer with your vehicle.
Your vehicle can tow a trailer. To identify what the
vehicle trailering capacity is for your vehicle, you
should read the information in “Weight of the Trailer’’
that appears later in this section. But trailering is
different than just driving your vehicle by itself.
Trailering means changes in handling, durability, and
fuel economy. Successful, safe trailering takes correct
equipment, and it has to be used properly.
That’s the reason for this part. In
it are many
time-tested, important trailering tips and safety rules.
Many of these are important for your safety and that of
your passengers.
So please read this section carefully
before you pull
a trailer.
Load-pulling components such
as the engine, transaxle,
wheel assemblies, and tires are forced to work harder
against the drag of the added weight. The engine is
required to operate at relatively higher speeds and under
greater loads, generating extra heat. What’s more, the
trailer adds considerably to wind resistance, increasing
the pulling requirements.