1995 CHEVROLET CORVETTE lock
[x] Cancel search: lockPage 143 of 386
Downloaded from www.Manualslib.com manuals search engine 5.
6.
7.
8.
9.
LO.
Move both seatbacks forward. Slide the lock pillar
bracket into the receiver bracket until the scribed
line
is even with the lower edge of the receiver
bracket.
Connect the electrical connectors and make sure
they
are inside the vehicle.
Insert the two upper bolts into both receiver
brackets. You may have to lift the hardtop slightly
to install the lock pillar bracket.
If the hardtop hasn’t lowered into position, pull the
release lever behind the driver’s seat under the
storage compartment lid.
Secure but don’t tighten the rear corner bracket
bolts using the ratchet.
Tighten the front bolts using the wrench.
11. Insert the lower bolt into the bottom flange of the
lock pillar brackets and tighten. Install and tighten
the remaining bolts into the lock pillar brackets.
12. Using the ratchet, tighten the rear corner bracket
bolts.
Do not over-tighten these bolts.
13. Slide the rear trim panel in place.
14. Remove the
HATCH (45) fuse. Store it in the center
console while the convertible hardtop is
in use.
(This will prevent accidental unlatching
of the
storage compartment lid.)
! 2-100
Page 149 of 386

Downloaded from www.Manualslib.com manuals search engine Temperature Sensors
Sunload:
This sensor is on top of the instrument panel.
When the inside temperature
is increased by sunlight,
the system will lower the inside temperature up to
5°F
(3 “C) below the setting on the display.
Outside Temperature: This sensor is on the right side
of the upper radiator support in the grille opening. This
is what you usually see on the display.
If the outside temperature goes up, the displayed
temperature will not change until:
a Vehicle speed is above 25 mph (40 km/h) for at least
0 Vehicle speed is above 45 mph (72 km/h) for
This delay helps prevent a false reading. If vehicle speed
remains above
25 mph (40 km/h) or the temperature
goes down, the display is updated immediately.
If your vehicle has been off for more than three hours,
the current outside temperature will be stored in the
system when you start the vehicle.
Inside temperature: This sensor is in the center air
outlet
on the passenger side.
If you block or cover either interior sensor, the system
will give a false reading.
3 minutes, or
1 1/2 minutes.
Automatic Control
The system will adjust to maintain the temperature you
set. It will select the best fan speed and aifflow setting to
keep you comfortable with the least amount of noise.
Press the arrows on the TEMP SET switch’to set a
comfortable temperature. Then press AUTO
and the fan
speed will adjust automatically unless you press the
arrows on the switch.
Manual Heating
The heater works best if you keep your windows closed
while using it.
Press the arrows on the TEMP SET switch to set a
comfortable temperature. Then press HEATER and, if
you don’t like the automatic setting, press the arrows on
the fan speed switch.
In AUTO FAN on cold days, the
fan will stay off until the coolant warms up enough to
heat your vehicle.
If your vehicle has an engine coolant heater and you use
it in cold weather,
0 OF (- 18 O C) or lower, your heating
system can provide heat more quickly because the
engine coolant is already warmed. See “Engine Coolant
Heater” in the Index.
3-6
Page 151 of 386
Downloaded from www.Manualslib.com manuals search engine Defogging and Defrosting Windows
Your vehicle has several settings for clearing your
windows. The air conditioner compressor will run to
help remove moisture from the air.
To defrost the windshield quickly, press the arrows on
the
TEMP SET switch to set a comfortable temperature.
Press DEFROST and the fan will go to high speed. After
the windows are clear, you can lower the speed using the
downward arrow or
AUTO FAN.
With the automatic system, to warm passengers while
keeping the windshield clear? press the arrows on the
TEMP SET switch to set a comfortable temperature. Press
HEATER and DEFROST at the same time and, if you
don’t like the automatic setting, press the
arrows on the fan
speed switch.
To defrost the side windows quickly, press the arrows on
the
TEMP SET switch to set a comfortable temperature.
Then press DEFROST and,
if you don’t like the automatic
setting, press the arrows on the fan speed switch.
System Problems
If the light above an air control button flashes when you
turn on the ignition, your system may have an electrical
problem. The flashing will continue for one minute, then
stop.
The flashing light could also mean the refrigerant level
is too low in your system. The light will continue to
flash, even if refrigerant is added, until the system is
reset. Have your system checked and serviced if needed.
To reset your system:
1. Turn your ignition key to OFF or LOCK.
2. Remove the courtesy lamps and radio fuses from the
main fuse panel and wait one minute. See “Fuses and
Circuit Breakers” in the Index.
3. Put the fuses back in and start your vehicle.
The light shouldn’t come on and your system should be
working properly. If you still have a problem, see your
dealer.
Page 153 of 386
Downloaded from www.Manualslib.com manuals search engine Flow-Through Ventilation System
Your Corvette's flow-through ventilation system
supplies outside air into the vehicle when it is moving.
Outside air will also enter the vehicle when the heater or
the air conditioning fan is running.
Ventilation Tips
Keep the hood and front air inlet free of ice, snow or
any other obstruction (such as leaves). The heater
and defroster will work far better, reducing the
chance of fogging the inside of your windows.
When you enter a vehicle in cold weather, adjust the
fan to the highest speed for a few moments before
driving off. This helps clear the intake ducts
of snow
and moisture, and reduces the chance of fogging the
inside
of your windows.
Audio Systems
Your Delco@ audio system has been designed to operate
easily and give years
of listening pleasure. But you will
get the most enjoyment out of it
if you acquaint yourself
with
it first. Find out what your Delco system can do
and how to operate all its controls, to be sure you're
getting the most out of the advanced engineering that
went into it.
Setting the Clock
Press SET. Within five seconds, press and hold TUNE
until the correct hour appears. Press and hold TUNE
A
until the correct minute appears.
Noise Reduction
Your audio system has automatic Dolby@ B Noise
Reduction.
Dolby and the
00' are trademarks of Dolby
Laboratories Licensing Corporation.
Noise reduction system manufactured under license
from Dolby Laboratories Licensing Corporation.
3-10
Page 154 of 386
Downloaded from www.Manualslib.com manuals search engine AM/FM Stereo with Cassette Tape Player
L/F R/I
0 II 0 0 0
0 OII 0 0 0
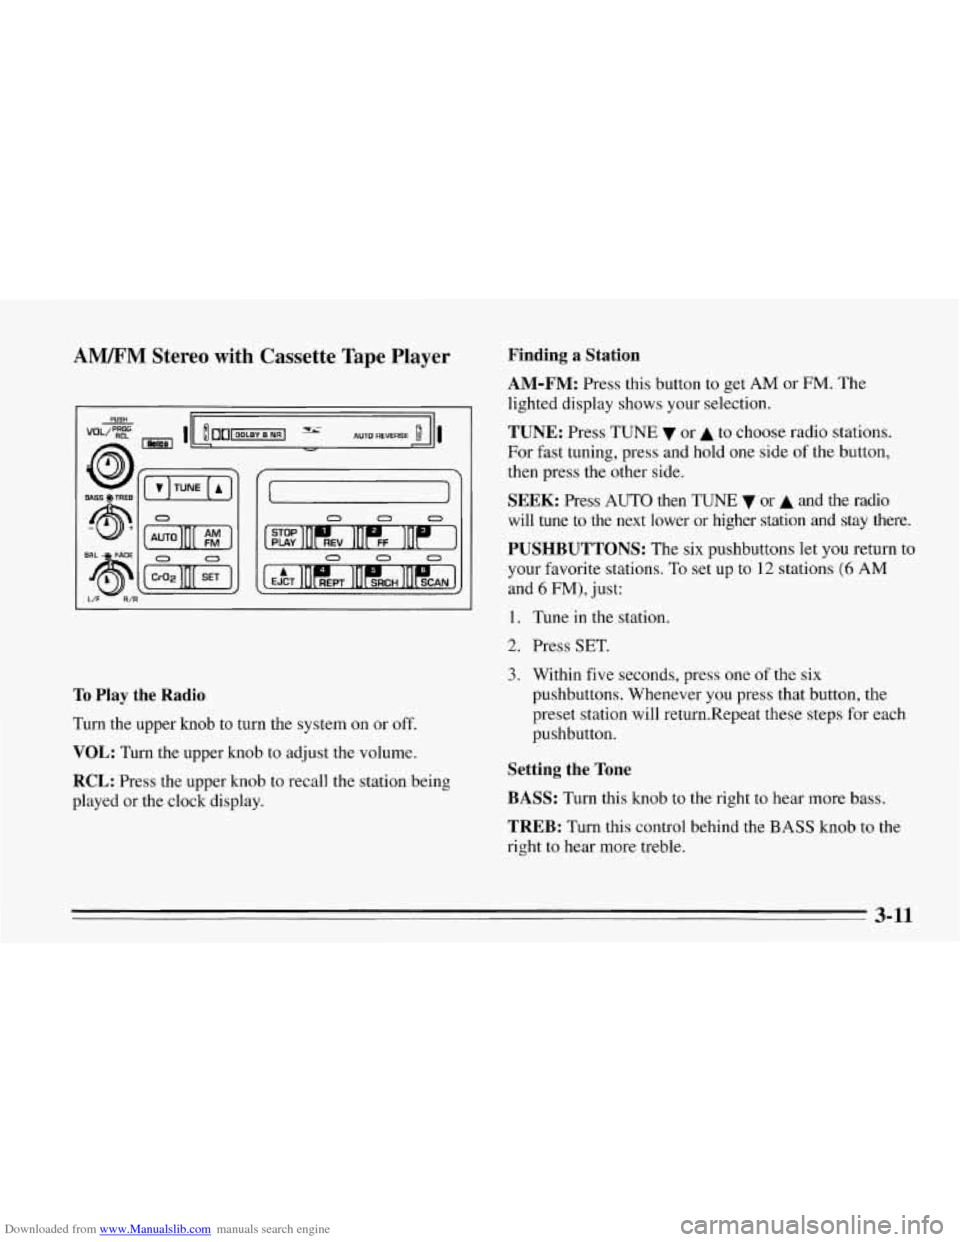
To Play the Radio
Turn the upper knob to turn the system on or off.
VOL: Turn the upper knob to adjust the volume.
RCL: Press the upper knob to recall the station being
played or the clock display.
Finding a Station
AM-FM:
Press this button to get AM or FM. The
lighted display shows your selection.
TUNE: Press TUNE or A to choose radio stations.
For fast tuning, press and hold one side
of the button,
then press the other side.
SEEK: Press AUTO then TUNE 7 or A and the radio
will tune to the next lower or higher station
and stay there.
PUSHBUTTONS: The six pushbuttons let you return to
your favorite stations. To set up to
12 stations (6 AM
and 6 FM), just:
1. Tune in the station.
2. Press SET.
3. Within five seconds, press one of the six
pushbuttons. Whenever you press that button, the
preset station will return.Repeat these steps for each
pushbutton.
Setting the Tone
BASS:
Turn this knob to the right to hear more bass.
TREB: Turn this control behind the BASS knob to the
right to hear more treble.
3-11
Page 157 of 386
Downloaded from www.Manualslib.com manuals search engine H has a higher maximum volume and gets louder faster
than L. Use H when you are driving with the roof panel
off, the convertible top down or the windows open. If
you don’t want to use SCV, turn the control to OFF.
RCL: Press the upper knob to recall the station being
played
or the clock display.
Finding a Station
AM-FM:
Press this button to get AM or FM. The
lighted display shows your selection.
TUNE: Press TUNE v or A to choose radio stations.
For fast tuning, press and hold one side of the button,
then press the other side.
SEEK: Press AUTO then TUNE v or A and the radio
will tune to the next lower or higher station and stay
there.
PUSHBUTTONS: The six pushbuttons let you return to
your favorite stations. To set up to 12 stations (6 AM
and
6 FM), tune in the station and press SET. Within
five seconds, press one of the six pushbuttons.
Whenever you press that button, the preset station will
return. Repeat these steps for each pushbutton.
Setting the Tone
BASS:
Turn this knob to the right to hear more bass.
TREB: Turn this control behind the BASS knob to the
right to hear more treble.
Adjusting the Speakers
BAL: With the DelcoBose system, your speakers are
electronically balanced.
FADE: Turn this knob to move the sound between the
front and rear speakers. Note that
if you turn the knob
all the way to
F or R, you may still get some sound from
the opposite speakers.
3-14
Page 169 of 386
Downloaded from www.Manualslib.com manuals search engine Avoid needless heavy braking. Some people drive
in spurts
-- heavy acceleration followed by heavy
braking
-- rather than keeping pace with traffic. This
is
a mistake. Your brakes may not have time to cool
between hard stops. Your brakes will wear out much
faster if you do a lot of heavy braking. If you keep pace
with the traffic and allow realistic following distances,
you will eliminate a lot of unnecessary braking. That
means better braking and longer brake life.
If your engine ever stops while you’re driving, brake
normally but don’t pump your brakes. If
you do, the
pedal may get harder to push down.
If your engine
stops, you will still have some power brake assist. But
you will use it when you brake. Once the power assist is
used up, it may take longer to stop and the brake pedal
will be harder to push.
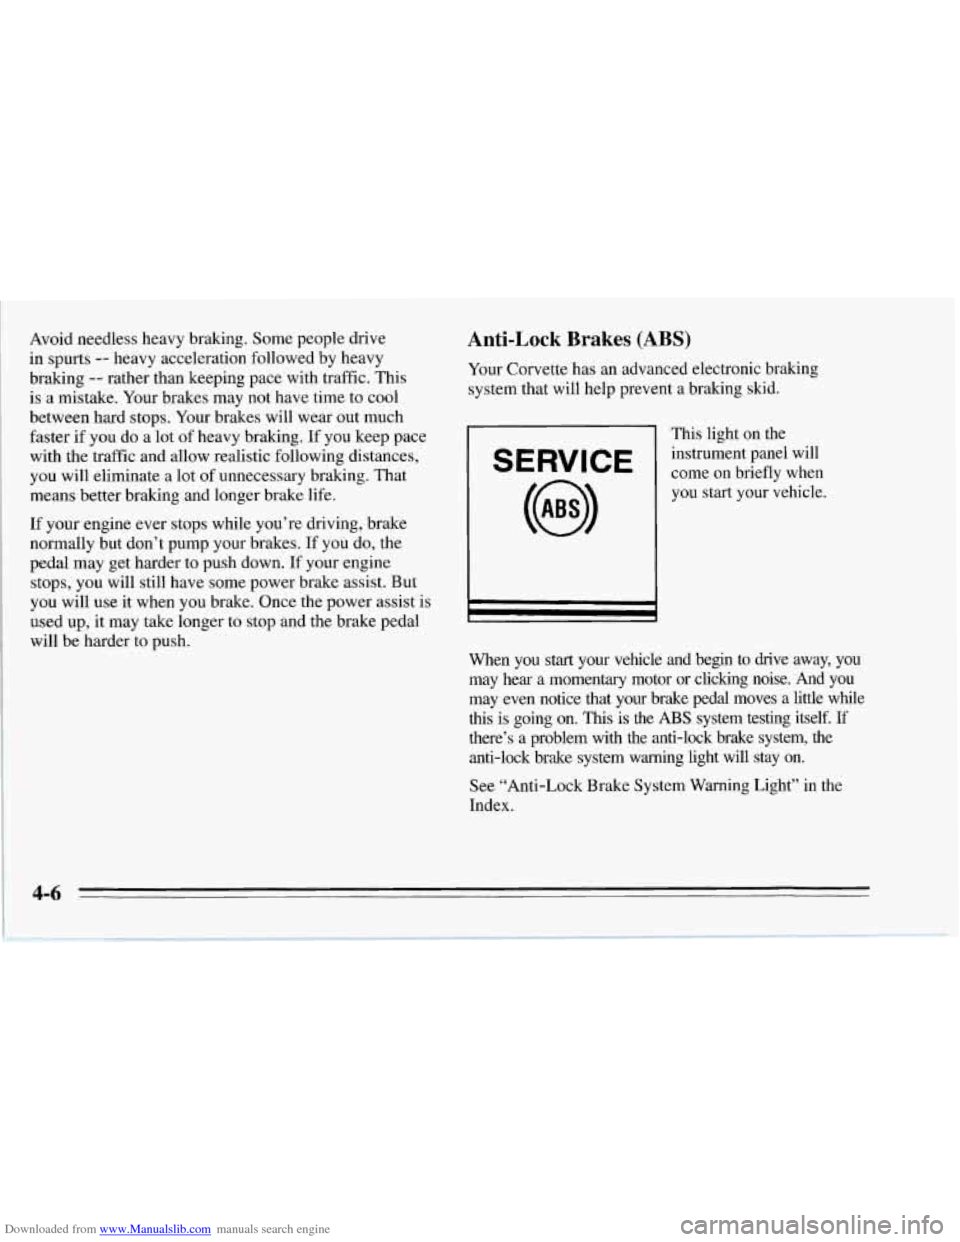
Anti-Lock Brakes (ABS)
Your Corvette has an advanced electronic braking
system that will help prevent a braking skid.
This light on the
E RVI E come on briefly when
instrument
panel will
you start your vehicle.
I r I
When you start your vehicle and begin to drive away, you
may hear a momentary motor or clicking noise. And you
may even notice that your brake pedal moves a little while
this is going on.
This is the ABS system testing itself. If
there’s a problem with the anti-lock brake system, the
anti-lock brake system warning light will stay on.
See “Anti-Lock Brake System Warning Light” in the
Index.
Page 170 of 386
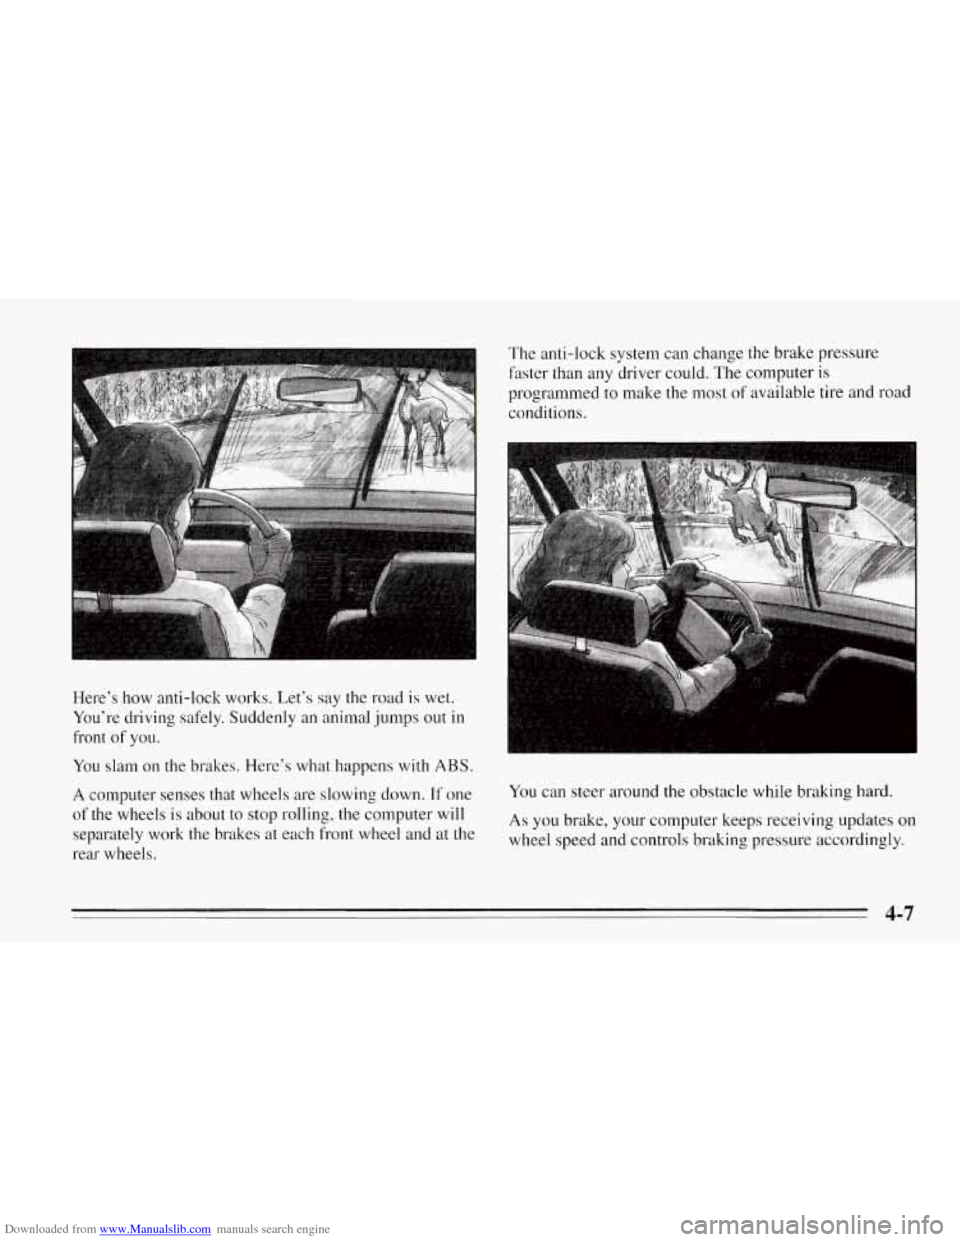
Downloaded from www.Manualslib.com manuals search engine Here’s how anti-lock works. Let’s say the road is wet.
You’re driving safely. Suddenly an animal jumps out in
front
of you. The anti-lock system
can change the brake pressure
faster than any driver could. The computer is
programmed
to make the most of available tire and road
conditions.
You slam on the brakes. Here’s what happens with ABS.
A computer senses that wheels are slowing down. If one
of the wheels is about to stop rolling, the computer will
separately work the brakes at each front wheel and at the
rear wheels.
You can steer around the obstacle while braking hard.
As you brake, your computer keeps receiving updates on
wheel speed and controls braking pressure accordingly.
4-7