Page 193 of 388

Downloaded from www.Manualslib.com manuals search engine Parking on Hills
You really should not park your vehicle, with a trailer
attached,
on a hill. If something goes wrong, your rig
could start to move. People can be injured, and both
your vehicle and the trailer can be damaged.
But if you ever have to park your rig on a hill, here’s
how
to do it:
1.
2.
3.
4.
5.
Apply your regular brakes, but don’t shift into
PARK (P)
yet, or into gear for a manual
transmission.
Have someone place chocks under the trailer wheels.
When the wheel chocks
are in place, release the
regular brakes. Then apply your parking brakes until
the chocks absorb the load.
Reapply the regular brakes. Then apply your parking
brake and then shift
to PARK(P) or REVERSE (R)
for a manual transmission.
Release the regular brakes.
When You Are Ready to Leave After
Parking on a
Hill
1. Apply your regular brakes and hold the pedal down
while you:
0 Start your engine;
0 Shift into a gear; and
0 Release the parking brake.
2. Let up on the brake pedal.
3. Drive slowly until the trailer is clear of the chocks.
4. Stop and have someone pick up and store the chocks.
Maintenance When Trailer Towing
Your vehicle will need service more often when you’re
pulling a trailer. See the Maintenance Schedule for more
on this. Things that are especially important in trailer
operation are automatic transmission fluid (don’t
overfill), engine oil, axle lubricant, cooling system, and
brake adjustment. Each
of these is covered in this
manual, and the Index will help you find them quickly.
If you’re trailering, it’s a good idea
to review these
sections before you start your trip.
Check periodically
to see that all hitch nuts and bolts are
tight.
4-37
Page 196 of 388
Downloaded from www.Manualslib.com manuals search engine To turn off the flashers.
When the hazard warning flashers are on, your turn
signals won’t work.
Other Warning Devices
If you carry reflective triangles, you can set one up at
the side
of the road about 300 feet (100 m) behind your
vehicle.
Jump Starting
If your battery has run down, you may want to use
another vehicle and some jumper cables
to start your
Chevrolet. But please follow the
steps below to do it
safely.
i
NOTICE:
Ignoring these steps could result in costly damage
to your vehicle that wouldn’t be covered by your
warranty.
Trying to start your Chevrolet by pushing or
pulling it could damage your vehicle, even
if you
have a manual transmission. And
if you have an
automatic transmission, it won’t start that way.
5-2
Page 208 of 388

Downloaded from www.Manualslib.com manuals search engine If No Steam Is Coming From Your Engine
If you get the overheat warning but see or hear no
steam, the problem may not be
too serious. Sometimes
the engine can get a little too hot when you:
Climb a long hill on a hot day.
0 Stop after high speed driving.
0 Idle for long periods in traffic.
Tow a trailer.
If you get the overheat warning with no sign
of steam,
try this for a minute or
so:
1. If you have an air conditioner, turn it off.
2. Turn on your heater to full hot at the highest fan
speed and open the window as necessary.
3. If you’re in a traffic jam, shift to NEUTRAL (N);
otherwise, shift to the highest gear while
driving
-- AUTOMATIC OVERDRIVE (a)
or DRIVE (D) for automatic transmissions. If you
no longer
have the overheat warning, you can
drive. Just
to be safe, drive slower for about ten minutes.
If the warning doesn’t come back
on, you can drive
normally.
If the warning continues, pull over, stop, and park your
vehicle right away.
If there’s still no sign
of steam, you can idle the engine
for two or three minutes while you’re parked,
to see if
the warning stops. But then, if you still have the
warning,
turn ofSthe engine and get everyone out of the
vehicle
until it cools down.
You may decide not to lift the hood but to get service
help right away.
Page 231 of 388

Downloaded from www.Manualslib.com manuals search engine Compact Spare Tire
Although the compact spare was fully inflated when your
vehicle was new,
it can lose air after a time. Check the
inflation pressure regularly. It should be
60 psi
(420 kPa). After installing the compact spare on your
vehicle, you should stop as soon
as possible and make sure
your spare tire is correctly inflated.
The compact spare is
made
to perform well at posted speed limits for distances
up
to 3,000 miles (5 O00 km), so you can finish your trip
and have your full-size tire repaired or replaced where
you
want. Of course, it’s best to replace your spare with a
full-size tire as soon as you
can. Your spare will last
longer and be
in good shape in case you need it again.
When the compact spare is
on the rear axle, the optional
ASR system will cycle and limit acceleration for about
the first 15 seconds of driving after each engine start.
NOTICE:
Don’t take your compact spare through an
automatic car wash
with guide rails. The
compact spare can get caught on the rails. That
can damage the tire and wheel, and maybe other
parts
of your vehicle.
I
I NOTICE:
If the compact spare is used as a rear tire, do not
drive faster than
50 mph (80 km/h). Damage to
the rear axle may occur if the compact spare
is
driven faster than 50 mph. This speed limitation
does not apply when the compact spare is used
as
a front tire.
Don’t use your compact spare
on some other vehicle.
And don’t mix your compact spare or wheel with other
wheels or tires. They won’t fit. Keep your spare and its
wheel together.
I NOTICE:
Tire chains won’t fit your compact spare. Using
them will damage your vehicle and destroy the
chains too. Don’t use tire chains
on your compact
spare.
5-37
Page 240 of 388
Downloaded from www.Manualslib.com manuals search engine 3800 L36 (Code K) When you open the hood you’ll see:
1.
2.
3.
4.
5.
6.
7.
8.
9.
10.
11.
Battery
Engine Coolant Reservoir
Engine
Oil Dipstick
Automatic Transmission Dipstick
(if equipped)
Air Cleaner
Oil
Fill Cup
Brake Fluid Reservoir
Power Steering Reservoir
Windshield Washer Reservoir
Engine Fan
Clutch Fluid Reservoir
(if equipped)
6-8
Page 241 of 388
Downloaded from www.Manualslib.com manuals search engine 3.4L L32 (Code S) When you open the hood you’ll see:
1.
2.
3.
4.
5.
6.
7.
8.
9.
10.
11.
Battery
Engine Coolant Reservoir
Engine Oil Dipstick
Automatic Transmission Dipstick (if equipped)
Air Cleaner
Oil Fill Cap
Brake Fluid Reservoir
Power Steering Reservoir
Windshield Washer Reservoir
Engine Fan
Clutch Fluid Reservoir (if equipped)
6-9
Page 242 of 388
Downloaded from www.Manualslib.com manuals search engine 5.7L LT1 (Code P) When you open the hood you’ll see:
1.
2.
3.
4.
5.
6.
7.
8.
9.
10.
11.
Battery
Engine Coolant Reservoir
Engine Oil Dipstick
Automatic Transmission Dipstick (if equipped)
Air Cleaner
Oil Fill Cap
Brake Fluid Reservoir
Power Steering Reservoir
Windshield Washer Reservoir
Engine Fans
Clutch
Fluid Reservoir (if equipped)
Page 253 of 388

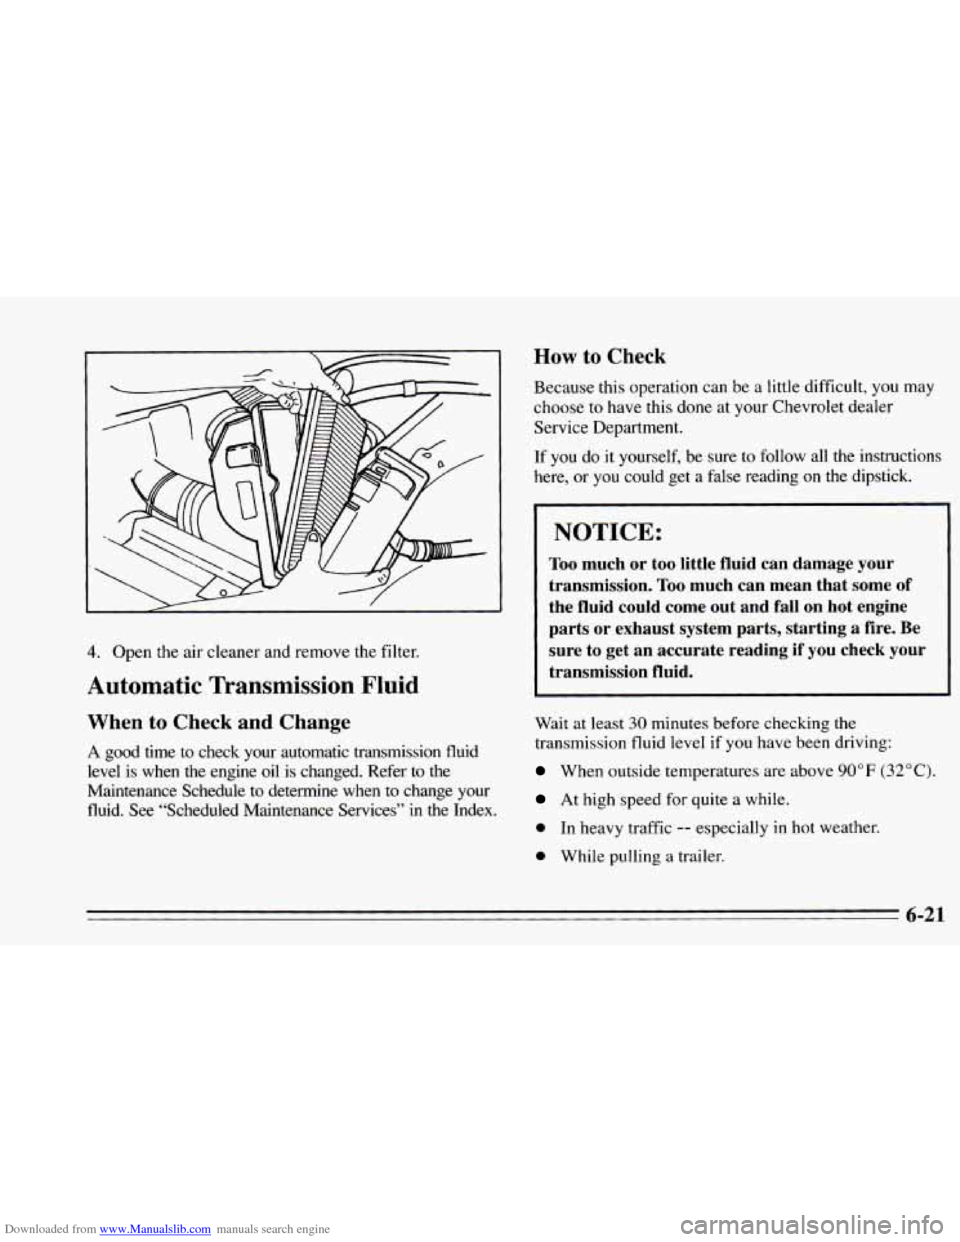
Downloaded from www.Manualslib.com manuals search engine 4. Open the air cleaner and remove the filter.
Automatic Transmission Fluid
When to Check and Change
A good time to check your automatic transmission fluid
level is when the engine oil is changed. Refer to the
Maintenance Schedule to determine when to change your
fluid. See “Scheduled Maintenance Services” in the Index.
How to Check
Because this operation can be a little difficult, you may
choose to have this done at your Chevrolet dealer
Service Department.
If you do it yourself,
be sure to follow all the instructions
here,
or you could get a false reading on the dipstick.
NOTICE:
Too much or too little fluid can damage your
transmission.
Too much can mean that some of
the fluid could come out and fall on hot engine
parts or exhaust system parts, starting a fire. Be
sure to get an accurate reading if you check your
transmission fluid.
Wait at least 30 minutes before checking the
transmission fluid level
if you have been driving:
When outside temperatures are above 90°F (32°C).
At high speed for quite a while.
0 In heavy traffic -- especially in hot weather.
0 While pulling a trailer.