Page 132 of 388
Downloaded from www.Manualslib.com manuals search engine Convertible Top
The following procedures explain the proper operation
of
your convertible top.
To Lower Your Convertible Top
NOTICE:
Don't leave your convertible out with the top
down for any long periods of time. The sun and
the rain can damage your seat material and other
things inside your vehicle,
1. Park on a level surface. Set the parking brake firmly.
Shift an automatic transmission into
PARK (P) or a
manual transmission into REVERSE (R). The
ignition must be in the
ACC or RUN position. Lower
both sun visors.
NOTICE:
Don't lower the top if it is damp or wet, When
the top is down, trapped water can cause stains,
mildew and damage to the inside of your vehicle.
Be sure to dry
off the top before you lower it.
I NOTICE:
It is not recommended to lower the top if the
vehicle
is out in cold weather, 0" F (-18" C) or
lower.
2-80
I
Page 133 of 388
Downloaded from www.Manualslib.com manuals search engine 1 NOTICE:
Before lowering the convertible top into the
storage area, be sure there are no objects in the
way of the folded, stored top. The weight of a
stored top
on items in the storage area will cause
the convertible top back glass to break.
2. Unlock the front of the convertible top by pushing on
the smaller part of the latch, then pulling down on the
larger part of the latch. Be sure the hook on the latch
that attaches into the hole at
the windshield releases.
UP TOP
DOWN 1
3. Be sure no one or nothing is on or around the top.
Push
and hold “DOWN” or on the convertible
top switch.
The switch is below your cigarette
lighter.
The top will automatically lower into the
storage area.
2-81
Page 135 of 388
Downloaded from www.Manualslib.com manuals search engine To Raise Your Convertible Top
1. Park on a level surface. Set the parking brake firmly.
If
you have an automatic transmission, shift into
PARK
(P). If you have a manual transmission, shift
into REVERSE (R). The ignition must be in the
ACC or RUN position. Then lower both sun visors
and lower both windows at least three inches. If the
boot cover is in place, it must be removed first.
2. Open the trunk. Remove the middle piece of the
cover
by pushing in on the latch and lifting up on the
cover.
3. Remove the two side pieces of the boot cover by
lifting
the rear of cover and sliding them out of their
slots.
2-83
Page 142 of 388
Downloaded from www.Manualslib.com manuals search engine A/C: Use for normal cooling on hot days. This setting
cools outside air and directs it through the upper air
vents.
The air conditioner compressor operates in
MAX, NC,
BI-LEVEL, BLEND and DEFROST when the outside
temperature
is above freezing. When the air conditioner
is on, you may sometimes notice slight changes in your
vehicle’s engine speed and power. This is normal,
because the system is designed to cycle the compressor
on and
off to keep the desired cooling and help fuel
economy.
Cooling
The air conditioner works best if you keep your
windows closed. On very hot days, open the windows
just long enough for the hot air to escape.
1. Turn the air control knob to A/C for normal coolinn.
For faster cooling move the knob to
MAX.
setting.
2. Turn the temperature control knob to a comfortable
3. Turn the fan control knob to the desired speed.
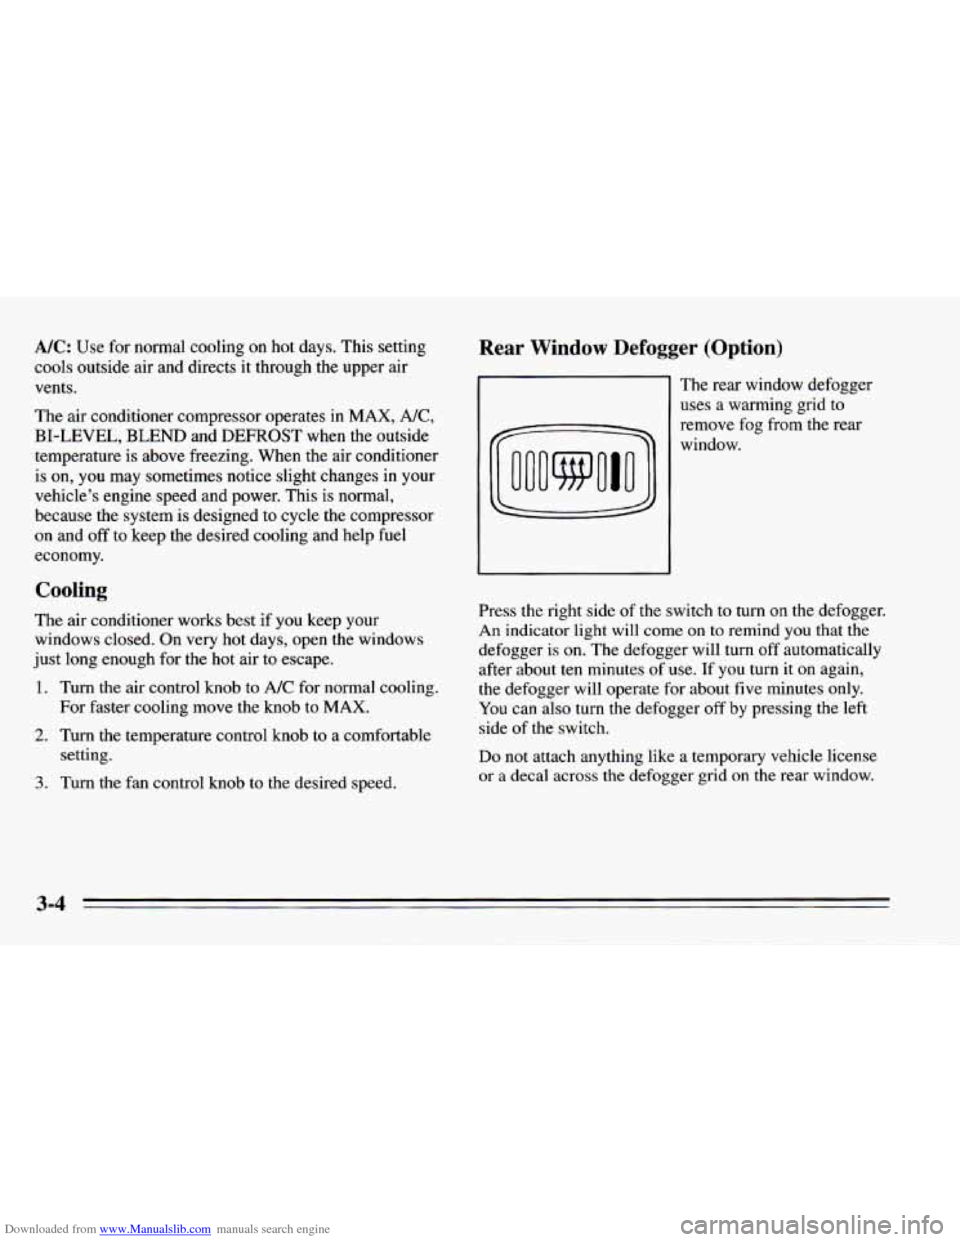
Rear Window Defogger (Option)
The rear window defogger
uses a warming grid to
remove fog
from the rear
window.
Press the right side of the switch to turn
on the defogger.
An indicator light will come on to remind you that the
defogger is on. The defogger will
turn off automatically
after about ten minutes of use.
If you turn it on again,
the defogger will operate for about five minutes only.
You can also turn the defogger
off by pressing the left
side of the switch.
Do not attach anything like a temporary vehicle license
or a decal across the defogger grid on the rear window.
3-4
Page 147 of 388
Downloaded from www.Manualslib.com manuals search engine Automatic Program Search
When you push APS you can go to the beginning of a
new selection.
To go forward to the beginning of the next selection,
press
,.
To go back to the beginning of the current selection
press
4. Push 4 again to go to the beginning of the
previous selection.
Program
Press the upper knob on your system to switch from one
side of the tape
to the other.
Your cassette tape player can play continuously because
the player has an auto-reverse feature.
Eject
Press STOP-EJECT fully to remove the tape or stop the
tape and switch to the radio.
Cr02 (DelcoBose System)
The Cr02 button lets you set the system for the type of
cassette being used.
If you are using chrome or metal
tapes, push Cr02 in. If you are using standard tapes,
make sure CrO2 is out.
Noise Reduction (DelcoBose System)
Your sound system has the Dolby@ automatic noise
reduction feature.
Dolby@ Noise Reduction is manufactured under license
from Dolby Laboratories Licensing Corporation. Dolby
and the double-D symbol are trademarks
of Dolby
Laboratories Licensing Corporation.
3-9
Page 165 of 388
Downloaded from www.Manualslib.com manuals search engine ASR (Acceleration Slip Regulation) System
(Option: LT1 VS Engine)
Your vehicle may have a traction control system called
ASR that limits wheel spin. This is especially useful in
slippery road conditions. The system operates only if it
senses that one or both of the rear wheels are spinning or
beginning to lose traction.
When this happens, the system works the rear brakes
and reduces engine power (by closing the throttle and
managing engine spark)
to limit wheel spin.
The
LOW TRAC light will come on when your ASR
system is limiting wheel spin, See “Low Traction Light”
in the Index. You may feel the system working, or you
may notice some noise, but this is normal.
The
ASR system may operate on dry roads under some
conditions, and you may notice a reduction
in
acceleration when this happens. This is normal and
doesn’t mean there’s a problem with your vehicle.
Examples of these conditions include
a hard acceleration
in a turn, or an abrupt upshift or downshift. Also, when
the compact spare tire
is on the rear axle, the ASR
system will cycle and limit acceleration for about the
first
15 seconds of driving after each engine start.
If your vehicle is in cruise control when the ASR system
begins to
limit wheel spin, the cruise control will automatically
disengage. When road conditions allow
you to safely use
it again, you may re-engage the cruise
control. (See “Cruise Control”
in the Index.)
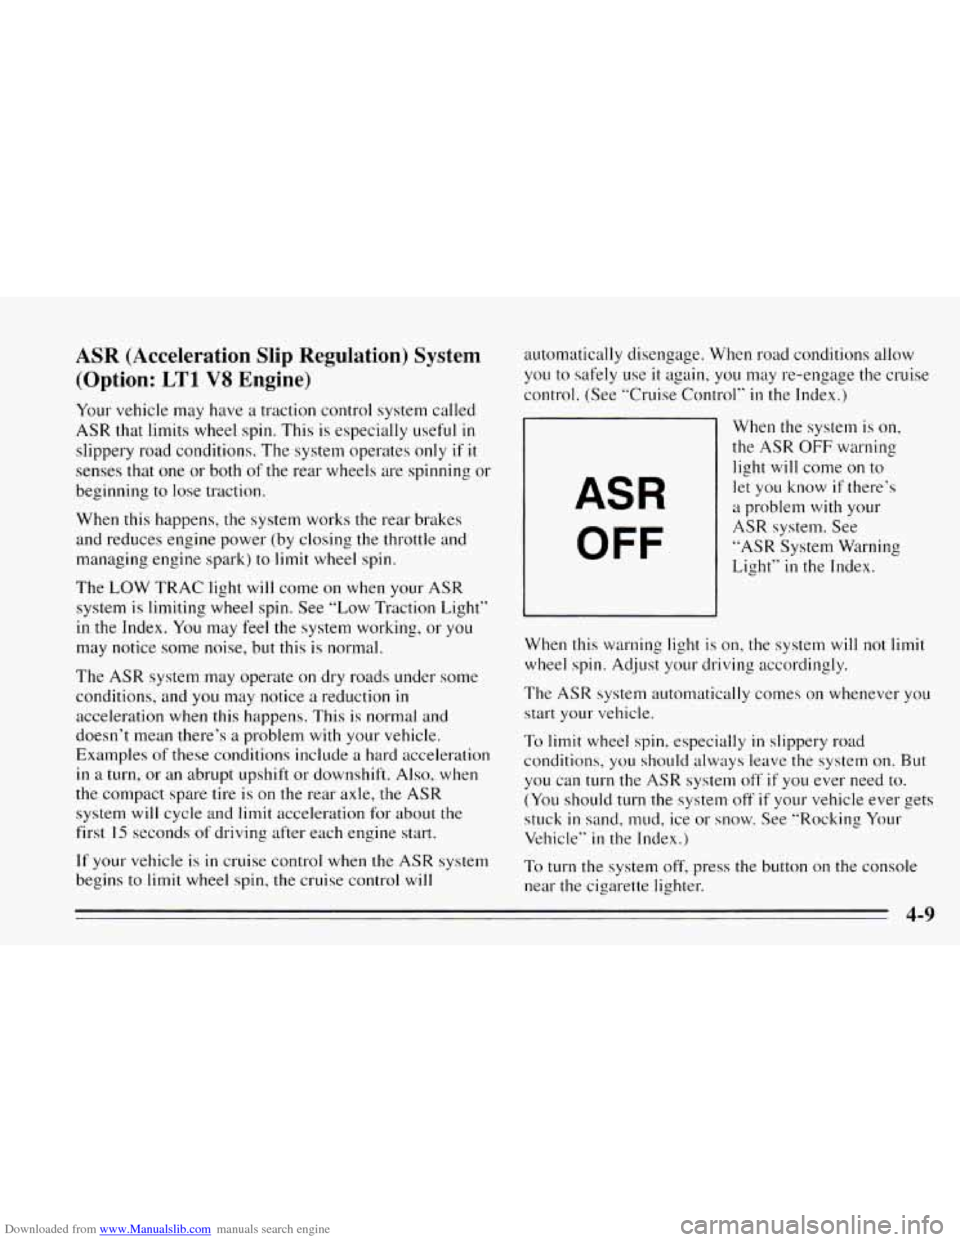
ASR
OFF
When the system is on,
the ASR OFF warning
light will come on to
let you know
if there’s
a problem with your
ASR system. See
“ASR System Warning
Light’’
in the Index.
When
this warning light is on, the system will not limit
wheel spin. Adjust your driving accordingly.
The
ASR system automatically comes on whenever you
start your vehicle.
To limit wheel spin, especially in slippery road
conditions,
you should always leave the system on. But
you can
turn the ASR system off if you ever need to.
(You should
turn the system off if your vehicle ever gets
stuck
in sand, mud, ice or snow. See “Rocking Your
Vehicle”
in the Index.)
To turn the system off, press the button
on the console
near the cigarette lighter.
4-9
Page 166 of 388
Downloaded from www.Manualslib.com manuals search engine The ASR OFF warning light will come on and stay on.
If the ASR system is limiting wheel spin when you
press the button, the system won’t turn
off right away.
It will wait until there’s
no longer a current need to limit
wheel spin.
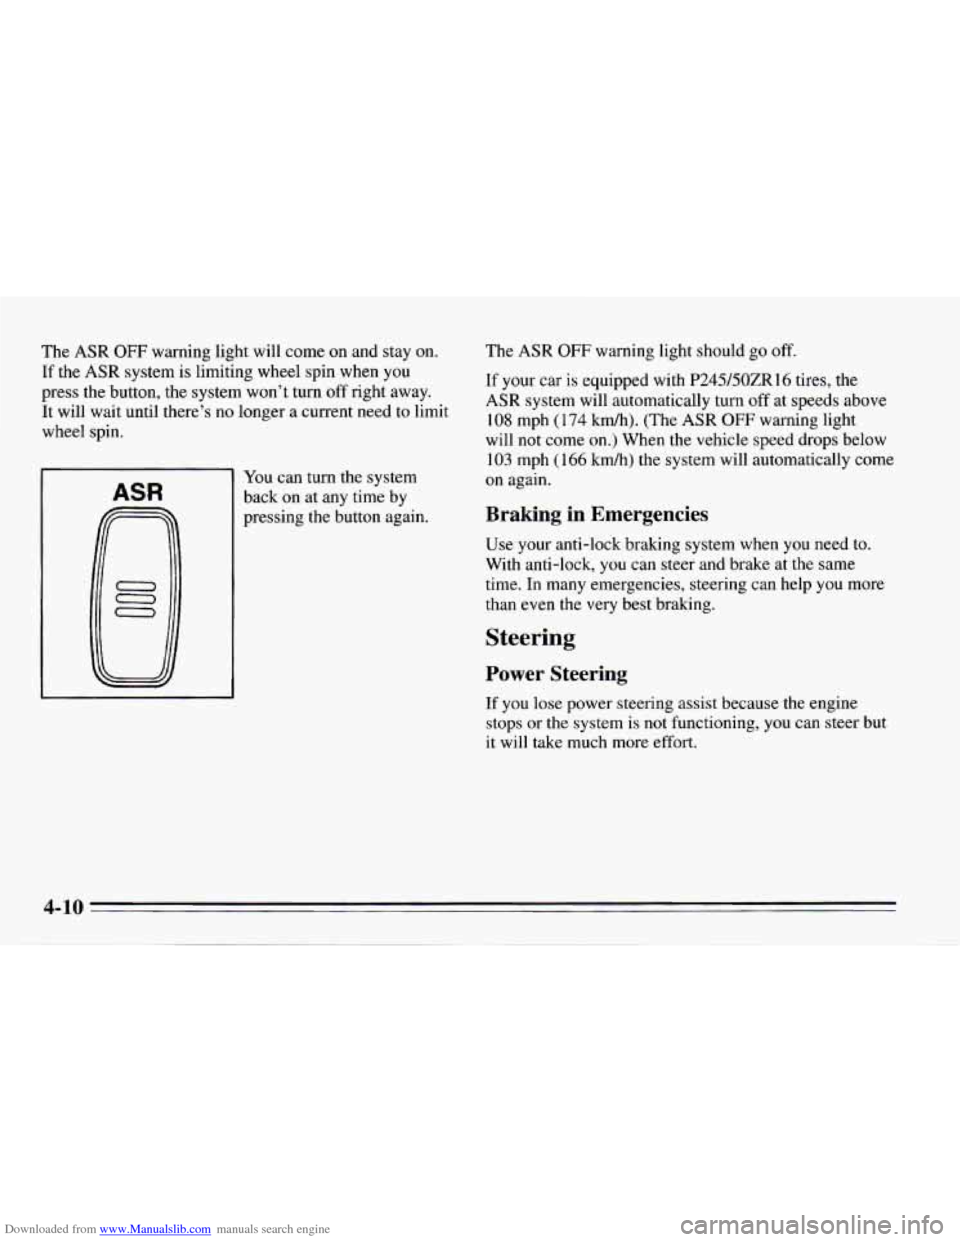
You can turn the system
back on at any time by
pressing the button again. The
ASR OFF warning
light should go off.
If your car is equipped with P245bOZR16 tires, the
ASR system will automatically turn off at speeds above
108 mph (174 Mh). (The ASR OFF warning light
will not come
on.) When the vehicle speed drops below
103 mph (166 kmh) the system will automatically come
on again.
Braking in Emergencies
Use your anti-lock braking system when you need to.
With anti-lock, you can steer and brake at the same
time. In many emergencies, steering can help you more
than even the very best braking.
Steering
Power Steering
If you lose power steering assist because the engine
stops or
the system is not functioning, you can steer but
it will take much more effort.
4-10
Page 192 of 388
Downloaded from www.Manualslib.com manuals search engine Making ’hrns When towing a trailer, the green arrows on your
instrument panel will flash for turns even if the bulbs on
the trailer are burned out. Thus, you may think drivers
NOTICE: behind you are seeing your signal when they are not. It’s
Making very sharp turns while trailering could
cause the trailer to come in contact with the
vehicle. Your vehicle could be damaged. Avoid important to check occasionally to be sure the trailer
bulbs
are still working.
Driving On Grades
making very sharp turns while trailering. Reduce speed and shift to a lower gear before you start
down
a long or steep downgrade. If you don’t shift
When you’re turning with a trailer, make wider turns
than normal.
Do this so your trailer won’t strike soft
shoulders, curbs, road signs, trees, or other objects.
Avoid jerky or sudden maneuvers. Signal well in
advance.
Turn Signals When Towing a Trailer
When you tow a trailer, your vehicle has to have a
different turn signal flasher and extra wiring. The green
arrows on your instrument panel will flash whenever
you signal a turn or lane change. Properly hooked up,
the trailer lamps will also flash, telling other drivers
you’re about to turn, change lanes or stop. down,
you might have to use your brakes
so much that
they would get hot and no longer work well.
On a long uphill grade, shift down and reduce your
speed to around
45 mph (70 km/h) to reduce the
possibility
of engine and transmission overheating.
If you are towing a trailer and you have an automatic
transmission with Overdrive, you may prefer to drive in
DRIVE (D) instead of Overdrive (or, as you need to, a
lower gear). Or, if you have a manual transmission with
FIFTH or SIXTH gear. It is better not to use FIFTH or
SIXTH gear. Just drive in FOURTH gear (FIFTH gear
if
you have a six-speed manual transmission) (or, as you
need to, a lower gear).
4-36