Page 4 of 342
Downloaded from www.Manualslib.com manuals search engine As of September I, 1995, this information replaces Step 7 of the
“Securing a Child Restraint
in a Center Seat Position” portion of your
owner’s manual on the following pages, depending on your vehicle:
CIK Series, Sierra: 1-39
Suburban, Tahoe and Yukon:
1-45
Rally, Vandura and Chevy Van: 1-36
Astro
and Safari: 1-37
Lumina and naris Sport: 1-56
7. Push and pull the child restraint in different directions to be sure it
is secure. If it isn’t, secure the restraint in a different place in the
vehicle and contact
the child restraint maker for their advice about
how to attach the child restraint properly.
2
Page 9 of 342
Downloaded from www.Manualslib.com manuals search engine In the gray caution area, we tell you what the hazard is. Then we tell you
what to do to help avoid or reduce
the hazard. Please read these cautions. If
you don’t,
you or others could be hurt.
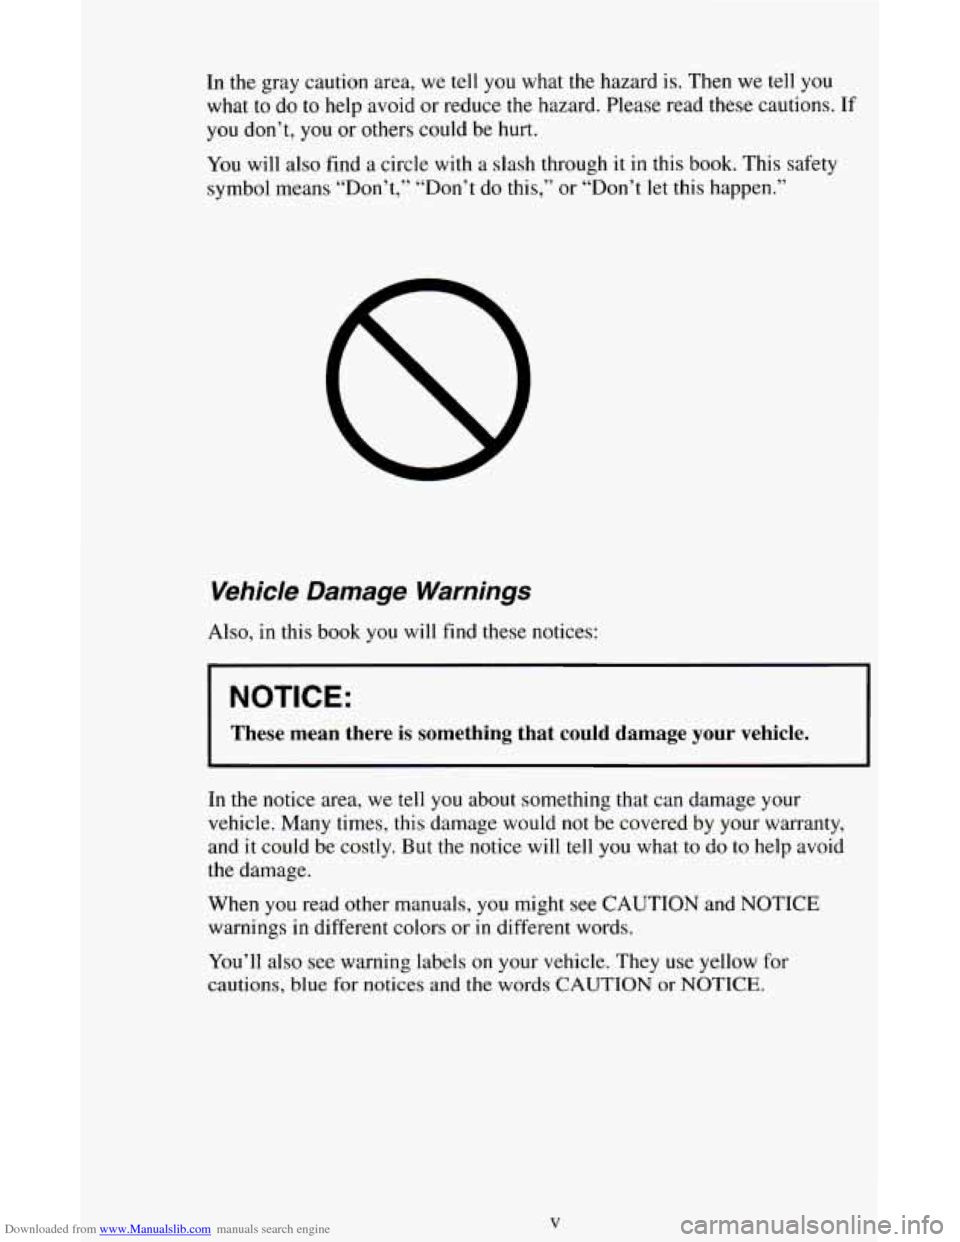
You will also find a circle with a slash through it in this book. This safety
symbol means “Don’t,” “Don’t do this,’’
or “Don’t let this happen.”
Vehicle Damage Warnings
Also, in this book you will find these notices:
NOTICE:
These mean there is something that could damage your vehicle.
In the notice area, we tell you about something that can damage your
vehicle. Many times, this damage would not be covered by your warranty,
and
it could be costly. But the notice will tell you what to do to help avoid
the damage.
When
you read other manuals, you might see CAUTION and NOTICE
warnings in different colors or
in different words.
You’ll also see warning labels on your vehicle. They use yellow for
cautions, blue
for notices and the words CAUTION or NOTICE.
V
Page 17 of 342
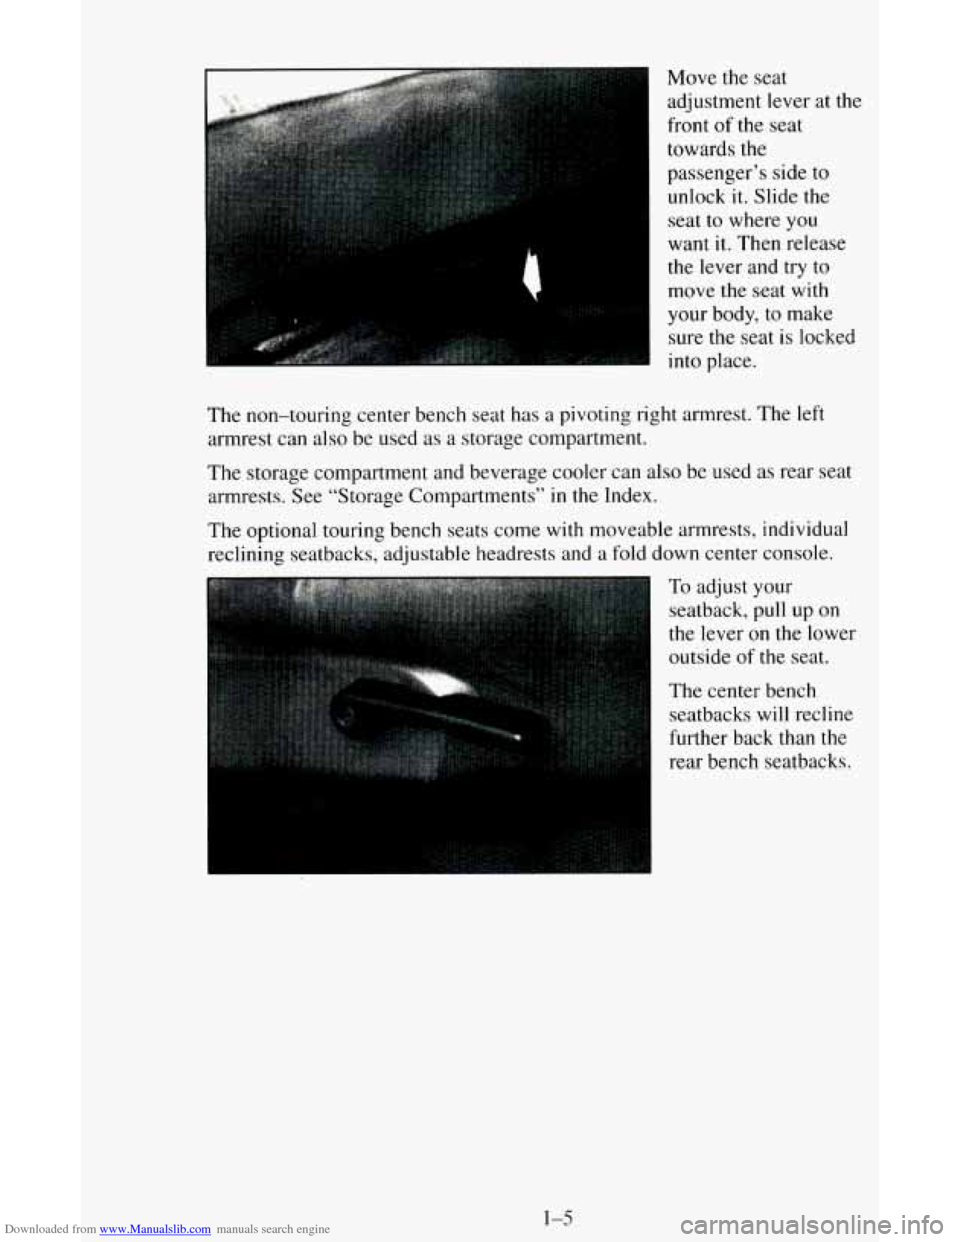
Downloaded from www.Manualslib.com manuals search engine Move the seat
adjustment lever
at the
front of the seat
towards the
passenger’s side to
unlock it. Slide the
seat to where
you
want it. Then release
the lever and try to
move the seat with
your body, to make sure the
seat is locked
into place.
The non-touring center bench seat has
a pivoting right armrest. The left
armrest can also
be used as a storage compartment.
The storage compartment and beverage cooler can also be used as rear seat
armrests. See “Storage Compartments”
in the Index.
The optional touring bench seats come
with moveable armrests, individual
reclining seatbacks, adjustable headrests and
a fold down center console.
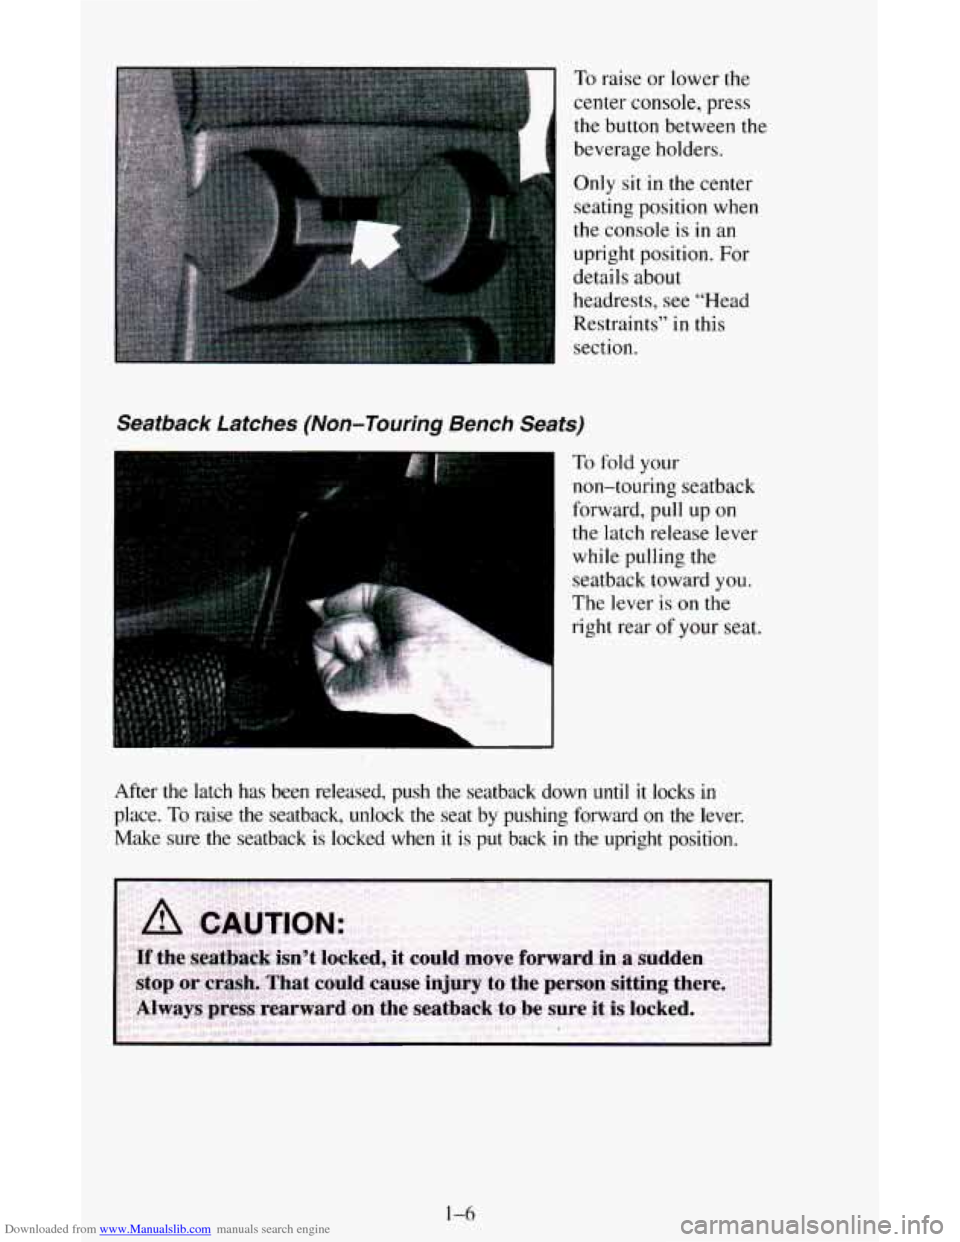
To adjust your
seatback, pull up
on
the lever on the lower
outside of the seat.
The center bench
seatbacks will recline
further back than the
rear bench seatbacks.
1-5
Page 18 of 342
Downloaded from www.Manualslib.com manuals search engine To raise or lower the
center console, press
the button between the
beverage holders.
Only sit
in the center
seating position when
the console
is in an
upright position. For
details about
headrests, see “Head
Restraints’’ in this
section.
Seatback Latches (Non-Touring Bench Seats)
To fold your
non-touring seatback
forward,
pull up on
the latch release lever
while pulling the
seatback toward
you.
The lever is on the
right rear
of your seat.
After the latch has been released, push
the seatback down until it locks in
place.
To raise the seatback, unlock the seat by pushing forward on the lever.
Make sure the seatback
is locked when it is put back in the upright position.
1-6
Page 21 of 342
Downloaded from www.Manualslib.com manuals search engine To Install The Seat
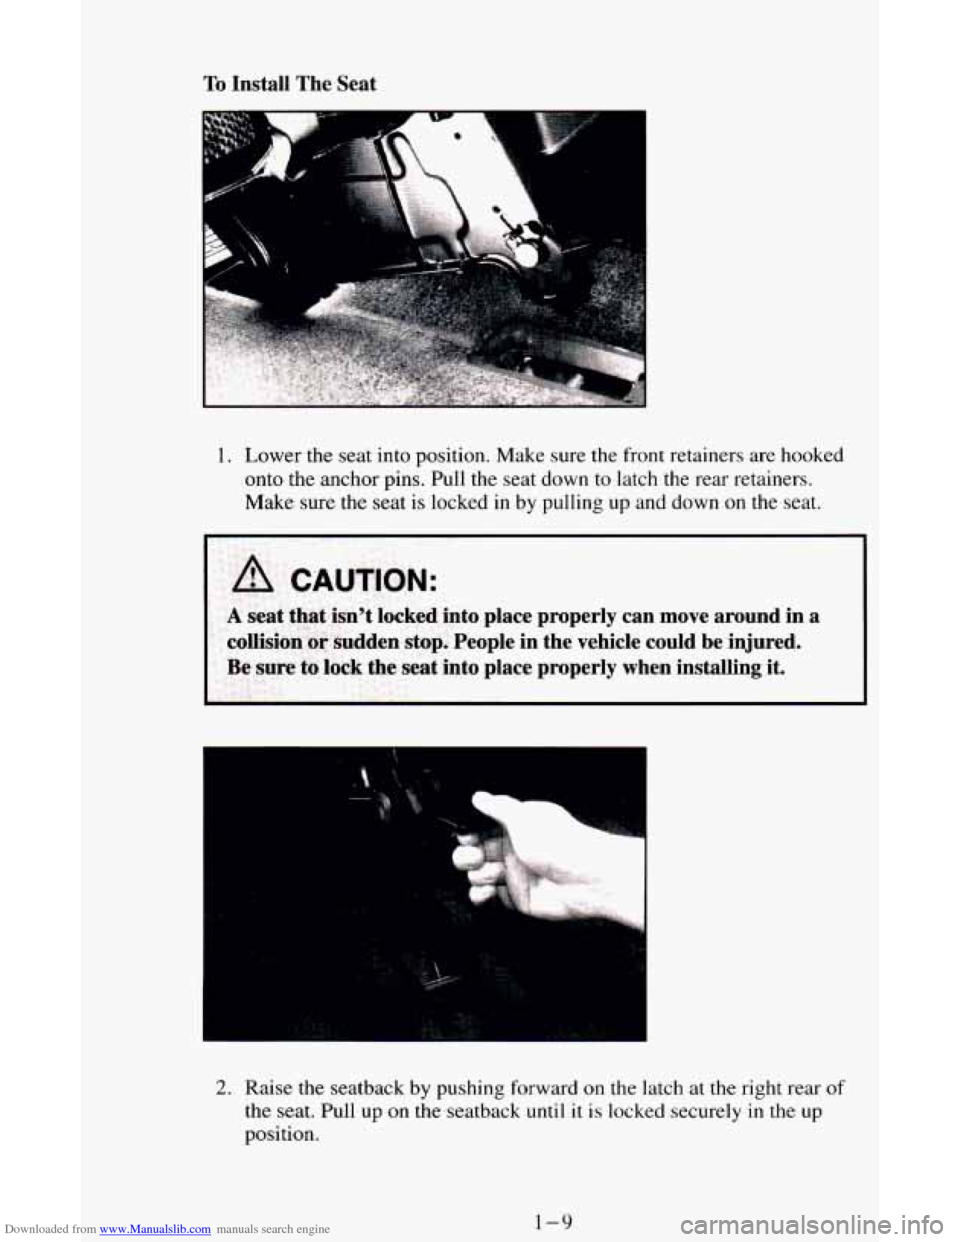
1. Lower the seat into position. Make sure the front retainers are hooked
onto the anchor pins. Pull the seat down to latch
the rear retainers.
Make sure the seat is locked in
by pulling up and down on the seat.
A CAUTION:
A seat that isn’t locked into place properly can move around in a
collision or sudden stop. People in the vehicle could be injured.
Be sure
to lock the seat into place properly when installing it.
~~
A CAUTION:
A seat that isn’t locked into place properly can move around in a
collision or sudden stop. People in the vehicle could be injured.
Be sure
to lock the seat into place properly when installing it.
2. Raise the seatback by pushing forward on the latch at the right rear of
the seat. Pull up on the seatback until it is locked securely in the up
position.
1-9
Page 26 of 342
Downloaded from www.Manualslib.com manuals search engine With safety belts, you slow down as the vehicle does. You get more time to
stop.
You stop over more distance, and your strongest bones take the forces,
That’s why safety belts make such good sense.
Here Are Questions Many People Ask About
Safety Belts
- and the Answers
0: Won’t I be trapped in the vehicle after an accident if I’m wearing a
A: You could be - whether you’re wearing a safety belt or not. But you
can unbuckle a safety belt, even if you’re upside down. And your
chance
of being conscious during and after an accident, so you can
unbuckle and get out, is much greater if you are belted.
safety belt?
0: Why don’t they just put in air bags so people won’t have to wear
A: Air bags are in many vehicles today and will be in more of them in the
future. But they are supplemental systems only;
so they work with
safety belts - not instead of them. Every air bag system ever offered
for sale has required the use
of safety belts. Even if you’re in a vehicle
that has air bags, you still have
to buckle up to get the most protection.
That’s true not only in frontal collisions, but especially
in side and
other collisions.
safety belts?
Q If I’m a good driver, and I never drive far from home, why should I
A: You may be an excellent driver, but if you’re in an accident - even
one that isn’t your fault
- you and your passengers can be hurt. Being
a good driver doesn’t protect you from things beyond your control,
such as bad drivers.
wear safety belts?
Most accidents occur within 25 miles (40 km) of home. And the
greatest number of serious injuries and deaths occur at speeds of less
than
40 mph (65 km/h).
Safety belts are for everyone.
1-14
Page 27 of 342
Downloaded from www.Manualslib.com manuals search engine How to Wear Safety Belts Properly
Adults
This part is only for people of adult size.
Be aware that there are special things to know about safety belts and
children. And there are different rules for smaller children and babies. If
a
child will be riding in your vehicle, see the part of this manual called
“Children.” Follow those rules for everyone’s protection.
First, you’ll want to
know which restraint systems your vehicle has.
We’ll start with the driver position.
Driver Position
This part describes the driver’s restraint system.
Lap-Shoulder Belt
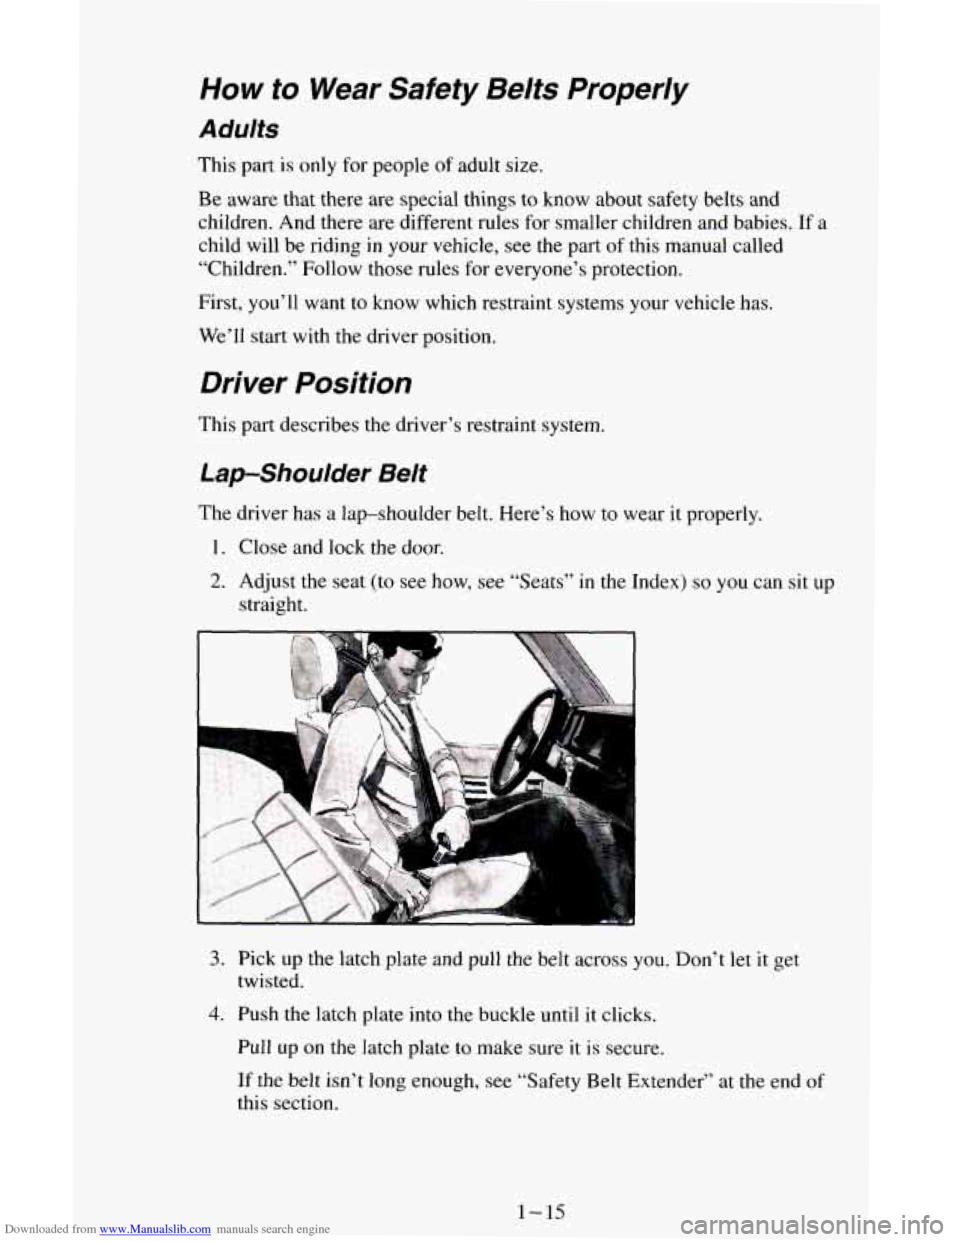
The driver has a lap-shoulder belt. Here’s how to wear it properly.
1. Close and lock the door.
2. Adjust the seat (to see how, see “Seats” in the Index) so you can sit up
straight.
3. Pick up the latch plate and pull the belt across you. Don’t let it get
4. Push the latch plate into the buckle until it clicks.
twisted.
Pull up
on the latch plate to make sure it is secure.
If the belt
isn’t long enough, see “Safetv Belt Extender” at the end of
this section.
1-15
Page 28 of 342
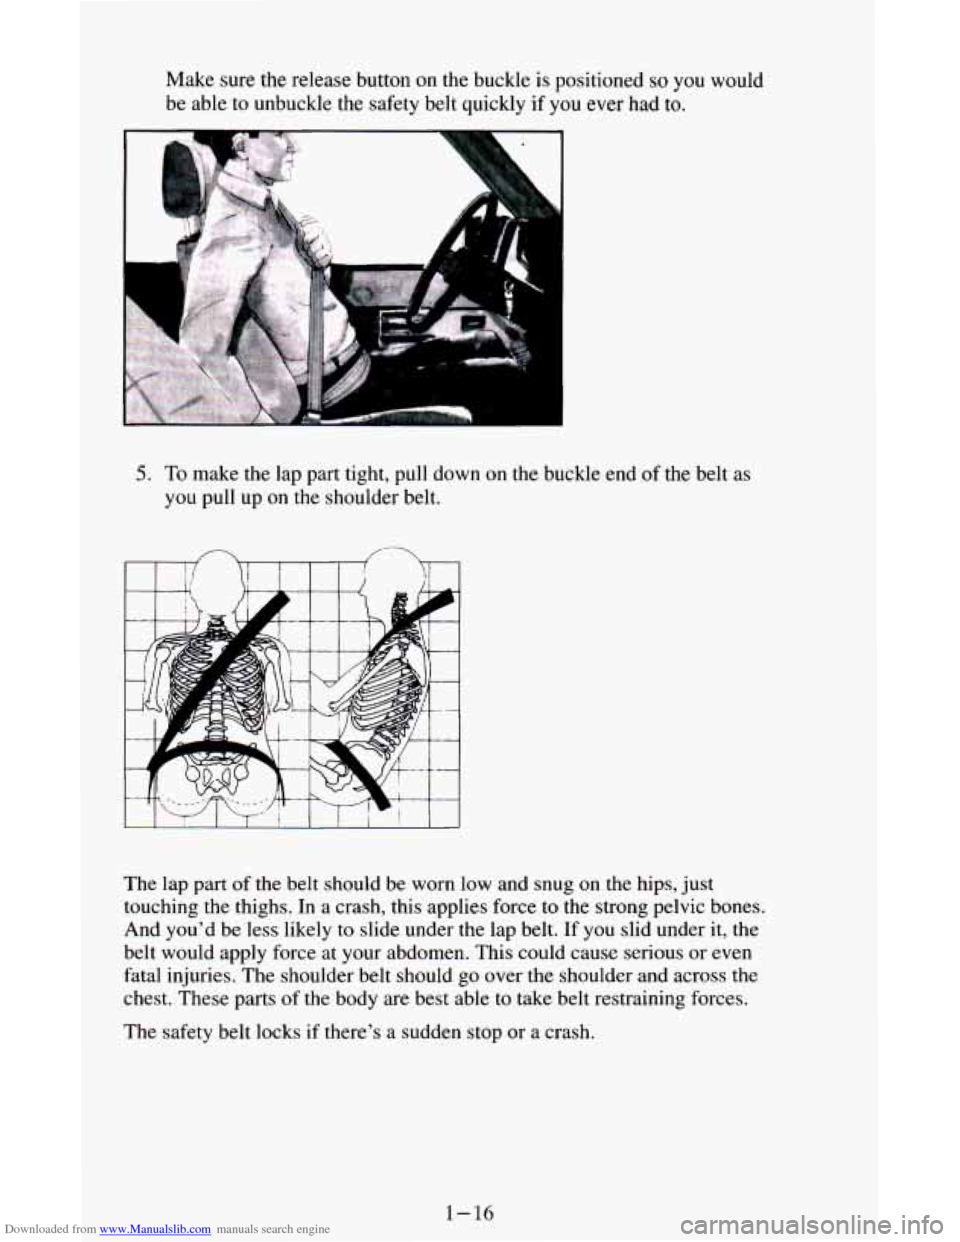
Downloaded from www.Manualslib.com manuals search engine Make sure the release button on the buckle is positioned so you would
be able to unbuckle the safety belt quickly if
you ever had to.
5. To make the lap part tight, pull down on the buckle end of the belt as
you pull up
on the shoulder belt.
The lap part of
the belt should be worn low and snug on the hips, just
touching the thighs. In a crash, this applies force to the strong pelvic bones.
And you’d be less likely
to slide under the lap belt. If you slid under it, the
belt would apply force at your abdomen. This could cause serious or even
fatal injuries. The shoulder belt should
go over the shoulder and across the
chest. These parts of the body are best able
to take belt restraining forces.
The safety belt locks if there’s a sudden stop or a crash.
1-16