1995 CHEVROLET ASTRO CARGO VAN low
[x] Cancel search: lowPage 109 of 342
Downloaded from www.Manualslib.com manuals search engine If the light stays on, or comes on when you’re driving, your vehicle needs
service.
If the regular brake system warning light isn’t on, you still have
brakes, but you don’t have anti-lock brakes. If the regular brake system
warning light
is also on, you don’t have anti-lock brakes and there’s a
problem with your regular brakes. See “Brake System Warning Light”
earlier in this part.
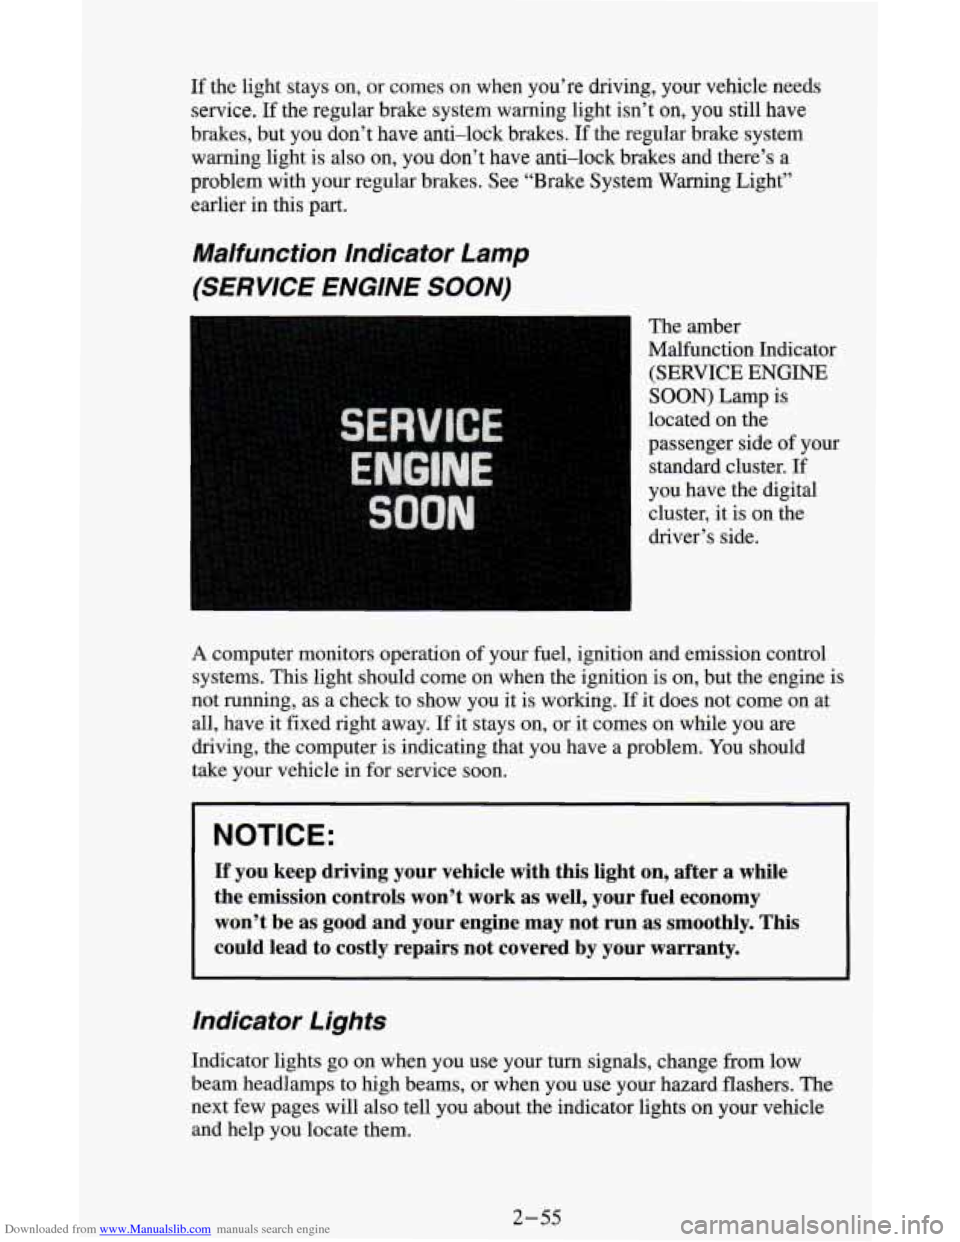
Malfunction Indicator Lamp
(SERVICE ENGINE
SOON)
The amber
Malfunction Indicator
(SERVICE
ENGINE
SOON) Lamp is
located on the
passenger side of your
standard cluster. If
you have the digital
cluster, it is
on the
driver’s side.
A computer monitors operation of your fuel, ignition and emission control
systems. This light should come on when the ignition is
on, but the engine is
not running, as a check to show you it is working.
If it does not come on at
all, have it fixed right away.
If it stays on, or it comes on while you are
driving, the computer is indicating that you have a problem. You should
take your vehicle in for service soon.
NOTICE:
If you keep driving your vehicle with this light on, after a whi\
le
the emission controls won’t work as well, your fuel economy \
won’t be as good and your engine may not run as smoothly. \
This
could lead to costly repairs not covered by your warranty.
Indicator Lights
Indicator lights go on when you use your turn signals, change from low
beam headlamps to high beams, or when you use your hazard flashers.
The
next few pages will also tell you about the indicator lights on your vehicle
and help you locate them.
2-55
Page 111 of 342
Downloaded from www.Manualslib.com manuals search engine For more details about DRL, see “Headlamps and Vehicle Lighting” in this
section.
The
DRL indicator light is on whenever the ignition and the headlight
switch and parking brake are
off. For more details about DRL, see “Lights”
in this part.
Headlamp High Beam Indicator Light
This blue light is on
the driver’s side
of the
standard cluster.
If
you have the digital
cluster, it
is on the top
of the cluster.
The high beam
indicator light is
on
whenever you use
your high beam
headlamps.
For more details, see “Headlamp High-Low Beam Changer” in this part.
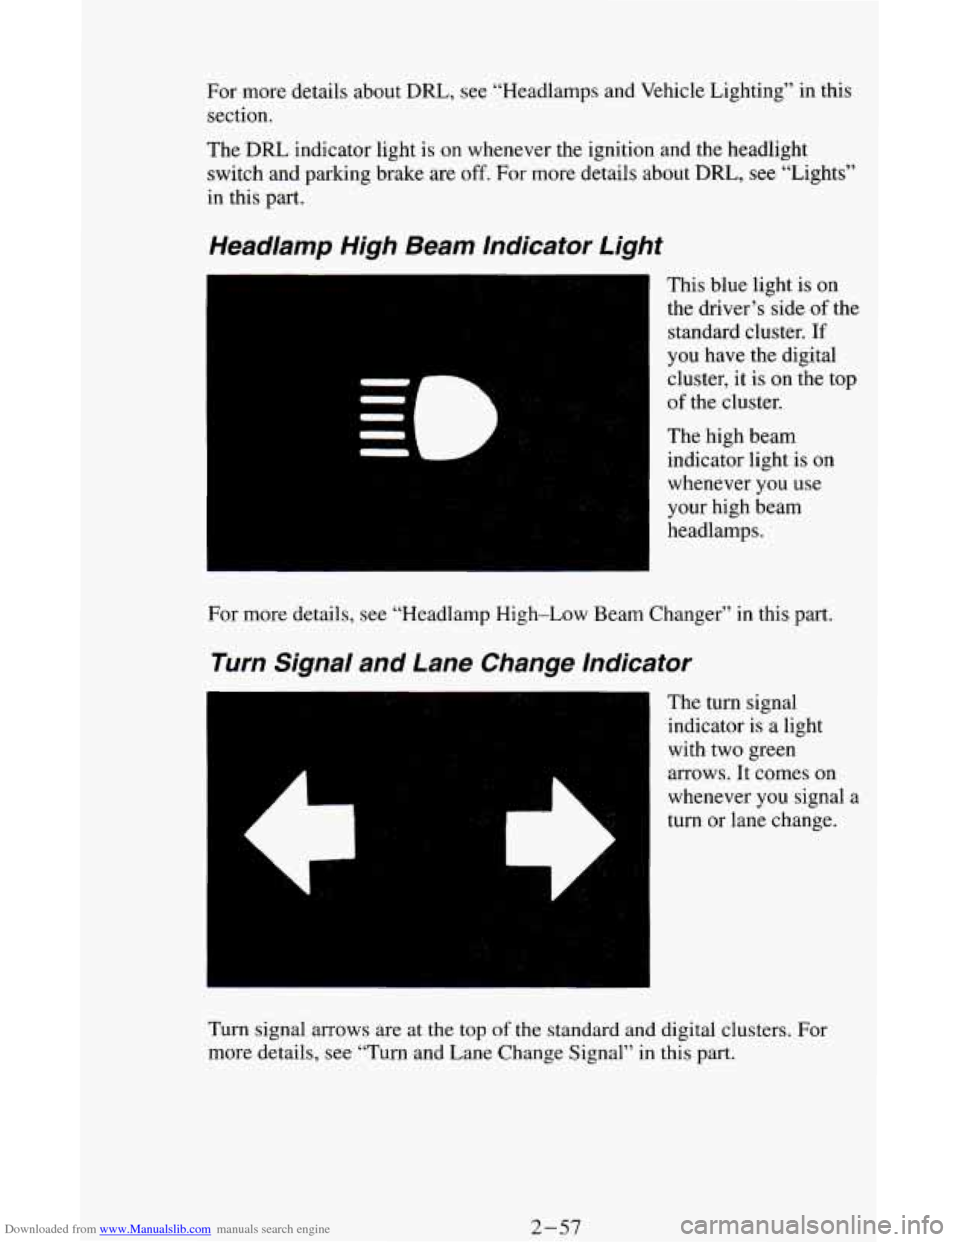
Turn Signal and Lane Change Indicator
The turn signal
indicator is
a light
with two green
arrows. It comes on
whenever you signal
a
turn or lane change.
Turn signal arrows are at the
top of the standard and digital clusters. For
more details, see “Turn and Lane Change Signal”
in this part.
2-57
Page 113 of 342
Downloaded from www.Manualslib.com manuals search engine Oil Pressure Gage
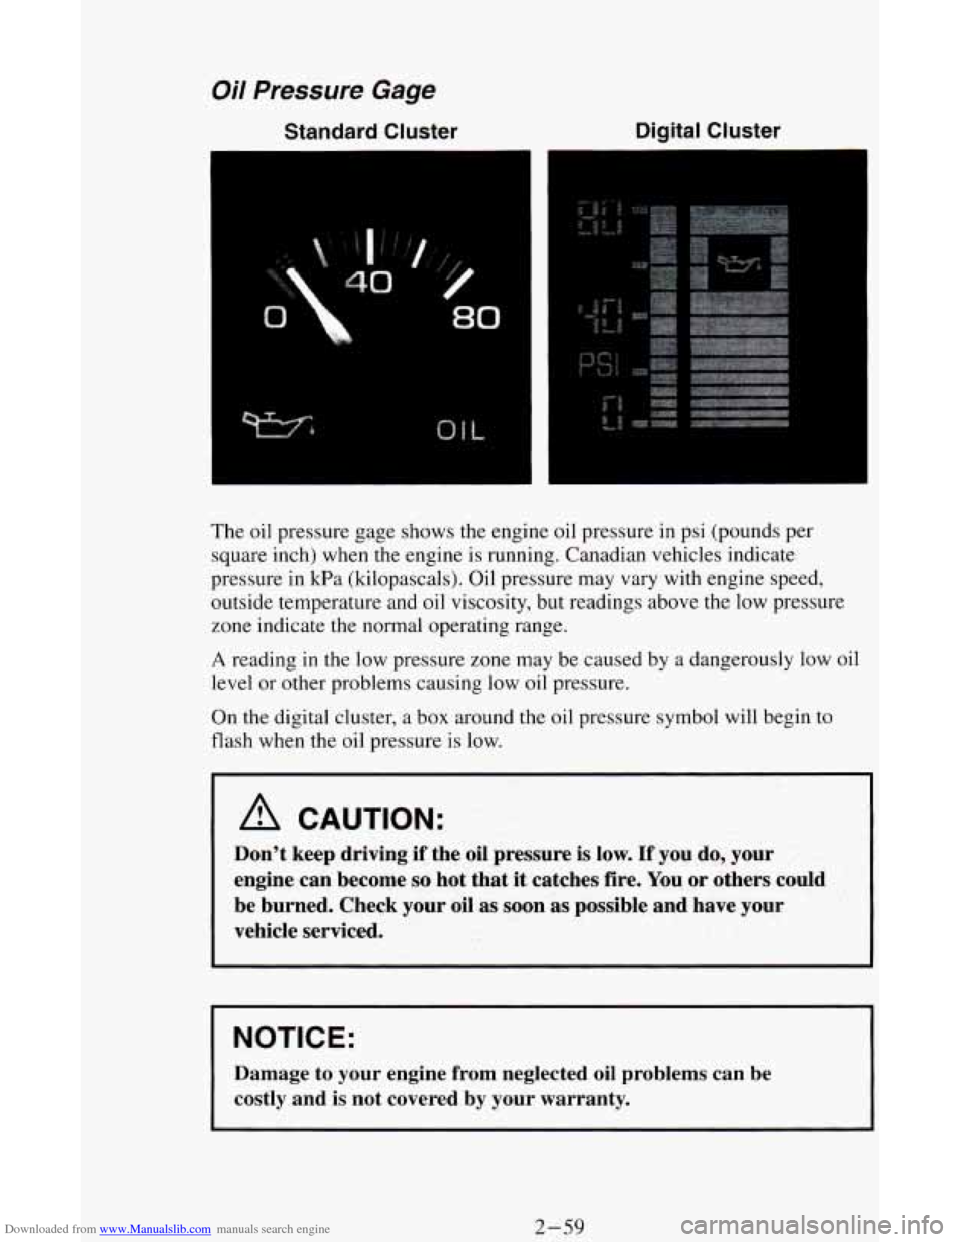
Standard Cluster Digital Cluster
The
oil pressure gage shows the engine oil pressure in psi (pounds per
square inch) when the engine is running. Canadian vehicles indicate
pressure in kPa (kilopascals). Oil pressure may vary with engine speed,
outside temperature and oil viscosity, but readings above the low pressure
zone indicate the normal operating range.
A reading in the low pressure zone may be caused by a dangerously low oil
level or other problems causing low
oil pressure.
On the digital cluster, a box around the oil pressure symbol will begin to
flash when the oil pressure
is low.
A CAUTION:
Don’t keep driving if the oil pressure is low. If you do, your
engine can become
so hot that it catches fire. You or others could
be burned. Check your oil
as soon as possible and have your
vehicle serviced.
NOTICE:
Damage to your engine from neglected oil problems can be
costly and
is not covered by your warranty.
2-59
Page 115 of 342
Downloaded from www.Manualslib.com manuals search engine Voltmeter
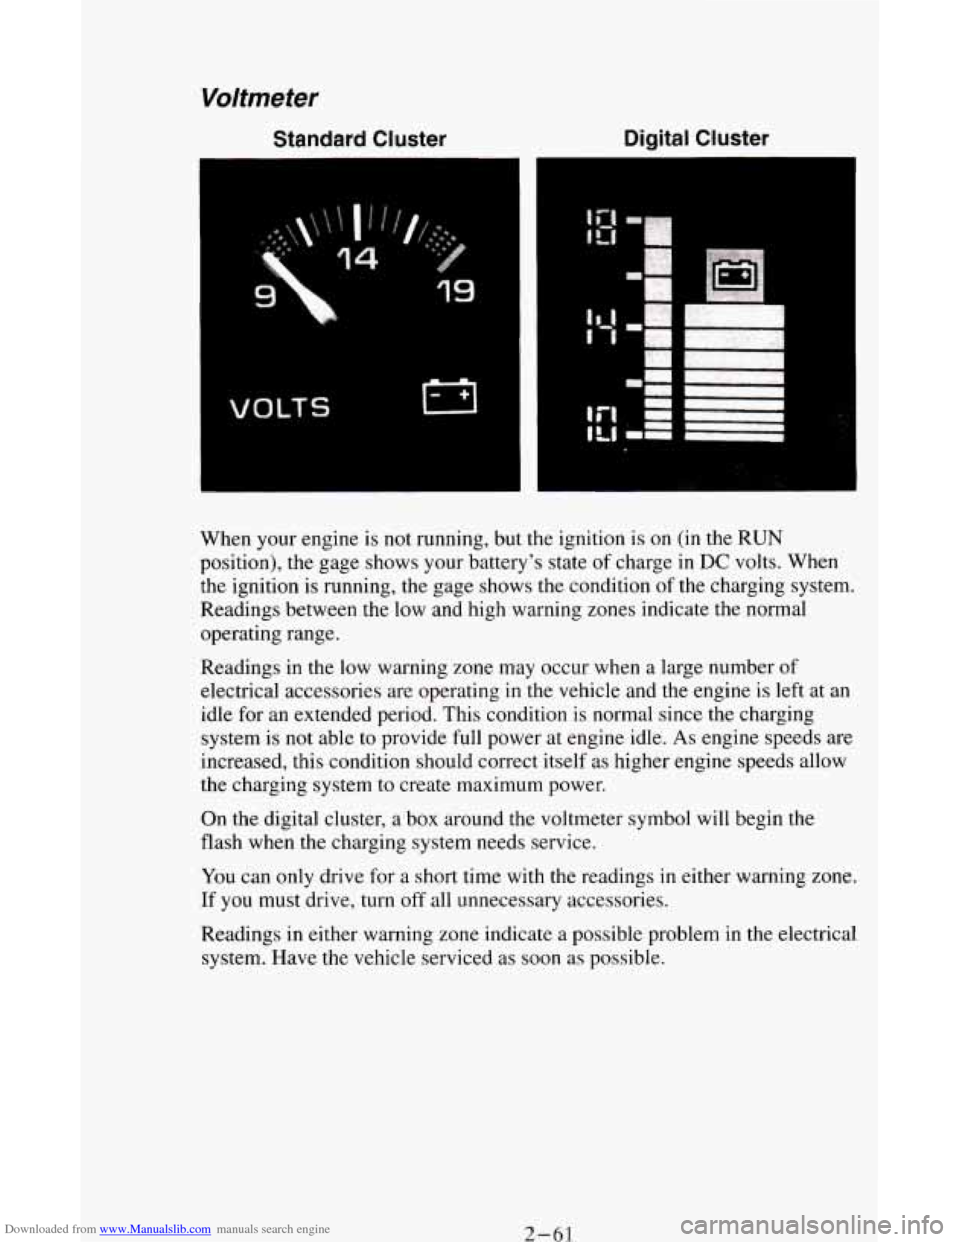
Standard Cluster Digital
Cluster
VOLTS
When your engine is not running, but the ignition is on (in the RUN
position), the gage shows your battery's state of charge in DC volts. When
the ignition
is running, the gage shows the condition of the charging system.
Readings between the low and high warning zones indicate the normal
operating range.
Readings in the low warning zone may occur when a large number of
electrical accessories are operating
in the vehicle and the engine is left at an
idle for an extended period. This condition
is normal since the charging
system is
not able to provide full power at engine idle. As engine speeds are
increased, this condition should correct itself as higher engine speeds allow
the charging system to create maximum power.
On the digital cluster, a box around the voltmeter symbol will begin the
flash when the charging system needs service.
You can only drive for a short time with the readings
in either warning zone.
If
you must drive, turn off all unnecessary accessories.
Readings in either warning zone indicate a possible problem in the electrical
system. Have the vehicle serviced as soon as possible.
2- 61
Page 119 of 342
Downloaded from www.Manualslib.com manuals search engine Comfort Controls & Audio Systems
Section
In this section you’ll find out how to operate the comfort control systems
and audio systems offered with your vehicle. Be sure
to read about the
particular system supplied with your vehicle.
Comfort Controls
Heater Controls
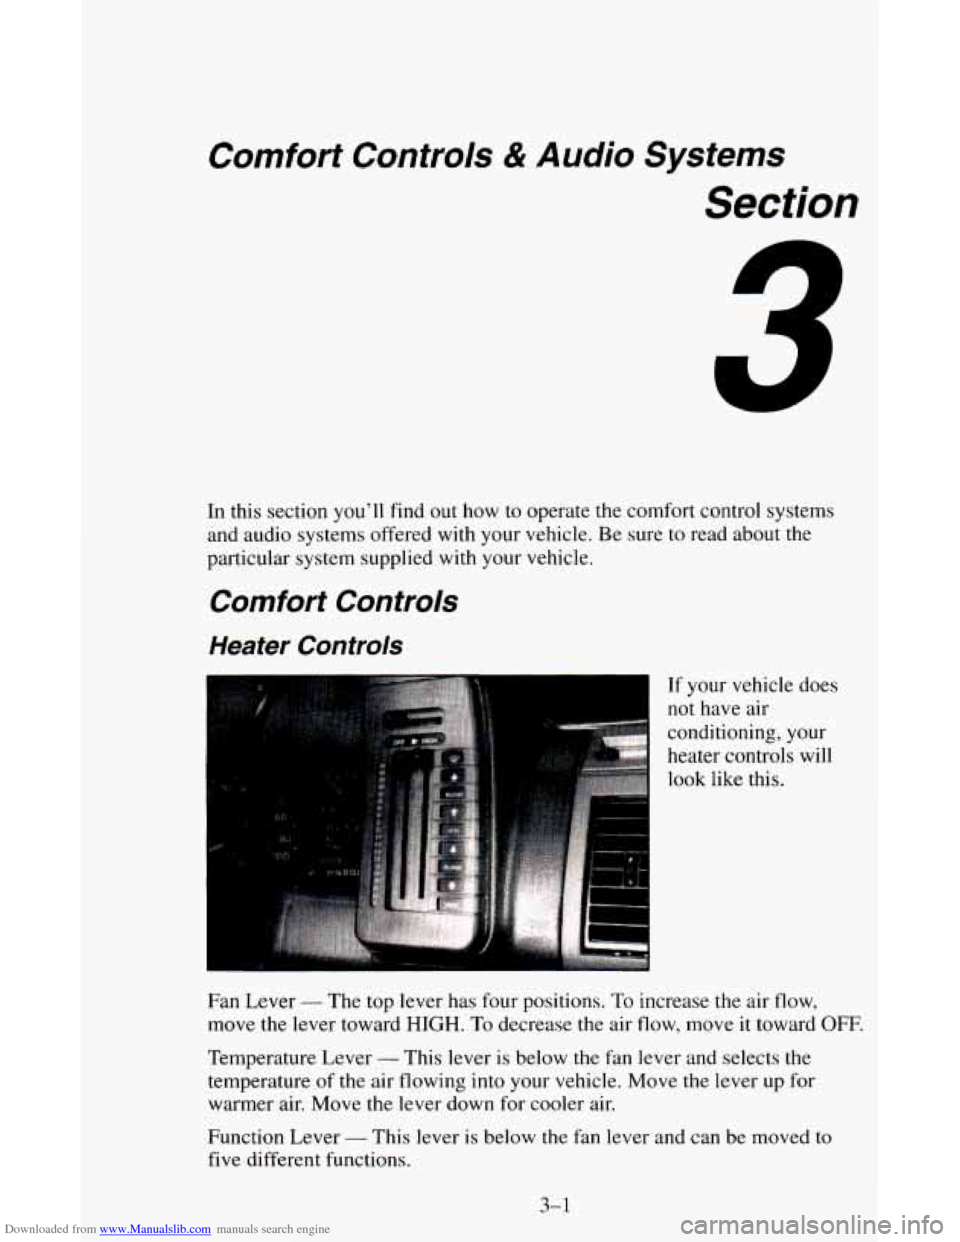
If your vehicle does
not have air
conditioning, your
heater controls will
look like this.
Fan Lever
- The top lever has four positions. To increase the air flow,
move the lever toward
HIGH. To decrease the air flow, move it toward OFF.
Temperature Lever - This lever is below the fan lever and selects the
temperature
of the air flowing into your vehicle. Move the lever up for
warmer air. Move the lever down for cooler air.
Function Lever
- This lever is below the fan lever and can be moved to
five different functions.
3-1
Page 120 of 342
Downloaded from www.Manualslib.com manuals search engine DEFROST-The setting with the defrost symbol operates the defroster. Most
of the air comes out near the windshield, with some going to the floor vents and
front side windows. Use
this when you get fog or ice on the windshield.
HTR (Heater) - Most of the air comes out near the floor. The rest comes
out from the defroster
vents under the windshield and at the front side
windows. This is best for cold weather.
VENT
- The air comes out at the vents on your instrument panel.
BLEND (Position
1) - With this setting, the heated outside air comes out
both
the heater vents and defroster vents. The lever can be positioned
anywhere between to adjust the proportion of air coming through each
vent.
Adjust the temperature lever for warmer or cooler air.
BLEND (Position
2) - With this setting, the heated outside air comes out
both the instrument panel vents and heater vents. The lever can be
positioned anywhere between
to adjust the proportion of air coming through
each
vent. Adjust the temperature lever for warmer or cooler air.
Heater/Air Conditioning Controls
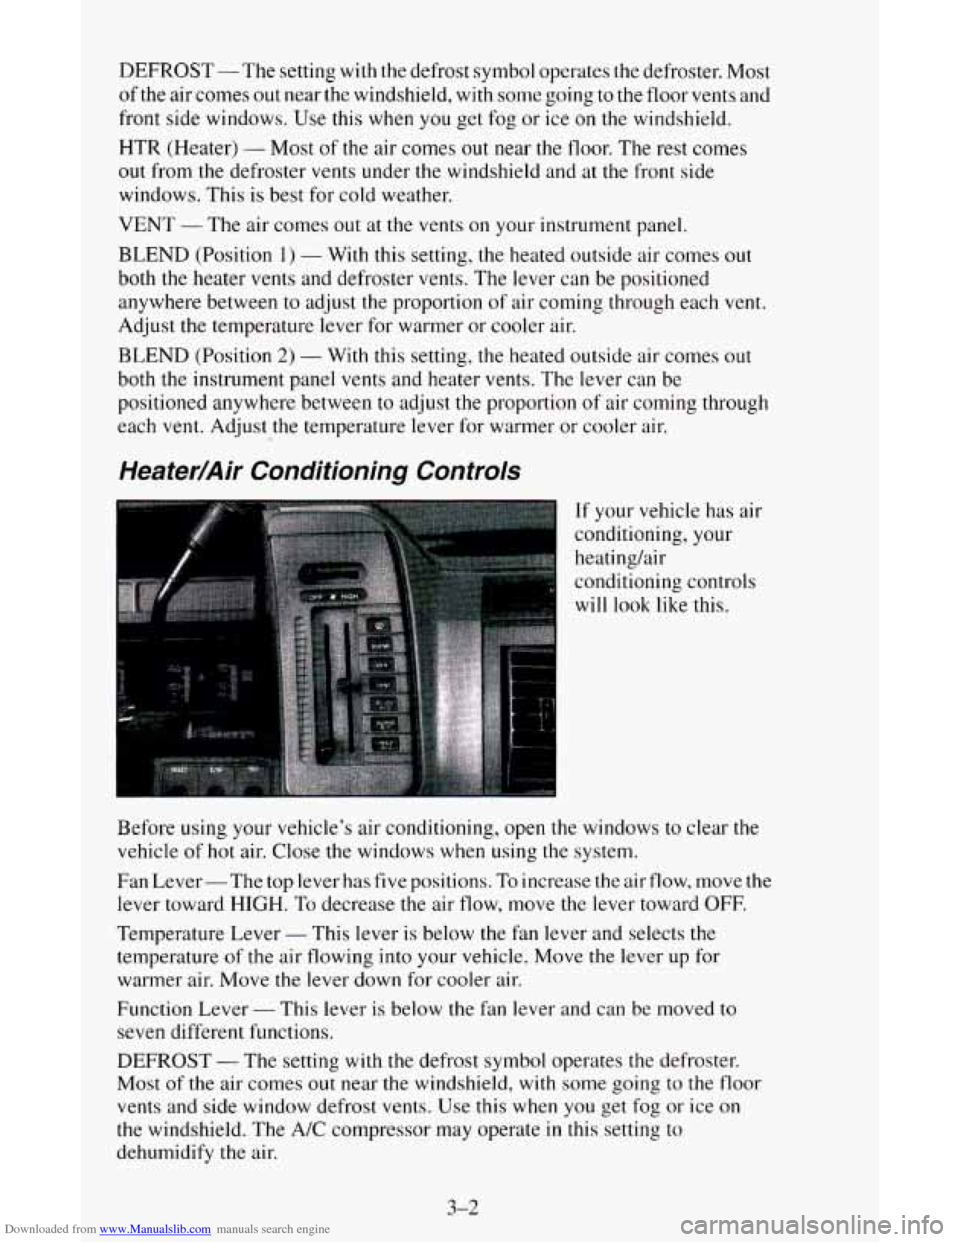
If your vehicle has air
conditioning, your
heatinghir
conditioning controls
will
look like this.
Before using your vehicle’s air conditioning, open the windows to clear the
vehicle
of hot air. Close the windows when using the system.
Fan Lever- The top lever has five positions.
To increase the air flow, move the
lever toward
HIGH. To decrease the air flow, move the lever toward OFF.
Temperature Lever
- This lever is below the fan lever and selects the
temperature of the air flowing into your vehicle. Move the lever up for
warmer air. Move the lever down for cooler air.
Function Lever
- This lever is below the fan lever and can be moved to
seven different functions.
DEFROST
- The setting with the defrost symbol operates the defroster.
Most of the air comes out near the windshield,
with some going to the floor
vents and side window defrost vents. Use this when you get fog or ice on
the windshield. The A/C compressor may operate in this setting to
dehumidify the air.
3-2
Page 122 of 342
Downloaded from www.Manualslib.com manuals search engine Rear Air Conditioning (Option)
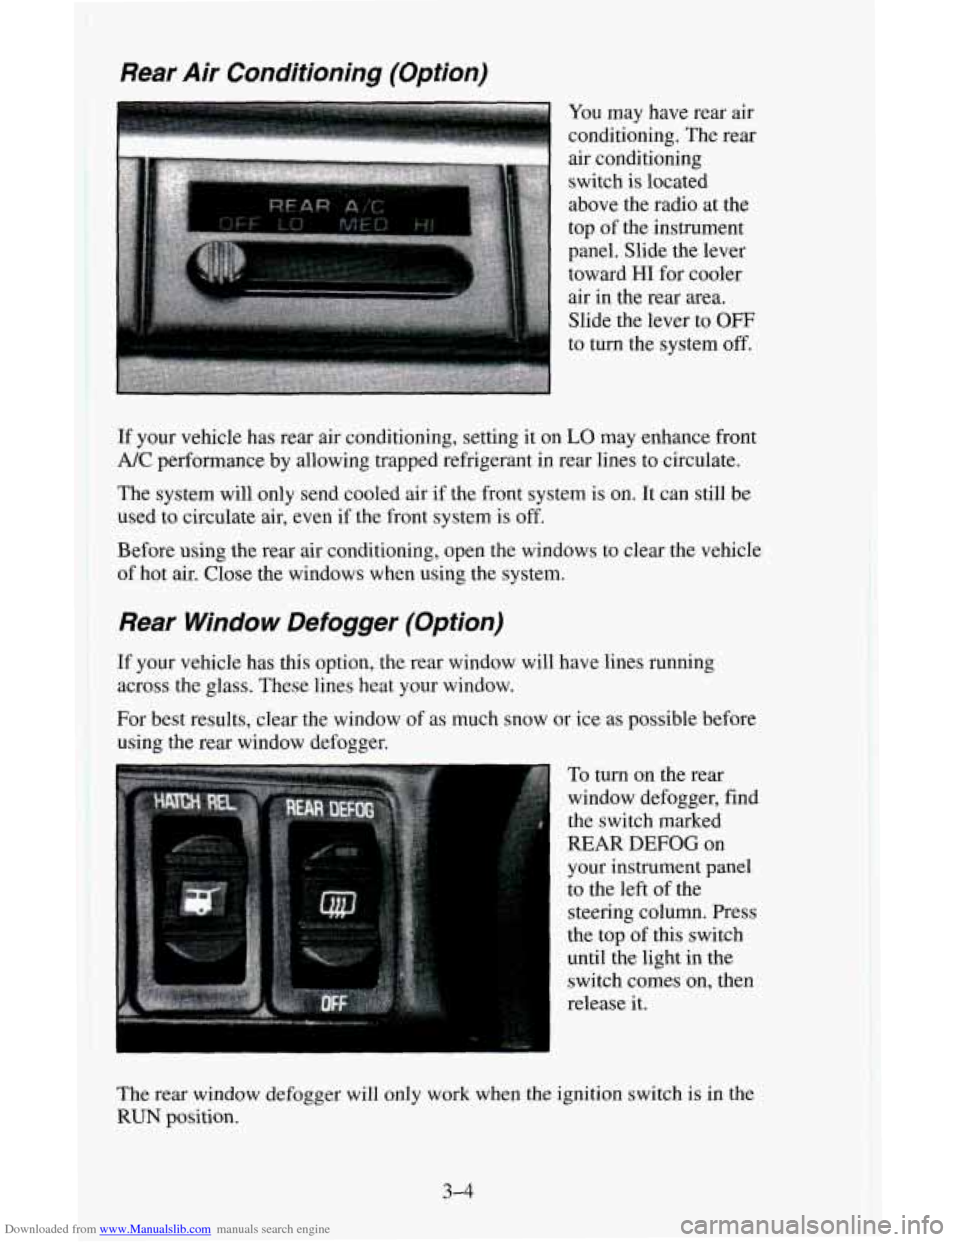
You may have rear air
conditioning. The rear
air conditioning
switch
is located
above the radio at the
top
of the instrument
panel. Slide the lever
toward
HI for cooler
air in the rear
area.
Slide the lever to OFF
to turn the system off.
If your vehicle has rear air conditioning, setting it on LO may enhance front
A/C performance by allowing trapped refrigerant in rear lines to circulate.
The system will only send cooled air if the front system is on. It can still
be
used to circulate air, even if the front system is off.
Before
using the rear air conditioning, open the windows to clear the vehicle
of hot air. Close the windows when using the system.
Rear Window Defogger (Option)
If your vehicle has this option, the rear window will have lines running
across the glass. These lines heat your window.
For best results, clear the window of as much snow or ice as possible before
using the
rear window defogger.
To
turn on the rear
window defogger, find
the switch marked
REAR DEFOG on
your instrument panel
to the left of the
steering column. Press
the top
of this switch
until the light in the
switch comes on, then
release it.
The rear window defogger will only work when the ignition switch
is in the
RUN position.
3-4
Page 123 of 342
Downloaded from www.Manualslib.com manuals search engine You can turn the defogger off at any time by pressing the bottom of the switch.
The defogger will shut itself off after several minutes
so that the glass does not
get too hot. If the window still isn’t clear, turn the defogger on again.
NOTICE:
Scraping the inside of your rear window could cut and damage
the defogger. Your warranty would not cover this damage. And
don’t put decals there, you might have to scrape them
off.
Ventilation System
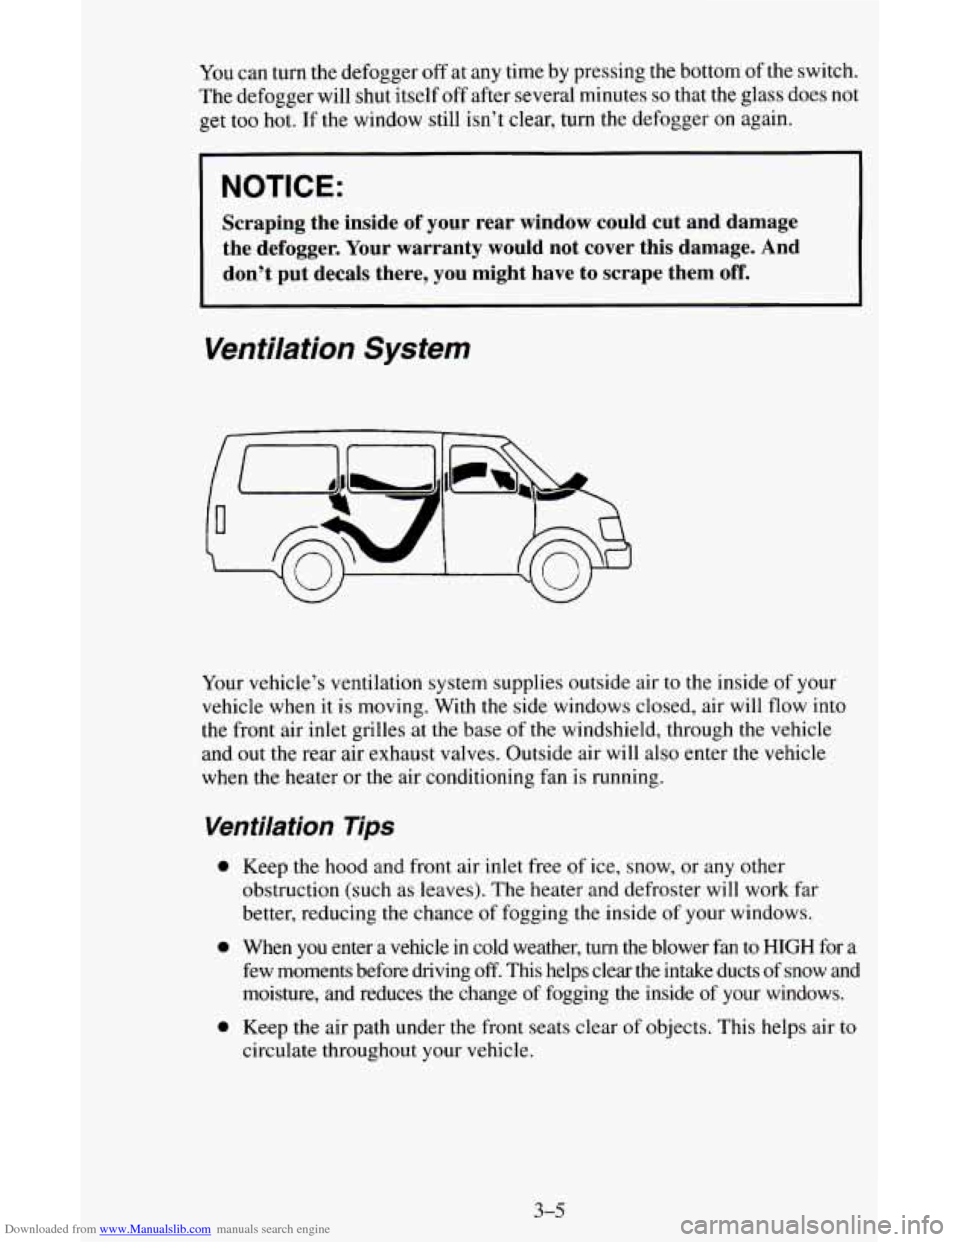
Your vehicle’s ventilation system supplies outside air to the inside of your
vehicle when it is moving. With the side windows closed, air will flow into
the front air inlet grilles at the base of
the windshield, through the vehicle
and out the rear air exhaust valves. Outside air will also enter the vehicle
when the heater or the air conditioning fan is running.
Venfilation Tips
0 Keep the hood and front air inlet free of ice, snow, or any other
obstruction (such as leaves). The heater and defroster will work far
better, reducing the chance of fogging the inside of your windows.
0 When you enter a vehicle in cold weather, turn the blower fan to HIGH for a
few moments before driving
off. This helps clear the intake ducts of snow and
moisture, and reduces the change
of fogging the inside of your windows.
0 Keep the air path under the front seats clear of objects. This helps air to
circulate throughout your vehicle.
3-5