Page 84 of 342
Downloaded from www.Manualslib.com manuals search engine Multifunction Lever
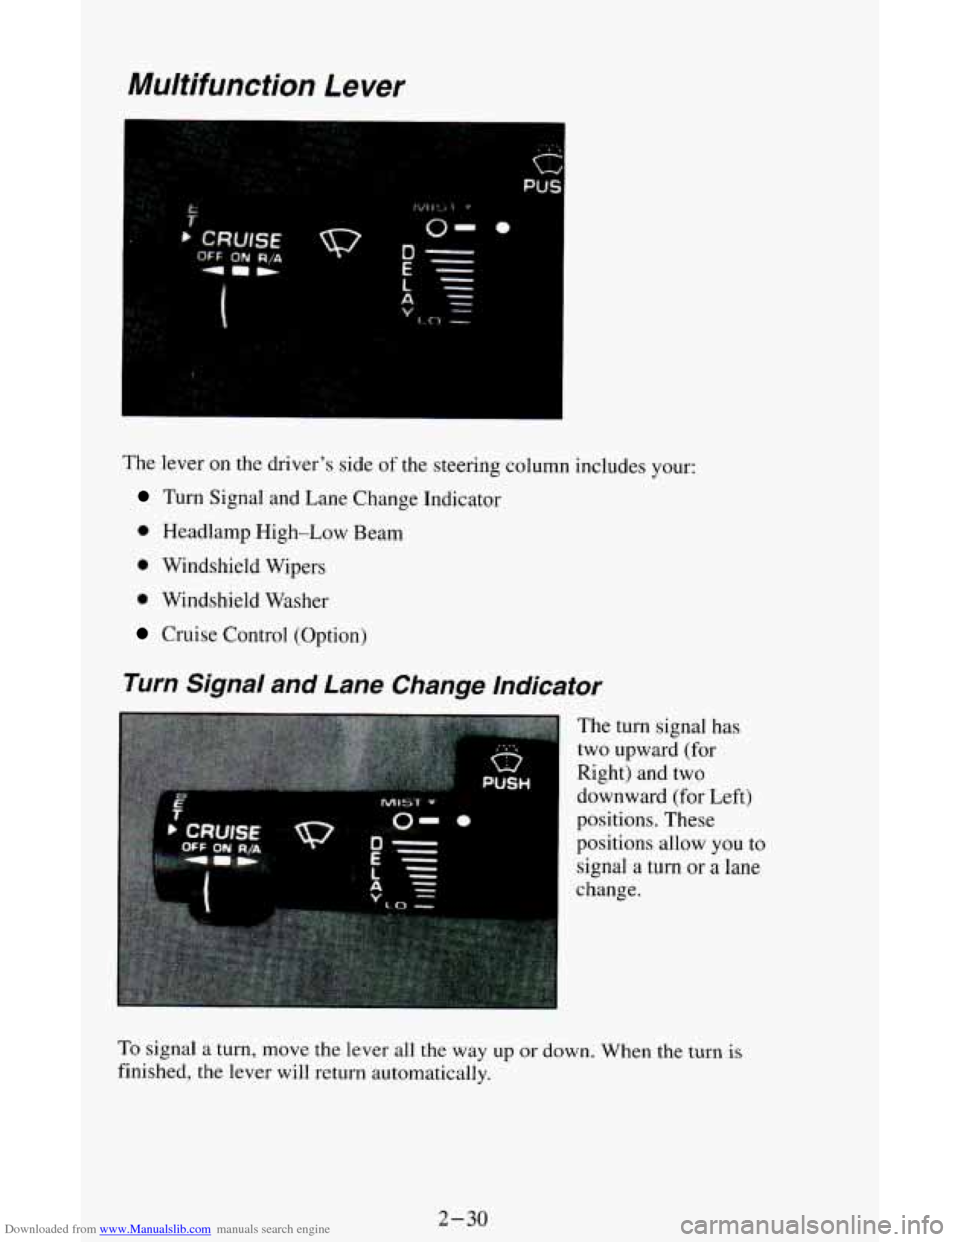
The lever on the driver’s side of the steering column includes your:
Turn Signal and Lane Change Indicator
0 Headlamp High-Low Beam
0 Windshield Wipers
0 Windshield Washer
Cruise Control (Option)
Turn Signal and Lane Change Indicator
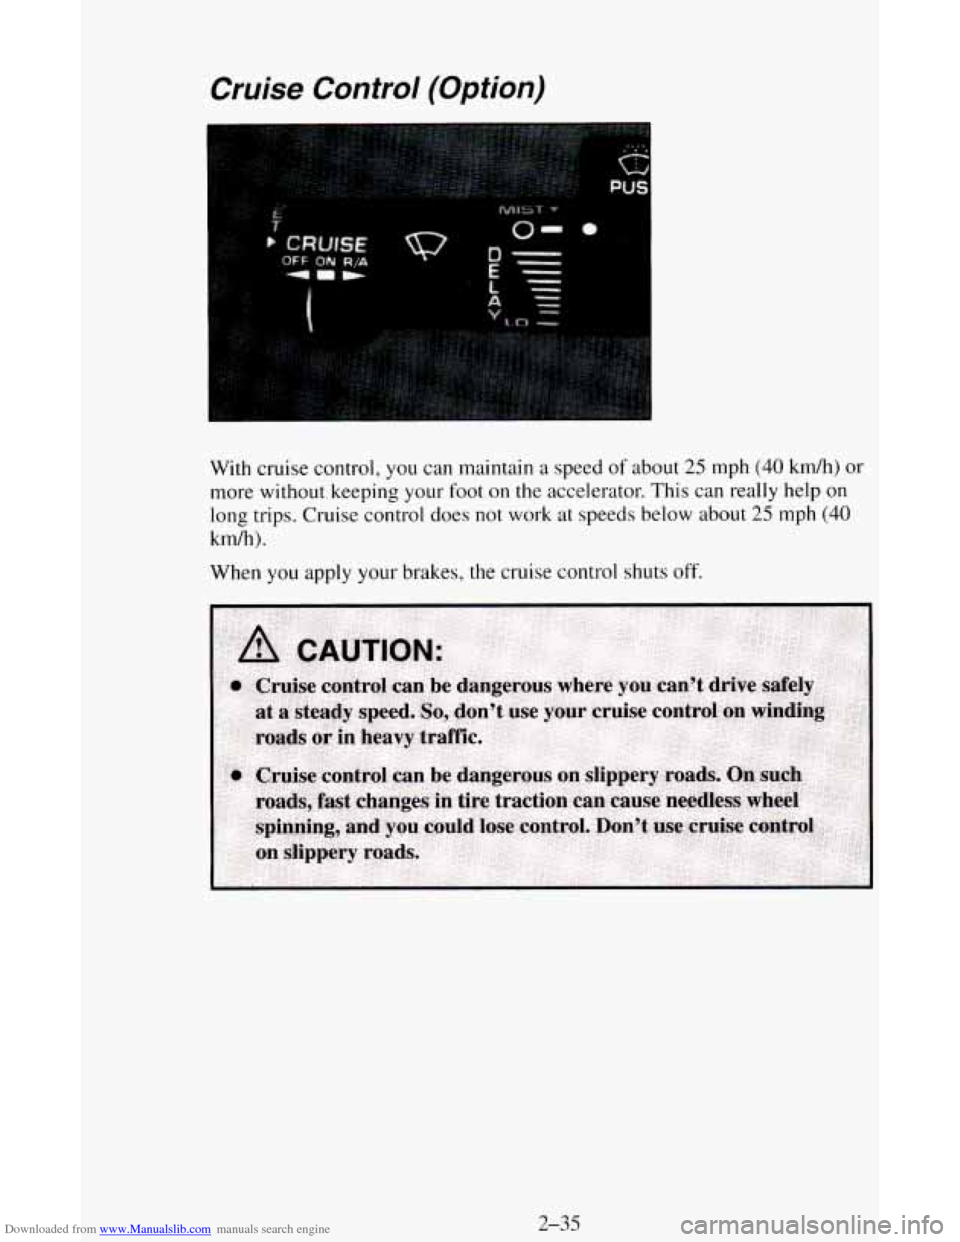
The turn signal has
two upward (for
Right) and two
downward (for Left)
positions. These
positions allow you
to
signal a turn or a lane
change.
To signal a turn, move the lever all the way up or down. When the turn is
finished, the lever will return automatically.
2-30
Page 85 of 342
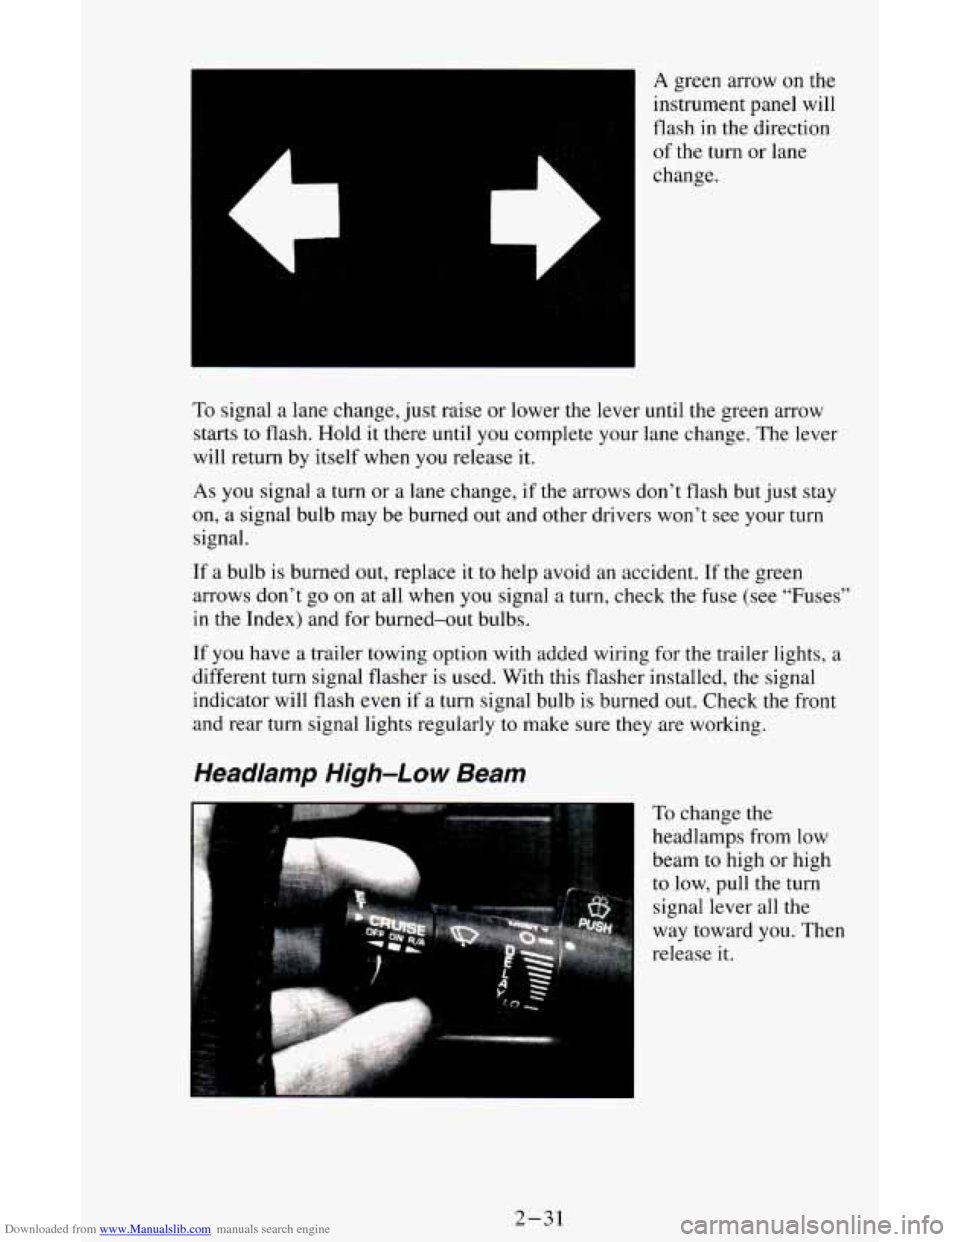
Downloaded from www.Manualslib.com manuals search engine A green arrow on the
instrument panel will
flash
in the direction
of the turn or lane
change.
To signal a lane change, just raise or lower the lever until the green arrow
starts to flash. Hold it there until
you complete your lane change. The lever
will return by itself when
you release it.
As you signal a turn or a lane change, if the arrows don’t flash but just stay
on, a signal bulb may be burned out and other drivers won’t see your turn
signal.
If a bulb is burned out, replace it to help avoid an accident. If the green
arrows don’t go
on at all when you signal a turn, check the fuse (see “Fuses”
in the Index) and for burned-out bulbs.
If you have a trailer towing option with added wiring for the trailer lights, a
different turn signal flasher is used. With this flasher installed, the signal
indicator will flash even if a turn signal bulb
is burned out. Check the front
and rear turn signal lights regularly
to make sure they are working.
Headlamp High-Low Beam
f ,.
To change the
headlamps from low
beam to high or high
to low, pull the turn
signal lever all the
way toward you. Then
release it.
2-31
Page 86 of 342
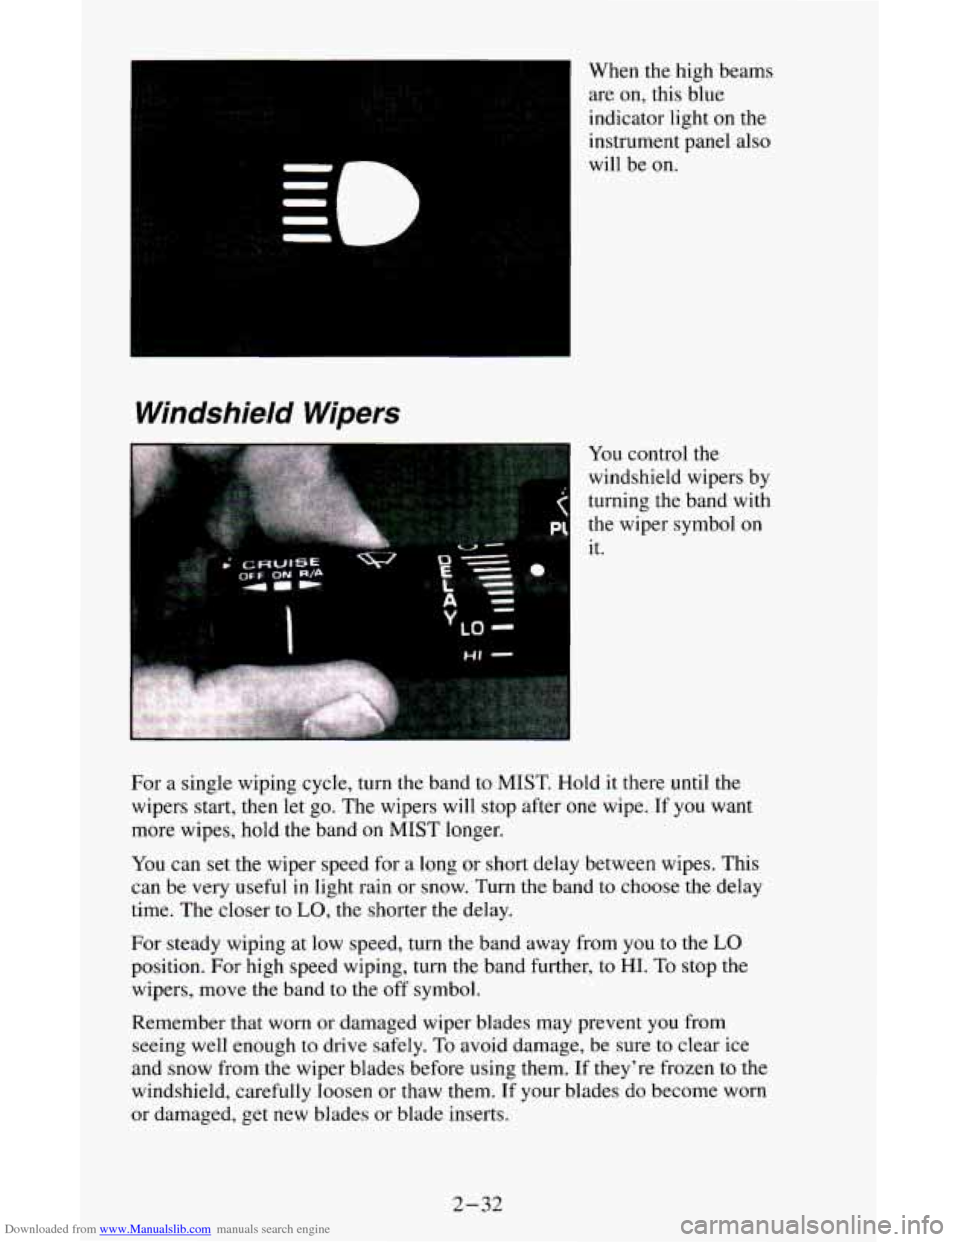
Downloaded from www.Manualslib.com manuals search engine When the high beams
are on, this blue
indicator light
on the
instrument panel also
Windshield Wipers
I will be on.
You control the
windshield wipers by
turning the band with
the wiper symbol on
it.
For a single wiping cycle, turn the band to MIST. Hold it there until the
wipers start, then let go. The wipers will stop after one wipe. If
you want
more wipes, hold the band
on MIST longer.
You can set the wiper speed for a long
or short delay between wipes. This
can be very useful in light rain or snow. Turn
the band to choose the delay
time. The closer to
LO, the shorter the delay.
For steady wiping at low speed, turn the band away from
you to the LO
position. For high speed wiping, turn the band further, to HI. To stop the
wipers, move the band
to the off symbol.
Remember that worn or damaged wiper blades may prevent you from
seeing well enough
to drive safely. To avoid damage, be sure to clear ice
and snow from the wiper blades before using them. If they're frozen to the
windshield, carefully loosen
or thaw them. If your blades do become worn
or damaged, get new blades or blade inserts.
2-32
Page 88 of 342
Downloaded from www.Manualslib.com manuals search engine NOTICE:
When using concentrated washer fluid, follow the
manufacturer’s instructions for adding water.
Don’t mix water with ready-to-use washer fluid. Water can
cause the solution to freeze and damage your washer fluid
tank and other parts of the washer system. Also, water
doesn’t clean
as well as washer fluid.
Fill your washer fluid tank only 3/4 full when it’s very cold.
This allows for expansion, which could damage the tank if it is
completely full.
Don’t use radiator antifreeze in your windshield washer. It
can damage your washer system and paint.
Rear Window WiperMasher - Dutch Door
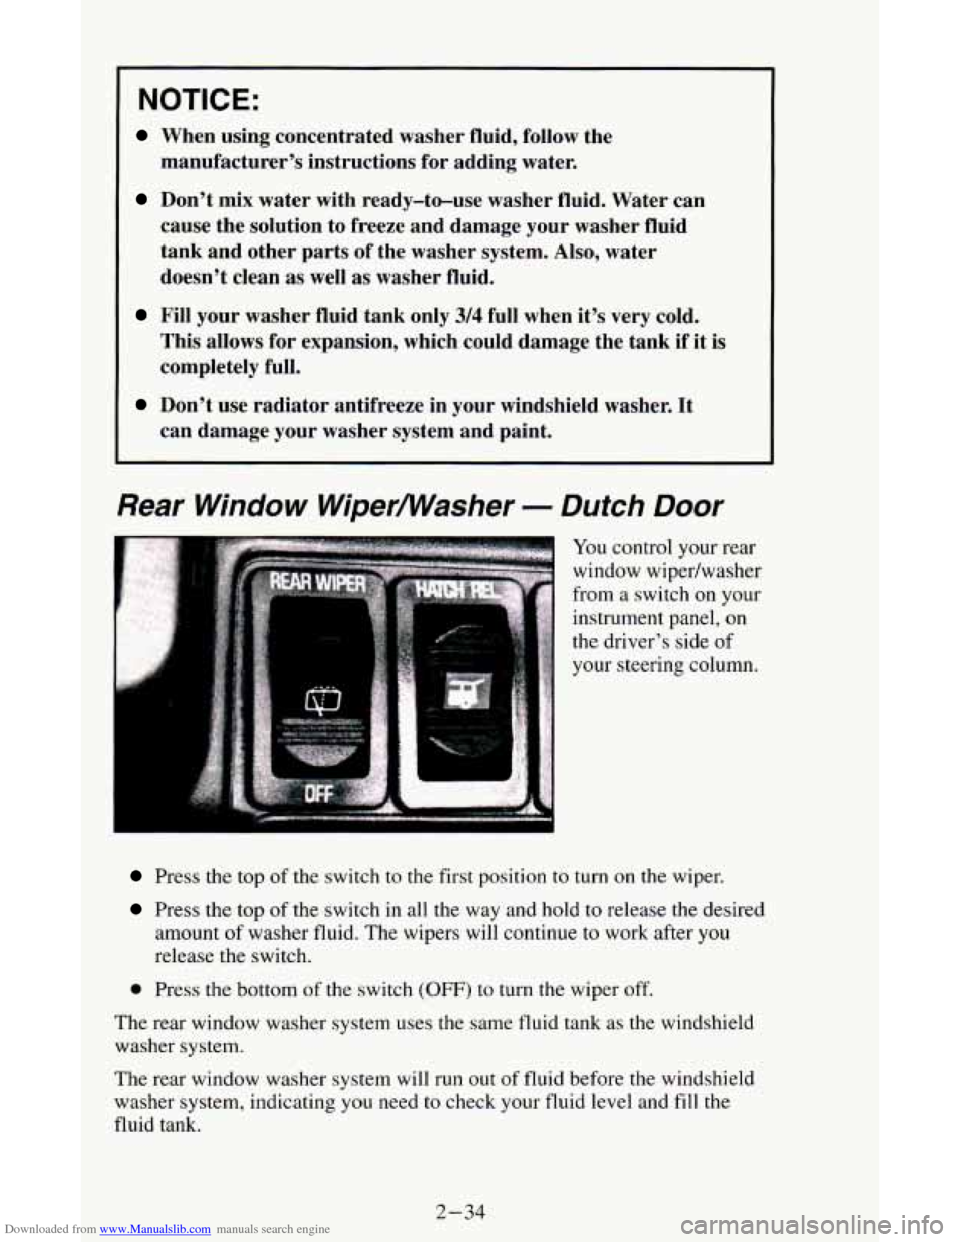
You control your rear
window wipedwasher
from a switch
on your
instrument panel,
on
the driver’s side of
your steering column.
Press the top of the switch to the first position to turn on the wiper.
Press the top of the switch in all the way and hold to release the desired
amount
of washer fluid. The wipers will continue to work after you
release the switch.
0 Press the bottom of the switch (OFF) to turn the wiper off.
The rear window washer system uses
the same fluid tank as the windshield
washer system.
The rear window washer system will run out
of fluid before the windshield
washer system, indicating
you need to check your fluid level and fill the
fluid tank.
2-34
Page 89 of 342
Downloaded from www.Manualslib.com manuals search engine Cruise Control (Option)
I
With cruise control, you can maintain a speed of about 25 mph (40 km/h) or
more without keeping your foot
on the accelerator. This can really help on
long trips. Cruise control does not work at speeds below about
25 mph (40
km/h).
When you apply your brakes, the cruise control shuts off.
2-35
Page 92 of 342
Downloaded from www.Manualslib.com manuals search engine Move the cruise switch from ON to WA (Resume/Accelerate). Hold it
there until
you get up to the speed you want, and then release the
switch.
To increase your speed in very small amounts, move the switch to R/A
(Resume/Accelerate). Each time you
do this, your vehicle will go about
1 mph (1.6 km/h) faster.
To Reduce Speed While Using Cruise Control
4
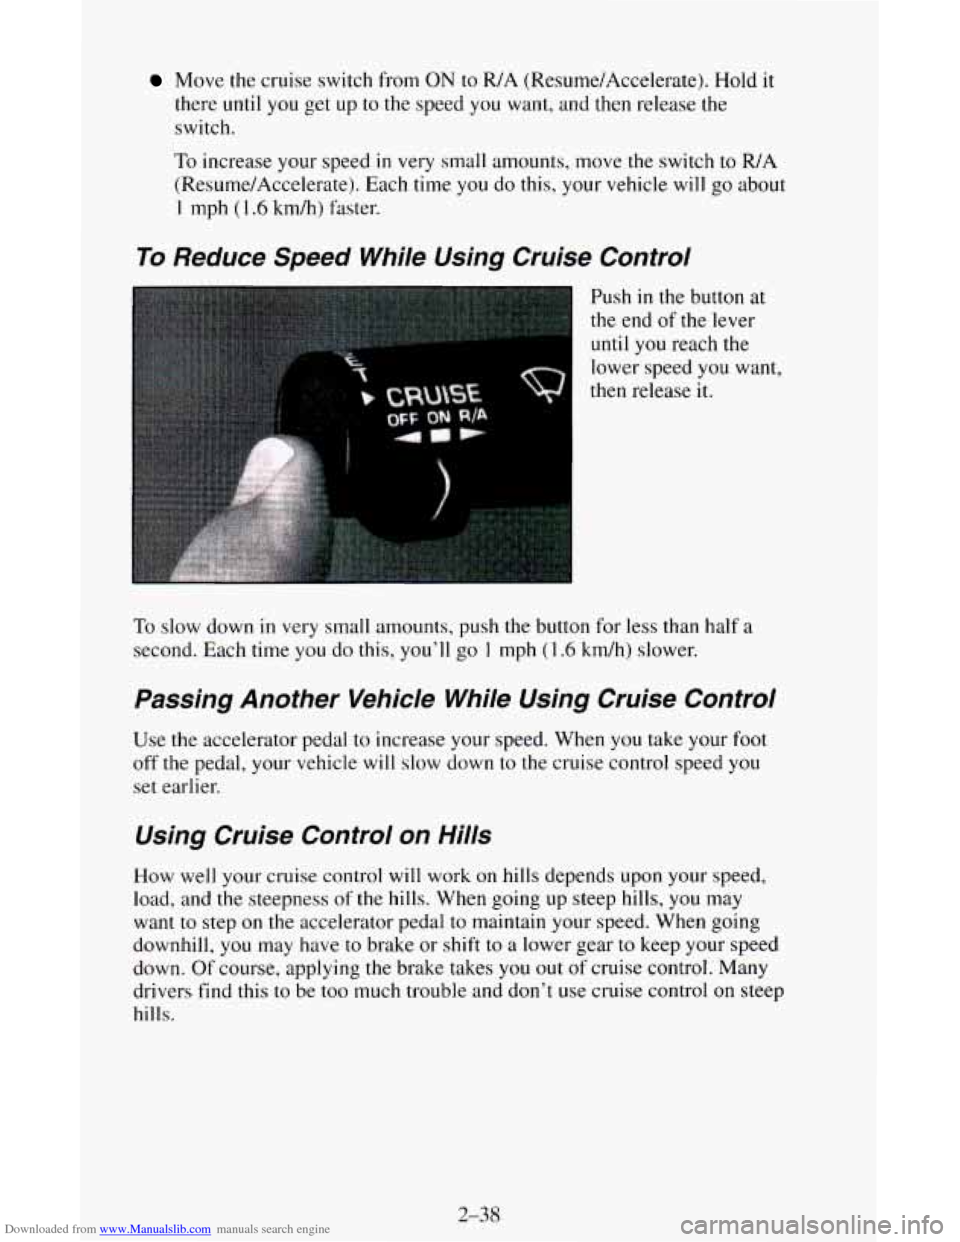
Push in the button at
the end of the lever
until you reach the
lower speed you want,
then release it.
To slow down in very small amounts, push the button for less than half a
second. Each time you do this, you’ll go 1 mph (1.6 km/h) slower.
Passing Another Vehicle While Using Cruise Control
Use the accelerator pedal to increase your speed. When you take your foot
off
the pedal, your vehicle will slow down to the cruise control speed you
set earlier.
Using Cruise Control on Hills
How well your cruise control will work on hills depends upon your speed,
load, and the steepness
of the hills. When going up steep hills, you may
want
to step on the accelerator pedal to maintain your speed. When going
downhill, you may have to brake or shift to
a lower gear to keep your speed
down. Of course, applying
the brake takes you out of cruise control. Many
drivers find this to be too much trouble and don’t use cruise control
on steep
hills.
2-38
Page 94 of 342
Downloaded from www.Manualslib.com manuals search engine Lamps
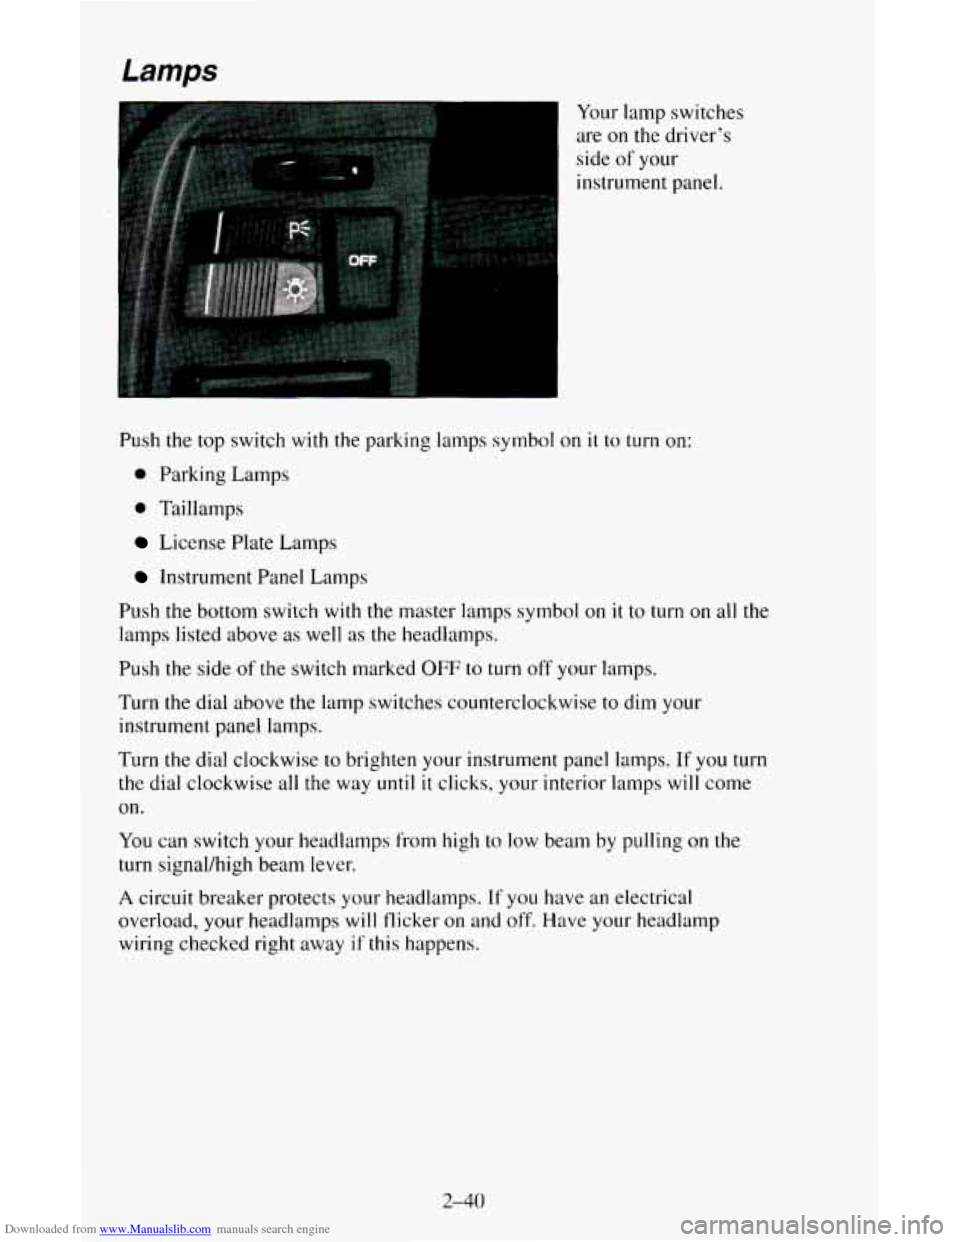
Your lamp switches
are
on the driver’s
side of your
instrument panel.
Push the top switch
with the parking lamps symbol on it to turn on:
0 Parking Lamps
0 Taillamps
License Plate Lamps
Instrument Panel Lamps
Push the bottom switch
with the master lamps symbol on it to turn on all the
lamps listed above as well as the headlamps.
Push the side of
the switch marked OFF to turn off your lamps.
Turn the dial above the lamp switches counterclockwise to dim your
instrument panel lamps.
Turn
the dial clockwise to brighten your instrument panel lamps. If you turn
the dial clockwise all
the way until it clicks, your interior lamps will come
on.
You can switch your headlamps from high to low beam by pulling on the
turn signal/high beam lever.
A circuit breaker protects your headlamps. If you have an electrical
overload, your headlamps
will flicker on and off. Have your headlamp
wiring checked right away
if this happens.
2-40
Page 106 of 342
Downloaded from www.Manualslib.com manuals search engine you know they’re working. If you are familiar with this section, you should
not be alarmed when this happens.
Gages can indicate when there may be or
is a problem with one of your
vehicle’s functions. Often gages and warning lights work together
to let you
know when there’s a problem with your vehicle.
When one of the warning lights comes
on and stays on when you are
driving, or when
one of the gages shows there may be a problem, check the
section that tells you what to do about
it. Please follow this manual’s advice.
Waiting
to do repairs can be costly - and even dangerous. So please get to
know your warning lights and gages. They’re
a big help.
Safety Beit Reminder Light
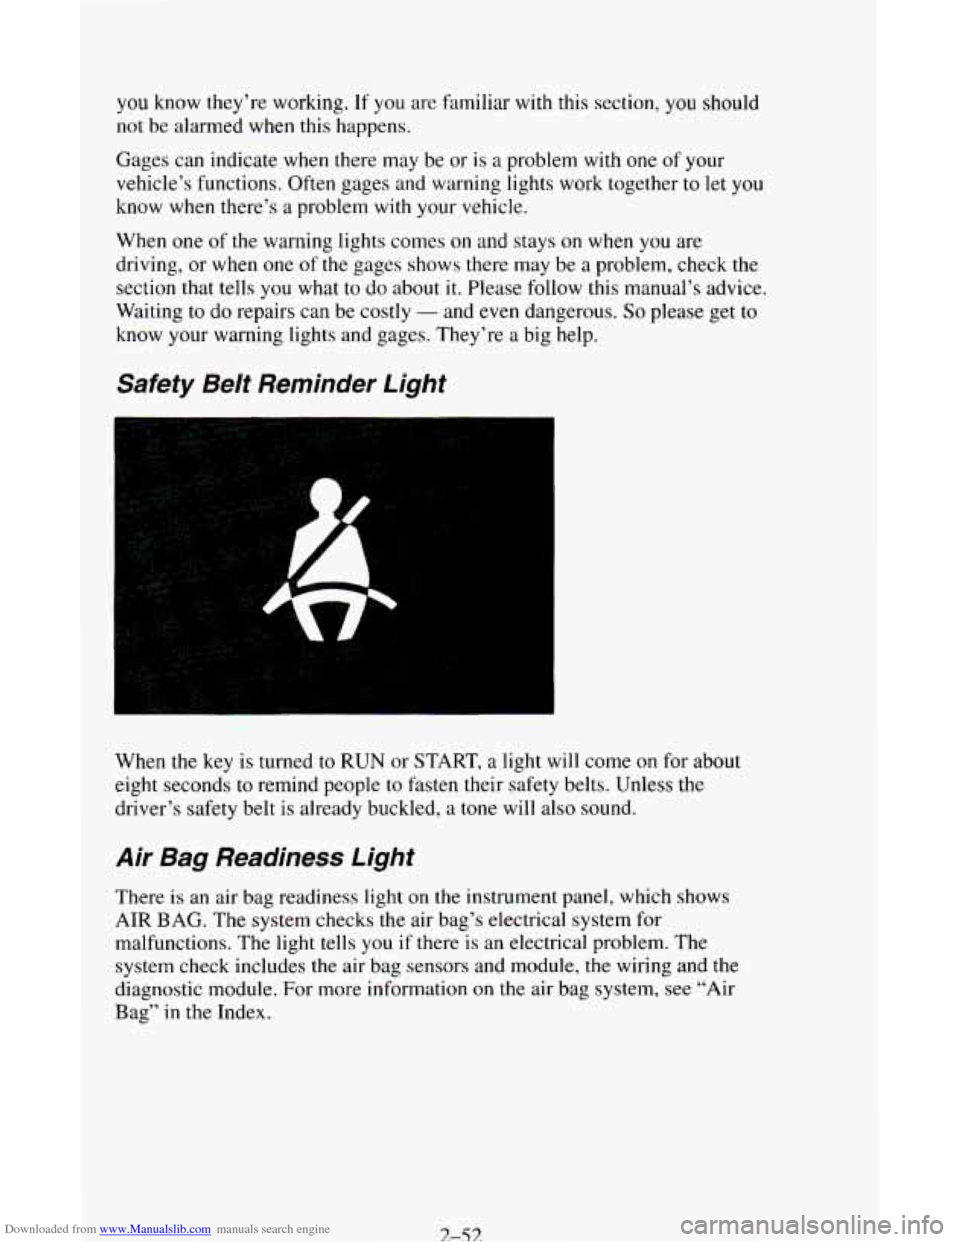
When the key is turned to RUN or START, a light will come on for about
eight seconds to remind people
to fasten their safety belts. Unless the
driver’s safety belt is already buckled,
a tone will also sound.
Air Bag Readiness Light
There is an air bag readiness light on the instrument panel, which shows
AIR BAG. The system checks the air bag’s electrical system for
malfunctions. The light tells
you if there is an electrical problem. The
system check includes the air bag sensors and module, the wiring and the
diagnostic module. For more information on the air bag system,
see “Air
Bag”
in the Index.
3-53