1995 CHEVROLET ASTRO CARGO VAN change time
[x] Cancel search: change timePage 3 of 342
Downloaded from www.Manualslib.com manuals search engine Supplement to the 1995 C/K
Series, Sierra, Suburban, Tahoe, Yukon, Safari, Astro,
Rally, Vandura, Chevrolet Van,
Lumina Minivan and Trans
Sport
Owner’s Manuals
This supplement includes the latest information at the time of printing.
We reserve the right to make changes
in the product afer that time
withoutfirther notice.
For vehiclescfirst sold in Canada, substitute the
name “General Motors of Canada” for General
Motors wherever it
appears
in this manual.
@Copyright 1995 General Motors Corporation. All rights reserved.
Printed in
U.S.A. General Motors, Sierra, Suburban, Tahoe, Yukon,
Safari, Astro, Rally, Vandura, Chevrolet Van, Lumina Minivan and
Trans
Sport are registered trademarks of General Motors Corporation.
STFF7S
Page 7 of 342

Downloaded from www.Manualslib.com manuals search engine Important Notes to Owners and Drivers
Abouf This Manual
Please keep this manual in your vehicle so it will be there if you ever need it
when you’re on the road. If you sell the vehicle, please leave this manual in
it so the new owner can use it.
This manual includes the latest information at the time it was printed. We
reserve
the right to make changes in the product after that time without
further notice. For vehicles first sold
in Canada, substitute the name
“General Motors
of Canada Limited” for Chevrolet Motor Division
whenever
it appears in this manual.
WE SUPPORT
VOLUNTARY TECHNICIAN
CERTIFICATION THROUGH
National Institute for
AUTOMOTIVE
SERVICE
EXCELLENCE
For Canadian Qwners Who Prefer a French Language
Manual:
Aux proprietaires canadiens: Vous pouvez vous procurer un exemplaire de
ce guide
en francais chez votre concessionaire ou au DGN Marketing
Services Ltd., 1500 Bonhill Rd., Mississauga, Ontario L5T
1 C7.
General Motors, GM and the GM Emblem, Chevrolet and the Chevrolet
Emblem, and ASTRO are registered trademarks
of General Motors
Corporation.
... 111
Page 66 of 342
Downloaded from www.Manualslib.com manuals search engine Battery Replacement
Under norlnal use, the batteries in your key chain transmitter should last
about two years.
You can
tell the batteries are weak if the transmitter won’t work at the
normal range in any location. If you have to get close to your vehicle before
the transmitter works,
it’s probably time to change the batteries.
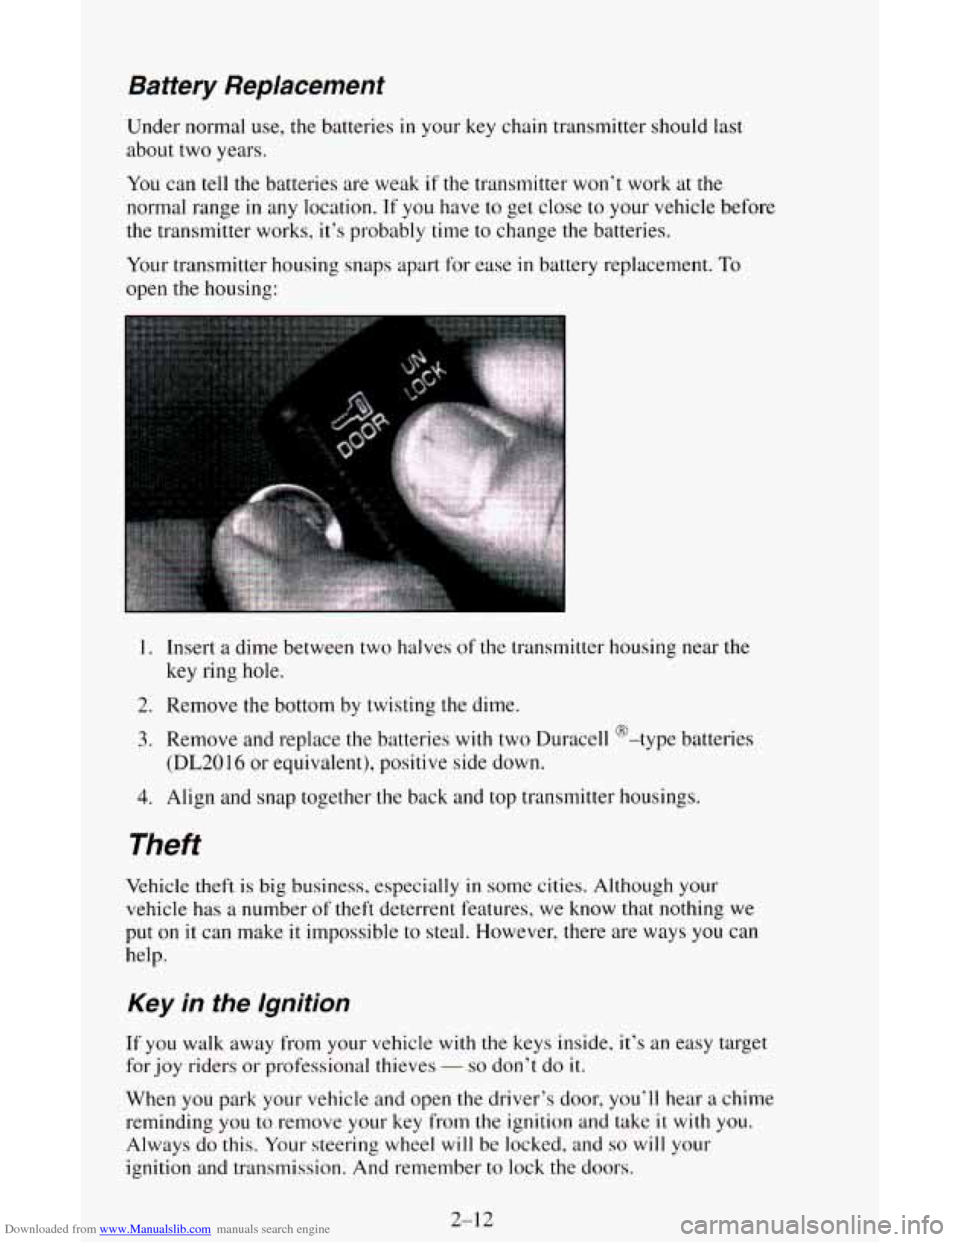
Your transmitter housing snaps apart for ease
in battery replacement. To
open the housing:
1. Insert a dime between two halves of the transmitter housing near the
key ring
hole.
2. Remove the bottom by twisting the dime.
3. Remove and replace the batteries with two Duracell @-type batteries
(DL2016 or equivalent), positive side down.
4. Align and snap together the back and top transmitter housings.
Theft
Vehicle theft is big business, especially in some cities. Although your
vehicle has
a number of theft deterrent features, we know that nothing we
put on
it can make it impossible to steal. However, there are ways you can
help.
Key in fhe lgnition
If you walk away from your vehicle with the keys inside, it’s an easy target
for joy riders or professional thieves
- so don’t do it.
When you park your vehicle and open the driver’s door, you’ll hear a chime
reminding
you to remove your key from the ignition and take it with you.
Always
do this. Your steering wheel will be locked, and so will your
ignition and transmission. And remember to lock the doors.
2-12
Page 95 of 342
Downloaded from www.Manualslib.com manuals search engine Daytime Running Lamps (DRL) Indicator Light
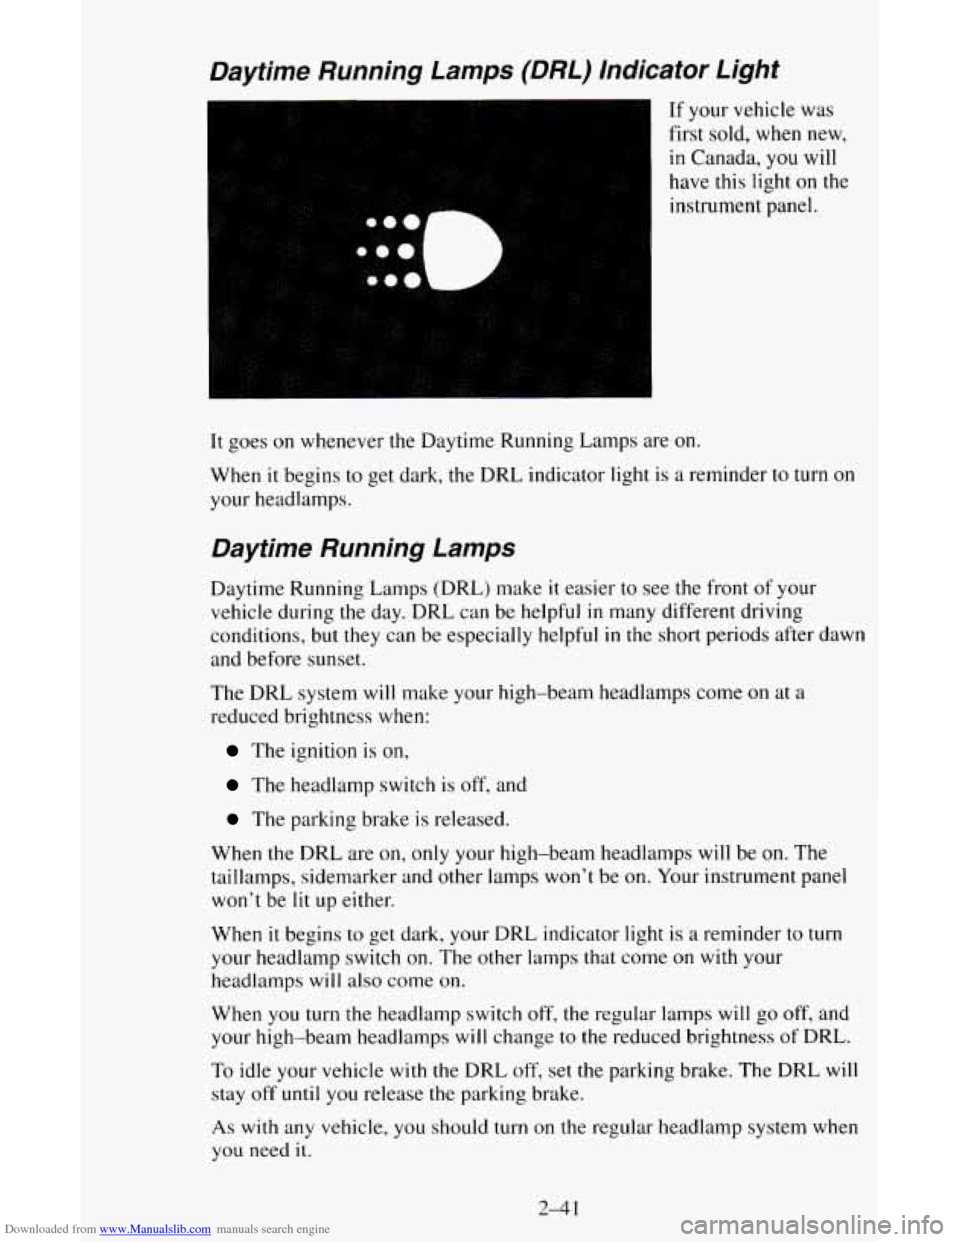
If your vehicle was
first sold, when new,
in Canada,
you will
have this light on the
instrument panel.
It goes on whenever the Daytime Running Lamps are on.
When it begins to get dark, the DRL indicator light is a reminder to turn on
your headlamps.
Daytime Running Lamps
Daytime Running Lamps (DRL) make it easier to see the front of your
vehicle during the day. DRL can be helpful
in many different driving
conditions, but
they can be especially helpful in the short periods after dawn
and before sunset.
The DRL system will make your high-beam headlamps come
on at a
reduced brightness when:
The ignition is on,
The headlamp switch is off, and
The parking brake is released.
When the DRL are on, only your high-beam headlamps will be
on. The
taillamps, sidemarker and other lamps
won’t be on. Your instrument panel
won’t be
lit up either.
When it begins to get dark, your DRL indicator light is
a reminder to turn
your headlamp switch on. The other lamps that come on with your
headlamps will also come
on.
When you turn the headlamp switch off, the regular lamps will go off, and
your high-beam headlamps
will change to the reduced brightness of DRL.
To idle your vehicle with the DRL off, set the parking brake. The DRL will
stay
off until you release the parking brake.
As with any vehicle, you should turn on the regular headlamp system when
you need it.
2-4 1
Page 123 of 342
Downloaded from www.Manualslib.com manuals search engine You can turn the defogger off at any time by pressing the bottom of the switch.
The defogger will shut itself off after several minutes
so that the glass does not
get too hot. If the window still isn’t clear, turn the defogger on again.
NOTICE:
Scraping the inside of your rear window could cut and damage
the defogger. Your warranty would not cover this damage. And
don’t put decals there, you might have to scrape them
off.
Ventilation System
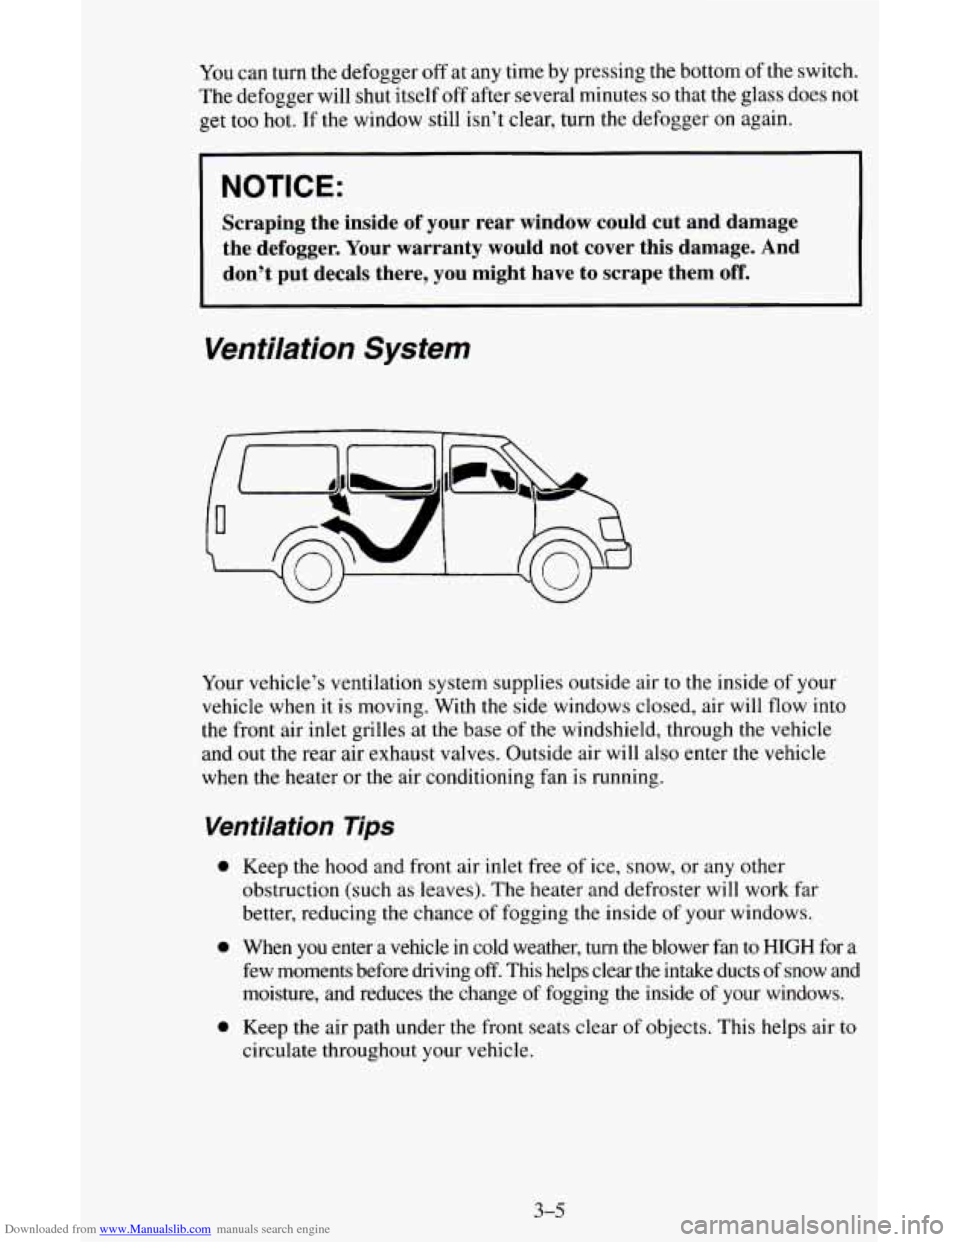
Your vehicle’s ventilation system supplies outside air to the inside of your
vehicle when it is moving. With the side windows closed, air will flow into
the front air inlet grilles at the base of
the windshield, through the vehicle
and out the rear air exhaust valves. Outside air will also enter the vehicle
when the heater or the air conditioning fan is running.
Venfilation Tips
0 Keep the hood and front air inlet free of ice, snow, or any other
obstruction (such as leaves). The heater and defroster will work far
better, reducing the chance of fogging the inside of your windows.
0 When you enter a vehicle in cold weather, turn the blower fan to HIGH for a
few moments before driving
off. This helps clear the intake ducts of snow and
moisture, and reduces the change
of fogging the inside of your windows.
0 Keep the air path under the front seats clear of objects. This helps air to
circulate throughout your vehicle.
3-5
Page 125 of 342
Downloaded from www.Manualslib.com manuals search engine How to Operate Your ETP AM Radio
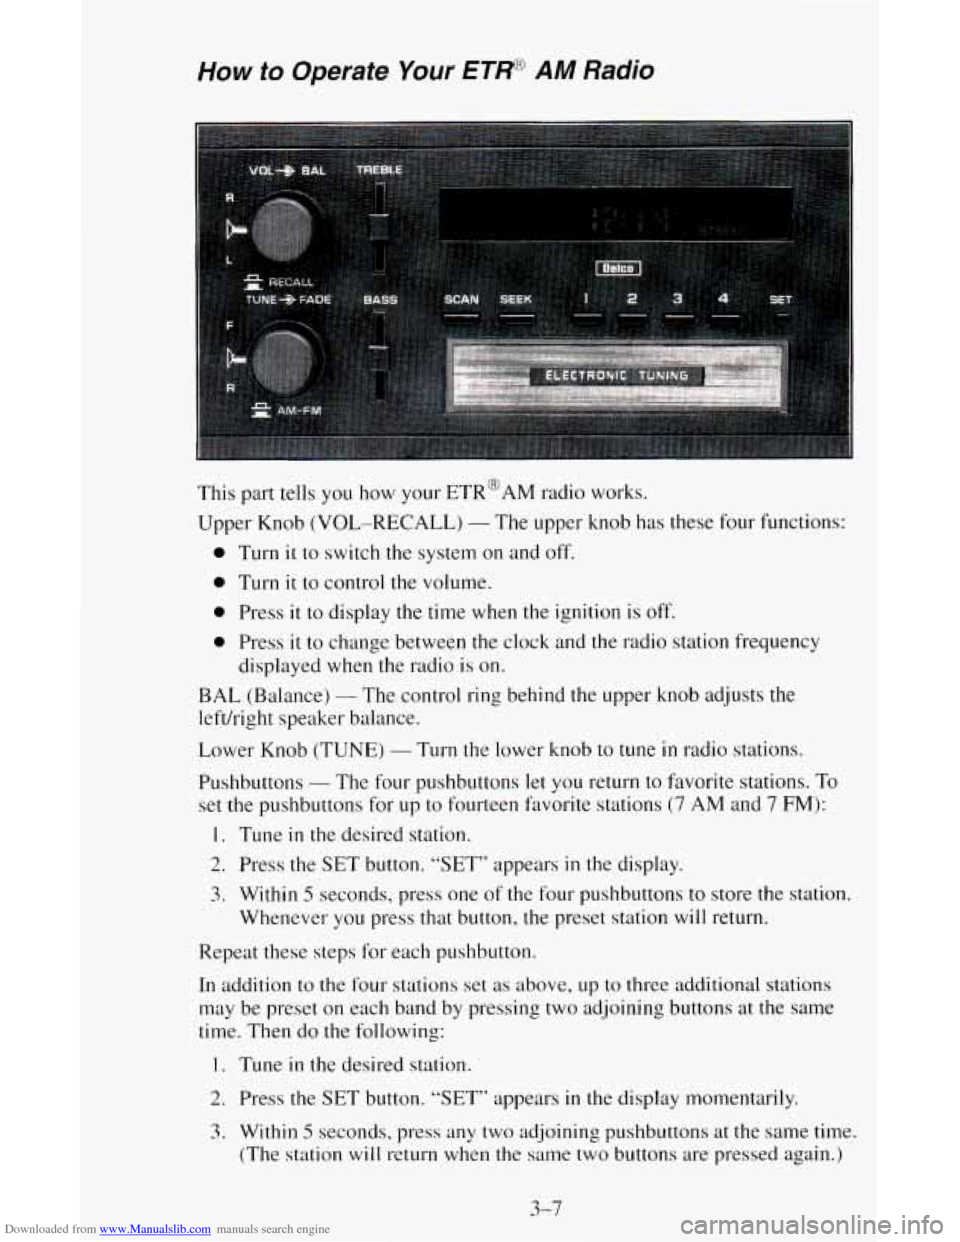
This part tells you how your ETR@AM radio works.
Upper Knob
(VOL-RECALL) - The upper knob has these four functions:
0 Turn it to switch the system on and off.
0 Turn it to control the volume.
0 Press it to display the time when the ignition is off.
0 Press it to change between the clock and the radio station frequency
displayed
when the radio is on.
BAL (Balance) - The control ring behind the upper knob adjusts the
left/right speaker
b. cl 1 ance.
Lower Knob (TUNE)
- Turn the lower knob to tune in radio stations.
Pushbuttons
- The four pushbuttons let you return to favorite stations. To
set the pushbuttons for up to fourteen favorite stations (7 AM and 7 FM):
1. Tune in the desired station.
2. Press the SET button. “SET” appears in the display.
3. Within 5 seconds, press one of the four pushbuttons to store the station.
Whenever you press that button,
the preset station will return.
Repeat these steps for each pushbutton.
In addition
to the four stations set as above, up to three additional stations
may be preset on each band by pressing two adjoining buttons at the same
time. Then do the following:
1. Tune in the desired station.
2. Press the SET button. “SET” appears in the display momentarily.
3. Within 5 seconds. press any two adjoining pushbuttons at the same time.
(The station
will return when the same two buttons are pressed again.)
3-7
Page 126 of 342
Downloaded from www.Manualslib.com manuals search engine TREBLE - Slide the TREBLE lever up to increase the treble response. If a
station is weak or noisy, slide the TREBLE lever down to reduce the noise.
BASS
- Slide the BASS lever up to increase the bass response. Adjust the
BASS lever to give a pleasing sound to your ear.
How to Operate Your ET* AM-FM Stereo Audio
System
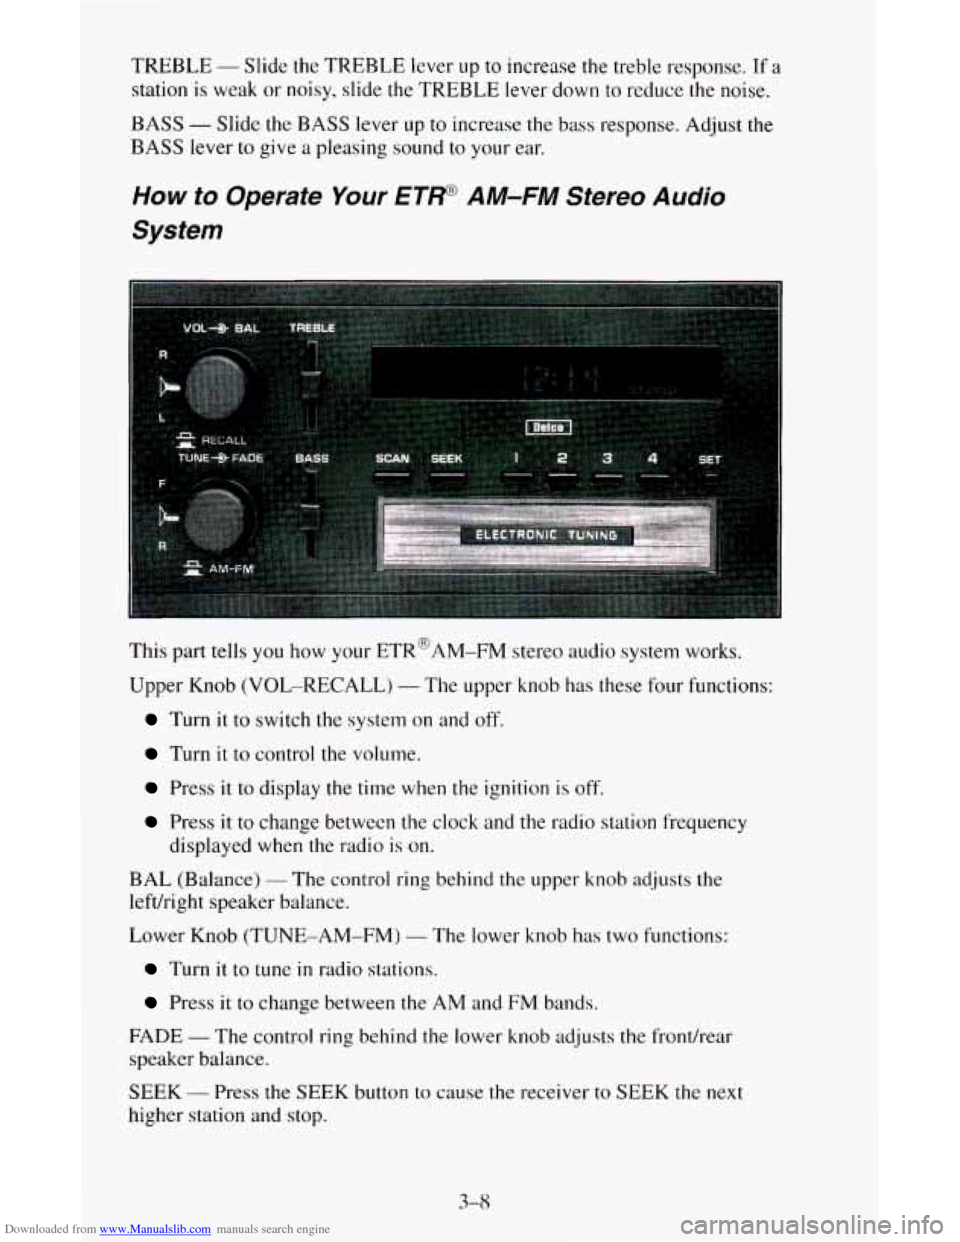
This part tells you how your ETR@AM-FM stereo audio system works.
Upper Knob (VOL-RECALL)
- The upper knob has these four functions:
Turn it to switch the system on and off.
Turn it to control the volume.
Press it to display the time when the ignition is off.
Press it to change between the clock and the radio station frequency
displayed when the radio
is on.
BAL (Balance)
- The control ring behind the upper knob adjusts the
lefdright speaker balance.
Lower Knob (TUNE-AM-FM)
- The lower knob has two functions:
Turn it to tune in radio stations.
Press it to change between the AM and FM bands.
FADE
- The control ring behind the lower knob adjusts the fronthear
speaker balance.
SEEK
- Press the SEEK button to cause the receiver to SEEK the next
higher station and
stop.
3-8
Page 128 of 342
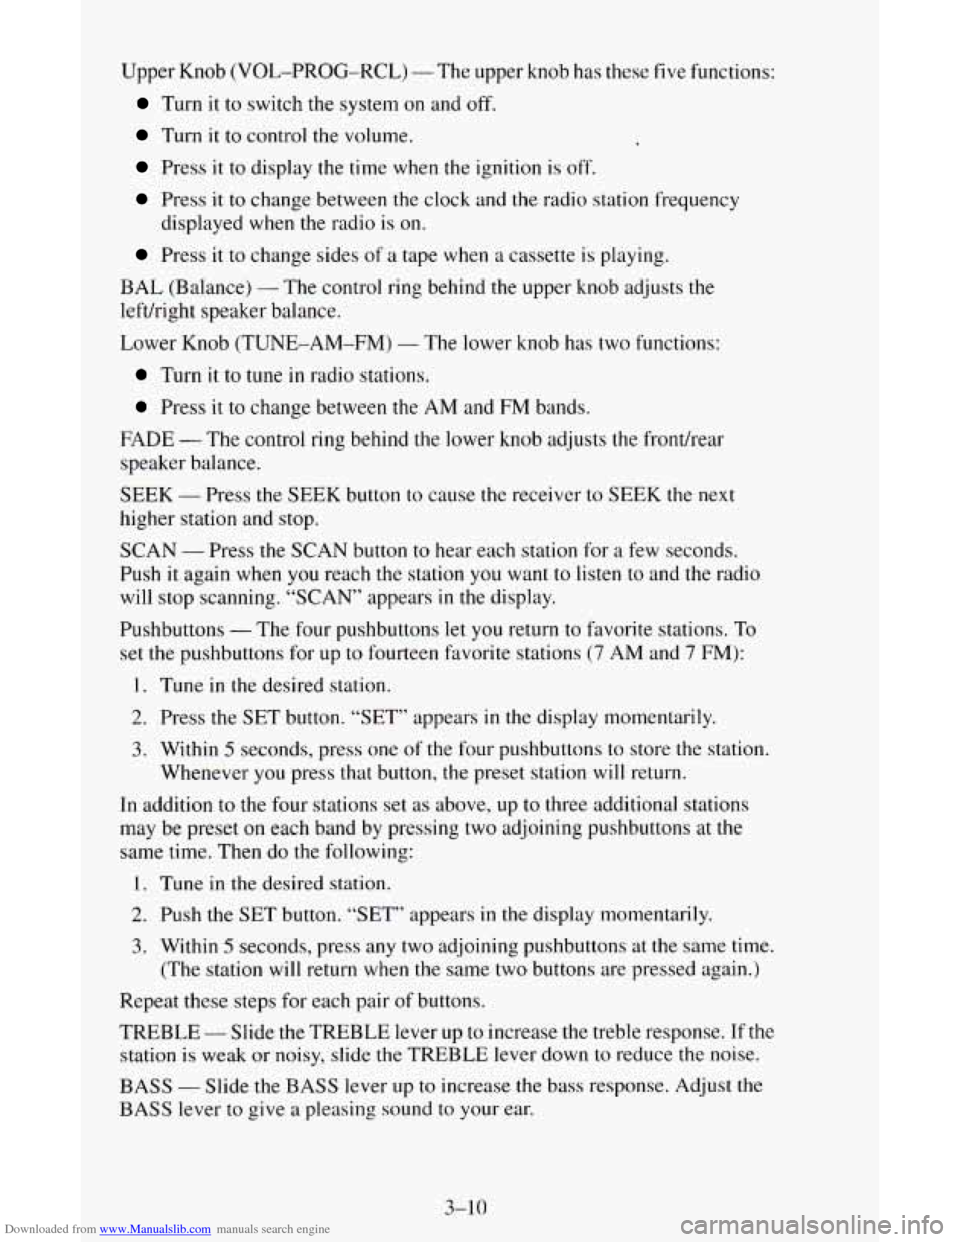
Downloaded from www.Manualslib.com manuals search engine Upper Knob (VOL-PROG-RCL) - The upper knob has these five functions:
Turn it to switch the system on and off.
Turn it to control the volume,
Press it to display the time when the ignition is off.
Press it to change between the clock and the radio station frequency
Press it to change sides of a tape when a cassette is playing.
displayed
when the radio
is on.
BAL (Balance)
- The control ring behind the upper knob adjusts the
leftkight speaker balance.
Lower Knob (TUNE-AM-FM)
- The lower knob has two functions:
Turn it to tune in radio stations.
Press it to change between the AM and FM bands.
FADE
- The control ring behind the lower knob adjusts the fronthear
speaker balance.
SEEK
- Press the SEEK button to cause the receiver to SEEK the next
higher station and stop.
SCAN
- Press the SCAN button to hear each station for a few seconds.
Push it again when you reach
the station you want to listen to and the radio
will stop scanning. “SCAN” appears
in the display.
Pushbuttons
- The four pushbuttons let you return to favorite stations. To
set the pushbuttons for
up to fourteen favorite stations (7 AM and 7 FM):
1. Tune in the desired station.
2. Press the SET button. “SET” appears in the display momentarily.
3. Within 5 seconds, press one of the four pushbuttons to store the station.
Whenever you press that button,
the preset station will return.
In addition to the four stations set
as above, up to three additional stations
may be preset on each band by pressing two adjoining pushbuttons at
the
same time. Then do the following:
1. Tune in the desired station.
2. Push the SET button. “SET” appears in the display momentarily.
3. Within 5 seconds, press any two adjoining pushbuttons at the same time.
(The station will return when the same two buttons are pressed again.)
Repeat these steps for each pair of buttons.
TREBLE
- Slide the TREBLE lever up to increase the treble response. If the
station is weak or noisy, slide the TREBLE lever down to reduce the noise.
BASS - Slide the BASS lever up to increase the bass response. Adjust the
BASS lever to give a pleasing sound to your ear.
3-10