1994 PONTIAC BONNEVILLE low oil pressure
[x] Cancel search: low oil pressurePage 95 of 290
Features 8t Controls
i-)
(
I1
li
el
T
tl
kl
0
If
le
ir
Si
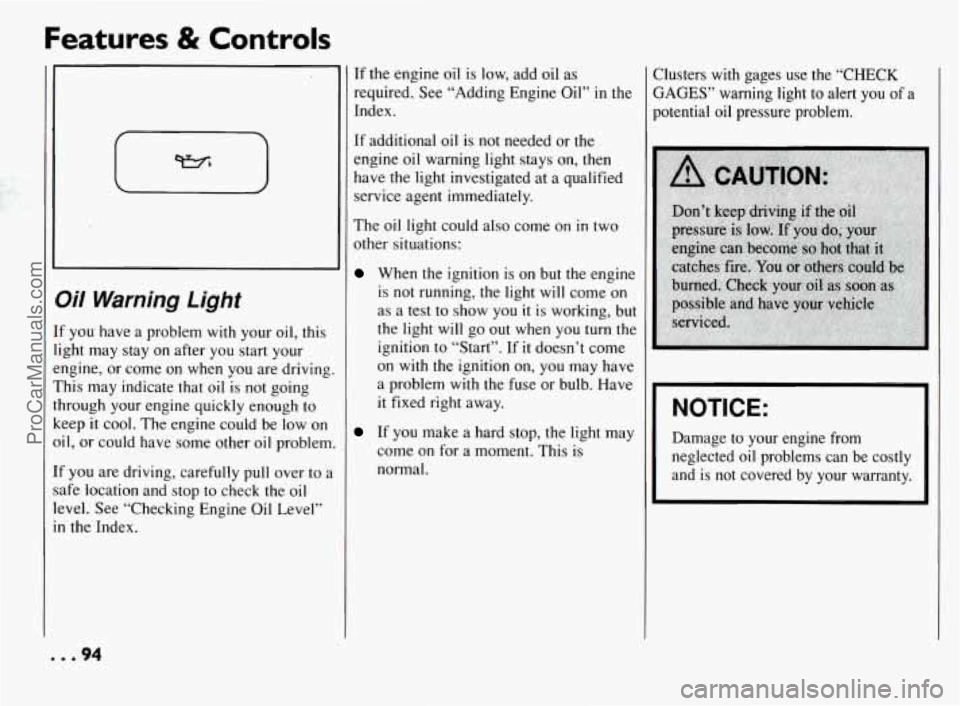
XI Warning Light
’ you have a problem with your oil, this
ght may stay on after you start your
ngine, or come on when you are driving.
‘his may indicate that oil is not going
lrough your engine quickly enough to
eep
it cool. The engine could be low on
il,
or could have some other oil problem,
’ you are driving, carefully pull over to a
ife location and stop to check the oil
:vel. See “Checking Engine Oil Level”
I the Index. If
the engine oil is low, add oil as
required. See “Adding Engine Oil” in the
Index.
If additional oil is not needed
or the
engine oil warning light stays on, then
have the light investigated at a qualified
service agent immediately.
The oil light could also come
on in two
other situations:
When the ignition is on but the engine
is not running, the light will come on
as a test to show you
it is working, but
the light will
go out when you turn the
ignition to “Start”. If
it doesn’t come
on with the ignition on, you may have
a problem with the fuse or bulb. Have
it fixed right away.
If you make a hard stop, the light may
come on
for a moment. This is
normal. :lusters with
gages
use the “CHECK
;AGES” warning light to alert you of a
hotential oil pressure problem.
NOTICE:
Damage to your engine from
neglected oil problems can be costly
and is not covered by your warranty.
00.94
ProCarManuals.com
Page 101 of 290
Features & Controls
CHECK GAGES
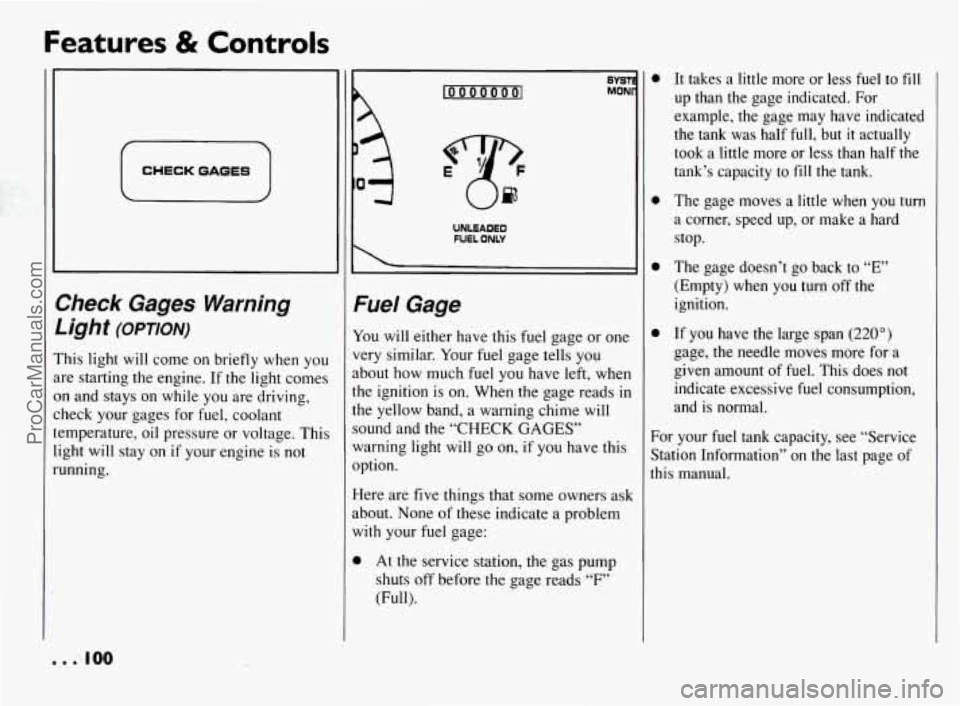
>heck Gages Warning
Jght
(OPTION)
‘his light will come on briefly when you
re starting the engine. If the light comes
n and stays on while you are driving,
heck your gages for fuel, coolant
:mperature, oil pressure or voltage. This
ght will stay on
if your engine is not
Inning.
loooooool
8YST MONl
UNLEADED
FUEL ONLY
Fuel Gage
You will either have this fuel gage or one
very similar.
Your fuel gage tells you
about how much fuel you have left, when
the ignition is on. When the gage reads in
the yellow band, a warning chime will
sound and the
“CHECK GAGES”
warning light will
go on, if you have this
option.
Here are five things that some owners ask
about. None
of these indicate a problem
with your fuel gage:
0 At the service station, the gas pump
shuts off before the gage reads
“F”
(Full).
It takes a little more or less fuel to fill
up than the gage indicated. For
example, the gage may have indicated
the tank was half full, but
it actually
took a little more or less than half the
tank’s capacity to
fill the tank.
The gage moves a little when you
turn
a corner, speed up, or make a hard
stop.
The gage doesn’t go back to
“E”
(Empty) when you turn off the
ignition.
If you have the large span
(220”)
gage, the needle moves more for a
given amount of fuel. This does not
indicate excessive fuel consumption,
and is normal.
For your fuel tank capacity, see “Service
Station Information” on the last page of
this manual.
.e 100
ProCarManuals.com
Page 102 of 290
HOTCOOLANTCANBURNYOU BADLY!
In “Problems on the Road”, this manual
shows what to
do. See “Engine
Overheating”
in the Index.
H2a
Engine Coolant
Temperature Gage
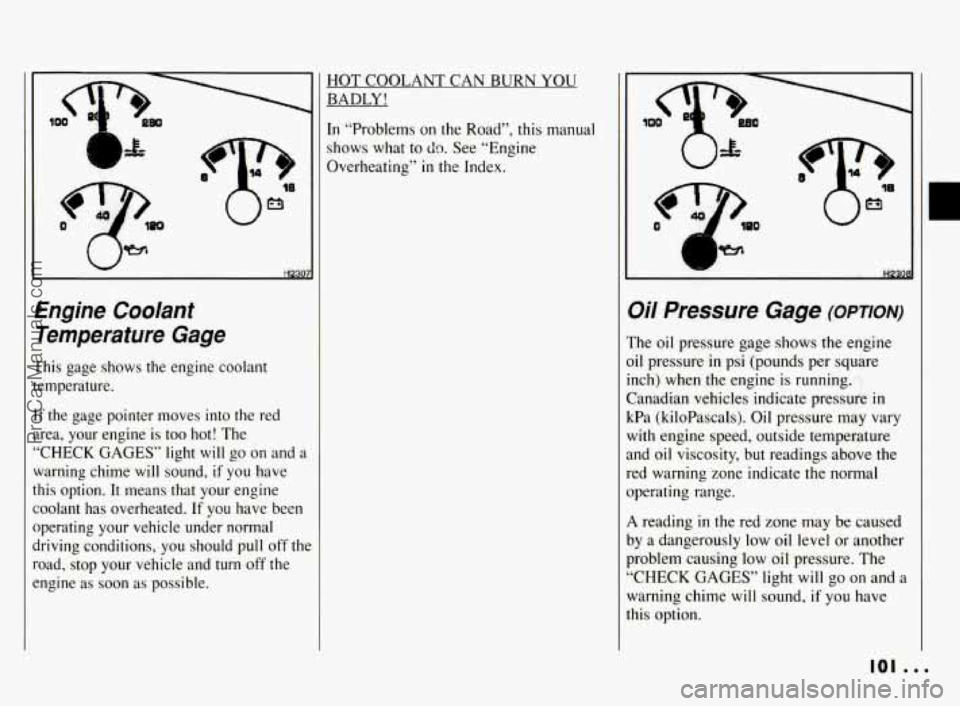
This gage shows the engine coolant
temperature.
If the gage pointer moves into the red
area, your engine is too hot! The
“CHECK GAGES” light
will go on and a
warning chime will sound, if you have
this option.
It means that your engine
coolant has overheated.
If you have been
operating your vehicle under normal
driving conditions, you should pull off
thc
road, stop your vehicle and turn off the
engine
as soon as possible.
Oil Pressure Gage (omom-)
The oil pressure gage shows the engine
oil pressure
in psi (pounds per square
inch) when the engine is running.
Canadian vehicles indicate pressure
in
kPa (kiloPascals). Oil pressure may vary
with engine speed, outside temperature
and oil viscosity, but readings above the
red warning zone indicate the normal
operating range.
A reading in the red zone may be caused
by a dangerously
low oil level or another
problem causing low oil pressure. The
“CHECK GAGES” light
will go on and a
warning chime will sound,
if you have
this option.
101 ...
ProCarManuals.com
Page 103 of 290
Features & Controls
Oi/ Pressure Gage (OPTION)
(CONK)
Driving your vehicle with low oil
pressure can cause extensive engine
damage.
Ih
I I NOTICE:
I
Damage to your engine from
neglected oil problems can be costly
and is not covered by your warranty.
. . . 102
lo
il
s:
a
ir
SI
H230!
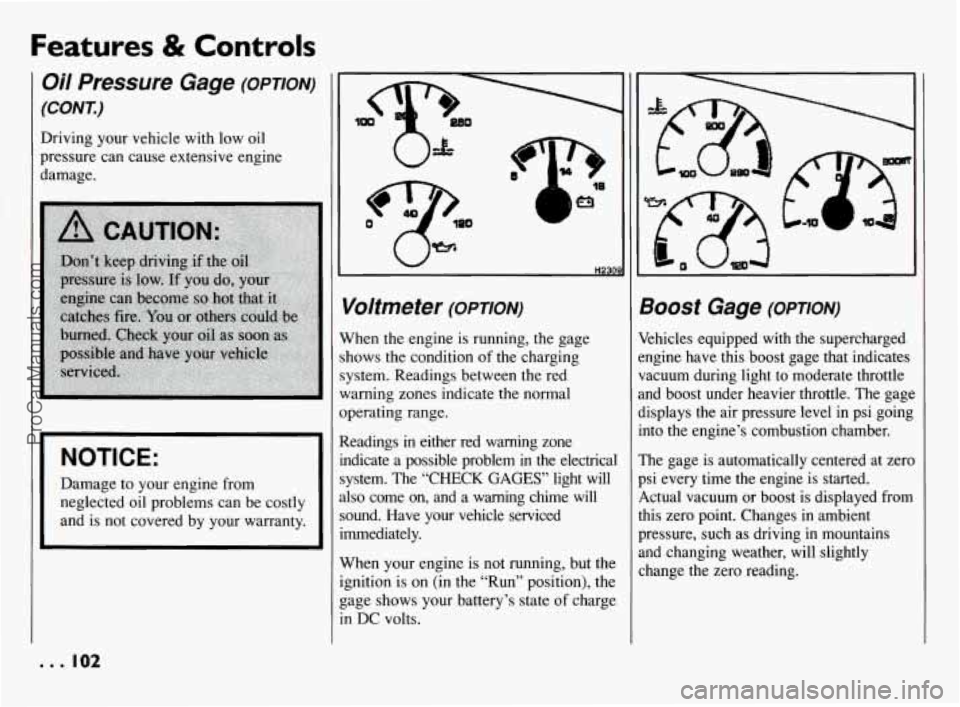
Voltmeter (omoN)
Vhen the engine is running, the gage
hows the condition of the charging
ystem. Readings between the red
Iarning zones indicate the normal
perating range.
Leadings
in either red warning zone
ldicate
a possible problem in the electrical
ystem. The “CHECK
GAGES’ light will
lso come on, and a warning chime will
ound. Have your vehcle serviced
mediately.
Vhen your engine is not running, but the
pition is on (in the “Run” position), the
age shows your battery’s state
of charge
I DC volts.
300St Gage (OPTION)
khicles equipped with the supercharged
ngine have this boost gage that indicates
acuum during light to moderate throttle
nd boost under heavier throttle. The gage
isplays the air pressure level in psi going
]to the engine’s combustion chamber.
‘he gage is automatically centered at zero
si every time the engine is started.
,ctual vacuum or boost is displayed from
lis zero point. Changes in ambient
ressure, such as driving in mountains
nd changing weather, will slightly
hange the zero reading.
ProCarManuals.com
Page 108 of 290
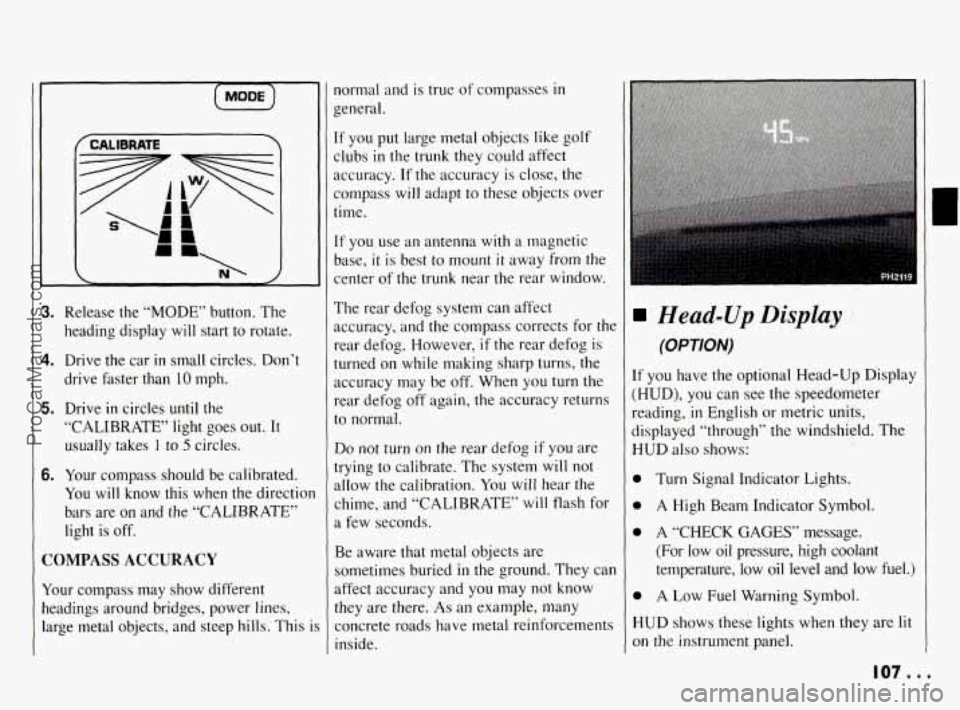
[MODE)
3. Release the “MODE” button. The
heading display
will start to rotate.
4. Drive the car in small circles. Don’t
drive faster than 10 mph.
5. Drive in circles until the
“CALIBRATE’ light goes out. It
usually takes
I to 5 circles.
6. Your compass should be calibrated.
You will know this when the directior
bars are on and the “CALIBRATE”
light is off.
COMPASS ACCURACY
Your compass may show different
headings around bridges, power lines,
large metal objects, and steep hills. This
i
normal and is true of compasses in
general.
If you put large metal objects like golf
clubs
in the trunk they could affect
accuracy.
If the accuracy is close, the
compass will adapt to these objects over
time.
If you use an antenna with a magnetic
base,
it is best to mount it away from the
center of the trunk near the rear window.
The rear defog system can affect
accuracy, and the compass corrects for the
rear defog. However,
if the rear defog is
turned on while making sharp turns, the
accuracy may be
off. When you turn the
rear defog
off again, the accuracy returns
to normal.
Do not turn on the rear defog if you are
trying
to calibrate. The system will not
allow the calibration.
You will hear the
chime, and “CALIBRATE’ will flash for
a few seconds.
Be aware that metal objects are
sometimes buried
in the ground. They can
affect accuracy and you may not know
they are there.
As an example, many
concrete roads have metal reinforcements
inside.
Head-Up Display
(OPTION)
If you have the optional Head-Up Display
(HUD),
you can see the speedometer
reading,
in English or metric units,
displayed “through” the windshield. The
HUD also shows:
0
0
0
0
H
01
Turn Signal Indicator Lights.
A High Beam Indicator Symbol.
A
“CHECK GAGES” message.
(For low oil pressure, high coolant
temperature, low
oil level and low fuel.)
A Low Fuel Warning Symbol.
UD shows these lights when they are lit
I the instrument panel.
107 ...
ProCarManuals.com
Page 153 of 290
Your Driving and the Road
H Freeway Driving (CONK)
along the entrance ramp, you should
begin to check traffic. Try to determine
where you expect to blend with the flow.
Try
to merge into the gap at close to the
prevailing speed. Switch on your turn
signal, check your mirrors and glance
over your shoulder as often as necessary.
Try to blend smoothly with the traffic
flow.
Once you are
on the freeway, adjust your
speed to the.posted limit or to the
prevailing rate if it’s slower. Stay in the
right lane unless
you want to pass.
Before changing lanes, check your
mirrors. Then use your turn signal.
Just before you leave the lane, glance
quickly over your shoulder to make sure
there isn’t another vehicle in your “blind”
spot.
Once you are moving
on the freeway,
make certain you allow a reasonable
following distance. Expect to move
slightly slower at night.
When you want to leave the freeway,
move to the proper lane well
in advance.
If you miss your exit do not, under any
,.. 152
circumstances, stop and back up. Drive on
to the next exit.
The exit ramp can be curved, sometimes
quite sharply.
The exit speed
is usually posted.
Reduce your speed according to your
speedometer, not to your sense of motion.
After driving for any distance at higher
speeds, you may tend to think
you are
going slower than you actually are.
Before Leaving on a
Long Trip
Make sure you’re ready. Try to be well
rested.
If you must start when you’re not
fresh
-- such as after a day’s work --
don’t plan to make too many miles that
first part
of the journey. Wear comfortable
clothing and shoes you can easily drive
in.
Is your vehicle ready for a long trip? If
you keep it serviced and maintained, it’s
ready to go. If it needs service, have it
done before starting out. Of course, you’ll
find experienced and able service experts
in Pontiac dealerships all across North America. They’ll
be ready and willing to
help if you need it.
Here are some things
you can check
before a trip:
0 Windshield Washer Fluid: Is the
reservoir full? Are all windows clean
inside and outside?
0 Wiper Blades: Are they in good
shape?
0 Fuel. Engine Oil. Other Fluids: Have
you checked all levels?
0 Lights: Are they all working? Are the
lenses clean?
Tires: They are vitally important to a
safe, trouble-free trip.
Is the tread
good enough for long-distance
driving? Are the tires all inflated to
the recommended pressure?
0 Weather Forecasts: What’s the weather outlook along your route?
Should you delay your trip a short
time to avoid a major storm system?
Maps: Do you have up-to-date maps?
ProCarManuals.com
Page 231 of 290
Service & Appearance Care
H Cleaning the Znside of
Your Pontiac
Use a vacuum cleaner often to get rid of
dust and loose dirt. Wipe vinyl or leather
with a clean, damp cloth.
Your Pontiac dealer has two GM cleaners,
a solvent-type spot lifter and a foam-type
powdered cleaner. They will clean normal
spots and stains very well. Do not use
them on vinyl or leather.
Here are some cleaning tips:
0
0
0
0
0 Always read the instructions on the
cleaner label.
Clean up stains as soon as you can
--
before they set.
Use a clean cloth or sponge, and
change to a clean area often.
A soft
brush may be used if stains are
stubborn.
Use solvent-type cleaners in a
well-ventilated area only. If you use
them, don’t saturate the stained area.
If
a ring forms after spot cleaning,
clean the entire area immediately or it
will set.
Using Foam-Type Cleaner
on Fabric
0
0
0
0
0
0
0
0
0
0
Vacuum and brush the area to remove
any loose dirt.
Always clean a whole trim panel or
section. Mask surrounding trim along
stitch or welt lines.
Mix Multi-Purpose Powdered Cleaner
following the directions on the
container label.
Use suds only and apply with a clean
sponge.
Don’t saturate the material.
Don’t rub it roughly.
As soon as you’ve cleaned the section,
use a sponge to remove the suds.
Rinse the section with a clean, wet
sponge.
Wipe off what’s left with a slightly
damp paper towel or cloth.
Then dry it immediately with a blow
dryer or a heat lamp.
NOTICE:
Be careful with a hair dryer or heat
lamp. You could scorch the fabric.
0
c
c
F.
c1
cl
If
Wipe with a clean cloth.
Jsing Solvent-Type
;leaner on Fabric
irst, see if you have to use solvent-type
.eaner at all. Some spots and stains will
ean off better with just water and mild
lap.
’ you need to use a solvent:
Gently scrape excess soil from the
trim material with a clean, dull knife
or scraper. Use very little cleaner, light
pressure and clean cloths (preferably
cheesecloth). Cleaning should start at
the outside of the stain, “feathering”
toward the center. Keep changing to a
clean section of the cloth.
When you clean a stain from fabric,
immediately dry the area with an air
hose, hair dryer, or heat lamp to help
prevent a cleaning ring. (See the
previous NOTICE.)
. . .230
ProCarManuals.com
Page 255 of 290
Maintenance Schedule
Explanation of Scheduled Maintenance
Services
Following are explanations of the services listed in Schedule I
and Schedule
11.
The proper fluids and lubricants to use are listed in Section D.
Make sure whoever services your vehicle uses these. All parts
should be replaced and all necessary repairs done before you or
anyone else drives the vehicle.
1. Engine Oil and Filter Change* -- Always use SH or SG
Energy Conserving I1 oils
of proper viscosity. The “SH” or
“SG” designation may be shown alone or in combination
with others, such as “SH/CD,” or “SH, SG, CD,” “SG/CD,”
etc. To determine the preferred viscosity for your vehicle’s
engine (e.g., SAE 5W-30 or SAE
10W-30), see “Engine
Oil”
in the Index.
2. Chassis Lubrication -- Lubricate suspension and steering
linkage. Lubricate the transaxle shift linkage, and parking
brake cable guides, underbody contact points and linkage.
3. Tire and Wheel Rotation and Inspection -- For proper
wear and maximum tire
life, rotate your tires following the
instructions in this manual. See “Tires, Inspection &
Rotation” in the Index. Check the tires for uneven wear or
damage. If
you see irregular or premature wear, check the
wheel alignment. Check for damaged wheels also.
4. Engine Accessory Drive Belt(s) Inspection* -- Inspect
the belt(s) for cracks, fraying, wear and proper tension.
Replace as needed. (Belts can have many small cracks
in
individual ribs without affecting performance.)
5. Cooling System Service* -- Drain, flush and refill the
system with new or approved recycled coolant conforming
to GM Specification 1825M. Keep coolant at the proper
mixture as specified. See “Coolant”
in the Index. This
provides proper freeze and boil protection, corrosion inhibitor level and maintains proper engine operating
temperature.
Inspect hoses and replace
if they are cracked, swollen or
deteriorated. Tighten screw-type hose clamps. Clean the
outside of the radiator and air conditioning condenser. Wash
the pressure cap and neck.
To help ensure proper operation, we recommend a pressure
test of both the cooling system and the pressure cap.
ProCarManuals.com