1994 PONTIAC BONNEVILLE coolant temperature
[x] Cancel search: coolant temperaturePage 93 of 290
![PONTIAC BONNEVILLE 1994 Owners Manual Features & Controls
SYSTEMS MONITOR
0
(-J[=zFz]
[HeURlTY][-))
Warning Lights (CONT.)
I
I-] INFORMATION DRIVER
CHECK OIL LEVEL - LAMP
WASHER FLUID
CHECK QAQES LOW
COOLANT
moo DOOR TRUNK PONTIAC BONNEVILLE 1994 Owners Manual Features & Controls
SYSTEMS MONITOR
0
(-J[=zFz]
[HeURlTY][-))
Warning Lights (CONT.)
I
I-] INFORMATION DRIVER
CHECK OIL LEVEL - LAMP
WASHER FLUID
CHECK QAQES LOW
COOLANT
moo DOOR TRUNK](/manual-img/50/58378/w960_58378-92.png)
Features & Controls
SYSTEMS MONITOR
0
(-J[=zFz]
[HeURlTY][-))
Warning Lights (CONT.)
I
I-] INFORMATION DRIVER
CHECK OIL LEVEL - LAMP
WASHER FLUID
CHECK QAQES LOW
COOLANT
moo DOOR TRUNK AJAR TURN SIONAL
BACK UP TAIL
BRAKE LAMP
MILES TRIP
(][TEiir] ENGINE SOON
[E][--
Engine Coolant Temperature Warning
Light
This light tells you that your engine
coolant has overheated or your radiator
cooling fans are not working.
If you have
been operating your vehicle under normal
driving conditions, you
should pull off the
road, stop your vehicle and
turn the
engine off as soon as possible.
I #..92
ProCarManuals.com
Page 94 of 290
HOT COOLANT CAN BURN YOU
BADLY!
In “Problems on the Road”, this manual
shows
what to do. See “Engine
Overheating”
in the Index.
Some clusters
with gages do not have a
coolant temperature warning light. In
those clusters a “CHECK GAGES”
warning light
will alert you of a potential
coolant heating problem.
r LOW COOLANT
Low Coolant Warning
Light
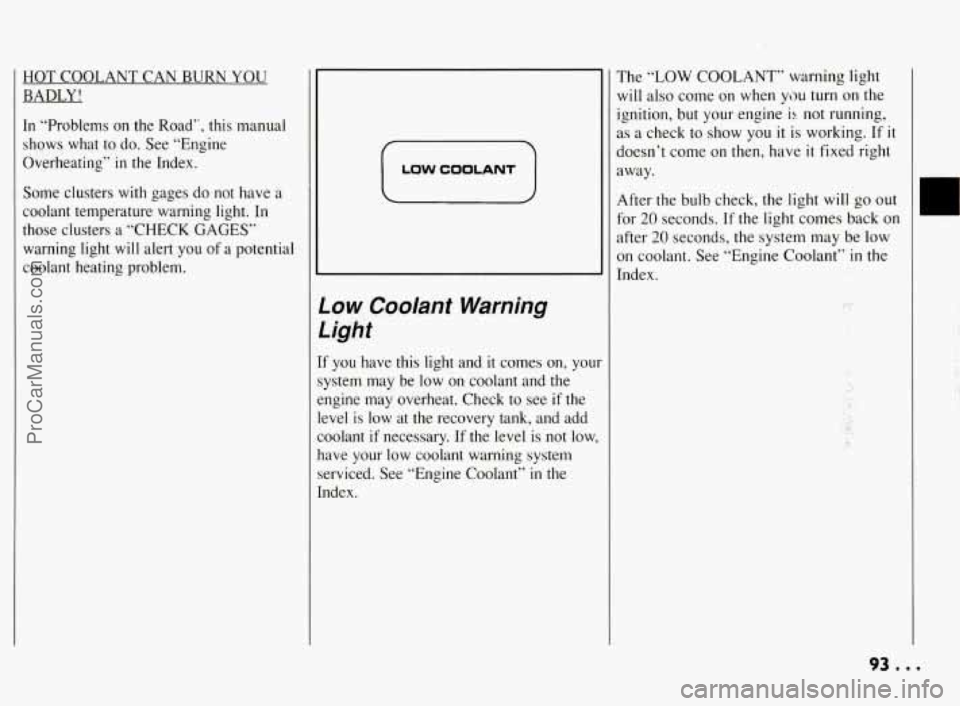
If you have this light and it comes on, you
system may be low on coolant and the
engine may overheat. Check to see
if the
level is low
at the recovery tank, and add
coolant
if necessary. If the level is not low.
have your low coolant warning system serviced. See “Engine Coolant”
in the
Index. The
“LOW COOLANT” warning
light
will also come on when you
turn on the
ignition, but your engine
is not running,
as a check to show you
it is working. If it
doesn’t come on then, have it fixed right
away.
After the bulb check, the light will go out
for
20 seconds. If the light comes back on
after
20 seconds, the system may be low
on coolant. See “Engine Coolant” in the
Index.
93.0.
ProCarManuals.com
Page 102 of 290
HOTCOOLANTCANBURNYOU BADLY!
In “Problems on the Road”, this manual
shows what to
do. See “Engine
Overheating”
in the Index.
H2a
Engine Coolant
Temperature Gage
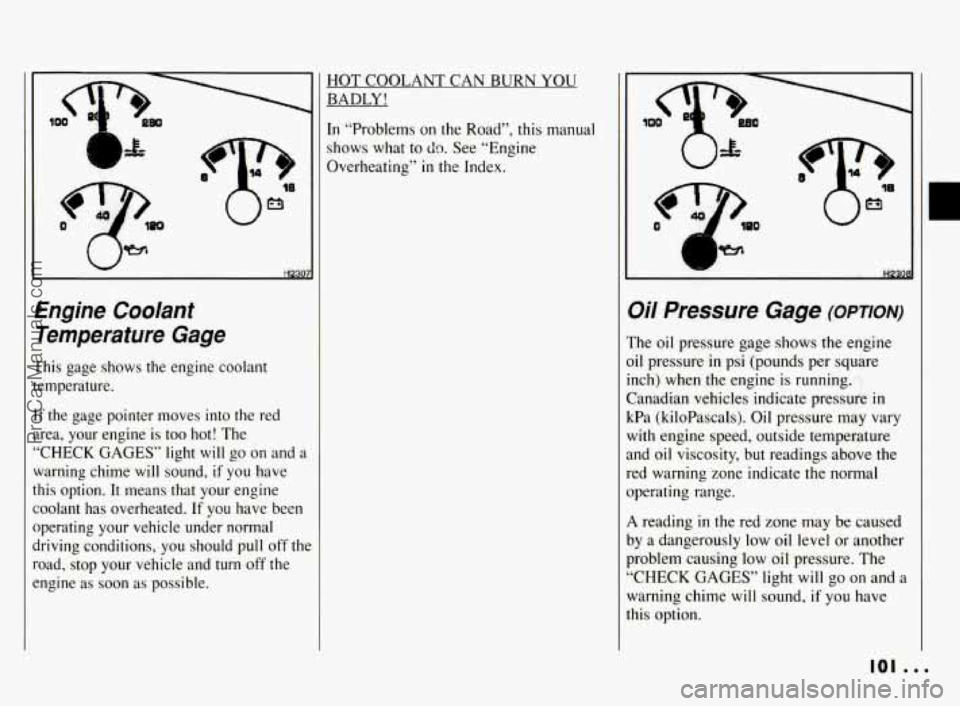
This gage shows the engine coolant
temperature.
If the gage pointer moves into the red
area, your engine is too hot! The
“CHECK GAGES” light
will go on and a
warning chime will sound, if you have
this option.
It means that your engine
coolant has overheated.
If you have been
operating your vehicle under normal
driving conditions, you should pull off
thc
road, stop your vehicle and turn off the
engine
as soon as possible.
Oil Pressure Gage (omom-)
The oil pressure gage shows the engine
oil pressure
in psi (pounds per square
inch) when the engine is running.
Canadian vehicles indicate pressure
in
kPa (kiloPascals). Oil pressure may vary
with engine speed, outside temperature
and oil viscosity, but readings above the
red warning zone indicate the normal
operating range.
A reading in the red zone may be caused
by a dangerously
low oil level or another
problem causing low oil pressure. The
“CHECK GAGES” light
will go on and a
warning chime will sound,
if you have
this option.
101 ...
ProCarManuals.com
Page 108 of 290
[MODE)
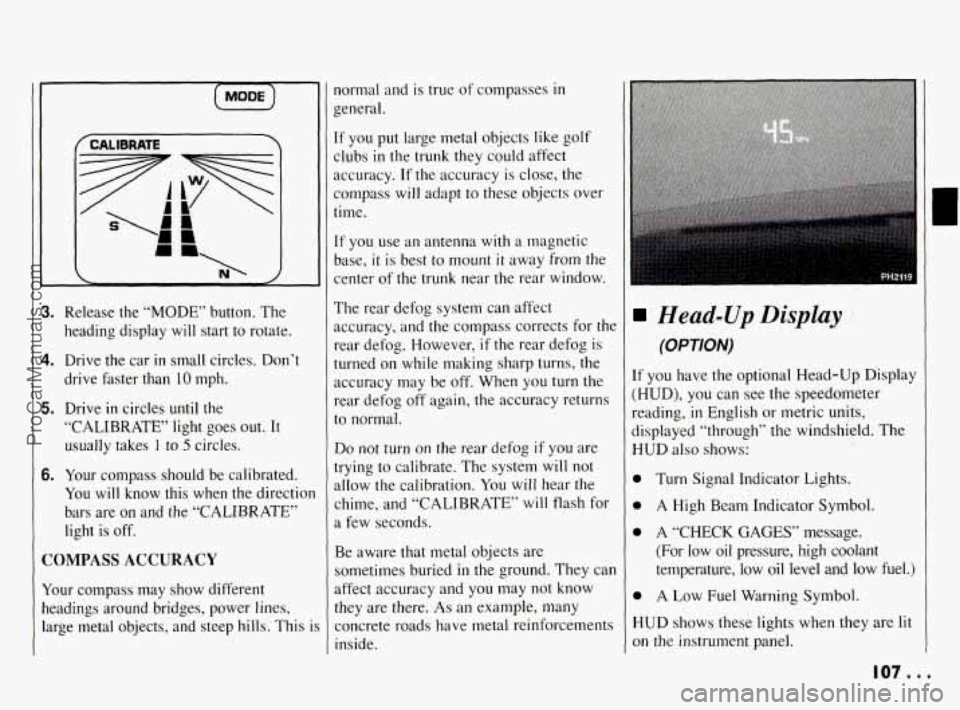
3. Release the “MODE” button. The
heading display
will start to rotate.
4. Drive the car in small circles. Don’t
drive faster than 10 mph.
5. Drive in circles until the
“CALIBRATE’ light goes out. It
usually takes
I to 5 circles.
6. Your compass should be calibrated.
You will know this when the directior
bars are on and the “CALIBRATE”
light is off.
COMPASS ACCURACY
Your compass may show different
headings around bridges, power lines,
large metal objects, and steep hills. This
i
normal and is true of compasses in
general.
If you put large metal objects like golf
clubs
in the trunk they could affect
accuracy.
If the accuracy is close, the
compass will adapt to these objects over
time.
If you use an antenna with a magnetic
base,
it is best to mount it away from the
center of the trunk near the rear window.
The rear defog system can affect
accuracy, and the compass corrects for the
rear defog. However,
if the rear defog is
turned on while making sharp turns, the
accuracy may be
off. When you turn the
rear defog
off again, the accuracy returns
to normal.
Do not turn on the rear defog if you are
trying
to calibrate. The system will not
allow the calibration.
You will hear the
chime, and “CALIBRATE’ will flash for
a few seconds.
Be aware that metal objects are
sometimes buried
in the ground. They can
affect accuracy and you may not know
they are there.
As an example, many
concrete roads have metal reinforcements
inside.
Head-Up Display
(OPTION)
If you have the optional Head-Up Display
(HUD),
you can see the speedometer
reading,
in English or metric units,
displayed “through” the windshield. The
HUD also shows:
0
0
0
0
H
01
Turn Signal Indicator Lights.
A High Beam Indicator Symbol.
A
“CHECK GAGES” message.
(For low oil pressure, high coolant
temperature, low
oil level and low fuel.)
A Low Fuel Warning Symbol.
UD shows these lights when they are lit
I the instrument panel.
107 ...
ProCarManuals.com
Page 177 of 290
Problems on the Road
H Engine Overheating
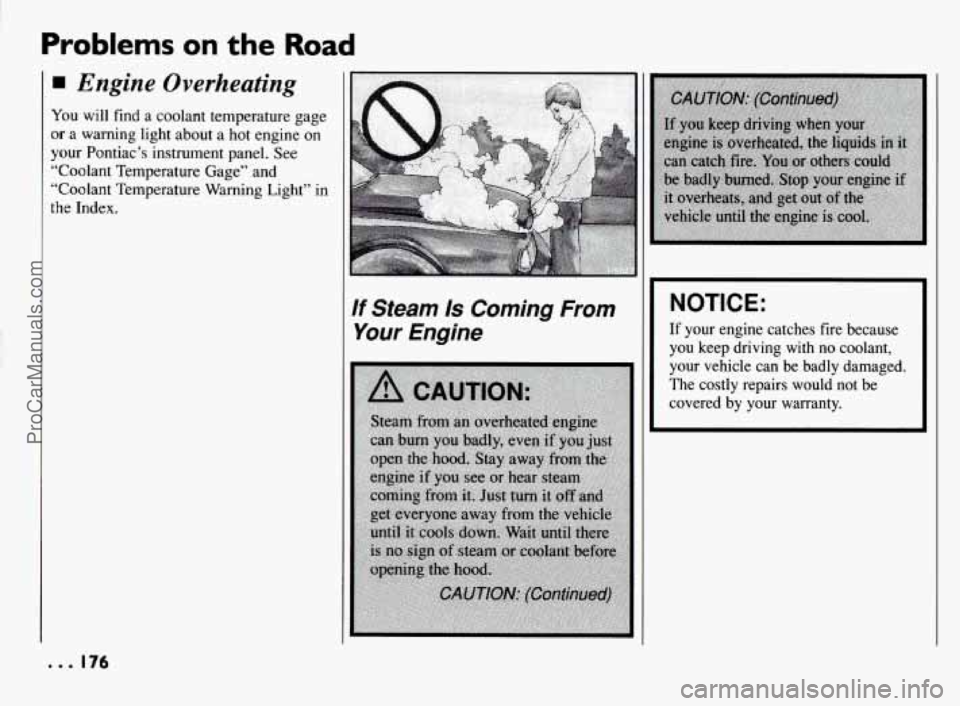
You will find a coolant temperature gage
or a warning light about a hot engine on
your Pontiac’s instrument panel. See
“Coolant Temperature Gage” and
“Coolant Temperature Warning Light” in
the Index.
If Steam Is Coming From
Your Engine
NOTICE:
If your engine catches fire because
you keep driving with no coolant,
your vehicle can be badly damaged.
The costly repairs would not be
covered by your warranty.
ProCarManuals.com
Page 214 of 290
3. Check both sides of the dipstick, and
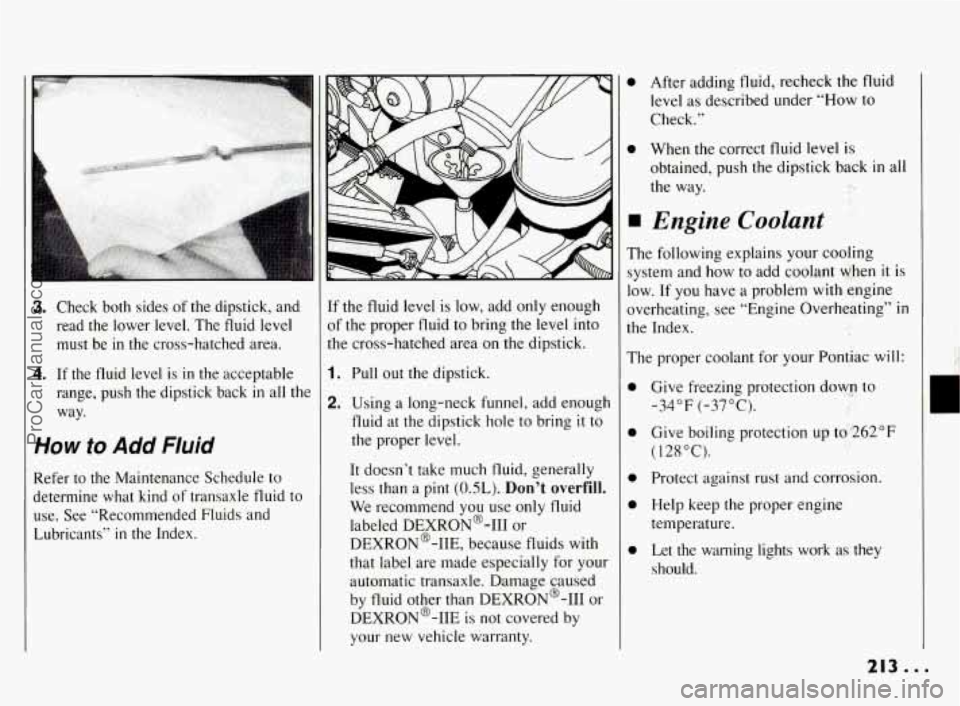
read the lower level. The fluid level must be in the cross-hatched area.
4. If the fluid level is in the acceptable
range, push the dipstick back in all the
way.
How to Add Fluid
Refer to the Maintenance Schedule to
determine what kind of transaxle fluid to
use. See “Recommended Fluids and
Lubricants’’
in the Index. If
the fluid level is low, add only enough
of the proper fluid to bring the level into
the cross-hatched area on the dipstick.
1. Pull out the dipstick.
2. Using a long-neck funnel, add enough
fluid at the dipstick hole to bring
it to
the proper level.
It doesn’t take much fluid, generally
less than a pint
(OSL). Don’t overfill.
We recommend you use only fluid
labeled DEXR0N’-I11
or
DEXRON@-IIE, because fluids with
that label are made especially for your
automatic transaxle. Damage caused
by fluid other than DEXRON@-I11 or
DEXR0N’-IIE is not covered by your new vehicle warranty.
0 After adding fluid, recheck the fluid
level as described under “How to
Check.”
0 When the correct fluid level is
obtained, push the dipstick back in all
the way. ..
Engine Coolant
The following explains your cooling
system and how to add coolant when
it is
1.0~. If
you have a problem with engine
overheating, see “Engine Overheating” in
the Index.
The proper coolant for your Pontiac will:
0
0
0
0
0
Give freezing protection down to
-34°F (-37°C).
Give boiling protection up to
,262”F
( 128 “C).
Protect against rust and corrosion.
Help keep the proper engine
temperature.
Let the warning lights work as they should.
r
213...
ProCarManuals.com
Page 217 of 290
Service & Appearance Care
Thermostat
Engine coolant temperature is controlled
by a thermostat
in the engine coolant
system. The thermostat stops the flow
of
coolant through the radiator until the
coolant reaches a preset temperature.
When you replace your thermostat, an
AC@ thermostat is recommended.
Power Steering Fluid
How To Check Power
Steering
Fluid
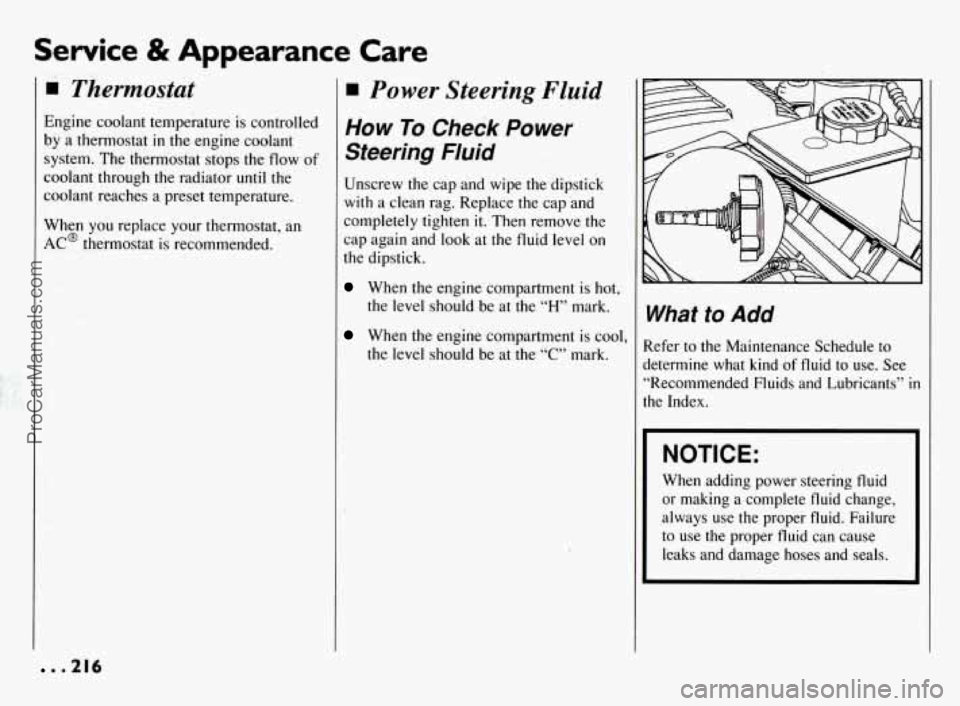
Unscrew the cap and wipe the dipstick
with a clean rag. Replace the cap and
completely tighten
it. Then remove the
cap again and look at the fluid level on
the dipstick.
When the engine compartment is hot,
the level should be at the
“H” mark.
When the engine compartment is cool,
the level should be at the “C” mark.
What to Add
Refer to the Maintenance Schedule to
determine what kind
of fluid to use. See
“Recommended Fluids and Lubricants”
in
the Index.
NOTICE:
When adding power steering fluid
or making a complete fluid change,
always
use the proper fluid. Failure
to use the proper fluid can cause
leaks and damage hoses and seals.
. .216
ProCarManuals.com
Page 255 of 290
Maintenance Schedule
Explanation of Scheduled Maintenance
Services
Following are explanations of the services listed in Schedule I
and Schedule
11.
The proper fluids and lubricants to use are listed in Section D.
Make sure whoever services your vehicle uses these. All parts
should be replaced and all necessary repairs done before you or
anyone else drives the vehicle.
1. Engine Oil and Filter Change* -- Always use SH or SG
Energy Conserving I1 oils
of proper viscosity. The “SH” or
“SG” designation may be shown alone or in combination
with others, such as “SH/CD,” or “SH, SG, CD,” “SG/CD,”
etc. To determine the preferred viscosity for your vehicle’s
engine (e.g., SAE 5W-30 or SAE
10W-30), see “Engine
Oil”
in the Index.
2. Chassis Lubrication -- Lubricate suspension and steering
linkage. Lubricate the transaxle shift linkage, and parking
brake cable guides, underbody contact points and linkage.
3. Tire and Wheel Rotation and Inspection -- For proper
wear and maximum tire
life, rotate your tires following the
instructions in this manual. See “Tires, Inspection &
Rotation” in the Index. Check the tires for uneven wear or
damage. If
you see irregular or premature wear, check the
wheel alignment. Check for damaged wheels also.
4. Engine Accessory Drive Belt(s) Inspection* -- Inspect
the belt(s) for cracks, fraying, wear and proper tension.
Replace as needed. (Belts can have many small cracks
in
individual ribs without affecting performance.)
5. Cooling System Service* -- Drain, flush and refill the
system with new or approved recycled coolant conforming
to GM Specification 1825M. Keep coolant at the proper
mixture as specified. See “Coolant”
in the Index. This
provides proper freeze and boil protection, corrosion inhibitor level and maintains proper engine operating
temperature.
Inspect hoses and replace
if they are cracked, swollen or
deteriorated. Tighten screw-type hose clamps. Clean the
outside of the radiator and air conditioning condenser. Wash
the pressure cap and neck.
To help ensure proper operation, we recommend a pressure
test of both the cooling system and the pressure cap.
ProCarManuals.com