Page 64 of 274

Downloaded from www.Manualslib.com manuals search engine For steady wiping at low speed, turn the
band away from you to the
“LO’ position.
For high speed wiping,
turn the band
further,
to “HI.” To stop the wipers, move
the band to
“OW.”
Damaged wiper blades may prevent you
from seeing well enough to drive safely.
To avoid damage, be sure to clear ice and
snow from the wiper blades before using
them.
If they’re frozen to the windshield,
carefully loosen or thaw them.
If your
blades do become damaged, get new
blades or blade inserts.
Heavy snow or ice can overload your
wipers. A circuit breaker will
stop them
until the motor cools. Clear away snow or
ice to prevent an overload.
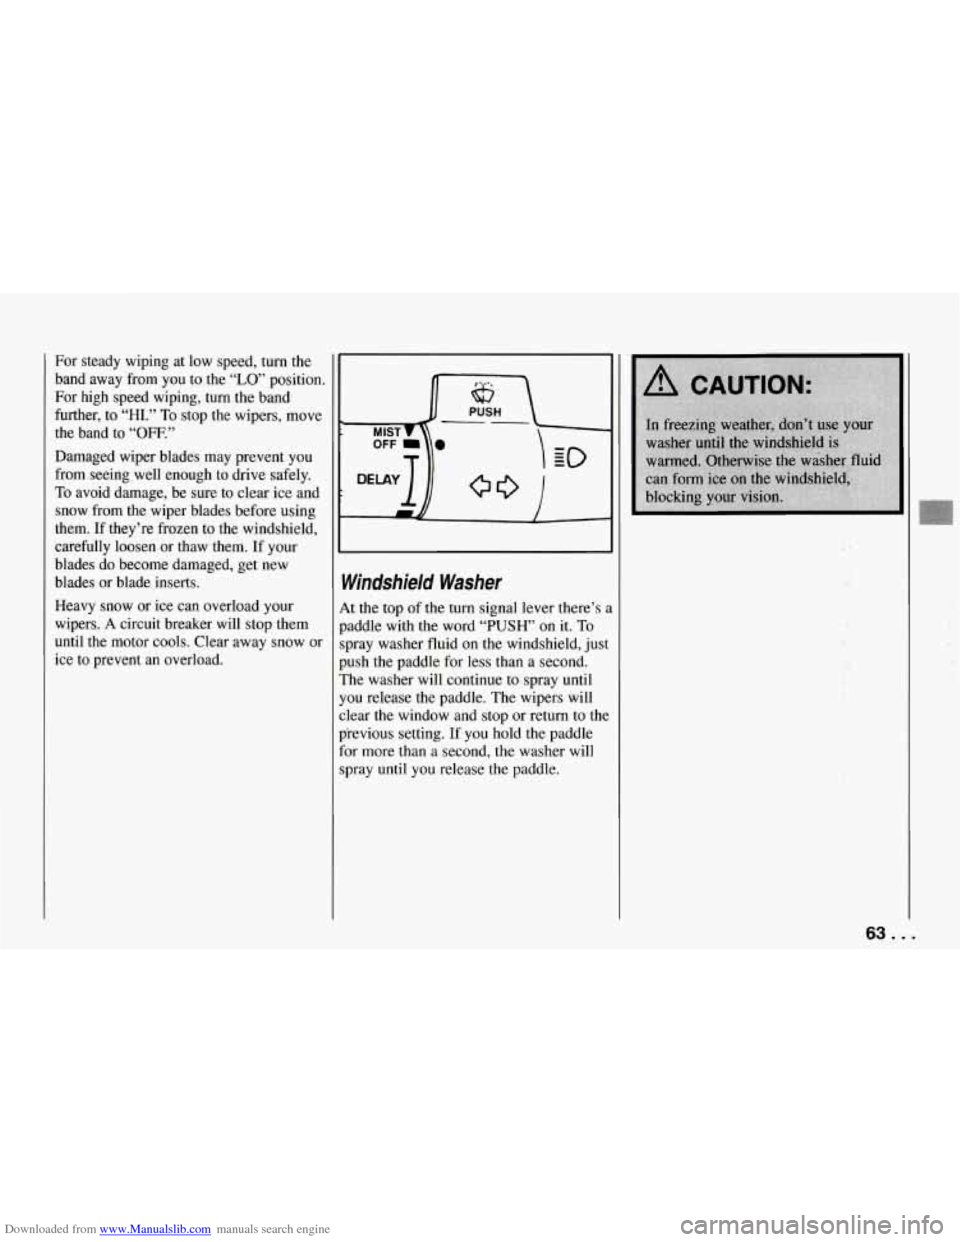
Windshield Washer
At the top of the turn signal lever there’s a
paddle
with the word “PUSH’ on it. To
spray washer fluid on the windshield, just
push the paddle for less than a second.
The washer will continue to spray
until
you release the paddle. The wipers will
clear the window and stop or return to the
previous setting. If you hold the paddle
for more than a second, the washer will
spray until you release the paddle.
63. .
Page 71 of 274
Downloaded from www.Manualslib.com manuals search engine Features and Controls
Roof Panel (COUPE)
Until you are sure you can remove the
panel alone, have someone help you.
Removing the Roof Panel
1. Park on a level surface, set the parking
brake firmly and shift an automatic
transmission into
“P” (Park). Shift a
manual transmission into
“R’
(Reverse). Lower both windows, turn
the ignition key to
“LOCK” and move
both sunshades to the side.
... 70
2. Remove the ratchet from the console. 1. Use the ratchet to loosen the front
bolts. Don’t remove them. They’ll
stay
in place when loose.
Page 73 of 274

Downloaded from www.Manualslib.com manuals search engine Features and Controls
6. Gently lift up on the roof panel to be
sure
it is locked in place.
Installing the Roof Panel
1.
2.
Park on a level surface, set the parking
brake firmly and shift an automatic
transmission into “P” (Park). Shift a
manual transmission into
“R’
(Reverse).. Lower both windows, turn
the ignition key to “LOCK” and move
both sunshades to the side.
If the roof panel is stored in the rear
area, remove
it by reversing the steps
under “Storing the Roof Panel” above.
... 72
3. Lower the roof panel onto the vehicle,
rear edge first, and place the rear
guide pins into the holes in the roof
opening.
4. Lower the front of the roof panel, and
align the front guide pins.
5. Tighten the rear bolts part way.
NOTICE:
If you tighten bolts that are
improperly started,
the threads can
become stripped. Be sure all bolts are
properly started before you tighten
them.
6. Use the ratchet to start the front bolts.
If the bolts are hard to start, tighten
the rear bolts some more. Holding
down the panel on the outside will
also help.
front bolts.
7. Fully tighten the rear bolts, then the
If you hear a popping noise when you
drive,
the bolts may not be tight enough.
Be sure to tighten’them securely.
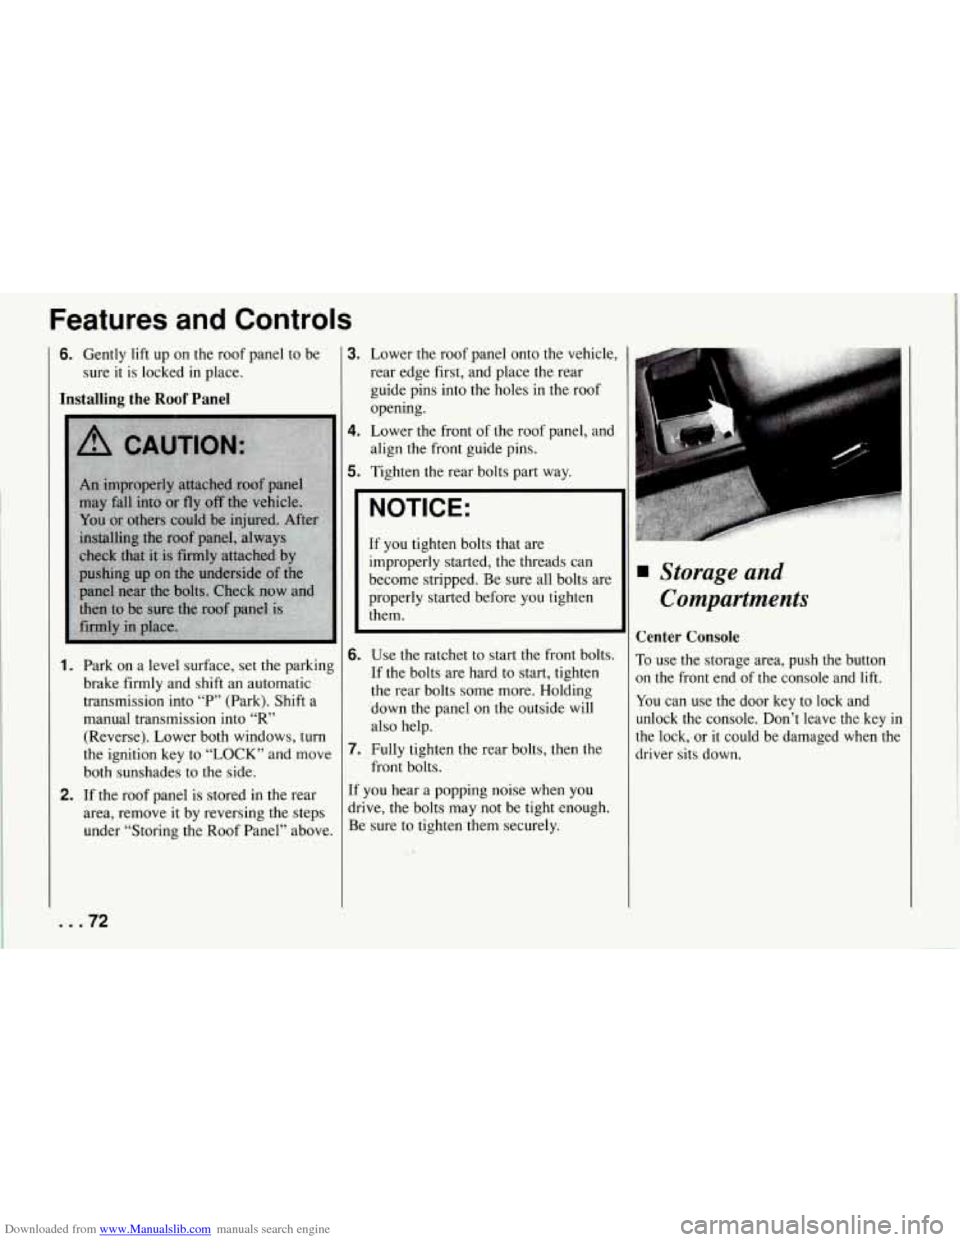
Storage and
Compartments
Center Console
To use the storage area, push the button
on the front end of the console and lift.
You can use the door key to lock and
unlock the console. Don’t leave the key
in
the lock, or it could be damaged when the
driver sits down.
Page 80 of 274
Downloaded from www.Manualslib.com manuals search engine Instrument Panel
1. Acceleration Slip Regulation Switch
2. Side Window Defogger Vent
3. Side Air Vent
4. Turn Signaweadlight Beam Lever
5. Tilt Lever
6. Instrument Cluster
7. Ignition Switch
8. Trip Monitor Controls
9. Solar Sensor
IO. Center Air Vent
11. Driver Information Center
12. Comfort Controls
13. Fuse Panel
14. Audio System
15. Ashtray/Lighter/Cupholder
16. Selective Ride Control (if equipped)
17. Power Seat Control (if equipped)
18. Shift Lever
19. Horn
20. Main Light Control
21. Fog Lamp Switch
79 ...
Page 97 of 274

Downloaded from www.Manualslib.com manuals search engine Features and Controls
Security Light
This light comes on to remind you to arm
your theft deterrent system. If it comes on
and stays on when your ignition is on,
there may be a problem with your theft
deterrent system. See “Universal Theft
Deterrent” and “PASS-Key” in the Index.
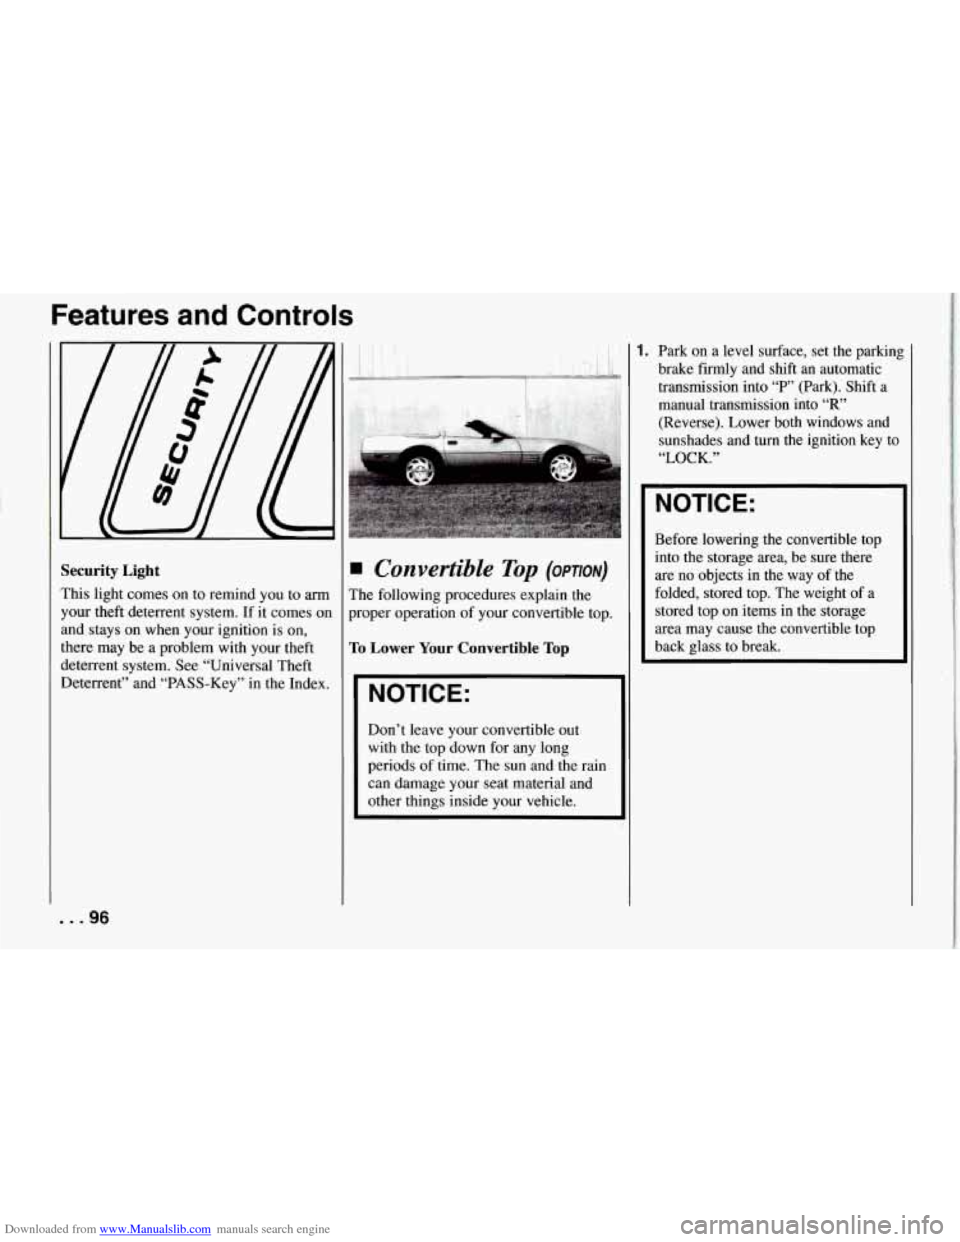
Convertible Top (OPTION)
The following procedures explain the
proper operation of your convertible top.
To Lower Your Convertible Top
NOTICE:
~~
Don’t leave your convertible out
with the top down for any long
periods
of time. The sun and the rain
can damage your seat material and
other things inside your vehicle.
1. Park on a level surface, set the parkin8
brake firmly and shift an automatic
transmission into
“P’ (Park). Shift a
manual transmission into
“R”
(Reverse). Lower both windows and
sunshades and
turn the ignition key to
“LOCK.”
NOTICE:
Before lowering the convertible top
into the storage area, be sure there
are
no objects in the way of the
folded, stored top. The weight of a
stored top
on items in the storage
area may cause the convertible top
back glass to break.
... 96
Page 98 of 274
Downloaded from www.Manualslib.com manuals search engine Iriwl I
2. Unlock the front of the convertible top
by turning the latch handles outward.
Then lift the top
off the windshield
slightly.
3. Unfasten the strips at the rear of each
window opening. 4. Tilt the driver's seatback forward.
The convertible top release handle is
behind the driver's seat beneath the
storage compartment lid. Pull the
inside edge of the handle forward.
97 ...
Page 100 of 274
Downloaded from www.Manualslib.com manuals search engine To Raise Your Convertible Top
1. Park on a level surface, set the parking
brake firmly and shift an automatic
transmission into
“P” (Park). Shift a
manual transmission into
“R’
(Reverse). Lower both windows and
sunshades and turn the ignition key to
“LOCK.”
2. Press either the storage compartment lid release button behind the driver’s
seat or in the center console.
3. Turn the latch handles outward. Pull
the top up and forward until it lines
UI
with the windshield.
4. Latch the top by turning the handles
toward the center of the vehicle.
If
needed, push down on the outside
corners.
5. Lift the rear of the top and close the
compartment lid firmly.
I I
6. Lower the rear of the top so the latch
pins align with the holes in the lid.
To
secure the rear of the top, push down
firmly on both corners.
99 ...
Page 101 of 274
Downloaded from www.Manualslib.com manuals search engine Fe’atures and Controls
1
pm;.
I
7. Fasten the strips for the, headliner at
the rear of each window opening.
I
1 [
t
8. Then fasten the lower front corner of
the top.
NOTICE:
Certain automatic vehicle washes
may cause damage to your vehicle.
The top fabric can be damaged by top
cleaning brushes.
?or care and cleaning
of your convertible
:op, see “Cleaning Your Convertible Top”
in the Index.
Convertible Hardtop
(OPTION)
The convertible hardtop is designed for
extended use in both warm and cold
weather. The installation and removal
of
this top requires two people and takes about
30 minutes. You will need the
wrench and ratchet stored in the center
console.
To Remove Your Convertible Hardtop
1. Park on a level surface, set the parking
brake firmly and shift an automatic transmission into
“P” (Park). Shift
a manual transmission into “R”
(Reverse). Lower both windows and
sunshades and turn the ignition key
Off.