1994 CHEVROLET CORVETTE window
[x] Cancel search: windowPage 112 of 274
Downloaded from www.Manualslib.com manuals search engine I- - 1-0
I I I
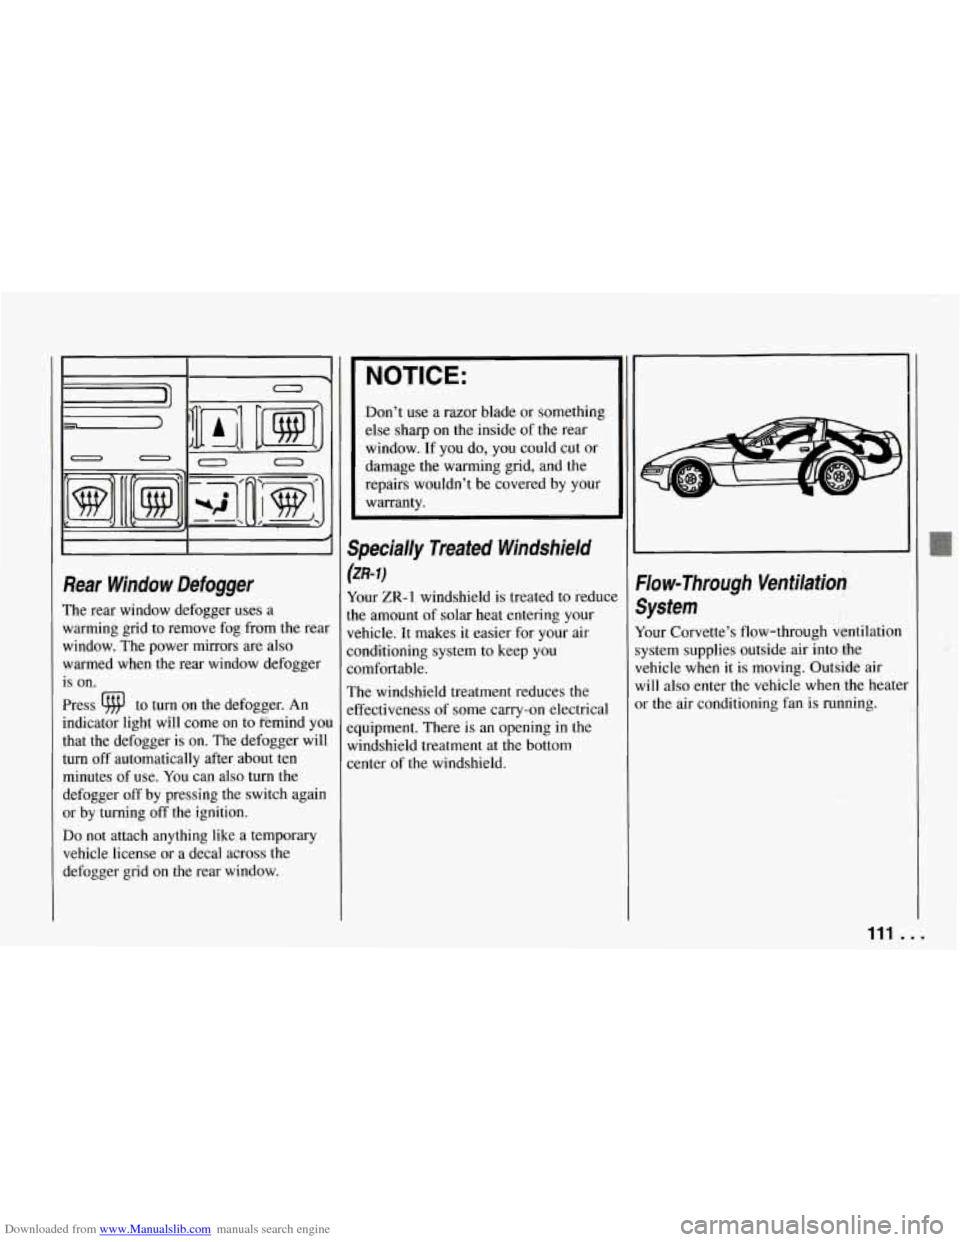
Rear Window Defogger
The rear window defogger uses a
warming grid to remove fog from the rear
window. The power mirrors are also
warmed when the rear window defogger
is on.
Press
9 to turn on the defogger. An
indicator light will come on to fiemind you
that the defogger is on. The defogger will
turn off automatically after about ten
minutes
of use. You can also turn the
defogger
off by pressing the switch again
or by turning
off the ignition.
Do not attach anything like a temporary
vehicle license or a decal across the
defogger grid on the rear window.
NOTICE:
Don’t use a razor blade or something
else sharp on the inside of the rear
window. If
you do, you could cut or
damage the warming grid, and the
repairs wouldn’t be covered by your
warranty.
Specially Treated Windshield
(ZR-I)
Your ZR-1 windshield is treated to reduct
the amount of solar heat entering your
vehicle. It makes it easier for your air
conditioning system to keep you
comfortable.
The windshield treatment reduces the
effectiveness of some carry-on electrical
equipment. There is an opening in the
windshield treatment at the bottom
center of the windshield.
Vow-Through Ventilation
System
four Corvette’s flow-through ventilation
lystem supplies outside air into .the
Iehicle when it is moving. Outside air
vi11 also enter the vehicle when the heater
)r the air conditioning fan
is running.
111 . .
Page 113 of 274
Downloaded from www.Manualslib.com manuals search engine Comfort Controls and Audio Systems
Ventilation Tips
0
0
..
Keep the hood and front air inlet free
of ice, snow, or any other obstruction
(such as leaves). The heater and
defroster will work far better, reducini
the chance of fogging the inside of
your windows.
When you enter a vehicle in cold
weather, adjust the fan to the highest
speed for a few moments before
driving
off. This helps clear the intake
ducts of snow and moisture, and
reduces the chance of fogging the
inside of your windows.
Keep the air path under the front seats
clear of objects. This helps air to
circulate throughout your vehicle.
.I12
Audio Systems
Your Delco@ audio system has been
designed to operate easily and give years
of listening pleasure. But you will get the
most enjoyment out of
it if you acquaint
yourself with it first. Find out what your
Delco@ system can do and how to operate
all its controls, to be sure you’re getting
the most out of the advanced engineering
that went into it.
NOTICE:
Before you add any sound equipment
to your
;chicle - like a tape player,
CB radio, mobile telephone or two-
way radio
- be sure you can add
what you want. If you can, it’s very
important to do it properly. Added
sound equipment may interfere
with the operation of your vehicle’s
engine, Delco@ radio or other systems, and even damage them. And, your
vehicle’s systems may interfere with
the operation of sound equipment
that has been added improperly.
So, before adding sound equipment,
check with your dealer and be sure to
check Federal rules covering mobile
radio and telephone units.
Page 116 of 274

Downloaded from www.Manualslib.com manuals search engine I I PROG RCL 0 0 0 0 I
0 0 0 0 0 I
IL
1 I
Delco/Bose AWFM Stereo
with Cassette Tape
and
Compacf Disc Player
To Play the Radio
Turn the upper knob to turn the system
on or
off.
~ Volume: Turn the upper knob to adjust
~ the volume. Your system also has a
’ feature called speed-compensated
volume (SCV). With SCV, your audio
system makes up for road noise by
getting louder as you drive faster. The
control behind the upper knob has three
SCV positions.
“H” has a higher
maximum volume and gets louder
faster than
“L.” Use “H” when you
are driving with the roof panel
off,
the convertible top down or the
windows open. If you don’t want to
use SCV,
turn the control to “OFF.”
Recall: Press the upper knob to recall the
station being played or the clock display.
Finding a Station
Band:
Press the “AM-FM” button to
get AM or
FM. The lighted display
shows your selection.
fine: Press “TUNE A or V” to choose
radio stations. For fast tuning, press and
hold one side of the button, then press
the other side.
Seek: Press “AUTO” then “TUNE V
or A’’ and the radio will tune to the
next lower or higher station and stay
there.
Pushbuttons: The six pushbuttons let
you return to your favorite stations.
To
set up to 12 stations (6 AM and 6 FM),
just:
1. Tune in the station.
2. Press “SET.”
3. Within five seconds, press one of
the six pushbuttons. Whenever you
press that button, the preset station
will return.
Setting the Tone
Bass:
Turn the “BASS” knob to the
right to hear more bass.
Treble: Turn the “TREB” control
behind the “BASS” knob to the right
to hear more treble.
Adjusting the Speakers
Balance:
With the DelcoBose system,
your speakers are electronically
balanced.
115 ...
Page 136 of 274
Downloaded from www.Manualslib.com manuals search engine begin to check traffic. Try to determine
where you expect to blend with the flow.
Try to merge into the gap
at close to the
prevailing speed. Switch on your turn
signal, check your mirrors and glance
over your shoulder as often as necessary.
Try to blend smoothly with the traffic
flow.
Once you are on the freeway, adjust your
speed to the posted limit or to the
prevailing rate if it’s slower. Stay in the
right lane unless you want to pass.
Before changing lanes, check your
mirrors. Then use your turn signal. Just
before you leave the lane, glance quickly
over your shoulder to make sure there
isn’t another vehicle in your “blind” spot.
Once you are moving on the freeway,
make certain you allow a reasonable
following distance. Expect to move
slightly slower at night.
When you want to leave the freeway,
move to the proper lane well
in advance.
If you miss your exit do not, under any
circumstances, stop and back up. Drive on
to the next exit.
The exit ramp can be curved, sometimes
quite sharply. The exit speed is usually
posted. Reduce your speed according to your speedometer, not
to your sense of
motion. After driving for any distance at
higher speeds, you may tend to think you
are going slower than you actually are.
Before Leaving on a Long Trip
Make sure you’re ready. Try to be well
rested. If you must start when you’re not
fresh
- such as after a day’s work -
don’t plan to ,make too many miles that
first part
of the journey. Wear comfortable
clothing and shoes you can easily drive
in.
Is your vehicle ready for a long trip? If
you keep it serviced and maintained, it’s
ready to go. If it needs service, have it
done before starting out. Of course, you’ll
find experienced and able service experts
in Chevrolet dealerships all across North
America. They’ll be ready and willing to
help if you need
it.
Here are some things you can check
before a trip:
Windshield Washer Fluid: Is the
reservoir full? Are all windows clean
inside and outside?
0 Wiper Blades: Are they in good
shape?
0
0
Fuel, Engine Oil, Other Fluids:
Have you checked all levels?
Lights: Are they all working? Are the
lenses clean?
Tires: They are vitally important to a
safe, trouble-free trip.
Is the wead
good enough for long-distance
driving? Are the tires all inflated to
the recommended pressure?
Weather Forecasts: What’s the
weather outlook along your route?
Should you delay your trip
a short
time to avoid a major storm system?
Maps: Do you have up-to-date maps?
Highway Hypnosis
Is there actually such a condition as
“highway hypnosis”? Or is it jugt plain
falling asleep at the wheel? Call it
highway hypnosis, lack of awareness, or
whatever.
There is something about an easy stretch
of road with the same scenery, along with
the hum of the tires on the road, the drone
of the engine, and the rush of the wind
against the vehicle that can make you
sleepy. Don’t let it happen to you! If it
does, your vehicle can leave the road in
less than a second, and you could crash
and be injured.
135
Page 140 of 274
Downloaded from www.Manualslib.com manuals search engine Run your engine only as long as you
must. This saves fuel. When you run the
engine, make it go a little faster than just
idle. That is, push the accelerator slightly.
This uses less fuel for the heat that you
get and it keeps the battery charged. You
will need a well-charged battery to restart
the vehicle, and possibly for signaling
later on with your headlights. Let the
heater run for awhile.
Then, shut the engine
off and close the
window almost all the way to preserve the
heat. Start the engine again and repeat this
only when you feel really uncomfortable
from the cold. But do it as little as
possible. Preserve the fuel as long as you
can.
To help keep warm, you can get out
of the vehicle and do some fairly vigorous
exercises every half hour or
so until help
comes.
Towing a Trailer
Your Corvette is neither designed nor
intended to tow a trailer.
139 ...
Page 152 of 274
Downloaded from www.Manualslib.com manuals search engine NOTICE:
If your engine catches fire because
you keep driving with no coolant,
your vehicle can be badly damaged.
The costly repairs would not be covered by your warranty.
If No Steam Is Coming from Your
Engine:
If you get the overheat warning but see 01
hear no steam, the problem may not be
too serious. Sometimes the engine can ge
a little too hot when you:
0 Climb a long hill on a hot day.
0 Stop after high speed driving.
0 Idle for long periods in traffic.
If you get the overheat warning with no
sign of steam,
try this for a minute or so:
1. Turn off your air conditioner.
2. Turn on your heater to full hot at the
highest fan speed and open the
window as necessary.
(Neutral).
3. If you’re in a traffic jam, shift to “N’
[f you no longer have the overheat
warning, you can drive. Just to be safe,
hive slower for about ten minutes. If the
warning doesn’t come back on, you can
drive normally.
[f the warning continues, pull over, stop,
and park your vehicle right away.
[f there’s still no sign of steam, you can
idle the engine for two or three minutes
while you’re parked, to see if the warning
stops. But then, if you still have
the
warning, TURN OFF THE ENGINE
AND GET EVERYONE OUT
OF THE
VEHICLE until it cools down.
You may decide not to lift the hood but to
get service help right away.
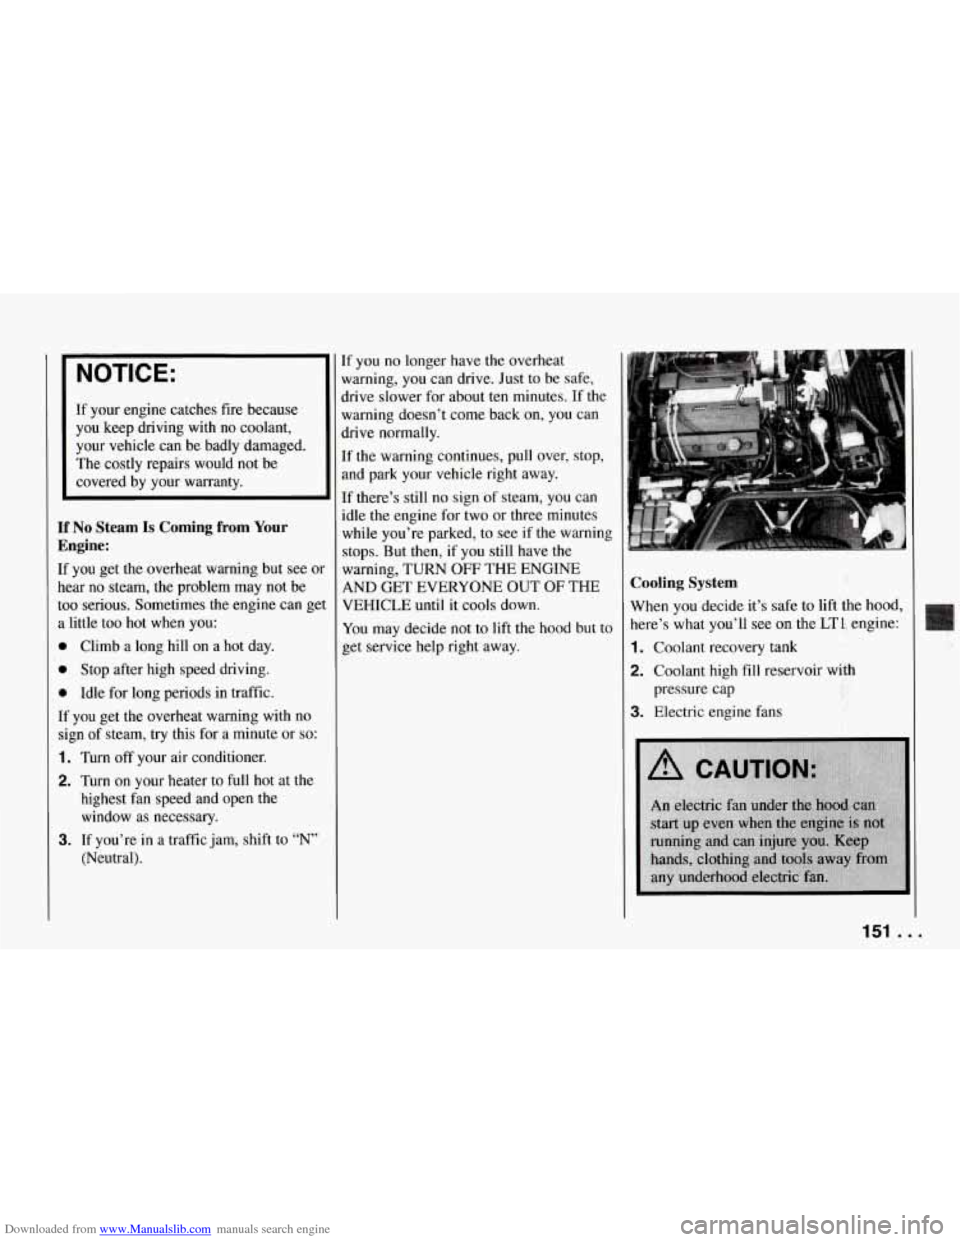
Cooling System
When you decide it’s safe to lift the hood,
here’s what you’ll see on the LTl engine:
1. Coolant recovery tank
2. Coolant high fill reservoir with
3. Electric engine fans
pressure cap
151 ...
Page 211 of 274
Downloaded from www.Manualslib.com manuals search engine Service and Appearance Care
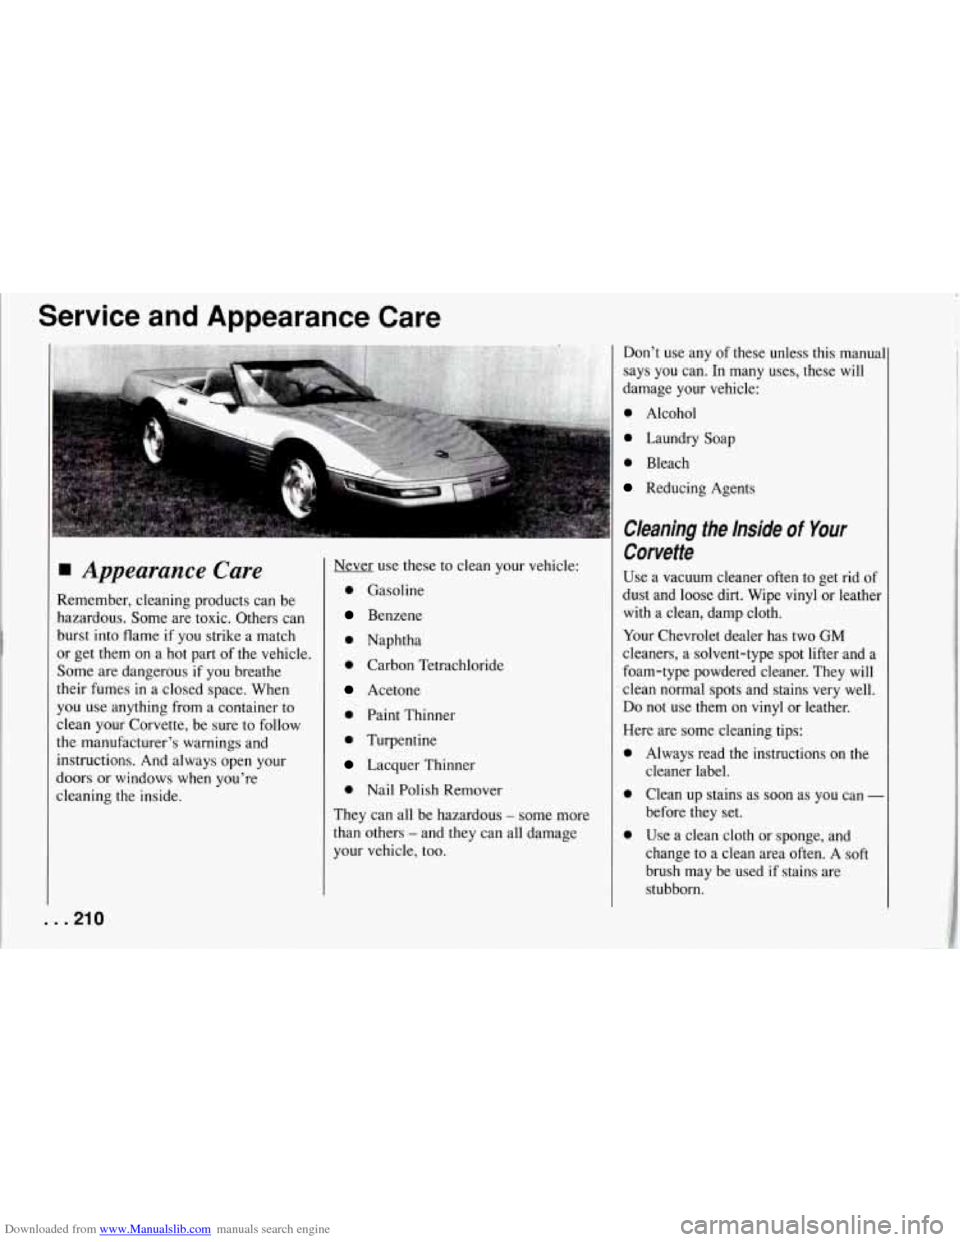
Appearance Care
Remember, cleaning products can be
hazardous. Some are toxic. Others can
burst into flame if you strike a match
or get them on a hot part of the vehicle.
Some are dangerous if you breathe
their fumes in a closed space. When
you use anything from a container to
clean your Corvette, be sure to follow
the manufacturer’s warnings and
instructions. And always open your
doors or windows
when you’re
cleaning the inside. Never use
these to clean your vehicle:
0 Gasoline
Benzene
0 Naphtha
0 Carbon Tetrachloride
Acetone
0 Paint Thinner
0 Turpentine
Lacquer Thinner
0 Nail Polish Remover
They can all be hazardous
- some more
than others
- and they can all damage
your vehicle, too. Don’t use any
of these unless this manual
says you can. In many uses, these will
damage your vehicle:
0 Alcohol
0 Laundry Soap
0 Bleach
Reducing Agents
Cleaning the Inside of Your
Corvette
Use a vacuum cleaner often to get rid of
dust and loose dirt. Wipe vinyl or leather
with a clean, damp cloth.
Your Chevrolet dealer has two
GM
cleaners, a solvent-type spot lifter and a
foam-type powdered cleaner. They will
clean normal spots and stains very well.
Do not use them on vinyl or leather.
Here are some cleaning tips: Always read the instructions on the
cleaner label. Clean up stains as soon as you can
-
before they set.
Use a clean cloth or sponge, and
change to a clean area often. A soft
brush may be used
if stains are
stubborn.
I
. . .210
Page 214 of 274
Downloaded from www.Manualslib.com manuals search engine Glass
Glass should be cleaned often. GM Glass
Cleaner (GM Part
No. 1050427) or a
liquid household glass cleaner will
remove normal tobacco smoke and dust
films.
Don’t use abrasive cleaners on glass,
because they may cause scratches. Avoid
placing decals on the inside rear window,
since they may have to be scraped
off
later. If abrasive cleaners are used on the
inside of the rear window, an electric
defogger element may be damaged. Any
temporary license should not be attached
across the defogger grid.
Cleaning Dulso-Coated Moldings
These moldings are around the hatch
opening in your Corvette’s rear area.
When lightly soiled, wipe with a
sponge or
soft lint-free cloth
dampened with water.
water.
When heavily soiled, use warm soapy
You can remove scratches from a
Dulso-coated molding by wiping briskly
with the solvent-type cleaner described
earlier. If a ring forms, repeat the procedure
over a larger area, feathering
toward the center of the ring. If the ring
still remains, wipe the whole molding.
Cleaning the Outside of the Windshield
and Wiper Blades
If the windshield is not clear after using
the windshield washer, or if the wiper
blade chatters when running, wax or other
material may be on the blade or
windshield.
Clean the outside of the windshield with
GM Windshield Cleaner, Bon-Ami
Powder@
(GM Part No. 1050011). The
windshield is clean
if beads do not form
when you rinse it with water.
If you use a glass treatment or conditioner
containing ethyl alcohol or ethyl sulfate
on your glass, be sure to remove the
acrylic roof panel, if
so equipped. These
products may damage the panel.
Clean the blade by wiping vigorously
with a cloth soaked in full strength
windshield washer solvent. Then rinse the
blade with water.
Wiper blades should be checked on a
regular basis and replaced when worn.
Cleaning a Removable Roof Panel
Special care is necessary when cleaning,
removing and/or storing the roof panel.
Flush with water to remove dust and
dirt, then dry the panel.
Cleaner (GM Part
No. 1050427) or
a liquid household glass cleaner.
Leave the cleaner on the panel for
one minute, then wipe the panel with
a
soft, lint-free cloth.
Clean the panel with GM Glass
Don’t use abrasive cleaning materials.
If water drops are frequently allowed to
dry on the roof panel, impurities in the
water will adhere to the top, These
impurities may destroy the finish. When
the panel gets wet, you should dry it
off.
Do not use a glass treatment or
conditioner containing ethyl alcohol
or ethyl sulfate on the roof panel.
These products may damage the
panel.
213..