1994 CHEVROLET CORVETTE bulb
[x] Cancel search: bulbPage 63 of 274

Downloaded from www.Manualslib.com manuals search engine Features and Controls
L L
c
L
A green arrow on the instrument panel
will flash in the direction of the
turn or
lane change.
To signal a lane change, just raise or
lower the lever until the green arrow start
to flash. Hold it there until you complete
your lane change. The lever will return b!
itself when you release
it.
As you signal a turn or a lane change, if
the arrows don’t flash but just stay on, a
signal bulb may be burned out and other
drivers won’t see your
turn signal.
If a bulb is burned out, replace it to help
avoid an accident.
If the green arrows
don’t go on at all when you signal a
turn,
check the fuse (see “Fuses” in the Index)
and for burned-out bulbs.
Headlight High/..ow Beam
To change the headlights from low beam
to high or high to low, pull the turn signal
lever all the way toward you. Then
release it. When the high beams are on,
this blue light on the instrument panel
also will be on.
Windshield Wipers
You control the windshield wipers by
turning the band with the wiper symbol
on it.
For a single wiping cycle,
turn the band
to “MIST.” Hold it there until the wipers
start, then let go. The wipers will stop
after one cycle. If you want more cycles,
hold the band on “MIST” longer.
You can set the wiper speed for a long or
short delay between wipes. This can be
very useful in light rain or snow. Turn the
band to choose the delay time. The closer
to
“LO,” the shorter the delay.
... 62
Page 87 of 274
Downloaded from www.Manualslib.com manuals search engine Features and Controls
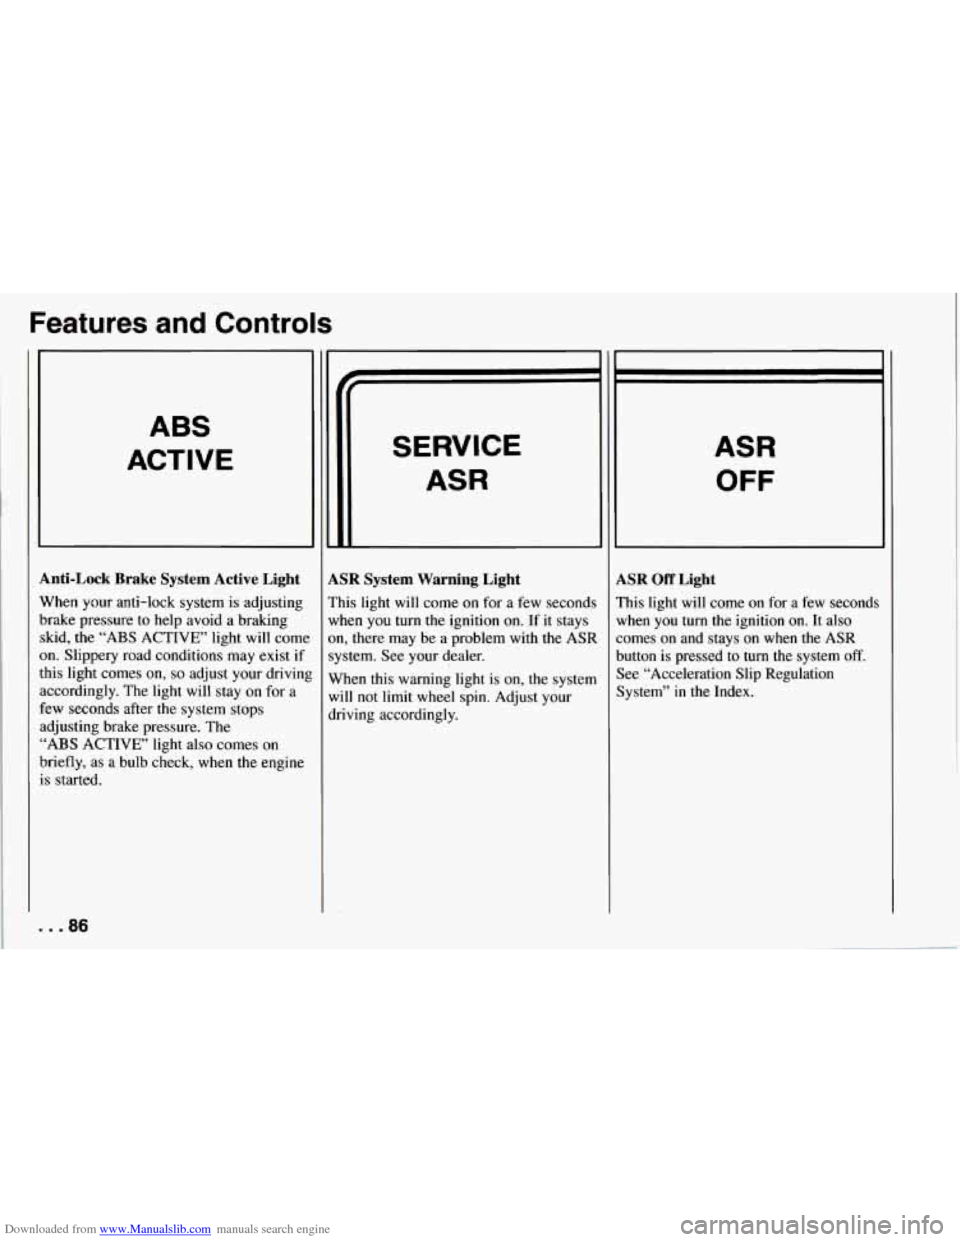
ABS
ACTIVE
Anti-Lock Brake System Active Light
When your anti-lock system is adjusting
brake pressure to help avoid a braking skid, the
“ABS ACTIVE’ light will come
on. Slippery road conditions may exist if
this light comes
on, so adjust your drivinl
accordingly. The light will stay on for a
few seconds after the system stops
adjusting brake pressure. The
“ABS ACTIVE’ light also comes on
briefly, as a bulb check, when the engine
is started.
. . .86
SERVICE
ASR
LSR System Warning Light
’his light will come on for a few seconds
vhen you turn the ignition on. If it stays
m, there may be a problem with
the ASR
ystem. See your dealer.
Vhen this warning light is on, the system
vi11 not limit
wheel spin. Adjust your
lriving accordingly.
ASR
OFF
LSR Off Light
’his light will come on for a few seconds
lrhen you turn the ignition
on. It also
omes on and stays on when the ASR
lutton is pressed to turn the system
off.
lee “Acceleration Slip Regulation
lystem” in the Index.
Page 88 of 274

Downloaded from www.Manualslib.com manuals search engine ASR
ACTIVE
ASR Active Light
When your ASR system is limiting wheel
spin, the “ASR ACTIVE’ light will come
on. Slippery road conditions may exist if
this light comes
on, so adjust your driving
accordingly. The light will stay on for a
few seconds after the ASR system stops
limiting wheel spin. The “ASR ACTIVE’
light also comes
on briefly, as a bulb
check, when the engine is started.
Low Tire Pressure Warning Light
(Option)
The LTPWS has a sensor on each road
wheel that transmits to a receiver
on the
instrument panel. The system operates on
a radio frequency subject to Federal
Communications Commission (FCC)
Rules.
This device complies with Part
15 of the
FCC Rules. Operation
is subject to the
following two conditions:
1. This device may not cause harmful
2. This device must accept any
interference,
and
interference received, including
interference that may cause undesired
operation.
Changes or modifications to this system
by other than an authorized service
facility could void authorization to use
this equipment.
LOWIFLAT
TIRE
..
The Low Tire Pressure Warning System
(LTPWS) monitors air pressure in each
road tire while you’re driving your
Corvette. The “LOW/FLAT TIRE” light
will come
on whenever tire pressure in
any road tire goes below
25 psi (175 kPa)
and it will stay
on until you turn off the
ignition. The light may come on if any
LTPWS parts aren’t working properly.
..
8
87 ...
Page 172 of 274

Downloaded from www.Manualslib.com manuals search engine Here you will find information
about the care of your Corvette
.
This part begins with service
and fuel information. and then it
shows how
to check important
fluid and lubricant levels
. There
is also technical information
about your vehicle. and a section devoted
to its
appearance care
.
Part 6
Service & Appearance Care
Service ........................................................
Fuel ..........................................................
Checking Things under the Hood ...................................
HoodRelease .................................................
Engineoil .................................................
Aircleaner ........................... ...................
Automatic Transmission Fluid ..................................
Manual Transmission Fluid ......................................
Hydraulic Clutch ...............................................
RearAxle ....................................................
Enginecoolant ................................................
Power Steering Fluid ...........................................
Windshield Washer Fluid ........................................
Brake Master Cylinder ..........................................
Battery ......................................................
Bulb Replacement ...............................................
Windshield Wiper Blades ..........................................
Tires ..........................................................
Appearancecare ................................................
Appearance Care Materials Chart ...................................
Vehicle Identification Number (VIN) ................................
Service Parts Identification Label ...................................
Add-on Electrical Equipment ......................................
Fuses and Circuit Breakers ........................................
Replacement Bulbs ..............................................
Capacities and Specifications ...................................
LoadingYourVehicle ............................................
172
173
175
175
178
182 184
186
187
188
188
191
192
193
195
195
202
202
204
210
217
218
218
218
219
223
224
171 ..
Page 196 of 274
Downloaded from www.Manualslib.com manuals search engine Battery
Every new Corvette has a Delco
Freedom@ battery.
You never have to add
water to one of these. When it’s time for
a new battery, we recommend a Delco
Freedom@ battery. Get one that has the catalog number shown on the original
battery’s label. For battery replacement,
see your dealer or the Corvette Service
Manual.
To purchase a service manual,
see “Service Publications” in the Index.
Vehicle Storage
If you’re not going to drive your vehicle
for
25 days or more, take off the black,
negative
(-) cable from the battery. This
will help keep your battery from running
down. Contact your
dealer to learn how to
prepare your vehicle for longer storage
periods.
Bulb Replacement
For the proper type of replacement bulb,
see “Replacement Bulbs” in the Index.
Halogen Bulbs
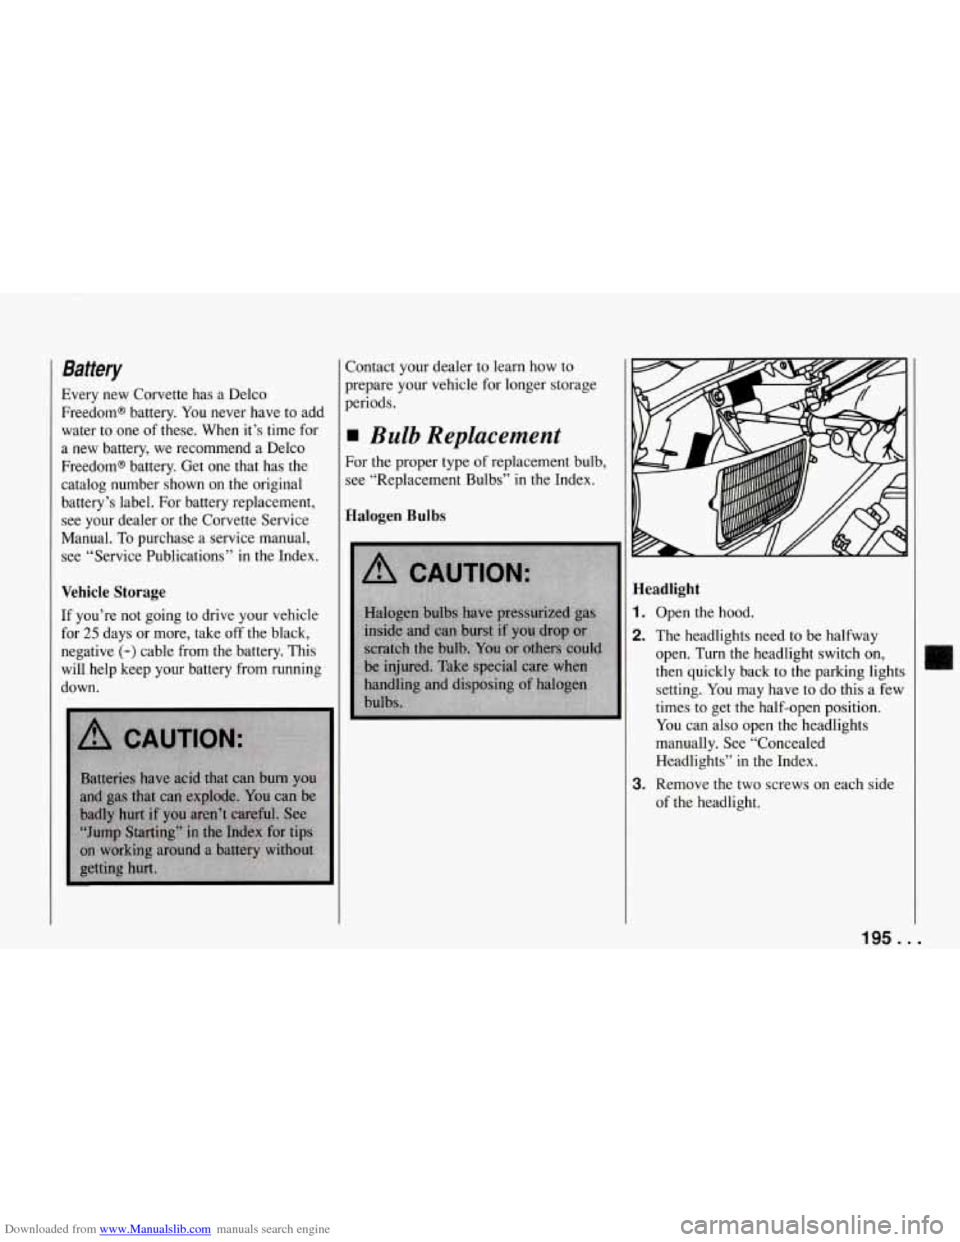
Headlight
1. Open the hood.
2. The headlights need to be halfway
open. Turn the headlight switch on,
then quickly back to the parking lights
setting.
You may have to do this a few
times to get the half-open position.
You can also open the headlights
manually. See “Concealed
Headlights”
in the Index.
of the headlight.
3. Remove the two screws on each side
195..
Page 197 of 274
Downloaded from www.Manualslib.com manuals search engine Service and Appearance Care
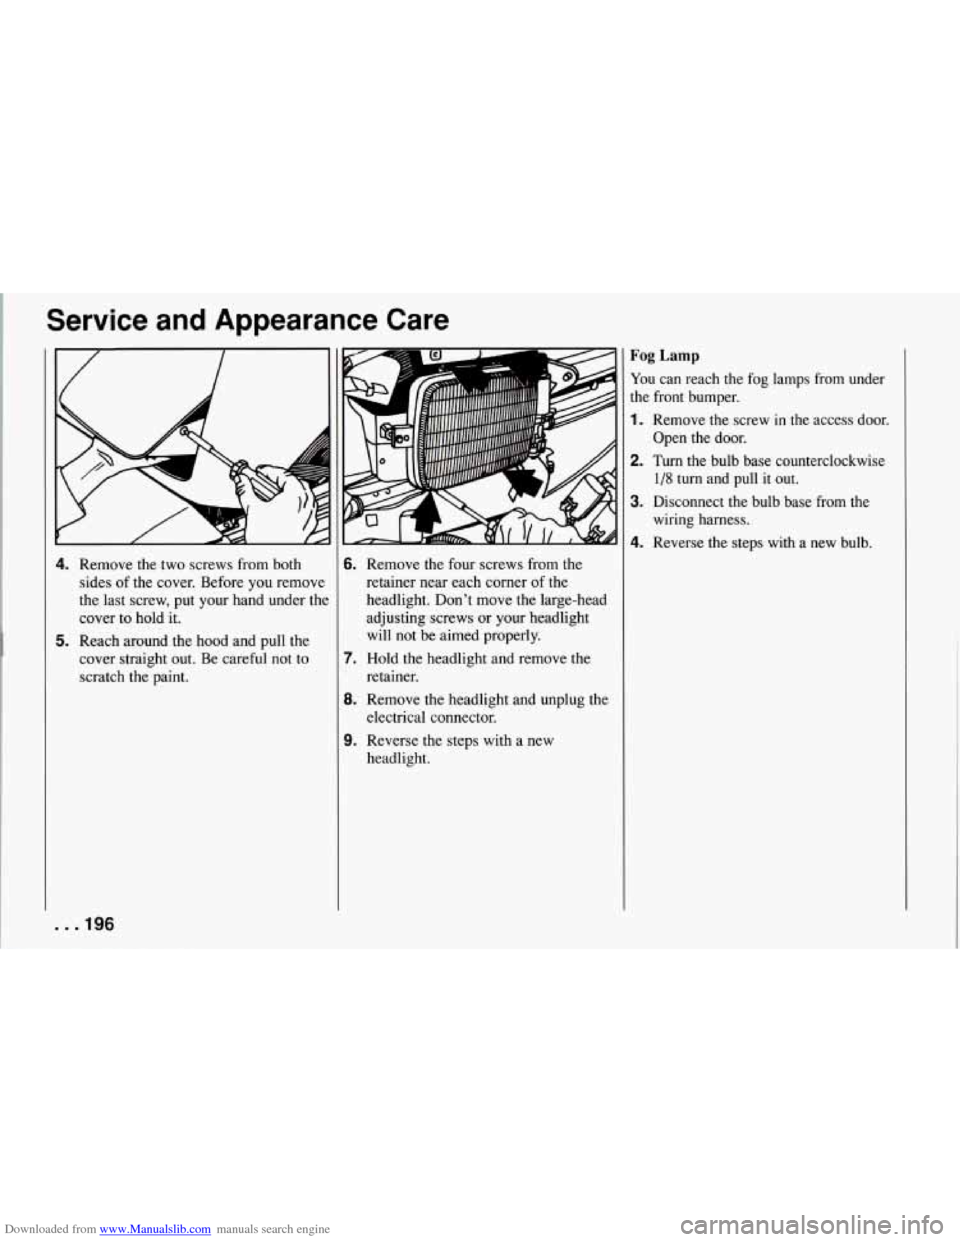
4. Remove the two screws from both
sides of the cover. Before you remove
the last screw, put your hand under the
cover to hold it.
5. Reach around the hood and pull the
cover straight out. Be careful not to
scratch the paint.
6.
7.
8.
9.
Remove the four screws from the
retainer near each corner of the
headlight. Don’t move the large-head
adjusting screws or your headlight
will not be aimed properly.
Hold the headlight and remove the
retainer.
Remove the headlight and unplug the
electrical connector.
Reverse the steps with a new
headlight.
Fog Lamp
You can reach the fog lamps from under
the front bumper.
1. Remove the screw in the access door.
Open the door.
1/8 turn and pull it out.
wiring harness.
2. Turn the bulb base counterclockwise
3. Disconnect the bulb base from the
4. Reverse the steps with a new bulb.
. . ,196
Page 198 of 274
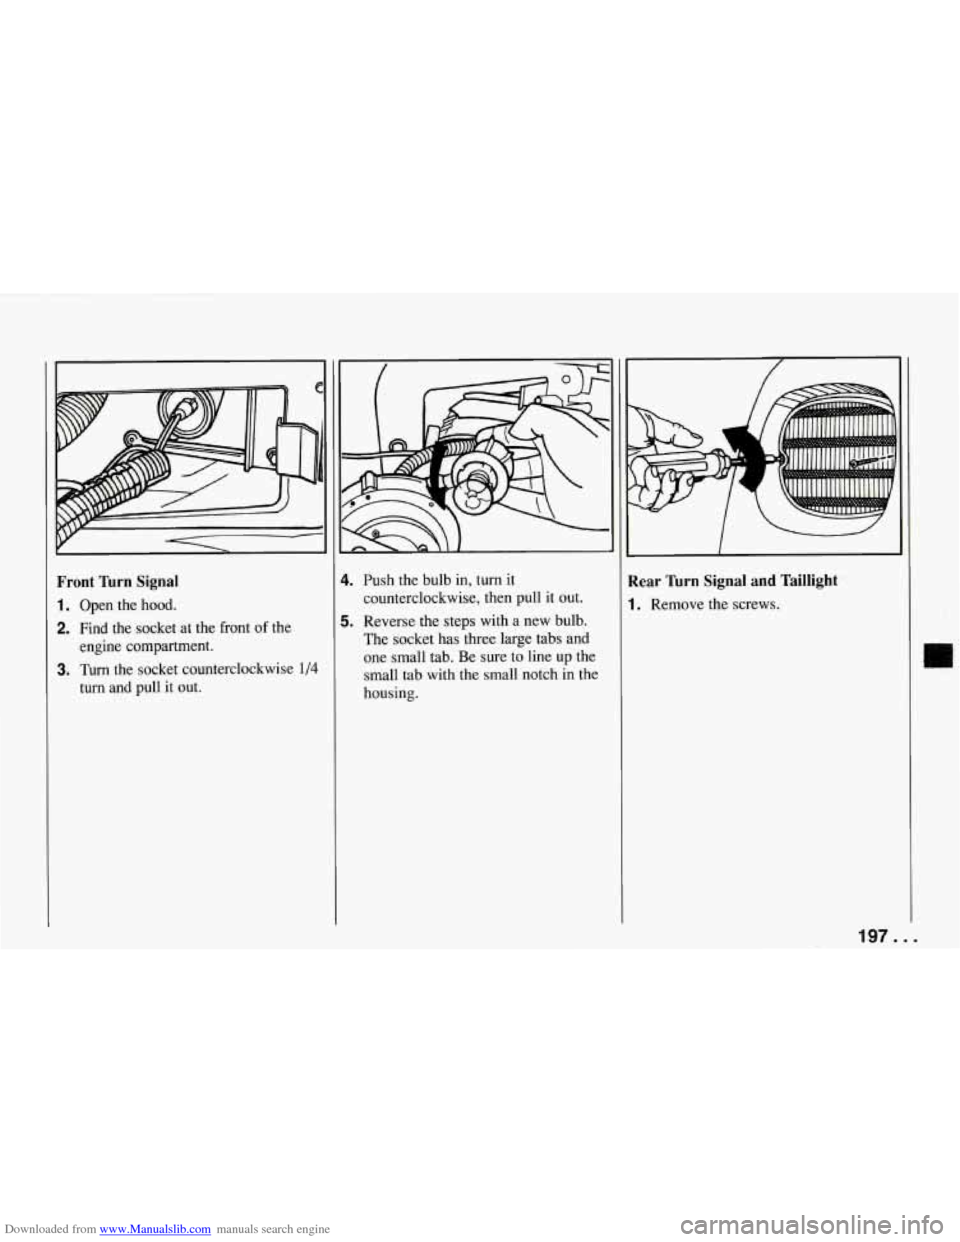
Downloaded from www.Manualslib.com manuals search engine Front Turn Signal
1. Open the hood.
2. Find the socket at the front of the
engine compartment.
turn and pull it out.
3. Turn the socket counterclockwise 1/4
4.
5.
Push the bulb in, turn it
counterclockwise, then pull it out.
Reverse the steps with a new bulb.
The socket has three large tabs and
one small tab. Be sure
to line up the
small tab with the small notch in the
housing.
.A
Rear 'hrn Signal and Taillight
1. Remove the screws.
197.
I1
..
Page 199 of 274
Downloaded from www.Manualslib.com manuals search engine Service and Appearance Care
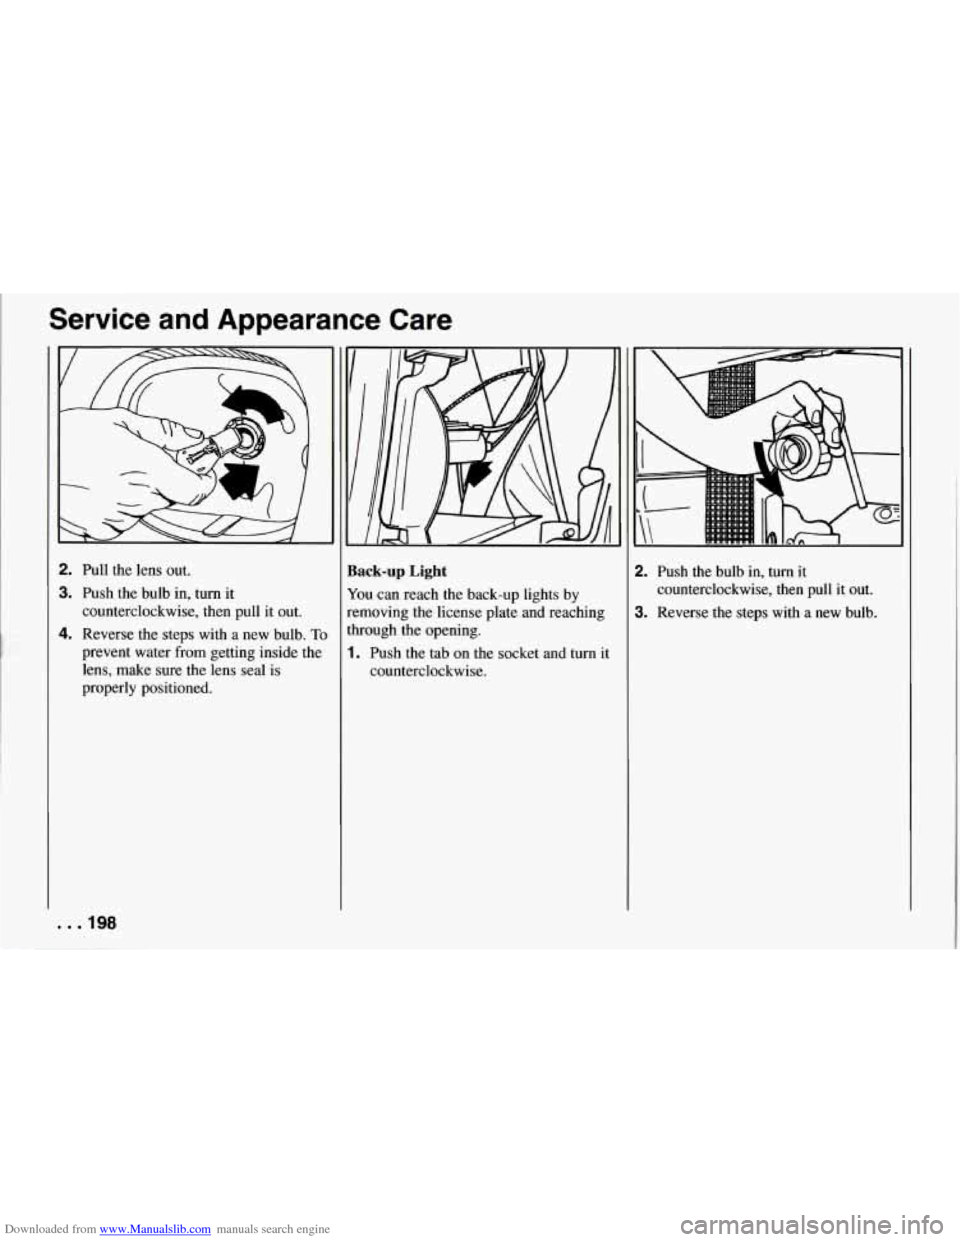
2. Pull the lens out.
3. Push the bulb in, turn it
counterclockwise, then pull it out.
4. Reverse the steps with a new bulb. To
prevent water from getting inside the
lens, make sure the lens seal is
properly positioned.
. . .I98
lack-up Light
I'ou can reach the back-up lights by
emoving the license plate and reaching
hrough the opening.
. Push the tab on the socket and turn it
counterclockwise.
!. Push the bulb in, turn it
counterclockwise, then pull it out.
1. Reverse the steps with a new bulb.