1994 CHEVROLET BLAZER manual transmission
[x] Cancel search: manual transmissionPage 254 of 348
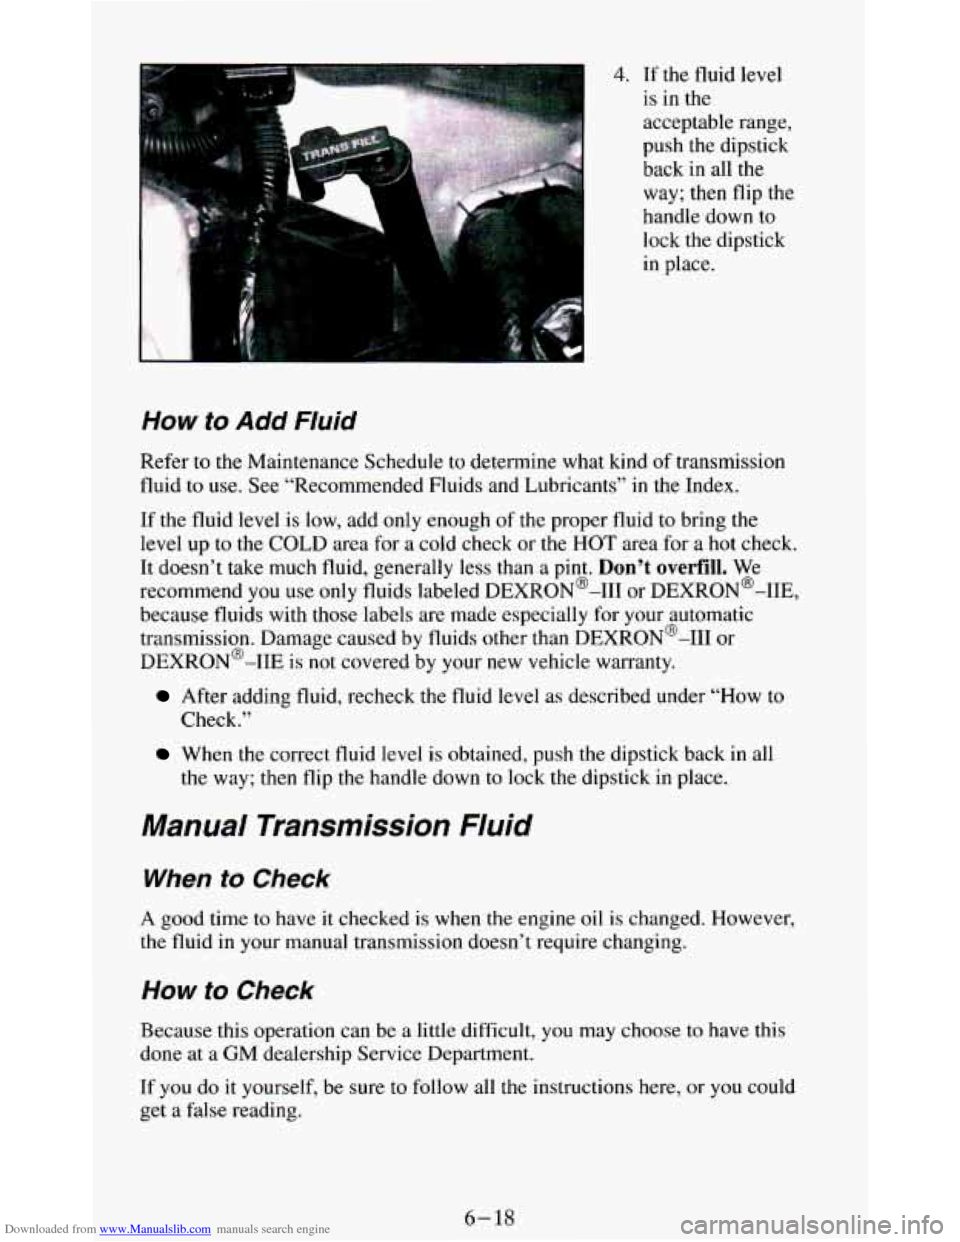
Downloaded from www.Manualslib.com manuals search engine 4. If the fluid level
is in the
acceptable range,
push the dipstick
back in all the
way; then flip
the
handle down to
lock the dipstick
in place.
How to Add Fluid
Refer to the Maintenance Schedule to determine what kind of transmission
fluid to use. See “Recommended Fluids and Lubricants’’
in the Index.
If the fluid level is low, add only enough
of the proper fluid to bring the
level up to the
COLD area for a cold check or the HOT area for a hot check.
It doesn’t take much fluid, generally
less than a pint. Don’t overfill. We
recommend you use only fluids labeled DEXR0N’-I11 or DEXR0N’-IIE,
because fluids with those labels are made especially for your automatic
transmission. Damage caused by fluids other than DEXRON@-I11 or
DEXRON@-IIE
is not covered by your new vehicle warranty.
After adding fluid, recheck the fluid level as described under “How to
Check.”
When the correct fluid level is obtained, push the dipstick back in all
the way; then flip
the handle down to lock the dipstick in place.
Manual Transmission Fluid
When to Check
A good time to have it checked is when the engine oil is changed. However,
the fluid in your manual transmission doesn’t require changing.
How fo Check
Because this operation can be a little difficult, you may choose to have this
done at a
GM dealership Service Department.
If
you do it yourself, be sure to follow all the instructions here, or you could
get a false reading.
6- 18
Page 255 of 348
Downloaded from www.Manualslib.com manuals search engine I NOTICE:
Too much or too little fluid can damage your transmission. Too
much can mean that some of the fluid could come out and fall on
hot engine parts or exhaust system, starting a fire. Be sure to get
an accurate reading
if you check your transmission fluid.
Check the fluid level only when your engine is off, the vehicle is parked on
a level place and the transmission is cool enough for you to rest your fingers
on the transmission case.
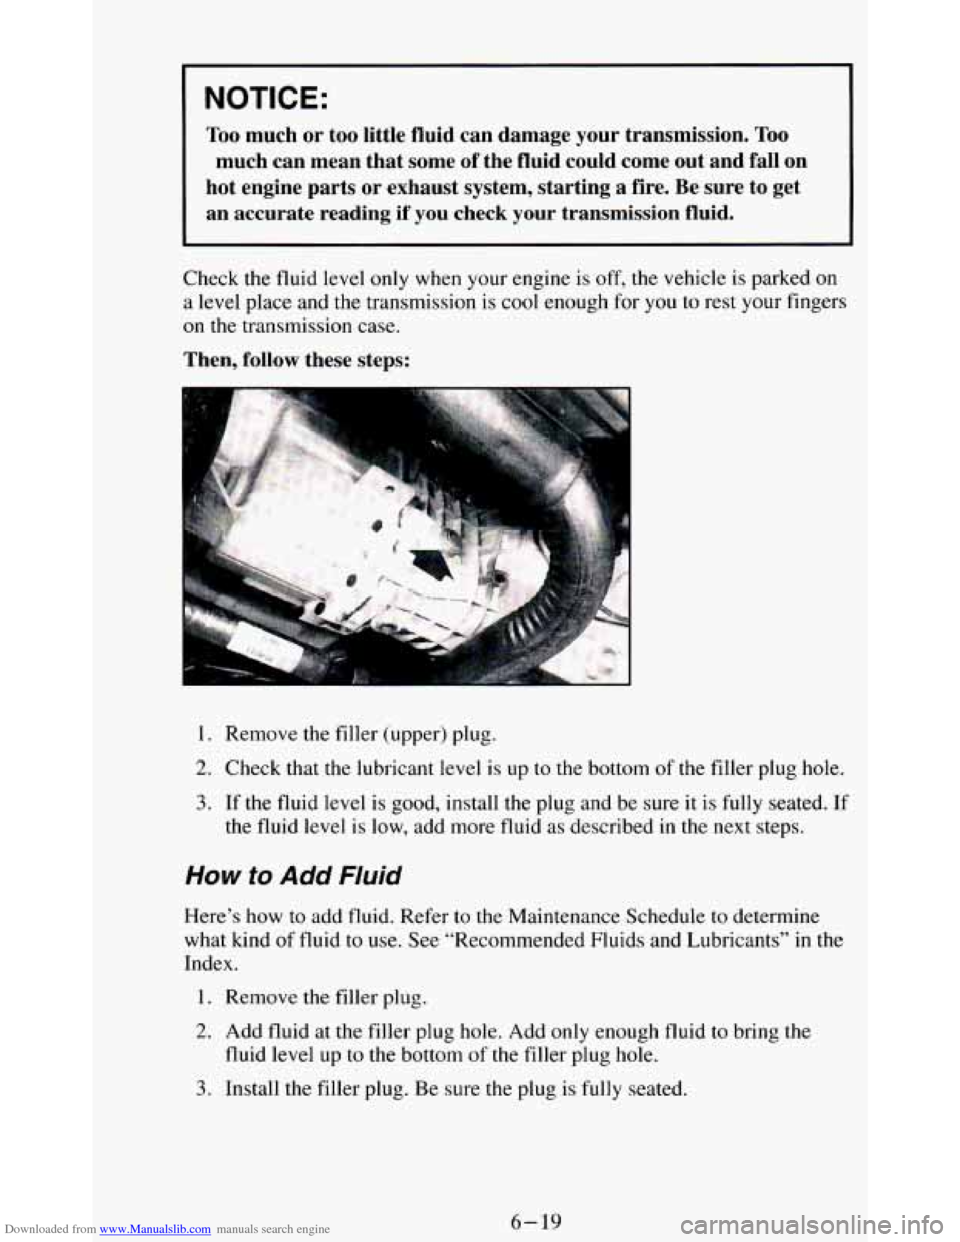
Then, follow these steps:
B
1. Remove the filler (upper) plug.
2. Check that the lubricant level is up to the bottom of the filler plug hole.
3. If the fluid level is good, install the plug and be sure it is fully seated. If
the fluid level
is low, add more fluid as described in the next steps.
How to Add Fluid
Here’s how to add fluid. Refer to the Maintenance Schedule to determine
what kind
of fluid to use. See “Recommended Fluids and Lubricants’’ in the
Index.
1. Remove the filler plug.
2. Add fluid at the filler plug hole. Add only enough fluid to bring the
fluid level
up to the bottom of the filler plug hole.
3. Install the filler plug. Be sure the plug is fully seated.
6-19
Page 304 of 348

Downloaded from www.Manualslib.com manuals search engine NAME
ECM I
PWR
WINDOW
WIPER
BRAKE DRL
CIRCUITS PROTECTED FUSE
Engine Control Module Power Windows 10 Amp
Windshield Wipers and
25 Amp
Washers
Four-wheel Anti-lock Brake 15 Amp
Module, Digital Ratio Adapter
Module, Speedometer, Auto
Transmission Converter
Clutch
Daytime Running Light
(Canada Only)
Trailer Wiring
Harness
CD PlayedRadio
TRAILER*
CD
PLAYER**
TCCM
Electric Shift Transfer Case
Module
AUX PWR** Aux. Pwr. Outlet
10 Amp
30 Amp
10 Amp
5 Amp
10 Amp
*In-line fuse
**Fuse is attached
to fuse block.
Service Replacement Part and Filter
Recommendafons
ENGINE (VIN)
OIL FILTER
AIR CLEANER
FILTER PCV VALVE
SPARK PLUGS
FUEL FILTER
RADIATOR CAP 4.3L (2)
PF52
A773C
CV789C
.CR43TSM
GF48 1
RC36
CIRCUIT
BREAKER
30 Amp
4.3L(W)
PF52
A1163C
cv774c
.CR43TSM
GF48 1
RC36
*Use copper-cored resistor type spark plugs.
6-68
Page 312 of 348
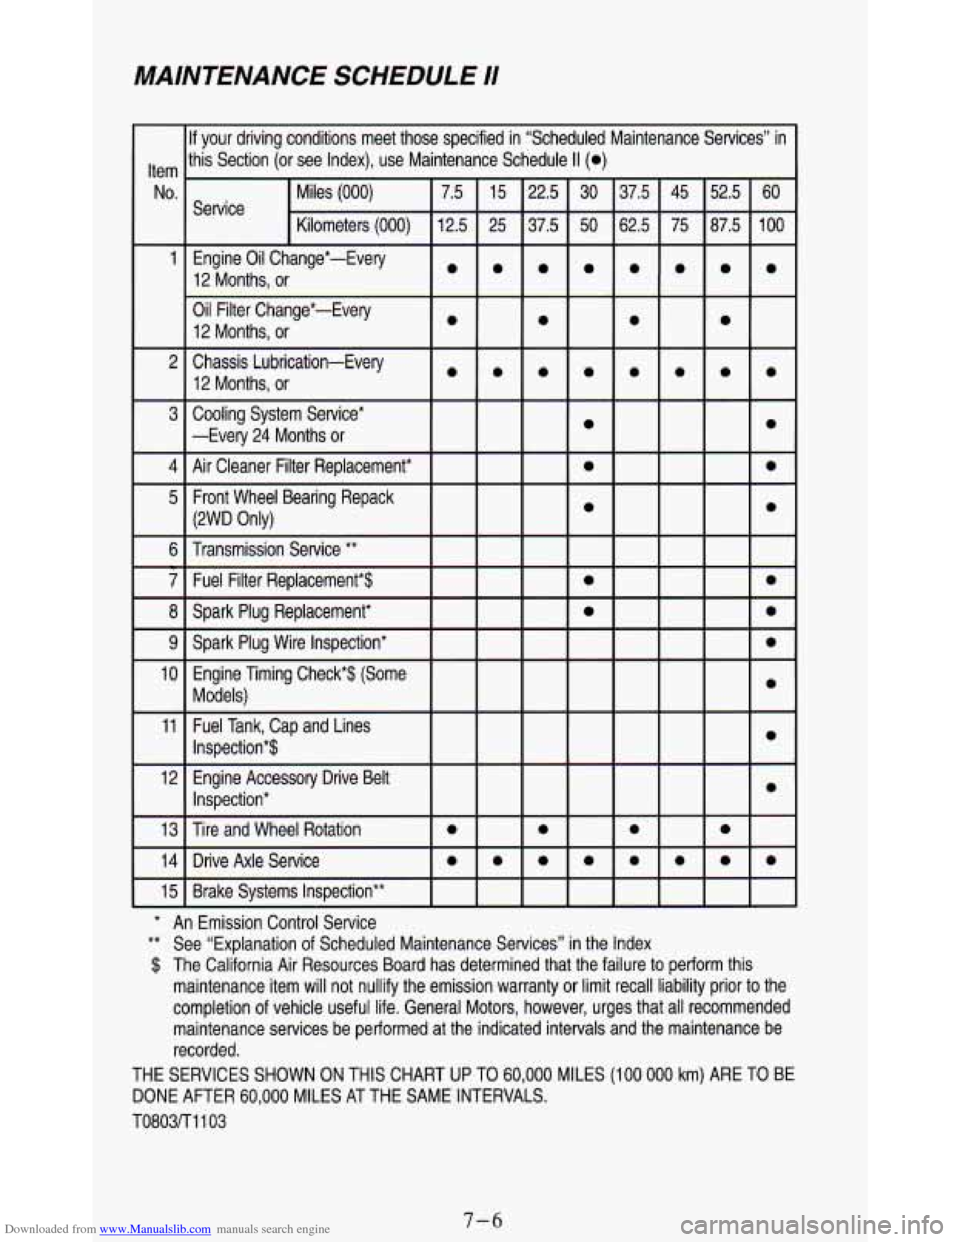
Downloaded from www.Manualslib.com manuals search engine MAINTENANCE SCHEDULE /I
llf your driving conditions meet tho:
Item Ithis
Section (or see Index), use M;
Miles
(000)
Service
Oil Filter Change*-Every 12 Months, or
3 Cooling System Service* -Every 24 Months or
4 Air Cleaner Filter Replacement*
5 Front Wheel Bearing Repack (2WD Only)
6 Transmission Service
**
7 Fuel Filter Replacement*$
8 Spark Plug Replacement*
9 Spark Plug Wire Inspection*
10 Engine Timing Check*$ (Some
11 Fuel Tank, Cap and Lines Models)
Inspection*$
12 Engine Accessory Drive Belt
I Inspection*
13
I Tire and Wheel Rotation
14
I Drive Axle Service
15
I Brake Systems Inspection**
3 specified in “Scheduled Maintc
lntenance Schedule
II (0)
lance Services” in
* An Emission Control service
** See “Explanation of Scheduled Maintenance Services” in the Index
$ The California Air Resources Board has determined that the fail\
ure to perform this
maintenance item will not nullify the emission warranty
or limit recall liability prior to the
completion of vehicle useful life. General Motors, however, urges that all re\
commended
maintenance services be performed at the indicated intervals and\
the maintenance be
recorded.
THE SERVICES SHOWN ON THIS CHART
UP TO 60,000 MILES (100 000 km) ARE TO BE
DONE AFTER
60,000 MILES AT THE SAME INTERVALS.
T0803/Tl103
7-6
Page 314 of 348

Downloaded from www.Manualslib.com manuals search engine 6.
7.
8.
9.
10. 11.
12.
TRANSMISSION SERVICE:
Automatic Transmission
- Change the transmission fluid and filter
every 15,000 miles
(25 000 km) if the vehicle is mainly driven under
one or more of these conditions:
In heavy city traffic.
Where the outside temperature regularly reaches 90°F (32” C) or
In hilly or mountainous terrain.
Frequent trailer pulling.
0 Uses such as taxi, police, delivery or other commercial service.
If the vehicle is not used mainly under any of these conditions, change
the fluid and filter
every 30,000 miles (50 000 km). See “Automatic
Transmission Fluid”
in the Index for more information.
Manual Transmission - Transmission fluid does not require periodic
changing.
FUEL FILTER REPLACEMENT* $- Replace the fuel filter at the
specified interval or sooner
if clogged.
SPARK PLUG REPLACEMENT* - Replace spark plugs with the
type listed in Section 6. See “Specification Charts” in the Index.
SPARK PLUG WIRE INSPECTION* - Clean wires and inspect
for burns, cracks or other damage. Check the wire boot fit
at the
distributor and at the spark plugs. Replace wires as needed.
ENGINE TIMING CHECK AND DISTRIBUTOR CHECK*$ -
Adjust timing to underhood label specifications. Inspect the inside and
outside of the distributor cap and rotor for cracks, carbon tracking and
corrosion. Clean or replace as needed.
FUEL TANK, CAP AND LINES INSPECTION*$ - Inspect the
fuel tank, cap and lines for damage
or leaks. Remove fuel cap, inspect
gasket for an even filler neck imprint, and any damage. Replace parts
as needed.
ENGINE ACCESSORY DRIVE BELT INSPECTION* - Inspect
belt. Look for cracks, fraying, wear, and proper tension. Adjust or
replace as needed.
higher.
*An Emission Control Service
$=The California Air Resources Board has determined that the failure to
perform this maintenance item will not nullify the emission warranty or
limit recall liability prior to the completion of vehicle useful life. General
Motors, however, urges that all recommended maintenance services be
performed at the indicated intervals and the maintenance be recorded.
7-8
Page 316 of 348
Downloaded from www.Manualslib.com manuals search engine Owner Checks and Services
Listed below are owner checks and services which would be made at the
time period specified to help ensure proper safety, emission performance,
and dependability of your vehicle.
Be sure any necessary repairs are completed at once. Whenever any fluids
or lubricants are added
to your vehicle, make sure they are the proper ones,
as shown in this section.
At Least Once a Month
Tire Inflation Pressure Check - Check the tires for proper inflation. If
they are low, inflate them to the level specified on the Certification label.
See “Inflation-Tire Pressure” in the Index.
At Least Once a Year
Key Lock Cylinder Lubrication - Lubricate key lock cylinders with one
of the lubricants recommended
in this section.
Transmission Neutral or Clutch Start Switch Operation -
1. Before you start, be sure you have enough room around the vehicle.
2. Firmly apply both the manual parking brake, and the regular brake. See
“Brakes” and “Parking Brake” in the Index.
Do not use the accelerator
pedal.
3. Be ready to turn off the engine immediately if it starts.
4. On automatic transmission vehicles, try to start the engine in each gear.
The starter should work
only in “P” (Park) or “N” (Neutral).
On manual transmission vehicles, put the shift lever in “N’ (Neutral),
push the clutch down halfway, and try to start the engine. The starter
should work only when the clutch is pushed down
all the way to the
floor.
7-10
Page 317 of 348
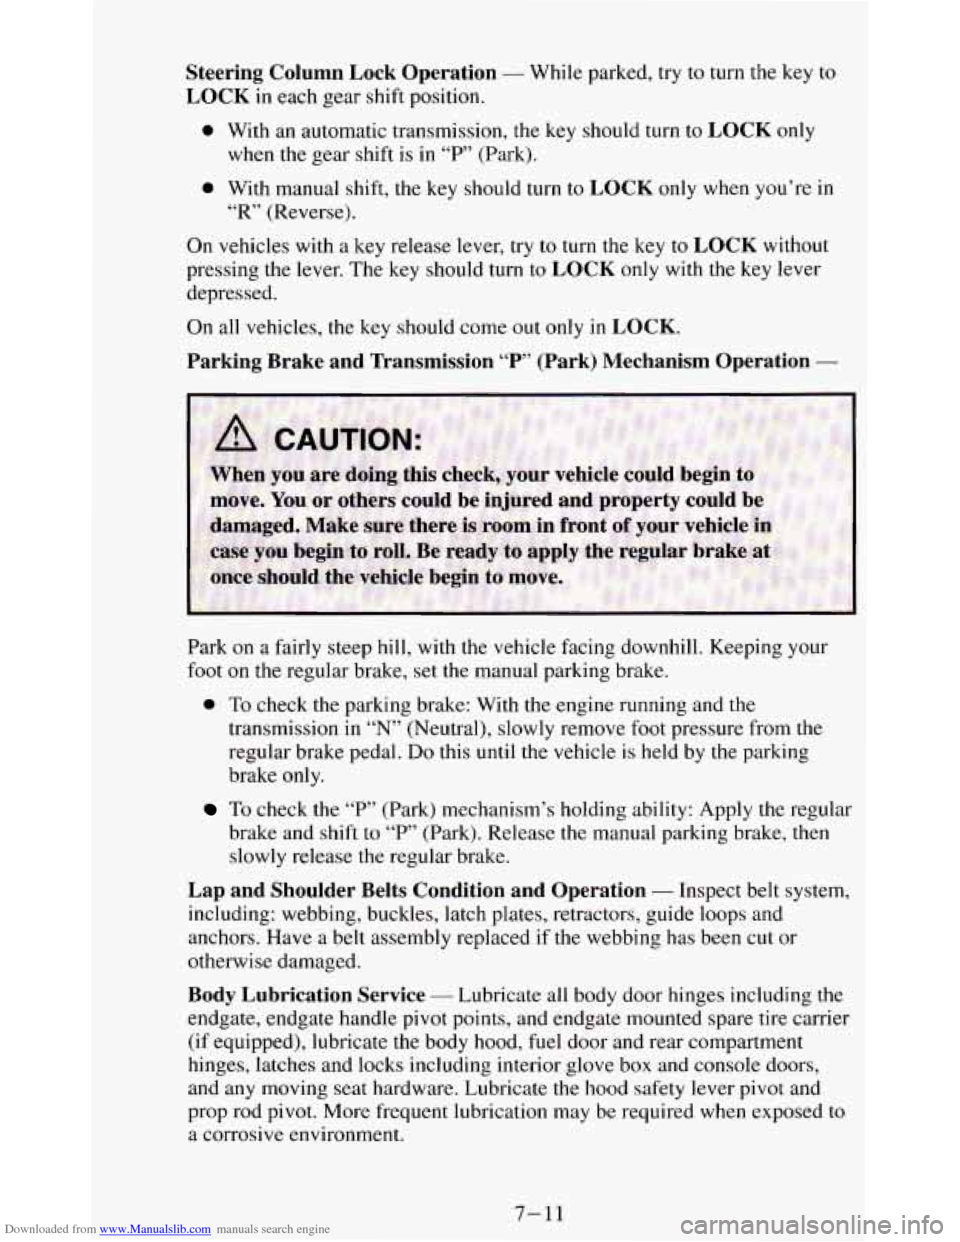
Downloaded from www.Manualslib.com manuals search engine Steering Column Lock Operation - While parked, try to turn the key to
LOCK in each gear shift position.
0 With an automatic transmission, the key should turn to LOCK only
0 With manual shift, the key should turn to LOCK only when you’re in
On vehicles with a key release lever, try to turn the key to
LOCK without
pressing the lever.
The key should turn to LOCK only with the key lever
depressed.
On all vehicles, the key should come out
only in LOCK.
Parking Brake and Transmission
“P’ (Park) Mechanism Operation -
when the gear shift is in “P’ (Park).
“R” (Reverse).
Park on a fairly steep hill, with the vehicle facing downhill. :eping your
foot on the regular brake, set the manual parking brake.
0 To check the parking brake: With the engine running and the
transmission in
“N’ (Neutral), slowly remove foot pressure from the
regular brake pedal.
Do this until the vehicle is held by the parking
brake only.
To check the “P” (Park) mechanism’s holding ability: Apply the regular
brake and shift to
“P” (Park). Release the manual parking brake, then
slowly release the regular brake.
Lap and Shoulder Belts Condition and Operation - Inspect belt system,
including: webbing, buckles, latch plates, retractors, guide loops and
anchors. Have a belt assembly replaced if the webbing has been cut or
otherwise damaged.
Body Lubrication Service - Lubricate all body door hinges including the
endgate, endgate handle pivot points, and endgate mounted spare tire carrier
(if equipped), lubricate the body hood,
fuel door and rear compartment
hinges, latches and locks including interior glove box and console doors,
and any moving seat hardware. Lubricate the hood safety lever pivot and
prop rod pivot. More frequent lubrication may be required when exposed
to
a corrosive environment.
7-11
Page 319 of 348
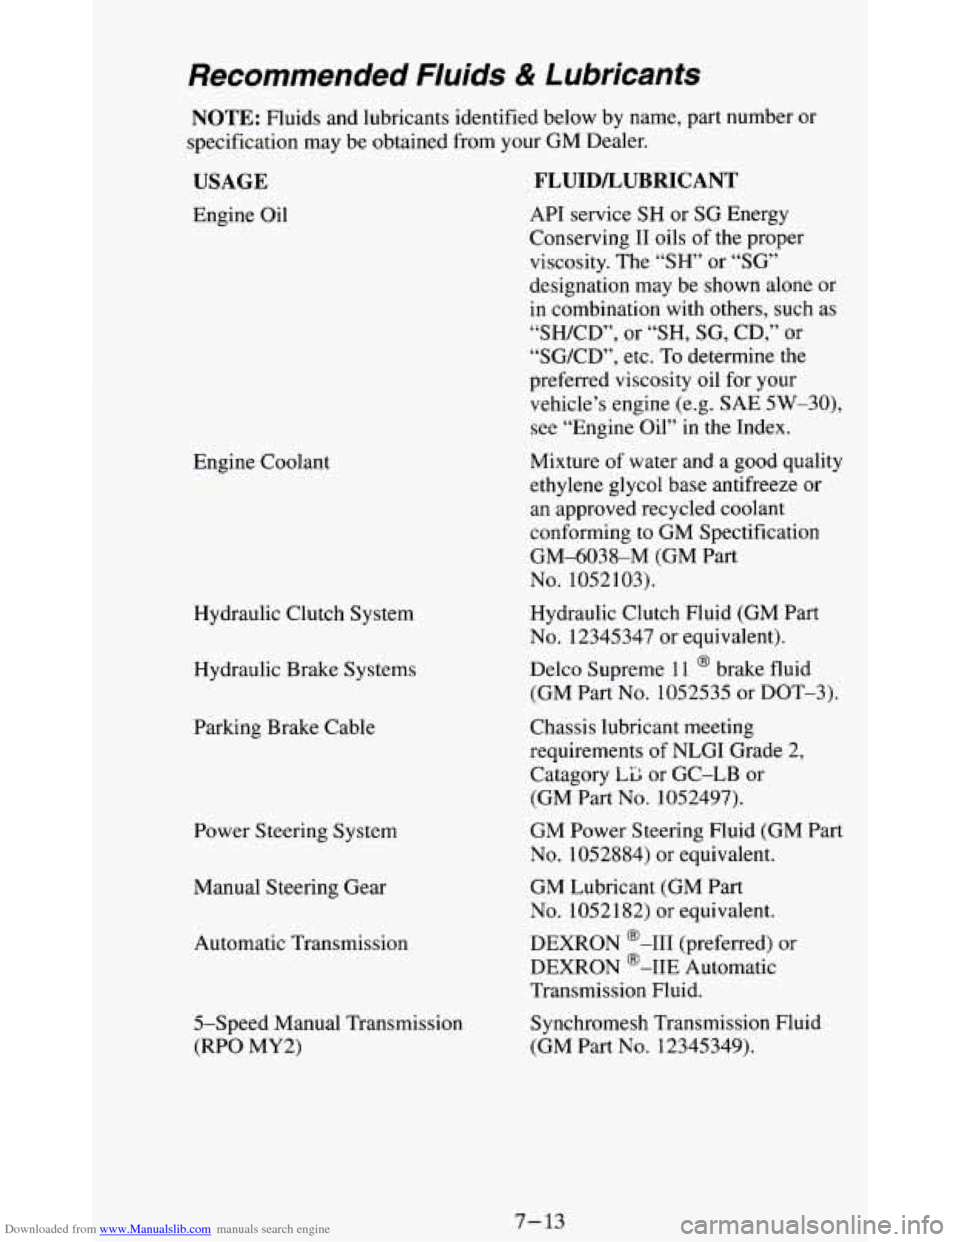
Downloaded from www.Manualslib.com manuals search engine Recommended Fluids & Lubricants
NOTE: Fluids and lubricants identified below by name, part number or
specification may be obtained from your GM Dealer.
USAGE
Engine Oil
Engine Coolant
Hydraulic Clutch System
Hydraulic Brake Systems
Parking Brake Cable Power Steering System
Manual Steering Gear
Automatic Transmission
5-Speed Manual Transmission
(RPO MY2)
FLUIDLUBRICANT
API service SH or SG Energy
Conserving
I1 oils of the proper
viscosity. The “SH” or
“SG’
designation may be shown alone or
in combination with others, such as
“SH/CD”, or “SH, SG, CD,”
or
“SG/CD”, etc. To determine the
preferred viscosity oil for your
vehicle’s engine (e.g.
SAE 5W-30),
see “Engine Oil”
in the Index.
Mixture of water and
a good quality
ethylene glycol base antifreeze or
an approved recycled coolant
conforming to GM Spectification
GM-6038-M (GM Part
No. 1052 103).
Hydraulic Clutch Fluid (GM Part
No. 12345347 or equivalent).
Delco Supreme
1 1 @ brake fluid
(GM Part No. 1052535 or DOT-3).
Chassis lubricant meeting
requirements
of NLGI Grade 2,
Catagory
LiIl or GC-LB or
(GM Part No. 1052497).
GM Power Steering Fluid (GM Part
No. 1052884) or equivalent.
GM Lubricant (GM Part
No. 1052182) or equivalent.
DEXRON
@-I11 (preferred) or
DEXRON @-IIE Automatic
Transmission Fluid.
Synchromesh Transmission Fluid
(GM Part
No. 12345349).
7- 13