1994 BUICK PARK AVENUE wiring
[x] Cancel search: wiringPage 97 of 324
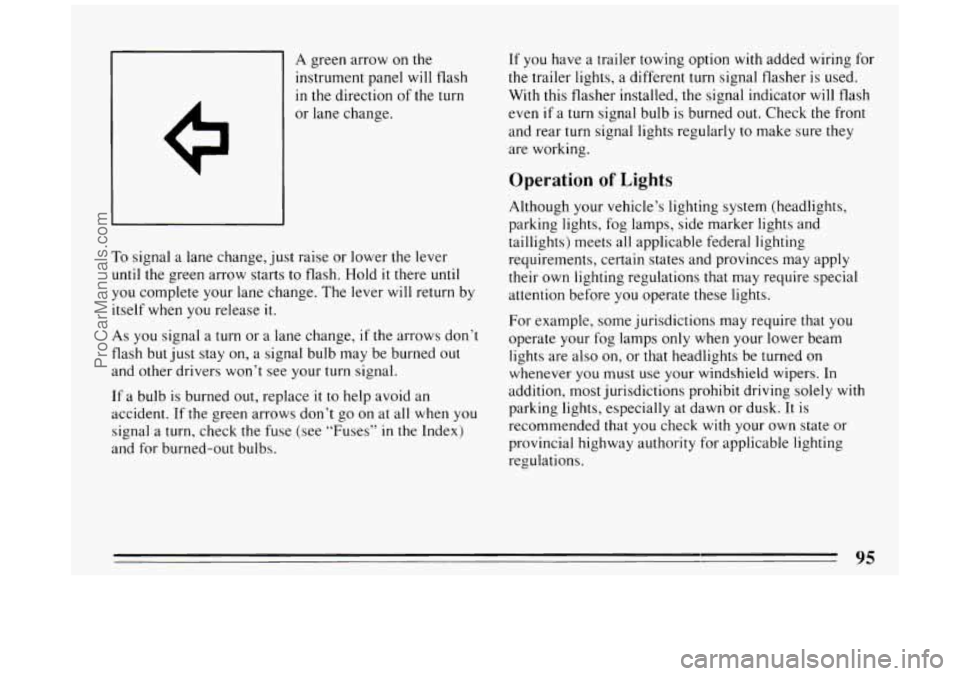
A green arrow on the
instrument panel will flash
in the direction of the turn
To signal a lane change, just raise or lower the lever
until the green arrow starts to flash. Hold it there until
you complete your lane change. The lever will return by
itself when you release
it.
As you signal a turn or a lane change, if the arrows don’t
flash but just stay on, a signal bulb may be burned out
and other drivers won’t see your turn signal.
If a bulb is burned out, replace it to help avoid an
accident. If the green arrows don’t go on at all when you
signal a
turn, check the fuse (see “Fuses” in the Index)
and for burned-out bulbs. If you
have a trailer towing option
with added wiring for
the trailer lights, a different turn signal flasher is used.
With this flasher installed, the signal indicator
will flash
even
if a turn signal bulb is burned out. Check the front
and rear turn signal lights regularly to make sure they
are working.
Operation of Lights
Although your vehicle’s lighting system (headlights,
parking lights, fog lamps, side marker lights and
taillights) meets all applicable federal lighting
requirements, certain states and provinces may apply
their own lighting regulations that may require special
attention before you operate these lights.
For example, some jurisdictions may require that you
operate your fog lamps only when your lower beam
lights are also on, or that headlights be turned on
whenever you must
use your windshield wipers. In
addition, most jurisdictions prohibit driving solely
with
parking lights, especially at dawn or dusk. It is
recommended that you check with your own state or
provincial highway authority for applicable lighting
regulations.
95
ProCarManuals.com
Page 195 of 324
Turn Signals When Towing a Trailer
When you tow a trailer, your vehicle has to have a
different turn signal flasher and extra wiring. The green
arrows on your instrument panel
will flash whenever
you signal a turn or lane change. Properly hooked up,
the trailer lights
will also flash, telling other drivers
you’re about to turn, change lanes or stop.
When towing a trailer, the green arrows on your
instrument panel will flash for turns even
if the bulbs on
the trailer are burned out. Thus, you may
think drivers
behind you are seeing your signal when they are not. It’s
important to check occasionally to be sure the trailer
bulbs are still working.
Your vehicle has bulb warning lights. When you plug
trailer lights into your vehicle’s lighting system, its bulb
warning lights may not
let you know if one of your
lights goes out.
So, when you have trailer lights plugged
in, be sure to check your vehicle and trailer lights from
time to time to be sure they’re all working. Once you
disconnect the trailer lights, the bulb warning lights
again can tell you
if one of your vehicle lights is out.
Driving On Grades
Reduce speed and shift to a lower gear before you start
down a long or steep downgrade. If you don’t shift down,
you might have to use your brakes
so much that
they would get hot and no longer work well.
On a long uphill grade, shift down to “D or 3” (Drive)
and reduce your speed to around
45 mph (70 km/h) to
reduce the possibility of engine and transaxle
overheating.
Parking on Hills
You really should not park your vehicle, with a trailer
attached,
on a hill. If something goes wrong, your rig
could start to move. People can be injured, and both
your vehicle and the trailer can be damaged.
But
if you ever have to park your rig on a hill, here’s
how
to do it:
1. Apply your regular brakes, but don’t shift into “P”
(Park) yet.
2. Have someone place chocks under the trailer wheels.
3. When the wheel chocks are in place, release the
regular brakes until the chocks absorb the load.
4. Reapply the regular brakes. Then apply your parking
brake, and the shift to
“P” (Park).
5. Release the regular brakes.
193
ProCarManuals.com
Page 240 of 324
Supercharger Oil
Unless you are technically qualified and have the proper
tools, you should
let your dealer or a qualified service
center perform this maintenance.
When to Check: Check oil level every 30,000 miles
(50,000 km) or every 36 months.
What Kind of Oil to Use: See “Recommended Fluids and
Lubricants”
in the Index. Use only the recommended oil.
How to Check and Add Oil: Check oil only when the
engine is cold. Allow the engine to cool
2 to 3 hours after
running.
1. Remove the wiring harness shield.
2. Clean the area around the oil fill plug before
removing
it.
3. Remove the oil fill plug using a 3/16 allen wrench.
4. The oil level is correct when it just reaches the
bottom
of the threads of the inspection hole.
5. Replace the oil plug with the O-ring in place. Torque
to 10 Nom (88 lb. in.).
6. Replace the wiring harness shield.
Engine Oil
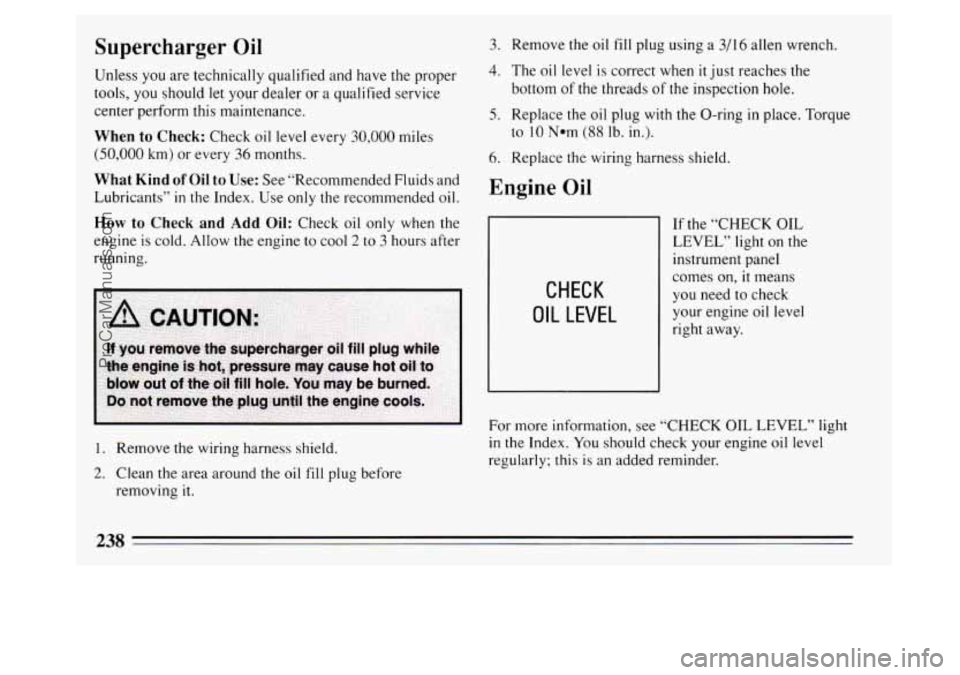
CHECK
OIL LEVEL
If the “CHECK OIL
LEVEL” light on the
instrument panel
comes on,
it means
you need to check
your engine oil level
right away.
For more information, see “CHECK
OIL LEVEL” light
in the Index. You should check your engine oil level
regularly; this is an added reminder.
238
ProCarManuals.com
Page 279 of 324
Your vehicle has an air bag system. Before attempting to
add anything electrical to your Buick, see “Servicing
Your Air Bag-Equipped Buick” in the Index.
Fuses and Circuit Breakers
The wiring circuits in your car are protected from short
circuits by a combination of fuses, circuit breakers and
fusible thermal links in the wiring itself.
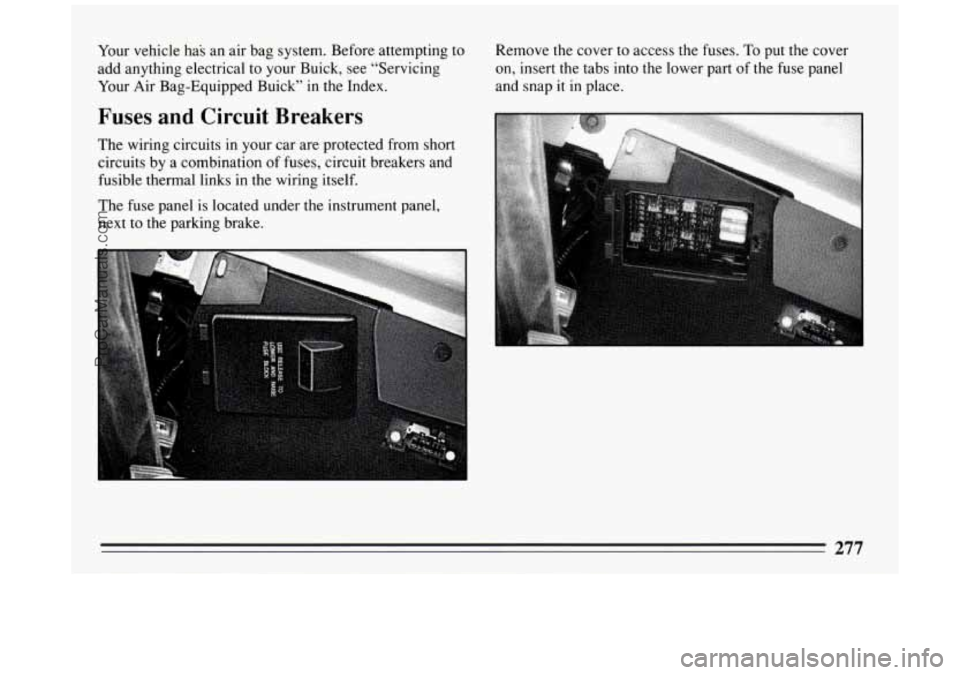
The fuse panel is located under the instrument panel,
next to the parking brake.
L
Remove the cover to access the fuses. To put the cover
on, insert the tabs into the lower part of the fuse panel
and snap it in place.
277
ProCarManuals.com
Page 280 of 324
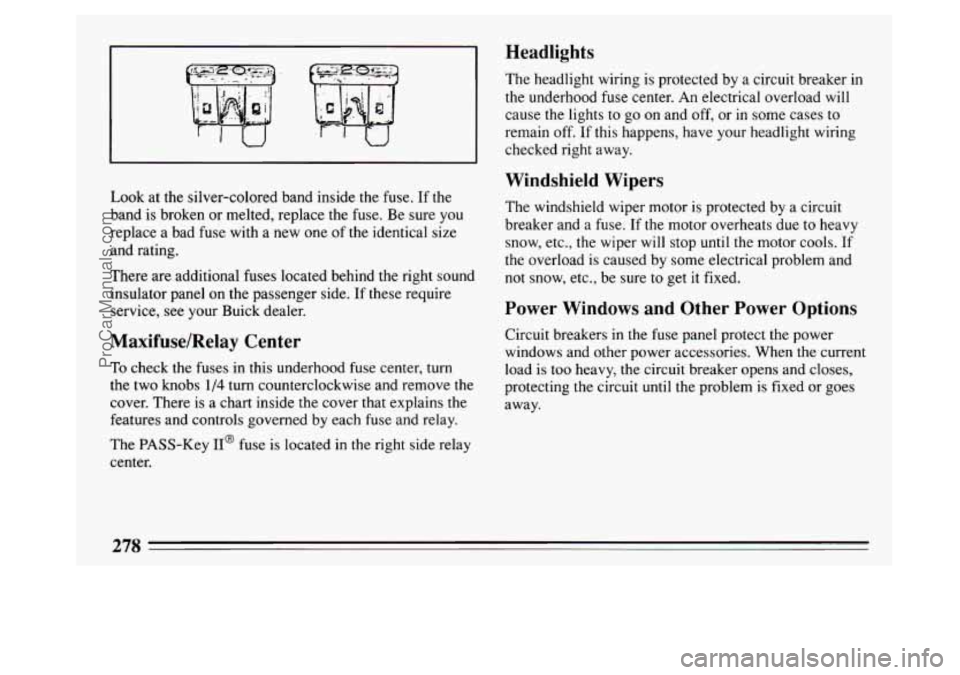
Look at the silver-colored band inside the fuse. If the
band is broken or melted, replace the fuse. Be sure
you
replace a bad fuse with a new one of the identical size
and rating.
There are additional fuses located behind the right sound
insulator panel on the passenger side. If these require
service, see your Buick dealer.
Maxifuse/Relay Center
To check the fuses in this underhood fuse center, turn
the two knobs
1/4 turn counterclockwise and remove the
cover. There is a chart inside the cover that explains the
features and controls governed by each fuse and relay.
The PASS-Key
II@ fuse is located in the right side relay
center.
Headlights
The headlight wiring is protected by a circuit breaker in
the underhood fuse center. An electrical overload will
cause the lights to go on and off, or in some cases to
remain off. If this happens, have your headlight wiring
checked right away.
Windshield Wipers
The windshield wiper motor is protected by a circuit
breaker and a fuse. If
the motor overheats due to heavy
snow, etc., the wiper will
stop until the motor cools. If
the overload is caused by some electrical problem and
not snow, etc., be sure to get it fixed.
Power Windows and Other Power Options
Circuit breakers in the fuse panel protect the power
windows and other power accessories. When the current
load is too heavy, the circuit breaker opens and closes,
protecting the circuit until the problem
is fixed or goes
away.
278
ProCarManuals.com