1993 CHEVROLET CAVALIER ignition
[x] Cancel search: ignitionPage 99 of 308
Downloaded from www.Manualslib.com manuals search engine The gage moves a little when you turn
The gage doesn’t go back to E when
For your fuel
tank capacity, see Service
Station Information
on the last page of
this manual. a
comer or speed up.
you
turn off the ignition.
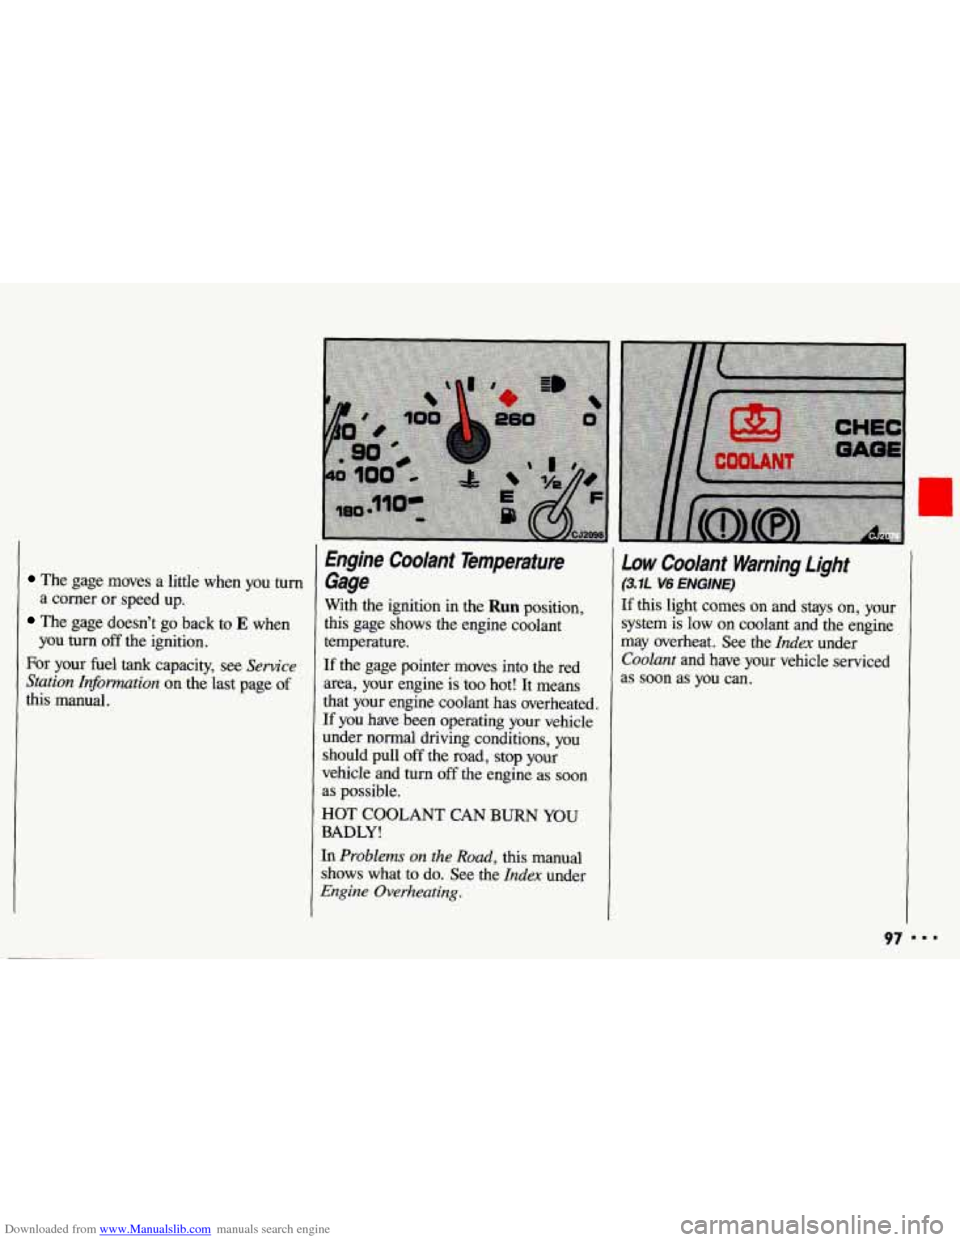
Engine Coolant Temperature
Gage
With the ignition in the Run position,
this gage shows
the engine coolant
temperature.
If the gage pointer moves into the red
area, your engine is
too hot! It means
that your engine coolant has overheated.
If you have been operating your vehicle
under normal driving conditions, you
should pull
off the road, stop your
vehicle and turn
off the engine as soon
as possible.
HOT COOLANT CAN BURN YOU
BADLY!
In Problems on the Road, this manual
shows what to do. See the
Index under
Engine Overheating.
Law Coolant Warning Light
(3.7L V6 ENGiNE)
If this light comes on and stays on, your
system is low on coolant and the engine
may overheat. See the
Index under
Coolant and have your vehicle serviced
as soon as
you can.
97
Page 100 of 308

Downloaded from www.Manualslib.com manuals search engine Features & Controls
Oil Warning Light (3.7~ v6 ENGINE)
If you have a problem with your oil, this
light may stay on after you start your
engine, or come on when you are
driving. This indicates that oil is not
going through your engine quickly
enough to keep it lubricated. The engine
could be low on
oil, or could have some
other oil problem. Have it fixed right
away.
98
The oil light could also come on in three
other situations:
When the ignition is on but the engine
is
not running, the light will come on
as a test
to show you it is working, but
the light will
go out when you turn the
ignition to
Start. If it doesn’t come on
with the ignition on, you may have a
problem with the fuse or bulb. Have
it
fixed right away.
Sometimes when the engine is idling
at
a stop, the light may blink on and
off. This is normal.
If you make a hard stop, the light may
come
on for a moment. This is
normal. Don’t
keep driving
if the oil
b pressure is low. If you do,
your engine can become
so hot that
It catches fire. You or others could
be burned. Check your oil as soon
as possible and have your vehicle
serviced.
Damage to your engine
from
neglected oil problems can be
costly and
is not covered by YOL
warranty.
Page 102 of 308
Downloaded from www.Manualslib.com manuals search engine Features & Controls
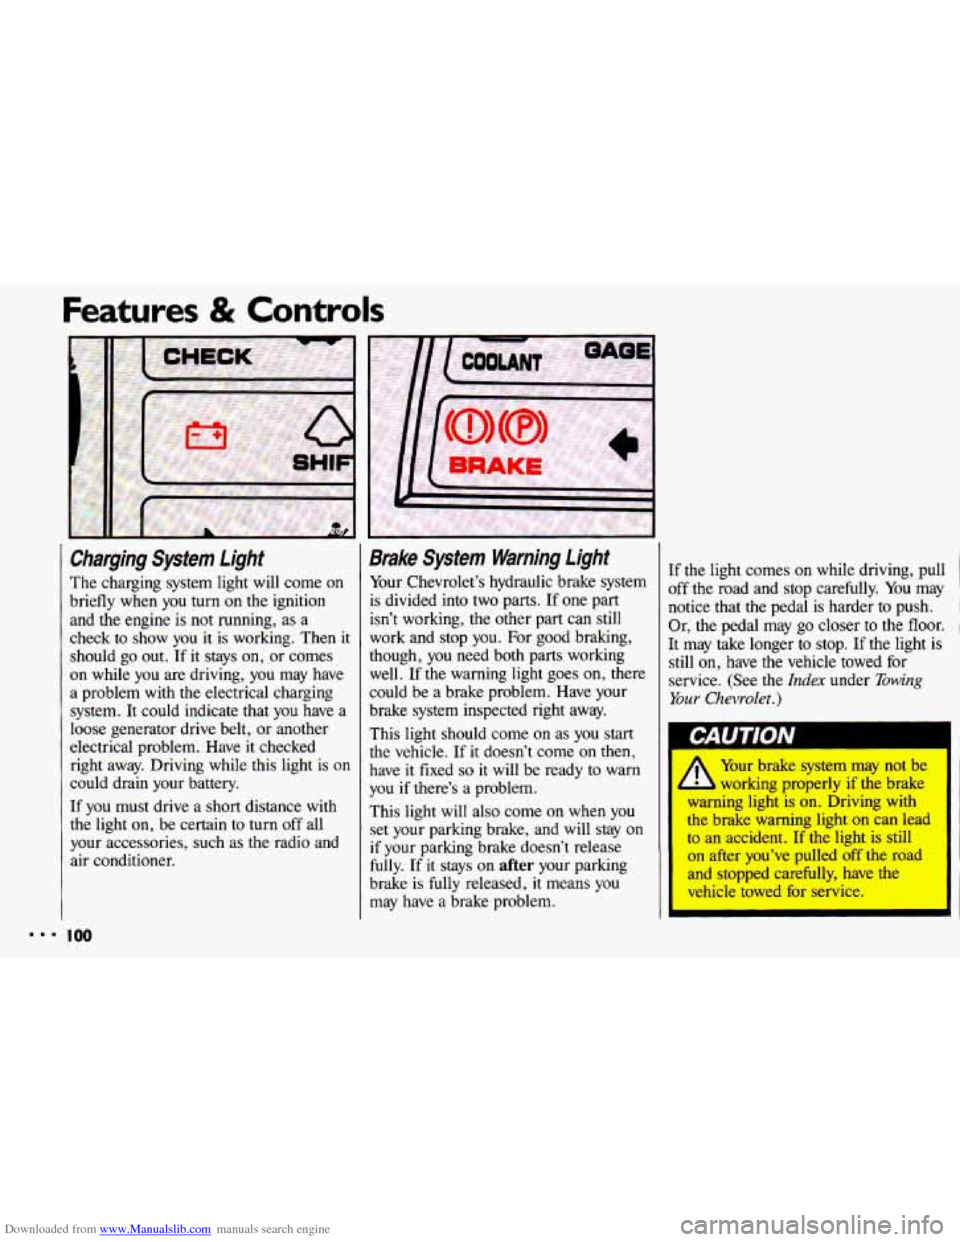
Charging System Light
The charging system light will come on
briefly when
you turn on the ignition
and the engine is not running, as a
check to show you it is working. Then it
should go out. If it stays on, or comes
on while you are driving, you may have
a problem with the electrical charging
system.
It could indicate that you have a
loose generator drive belt, or another
electrical problem. Have
it checked
right away. Driving while this light is on
could drain your battery.
If you must drive a short distance with
the light on, be certain to turn off all
your accessories, such as the radio and
air conditioner.
Brake Sysfem Warning Light
Your Chevrolet’s hydraulic brake system
is divided into two parts. If one part
isn’t working, the other part can still
work and stop you. For good braking,
though, you need both parts working
well. If the warning light goes on, there
could be a brake problem. Have your
brake system inspected right away.
This light should come on as you start
the vehicle. If it doesn’t come on then,
have
it fixed so it will be ready to warn
you if there’s
a problem.
This light will also come on when you
set your parking brake, and will stay
on
if your parking brake doesn’t release
fully. If it stays
on after your parking
brake is fully released,
it means you
may have
a brake problem. If
the light comes
on while driving, pull
off the road and stop carefully. You may
notice that the pedal is harder to push.
I
Or, the pedal may go closer to the floor. 1
It may take longer to stop. If the light is
still on, have the vehicle towed for
service. (See the
Index under Towing
Your Chevrolet.)
L-AU I IVN
I
/1 Your brake system may not be
L working properly if the brake
warning light is on. Driving with
the brake warning light
on can lead
to an accident. If the light is still
on after you’ve pulled off the road
and stopped carefully, have the
vehicle towed for service.
I
Page 104 of 308
Downloaded from www.Manualslib.com manuals search engine ..I
Features & Controls
I
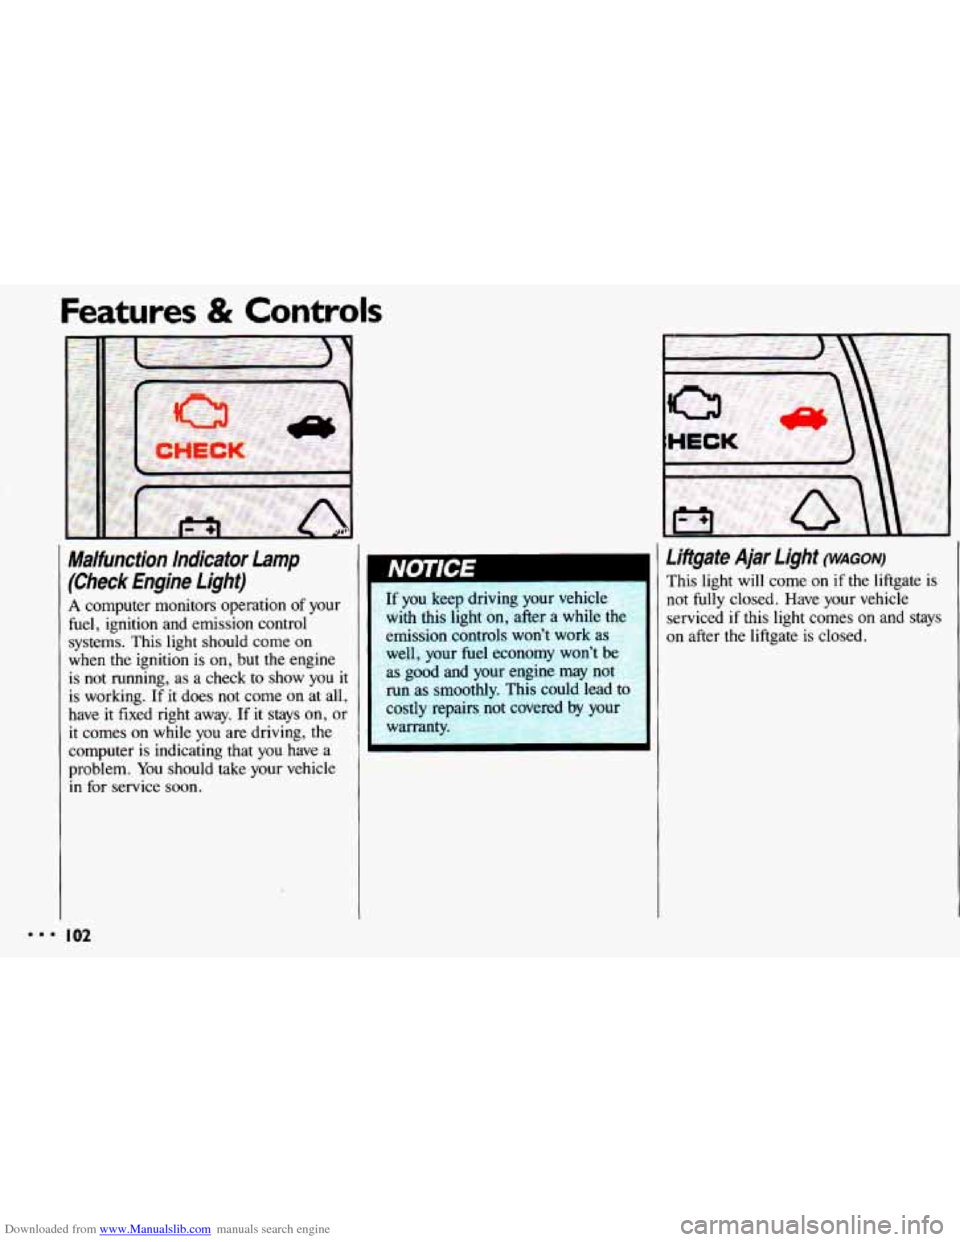
Malfunction Indicator Lamp
(Check Engine Lighf)
A computer monitors operation of your
fuel, ignition and emission control
systems. This light should come on
when
the ignition is on, but the engine
is not running, as a check to show you
it
is working. If it does not come on at all,
have
it fixed right away. If it stays on, or
it comes on while you are driving, the
computer is indicating that
you have a
problem.
You should take your vehicle
in for service soon.
I02
If you keep driving your vehicle
with this light on, after a while the
emission controls won’t work as
well, your fuel economy won’t be
as good and your engine may not
run as smoothly. This could lead to
costly repairs not rwered by your
warranty.
Liftgate Ajar Light (WAGON)
This light will come on if the liftgate is
not fully closed. Have your vehicle
serviced
if this light comes on and stays
on after the liftgate is closed.
Page 111 of 308
Downloaded from www.Manualslib.com manuals search engine i; . ... ..- -. . ,' $,
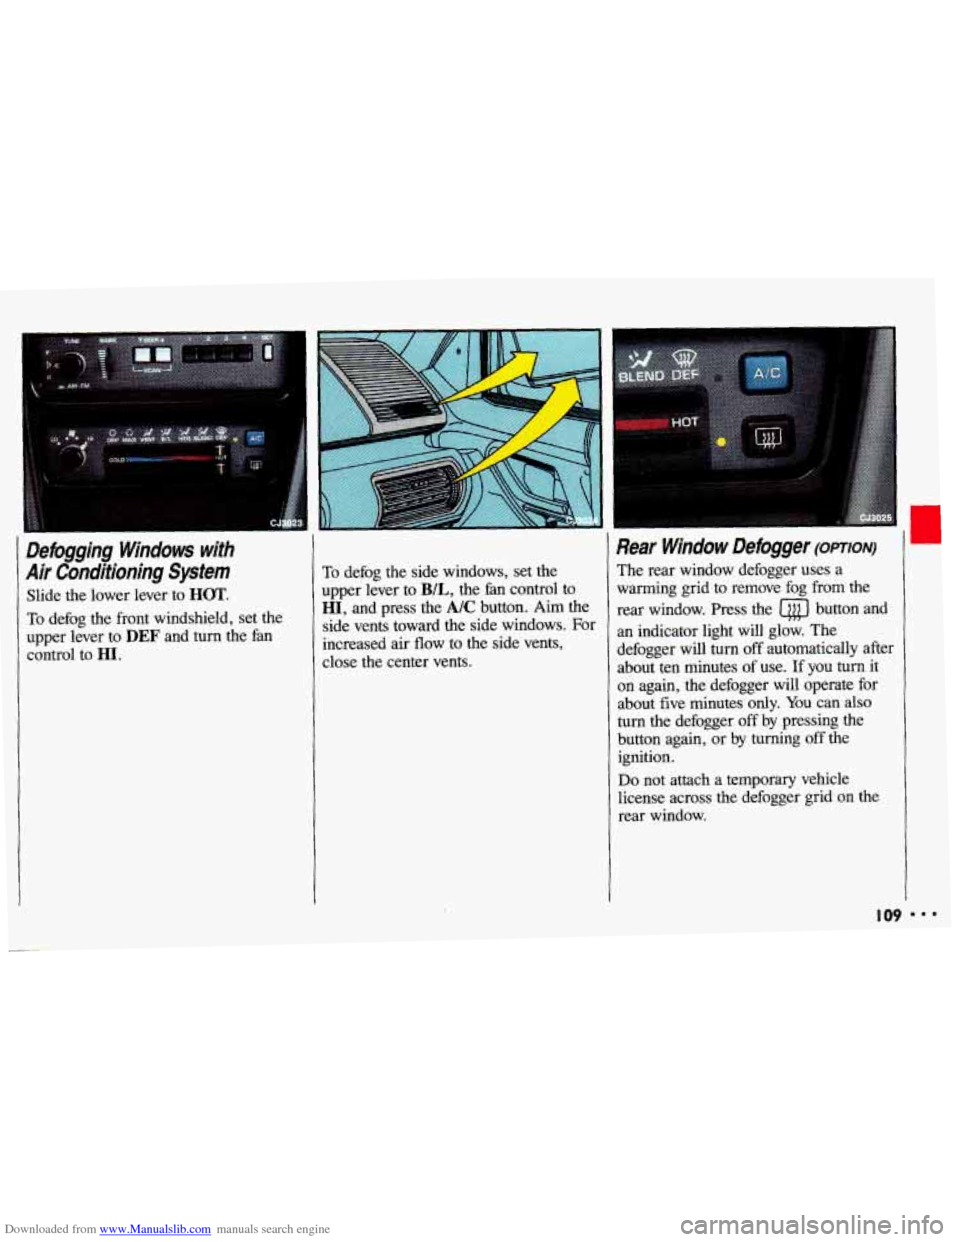
Defogging Windows with
Air Conditioning System
Slide the lower lever to HOT.
To defog the front windshield, set the
upper lever to
DEF and turn the fan
control to HI.
To defog the side windows, set the
upper lever to
B/L, the fan control to
HI, and press the A/C button. Aim the
side vents toward the side windows. For
increased air flow to the side vents,
close the center vents.
Rear Window Defogger (omoN)
The rear window defogger uses a
warming grid to remove fog from the
rear window. Press the
a button and
an indicator light will glow. The
defogger will turn
off automatically after
about ten minutes of use. If you
turn it
on again, the defogger will operate for
about five minutes
only. You can also
turn the defogger off by pressing the
button again, or by turning off the
ignition.
Do not attach a temporary vehicle
license across the defogger grid on
the
rear window.
I09 I..
Page 113 of 308
Downloaded from www.Manualslib.com manuals search engine I Audio Systems
The following pages describe the audio systems available for your Chevrolet, and
how to get the best performance from them. Please read about the system in your
vehicle.
IOU. equip:
I A Hearing damage from loud noise is almost undetectable until it is too
late. Your hearing can adapt to higher volumes
of sound. Sound that
seems normal can be loud and harmful to your hearing. Take precautions by
I
hearing adapts to it.
To help avoid hearing loss or damage:
1. Adjust the volume control to the lowest setting.
I adjusting the volume control on your radio to a safe sound level before your
[ I 2. Increase volume slowly until you hear comfortably and clearly.
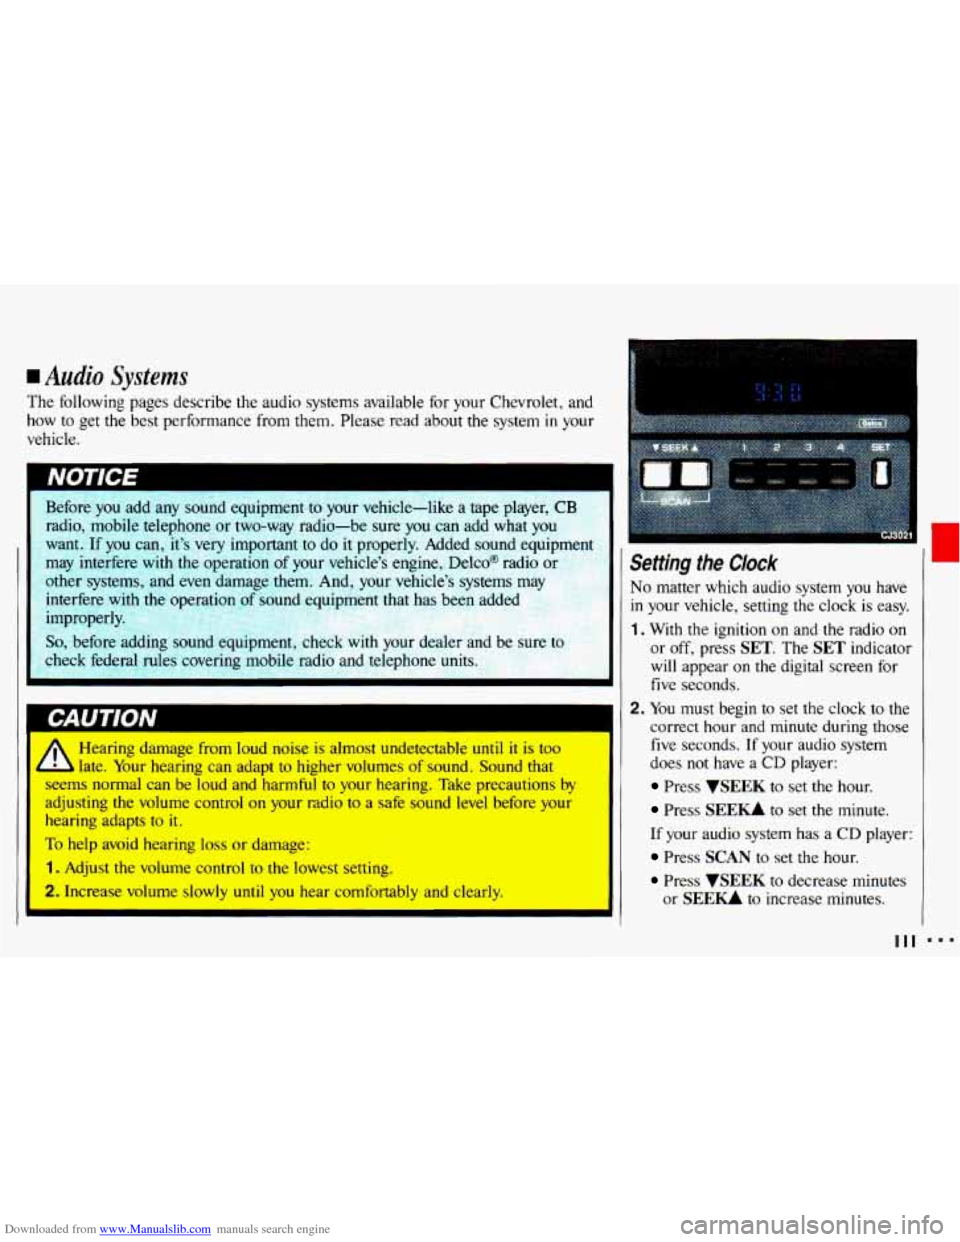
Setting the Clock
No matter which audio system you have
in your vehicle, setting the clock is easy.
1. With the ignition on and the radio on
or off, press SET. The SET indicator
will appear on the digital screen for
five seconds.
2. You must begin to set the clock to the
correct hour and minute during those
five seconds. If your audio system
does
not have a CD player:
Press VSEEK to set the hour.
Press SEE- to set the minute.
If your audio system has a CD player:
Press SCAN to set the hour.
Press WEEK to decrease minutes
or
SEE- to increase minutes.
I
111
Page 114 of 308
Downloaded from www.Manualslib.com manuals search engine ...
Comfort Controls & Audio Systems
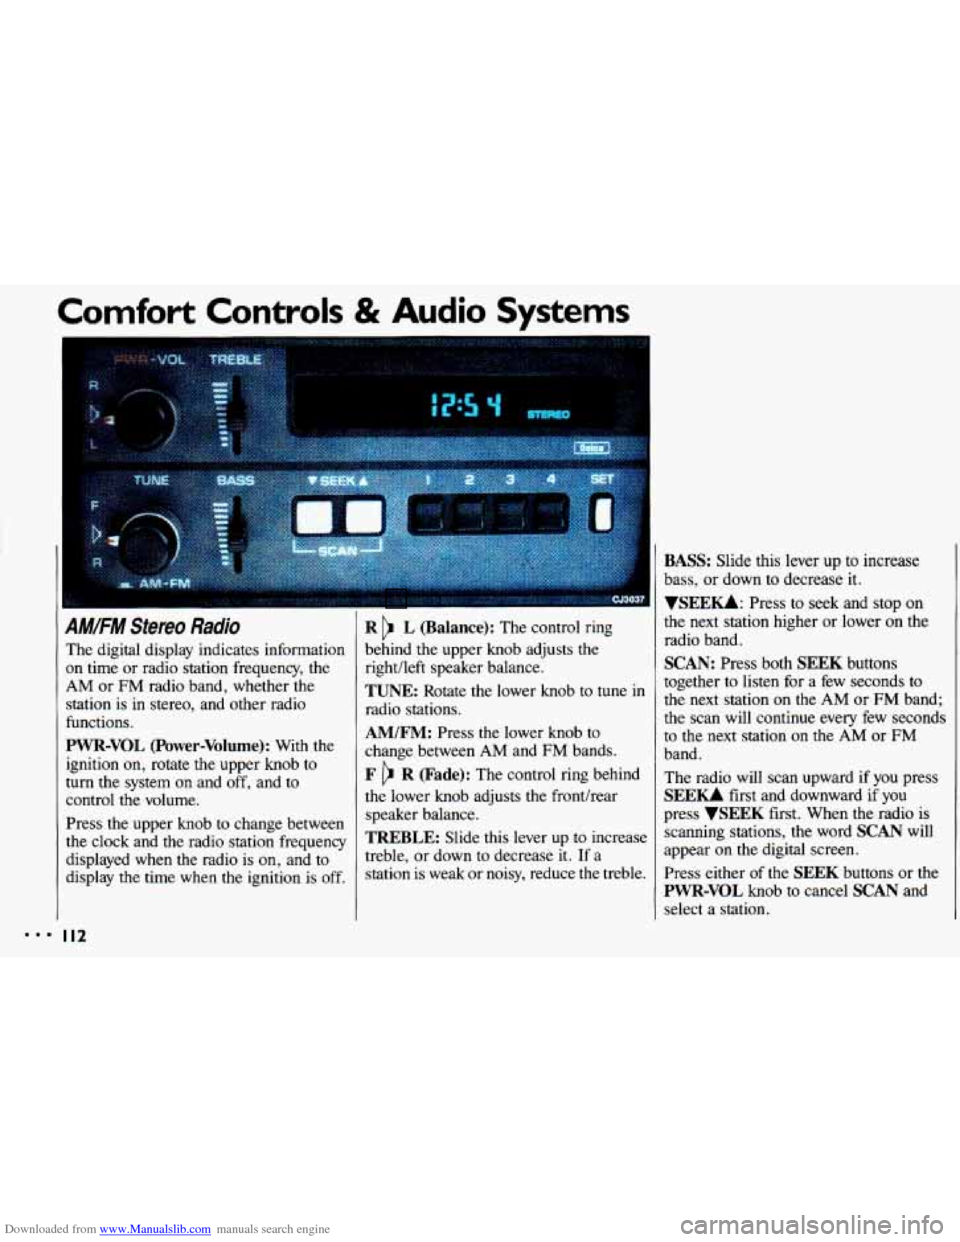
AM/FM Stereo Radio
The digital display indicates information
on time or radio station frequency, the
AM or FM radio band, whether the
station is
in stereo, and other radio
functions.
PWR-VOL (Power-Volume): With the
ignition on, rotate the upper knob to
turn the system
on and off, and to
control the volume.
Press the upper knob to change between
the clock and the radio station frequency
displayed when the radio is
on, and to
display
the time when the ignition is off.
I I2
R L (Balance): The control ring
behind the upper knob adjusts the
right/left speaker balance,
TUNE: Rotate the lower knob to tune in
radio stations.
AM/FM: Press the lower knob to
change between AM and FM bands.
F R (Fade): The control ring behind
the lower knob adjusts the fronthear
speaker balance.
TREBLE: Slide this lever up to increase
treble, or down
to decrease it. If a
station is weak or noisy, reduce the treble.
BASS: Slide this lever up to increase
bass, or down to decrease it.
YSEEKk Press to seek and stop on
the next station higher
or lower on the
radio band.
SCAN: Press both SEEK buttons
together to listen for a few seconds to
the next station
on the AM or FM band;
the scan will continue every few seconds
to the next station
on the AM or FM
band.
The radio will scan upward if you press
SEEU first and downward if you
press
VSEEK first. When the radio is
scanning stations,
the word SCAN will
appear on the digital screen.
Press either of the
SEEK buttons or the
PWR-VOL knob to cancel SCAN and
select a station.
Page 115 of 308
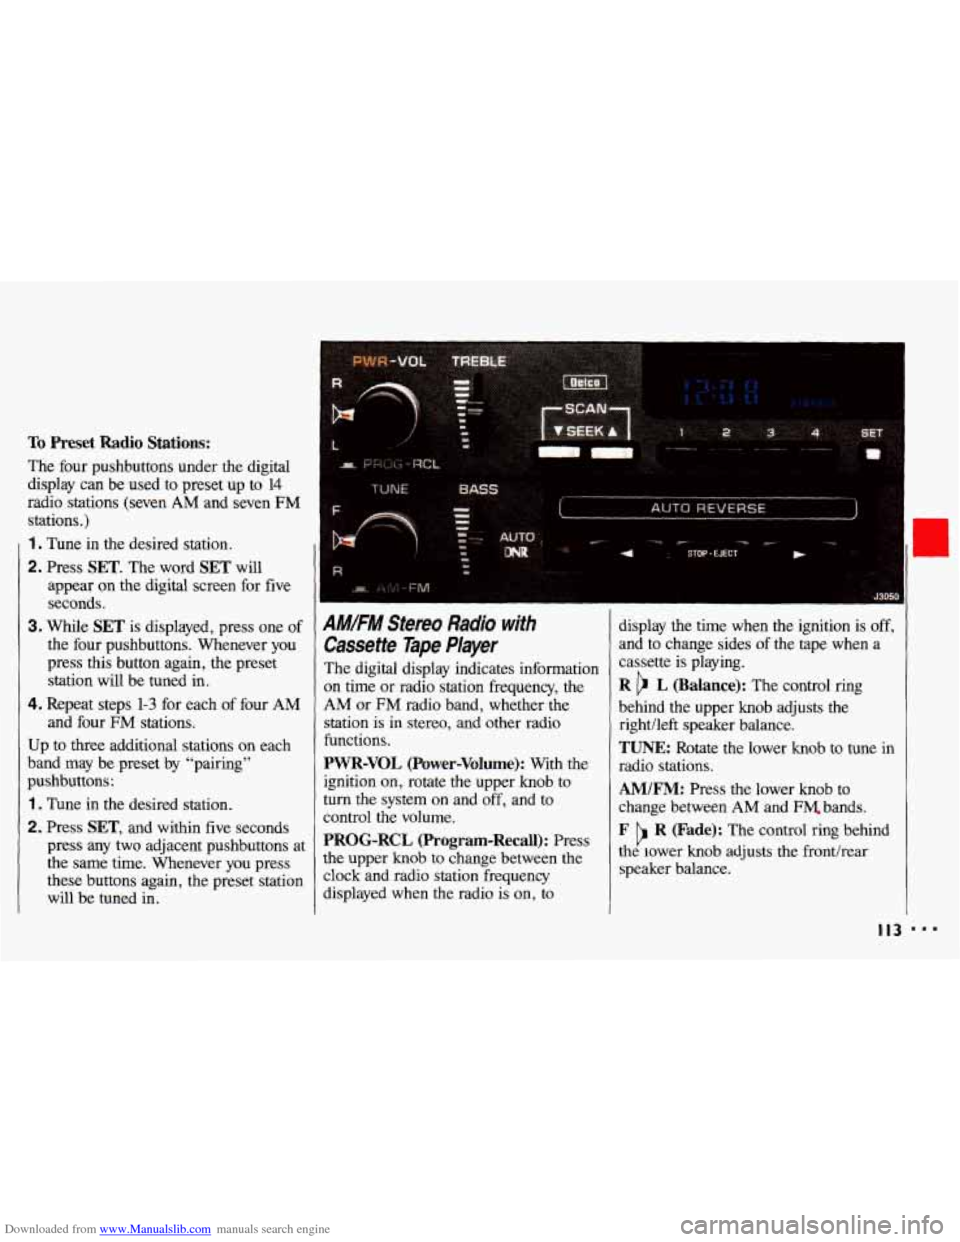
Downloaded from www.Manualslib.com manuals search engine To Preset Radio Stations:
The four pushbuttons under the digital
display can be
used to preset up to 14
radio stations (seven AM and seven FM
stations.)
1 . Tune in the desired station.
2. Press SET. The word SET will
appear on the digital screen for five
seconds,
3. While SET is displayed, press one of
the four pushbuttons. Whenever you
press this button again, the preset
station will be tuned in.
4. Repeat steps 1-3 for each of four AM
and four FM stations.
Up
to three additional stations on each
band may be preset by “pairing”
pushbuttons:
1 . Tune in the desired station.
2. Press SET, and within five seconds
press any
two adjacent pushbuttons at
the same time. Whenever you press
these buttons again, the preset station
will be tuned in.
AMIFM Stereo Radio with
Cassette Tape Player
The digital display indicates information
on time or radio station frequency, the
AM or FM radio band, whether the
station
is in stereo, and other radio
functions.
PWR-VOL (Power-Volume): With the display
the time when the ignition is off,
and
to change sides of the tape when a
cassette
is playing.
R b L (Balance): The control ring
behind the upper knob adjusts the
rightlleft speaker balance.
TUNE: Rotate the lower knob to tune in
radio stations.
ignition on, rotate the upper knob to
turn the system on and off, and to
control the volume.
PROG-RCL (Program-Recall): Press
the upper knob to change between the
clock and radio station freauencv
AM/FM: Press the lower knob to
change between
AM and FM. bands.
F R (Fade): The control ring behind
the lower knob adjusts the fronthear
speaker balance. b
displayed when the radio is’ on, io
I I3 ...