1993 CHEVROLET CAVALIER tire pressure
[x] Cancel search: tire pressurePage 136 of 308
Downloaded from www.Manualslib.com manuals search engine Your Driving and the Road
Anti-Lock Brakes (ABS)
Your Chevrolet has an advanced
electronic braking system that will help
prevent skidding.
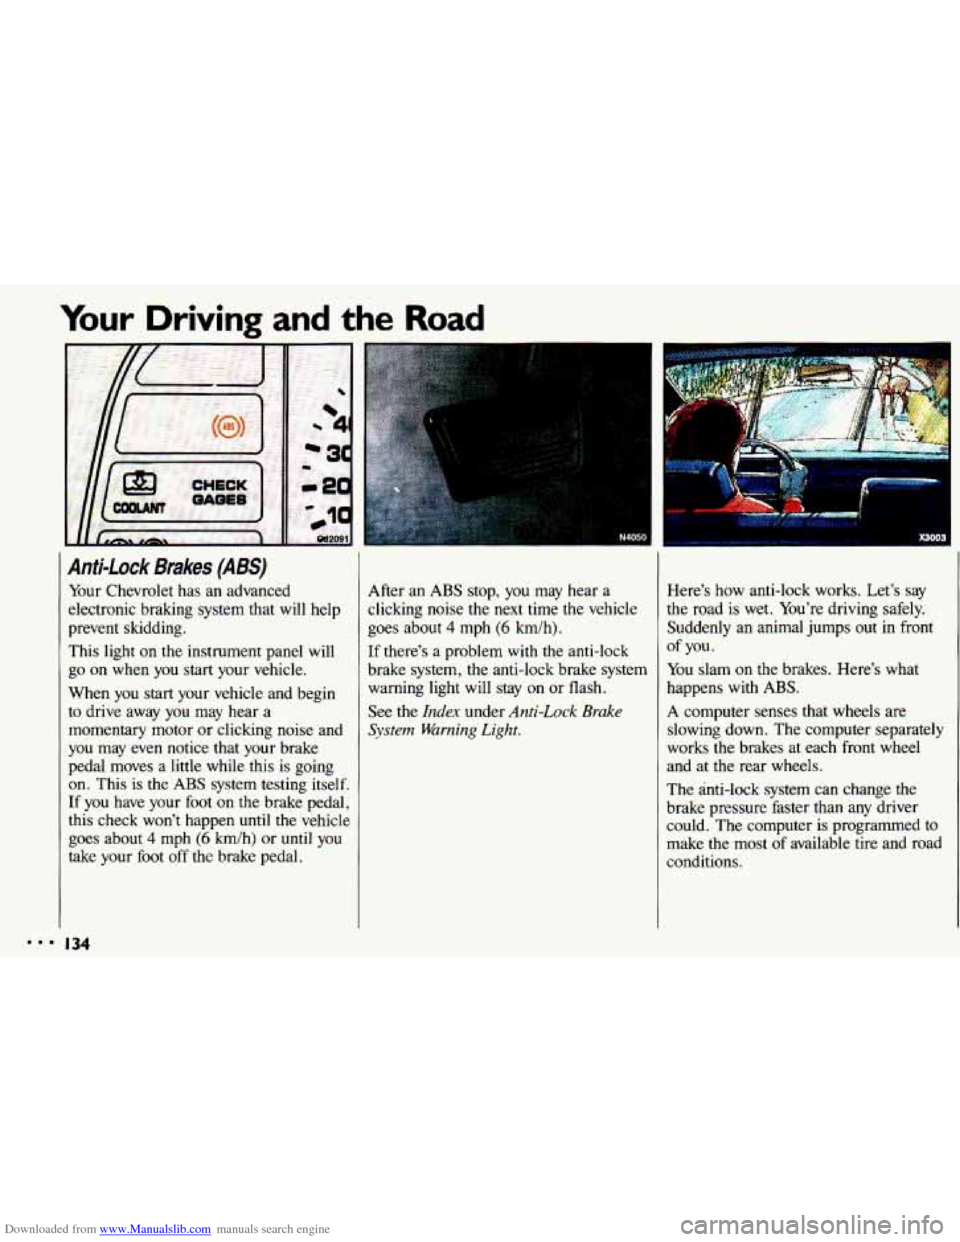
This light
on the instrument panel will
go
on when you start your vehicle.
When you start your vehicle and begin
to drive away you may hear a
momentary motor or clicking noise and
you may even notice that your brake
pedal moves a little while this is going
on. This is the ABS system testing itself.
If you have your foot on the brake pedal,
this check won’t happen
until the vehicle
goes about
4 mph (6 km/h) or until you
take your foot
off the brake pedal. After an
ABS stop,
you may hear a
clicking noise the next time the vehicle
goes about
4 mph (6 km/h).
If there’s a problem
with the anti-lock
brake system, the anti-lock brake system warning light will stay on or flash.
See
the Index under Anti-Lock Brake
System Warning Light.
Here’s how anti-lock works. Let’s say
the road is wet. You’re driving safely.
Suddenly an animal jumps out
in front
You slam
on the brakes. Here’s what
happens with ABS.
A computer senses that wheels are
slowing down. The computer separately
works the brakes at each front wheel
and at the rear wheels.
The anti-lock
system can change the
brake pressure faster than any driver
could. The computer is programmed to
make the most of available tire and road
conditions.
of you.
134
Page 149 of 308
Downloaded from www.Manualslib.com manuals search engine Hydroplaning
Hydroplaning is dangerous. So much
water can build up under your tires that
they can actually ride on the water. This
can happen if the road is wet enough
and you’re going fast enough. When
your vehicle
is hydroplaning, it has little
or
no contact with the road.
You might
not be aware of hydroplaning.
You could drive along for some time
without realizing your tires aren’t
in
constant contact with the road. You
could find out the hard way: when you
have to slow, turn, move out to pass-or
if you get hit by a gust of wind. You could
suddenly find yourself
out of control. Hydroplaning doesn’t happen often. But
it
can
if your tires haven’t much tread or
if the pressure in one or more is low. It
can happen if a lot of water is standing
on the road. If
you can see reflections
from trees, telephone poles, or other
vehicles, and raindrops “dimple’’ the
water’s surface, there could be
hydroplaning.
Hydroplaning usually happens at higher
speeds. There just isn’t
a hard and fast
rule about hydroplaning. The best
advice is to slow down when
it is
raining, and be careful.
Some Other Rainy Weather Tips
Turn on your headlights-not just your
parking lights-to help make you
more
visible to others.
Look for hard-to-see vehicles coming
from behind. You may want
to use
your headlights even
in daytime if it’s
raining hard.
Besides slowing down, allow some
extra following distance. And be
especially careful when you pass
another vehicle. Allow yourself more
clear room ahead, and be prepared to
have your view restricted by road
spray. If
the road spray is so heavy you
are actually blinded, drop back. Don’t
pass until conditions improve. Going
more slowly is better than having an
accident.
Use your defogger if it helps.
Have good tires with proper tread
depth. (See
the Index under fires.)
I47
Page 154 of 308
Downloaded from www.Manualslib.com manuals search engine Your Driving and the Road
Driving a Long Distance
Although most long trips today are
made on freeways, there are still many
made on regular highways.
Long-distance driving on freeways and
regular highways is the same in some
ways. The trip has to be planned and the
vehicle prepared, you drive at higher-
than-city speeds, and there are longer
turns behind the wheel. You’ll enjoy
your trip more
if you and your vehicle
are in good shape. Here are some tips
for a successful long trip.
Before Leaving on a Long Trip
Make sure you’re ready. Try to be well Here are some things you can check
rested. If you must start when you’re not
fresh-such as after a day’s work-don’t
plan to make too many miles that
first
part of the journey. Wear comfortable
clothing and shoes you can easily drive in.
Is your vehicle ready for a long trip? If
you keep it serviced and maintained, it’s
ready to
go. If it needs service, have it
done before starting out. Of course,
you’ll find experienced and able service experts
in Chevrolet dealerships all
across North America. They’ll be ready
and willing to help if you need it.
I’
before a trip:
Windshield Washer Fluid: Is the
reservoir full? Are all windows clean
inside and outside?
shape?
Have you checked all levels?
lenses clean? safe, trouble-free trip.
Is the tread
good enough for long-distance
driving? Are the tires all inflated to
the recommended pressure?
weather outlook along your route?
Should you delay your trip a short
time to avoid a major storm system?
Maps: Do you have up-to-date maps?
Wiper Blades: Are they in good
Fuel, Engine Oil, Other Fluids:
Lights: Are they all working? Are the
Tires: They are vitally important to a
Weather Forecasts: What’s the
Page 159 of 308

Downloaded from www.Manualslib.com manuals search engine Torque Lock
(AUTOMATIC TRANSAXLE)
If you are parking on a hill and you
don’t shift
your transaxle into P (Park)
properly, the weight of the vehicle may
put too much force on the parking pawl
in the transaxle. You may find it difficult
to pull the
shift lever out of P (Park).
This
is called “torque lock.” To prevent
torque lock, always be sure to shift into
P (Park) properly before you leave the
driver’s seat.
To find out how, see the
Index under Shiftirtg Into P (Park),
When you are ready to drive, move the
shift lever out
of P (Park) before you
release the parking brake.
If torque lock does occur, you may need
to have another vehicle push yours a
little uphill to take some
of the pressure
from the transaxle,
so you can pull the
shift lever out
of P (Park).
Winter Driving
Here are some tips for winter driving:
Have your Chevrolet in good shape for
winter. Be sure your engine coolant
mix is correct.
Snow tires can help in loose snow, but
they may give you less traction on ice
than regular tires.
If you do not expect
to be driving in deep snow, but may
have to travel over ice,
you may not
want to switch to snow tires at all.
You may want to put winter
emergency supplies in your trunk or
rear area.
Include an ice scraper, a small brush
or broom, a supply of windshield
washer fluid, a rag, some winter outer
clothing, a small shovel, a flashlight,
a
red cloth, and a couple of reflective
warning triangles. And, if you will be
driving under severe conditions,
include a small bag
of sand, a piece of
old carpet or a couple
of burlap bags
to help provide traction. Be sure you
properly secure these items
in your
vehicle.
I57
Page 193 of 308
Downloaded from www.Manualslib.com manuals search engine Don’t try to put a wheel cover on your
compact spare tire.
It won’t fit. Store the
wheel cover and plastic cap nuts in the
trunk or rear area until you have the flat
tire repaired or replaced.
16. Store the flat tire in the compact
spare tire compartment, and secure
with the wing bolt and extension.
Store the jack and wheel wrench in
their compartment, also.
MU I IVN 1
Storing a jack, a tire, or other
:quipment in the passenger
compartment
of the vehicle could
cause injury. In a sudden stop
or
collision, loose equipment could
strike someone. Store all these in
the proper place.
The compact spare is for temporary use
only. Replace the compact spare tire
with a full-size tire as soon as you can.
See
Compact Spare Tire next in this
section.
Compact Spare Tire
Although the compact spare was fully
inflated when your vehicle was new, it
can lose air after a time. Check the
inflation pressure regularly.
It should be
60 psi (420 Wa). The compact spare is
made to go up to
3,000 miles (5 000 km),
so you can finish your trip and have
your full-size tire repaired or replaced
where you want.
Of course, it’s best to
replace
your spare with a full-size tire as
soon as you can. Your spare will last
longer and be in good shape in case you
need it again.
Your anti-lock brake system warning
light may come on when you are driving
with a compact spare. See the
Index
under Anti-Lock Brake System Warning
Light.
191
Page 229 of 308
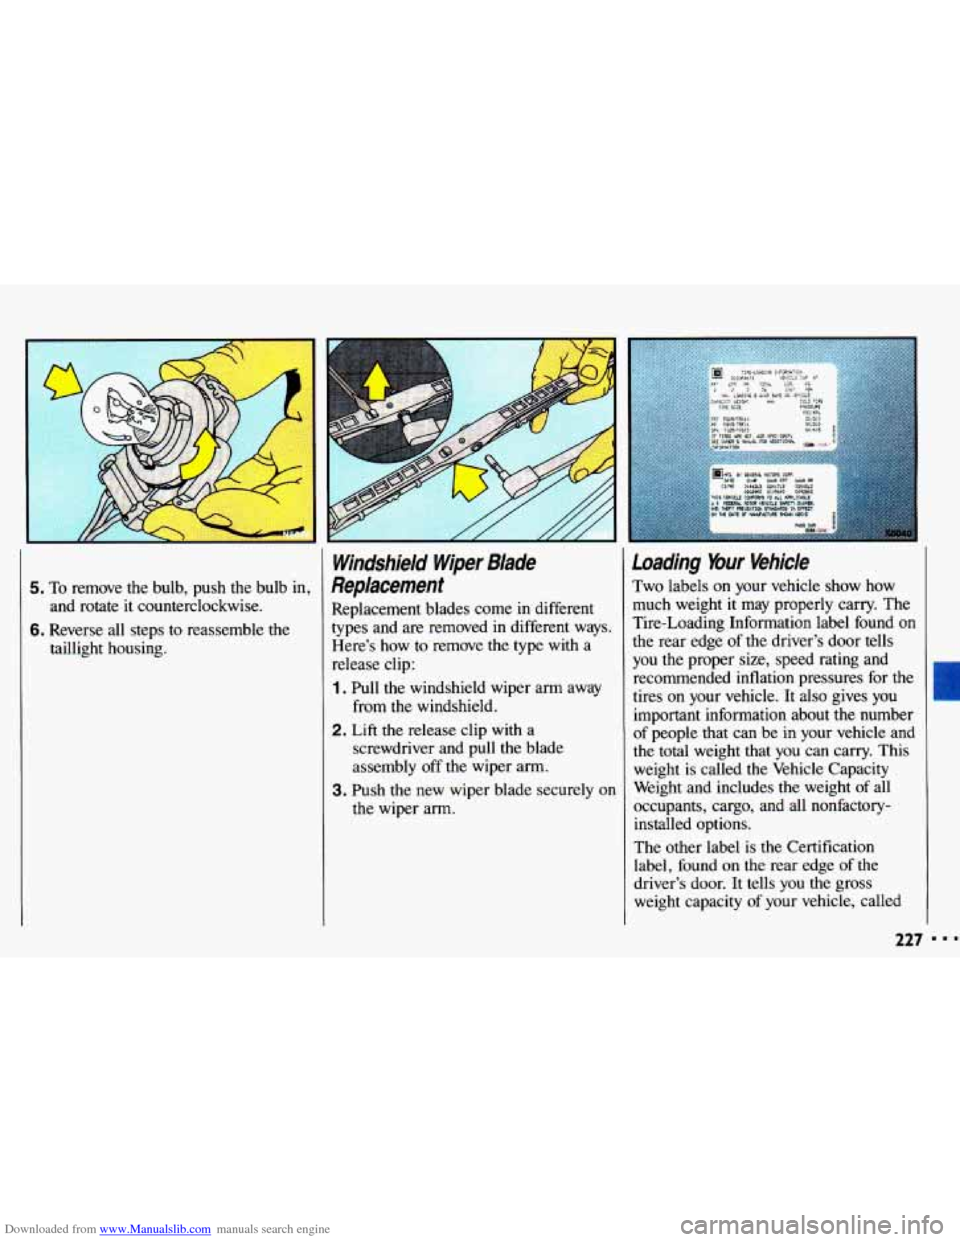
Downloaded from www.Manualslib.com manuals search engine 5. To remove the bulb, push the bulb in,
and rotate it counterclockwise.
6. Reverse all steps to reassemble the
taillight housing.
Windshield Wiper Blade
Replacement
Replacement blades come in different
types and are removed in different ways.
Here’s how
to remove the type with a
release clip:
1. Pull the windshield wiper arm away
2. Lift the release clip with a
from the windshield.
screwdriver and pull the blade
assembly
off the wiper arm.
the wiper arm.
3. Push the new wiper blade securely on
Loading %ur Vehicle
Two labels on your vehicle show how
much weight it may properly carry. The
Tire-Loading Information label found
on
the rear edge of the driver’s door tells
you the proper size, speed rating and
recommended inflation pressures for the
tires on your vehicle. It also gives
you
important information about the number
of people
that can be in your vehicle and
the total weight that you can carry. This
weight
is called the Vehicle Capacity
Weight and includes the weight
of all
occupants, cargo, and all nonfactory- installed options.
The other label
is the Certification
label, found on the rear edge of the
driver’s door. It tells you the gross
weight capacity
of your vehicle, called
I
227
Page 231 of 308
Downloaded from www.Manualslib.com manuals search engine 1--
-
Things you=
strike and injure
people in
a sudden stop or turn, or
in
a crash.
Put things in the trunk or rear
area
of your vehicle. In a trunk,
put them as hr forward as you
can.
Try to spread the weight
evenly.
If you have fold-down
rear seats, you’ll find four
anchors on the back wall
of your
trunk.
You can use these anchors
to tie down lighter loads. They’re
not strong enough for
heavy
things, however, so put them as
fbr forward
as you can in the
trunk or rear area.
Never stack heavier things, like
suitcases, inside the vehicle
so
that some of them are above the
tops
of the seats.
e When you carry something
inside the vehicle, secure it
whenever you can.
unless you need to.
0 Don’t leave a seat folded down
I
Tires
We don’t make tires. Your new vehicle comes with high quality tires made by a
leading tire manufacturer. These tires are warranted by the tire manufacturers and
their warranties are delivered with every
new Chevrolet. If your spare tire is a
different brand than your road tires,
you will have a tire warranty folder from each
of these manufacturers.
I I
CAUTION
Poorly maintained and improperly used tires are dangerous. 1
’ - Overloading your tires can cause overheating as a result of too much
friction. You could have
an air-out and a serious accident. See the Index
under hading Your Vehicle.
Underinflated tires pose the same danger as overloaded tires. The resulting
accident could cause serious injury. Check all tires frequently to maintain
the recommended pressure. Tire pressure should be checked
when your
tires
are cold.
sudden impact:
such as when you hit a pothole. Keep tires at the
recommended pressure.
I Overinflated tires are more likely to be cut, punctured, or broken by a
Worn, old tires can cause accidents. If your tread is badly worn, or if your
I tires have been damaged, replace them. I
229
I
I..
Page 232 of 308
Downloaded from www.Manualslib.com manuals search engine Service & Appearance Care
lnflation-lire Pressure
The Tire-Loading Information label
which is
on the rear edge of the driver’s
door shows the correct inflation
pressures for your tires, when they’re
cold. “Cold” means your vehicle has
been sitting for at least three hours or
driven no more than a mile. Don’t
let anyone tell you that
underinflation
or overinflation is
all right. It’s
not. If your tires don’t
have enough
you can get:
Too much flexing
Too much heat
Tire overloading
Bad weLA
Bad handling
Bad fuel economy. ition)
If your tires have too much air
(overinflation), you can get:
Unusual wear
Bad handling
Rough ride
Needless damage from road
hazards.
When to Check:
Check your tires once a month or more.
Don’t forget your compact spare tire. It
should be at
60 psi (420 kpa).
How to Check:
Use a good quality pocket-type gage to
check tire pressure. Simply looking at
the tires will not tell you the pressure,
especially if
you have radial tires-
which may look properly inflated even if
they’re underinflated.
If your tires have valve caps, be sure to
put them back on. They help prevent
leaks by keeping out dirt and moisture.
230