1993 CHEVROLET ASTRO PASSENGER wheel
[x] Cancel search: wheelPage 285 of 345
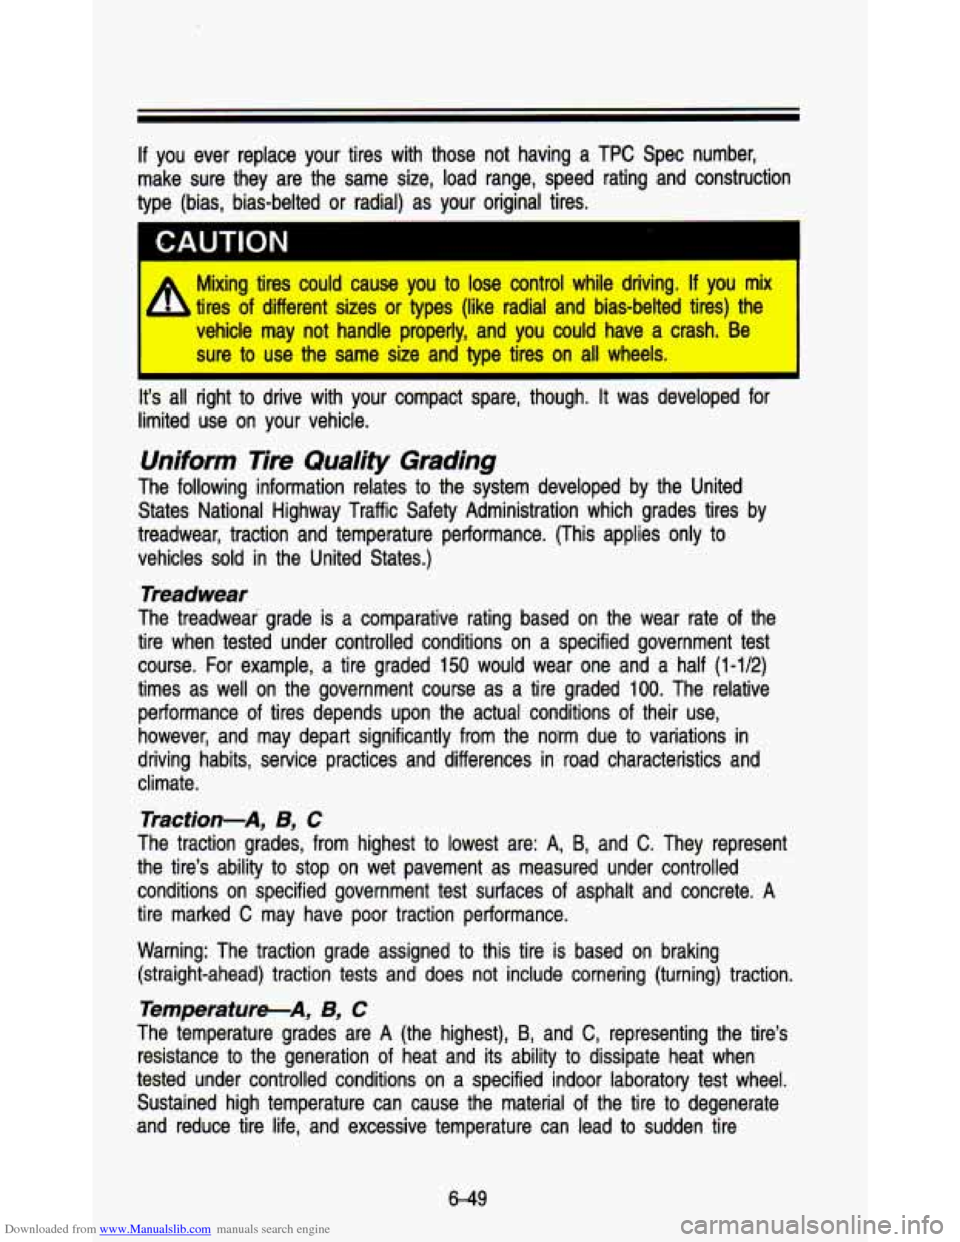
Downloaded from www.Manualslib.com manuals search engine If you ever replace your tires with those not having a TPC Spec \
number,
make sure they are the same size, load range, speed rating an\
d construction
type (bias, bias-belted
or radial) as your original tires.
A
Mixing tires could cause you to lose control while driving. If you mix
tires
of different sizes or types (like radial and bias-belted tires) the
vehicle may not handle properly, and you could have a crash. Be
sure
to use the same size and type tires on all wheels. I
It’s all right to drive with your compact spare, though. It was developed for
limited use on your vehicle.
Uniform Tire Quality Grading
The following information relates to the system developed by the United
States National Highway Traffic Safety Administration which grade\
s tires by
treadwear, traction and temperature performance. (This applies o\
nly
to
vehicles sold in the United States.)
Treadwear
The treadwear grade is a comparative rating based on the wear \
rate of the
tire when tested under controlled conditions on a specified governmen\
t test
course.
For example, a tire graded 150 would wear one and a half (142)
times as well on the government course as a tire graded 100. The relative
performance of tires depends upon the actual conditions
of their use,
however, and may depart significantly from the norm due to var\
iations in
driving habits, service practices and differences in road charac\
teristics and
climate.
Traction-A, B, C
The traction grades, from highest to lowest are: A, B, and C. They represent
the tire’s ability
to stop on wet pavement as measured under controlled
conditions on specified government test surfaces of asphalt and \
concrete.
A
tire marked C may have poor traction performance.
Warning: The traction grade assigned
to this tire is based on braking
(straight-ahead) traction tests and does not include cornering \
(turning) traction.
Temperatur+A, B, C
The temperature grades are A (the highest), B, and C, representing the tire’s
resistance
to the generation of heat and its ability to dissipate heat when
tested under controlled conditions on a specified indoor laborat\
ory test wheel. Sustained high temperature can cause the material of the tire
to degenerate
and reduce tire life, and excessive temperature can lead
to sudden tire
6-49
Page 286 of 345

Downloaded from www.Manualslib.com manuals search engine failure. The grade C corresponds to a level of performance which all
passenger car tires must meet under the Federal Motor Vehicle \
Safety
Standard
No. 109. Grades B and A represent higher levels of performance on
the laboratory test wheel than the minimum required by law.
Warning: The temperature grade for this tire is established for\
a tire that is
properly inflated and not overloaded. Excessive speed, underinfla\
tion,
or
excessive loading, either separately or in combination, can cause heat buildup
and possible tire failure.
These grades are molded on the sidewalls of passenger car tire\
s.
While the tires available as standard
or optional equipment on General Motors
vehicles may vary with respect to these grades, all such tires meet General
Motors performance standards and have been approved for use on \
General
Motors vehicles.
All passenger type (P Metric) tires must conform to Federal
safety requirements in addition to these grades.
Wheel Alignment and lire Balance
The wheels on your vehicle were aligned and balanced carefully \
at the
factory to give you the longest tire life and best overall pe\
rformance.
In most cases, you will not need
to have your wheels aligned again.
However,
if you notice unusual tire wear or your vehicle pulling one way or
the other, the alignment may need to be reset. If you notice your vehicle
vibrating when driving on a smooth road, your wheels may need \
to be
rebalanced.
Wheel Replacement
Replace any wheel that is bent, cracked or badly rusted. If wheel nuts keep
coming loose the wheel, wheel
bolts, and wheel nuts should be replaced. If
the wheel leaks air out, replace it (except some aluminum whe\
els, which can
sometimes be repaired). See your GM dealer if any of these c\
onditions exist.
Your dealer will know the kind of wheel you need.
Each new wheel should have the same load carrying capacity dia\
meter, width,
offset, and be mounted the same way as the one
it replaces.
If you need to replace any of your wheels, wheel bolts, or wheel nuts,
replace them only with new GM original equipment parts. This way, you will
be sure you have the right wheel, wheel bolts, and wheel nuts\
for your
vehicle.
6-50
Page 287 of 345
Downloaded from www.Manualslib.com manuals search engine CAUTION
I
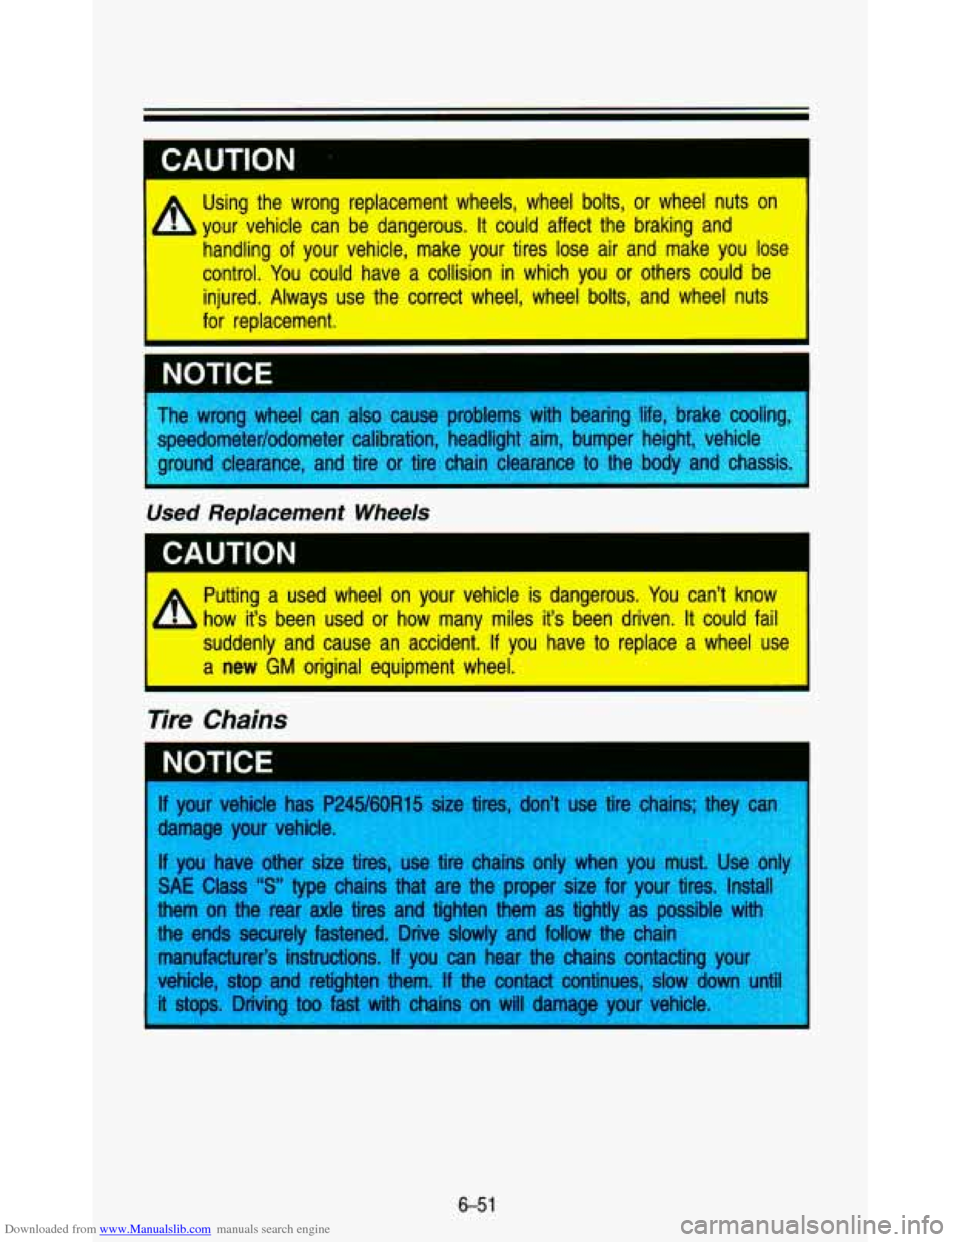
Using the wrong replacement wheels, wheel bolts, or wheel nuts \
on
your vehicle can be dangerous. It could affect the braking and\
handling
of your vehicle, make your tires lose air and make you lose
control. You could have a collision in which you or others could be
injured. Always use the correct wheel, wheel bolts, and wheel \
nuts
for replacement.
NOTICE I
The wrong wheel can also cause problems with bearing life, bra\
ke cooling, speedometer/odometer calibration, headlight aim, bumper height, vehiclc
ground clearance, and tire
or tire chain clearance to the body and chassi I
Used Replacement Wheels
Putting a used wheel on your vehicle is dangerous. You can’t know
how it’s been used or how many miles it’s been driven. It could fail
suddenly and cause an accident.
If you have to replace a wheel use
1 a new GM original equipment wheel.
Tire Chains
f your vehicle has PqA
iamage your vehicle
f you have other size tires, use tire chains only when you ... st. se on
SAE Class “S” type chains that are the proper size for your tires. lnst
hem on the rear axle tires and tighten them
as tightly as PO
he ends securely fastened. Drive slowly and follow the chain
nanufacturer’s instructions.
If you can hear the chains contacting your
rehicle, stop and retighten them.
If the contact continues, slow d8
t stops. Driving too fast with chains on will damage your vehicle.
6-5 1
Page 293 of 345
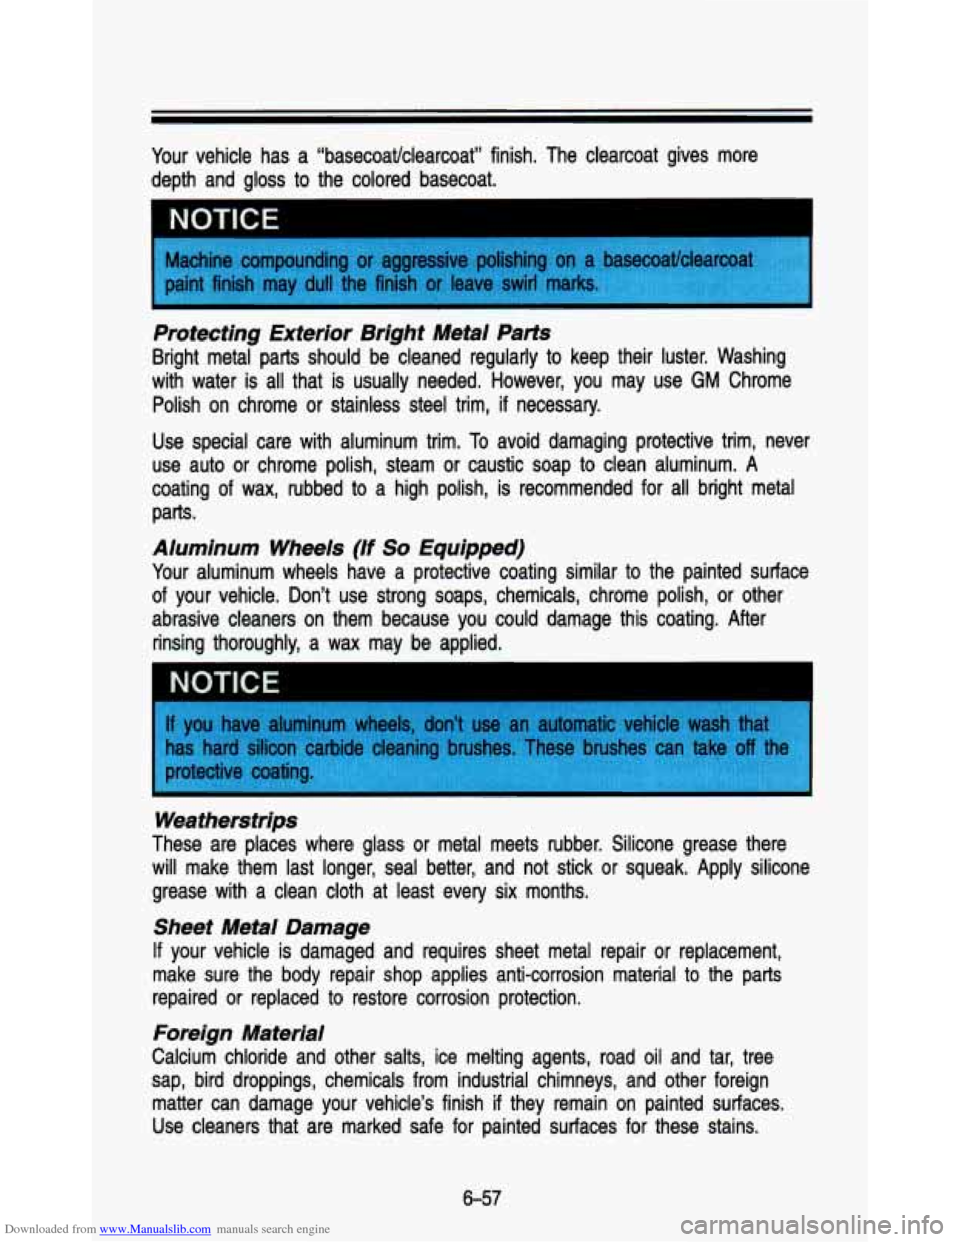
Downloaded from www.Manualslib.com manuals search engine Your vehicle has a “basecoat/clearcoat” finish. The clearcoat gi\
ves more
depth and gloss to the colored basecoat.
NU I ILt
- -
Machine compounding or aggressive polishing on a basecoatklearcoat
paint finish may dull the finish
or leave swirl marks.
Protecting Exterior Bright Metal Parts
Bright metal parts should be cleaned regularly to keep their l\
uster. Washing
with water is all that is usually needed. However, you may use
GM Chrome
Polish on chrome
or stainless steel trim, if necessary.
Use special care with aluminum trim. To avoid damaging protective trim, never
use auto
or chrome polish, steam or caustic soap to clean aluminum. A
coating of wax, rubbed to a high polish, is recommended for all bright metal
parts.
Aluminum Wheels (If So Equipped)
Your aluminum wheels have a protective coating similar to the \
painted surface
of your vehicle. Don’t use strong soaps, chemicals, chrome p\
olish,
or other
abrasive cleaners on them because you could damage this coating\
. After
rinsing thoroughly, a wax may be applied.
NOTICE
Weatherstrips
These are places where glass or metal meets rubber. Silicone grease there
will make them last longer, seal better, and not stick
or squeak. Apply silicone
grease with a clean cloth at least every six months.
Sheet Metal Damage
If your vehicle is damaged and requires sheet metal repair or replacement,
make sure the body repair shop applies anti-corrosion material \
to the parts
repaired
or replaced to restore corrosion protection.
Foreign Material
Calcium chloride and other salts, ice melting agents, road oil \
and tar, tree
sap, bird droppings, chemicals from industrial chimneys, and oth\
er foreign matter can damage your vehicle’s finish
if they remain on painted surfaces.
Use cleaners that are marked safe for painted surfaces for the\
se stains.
6-57
Page 300 of 345
Downloaded from www.Manualslib.com manuals search engine Service & Appearance Cam
Be sure to use the correct fuse. If you ever have a problem on the road and
don’t have a spare fuse, you can “borrow” one of the correct value. Just pick
some feature of your
cigarette lighter-and
as soon
as you can.
information.
Capacities
vehicle that you can get along without-like the radio or
use its fuse,
if it is of the value you need.. Replace it
See “Fuses and Circuit Breakers” in the Index for more
and Specification Charts
Replacement Parfs
Replacement part numbers listed in this section are based on the latest
information available at the time of printing, and are subject to change.
If a
part listed in this manual is not the same as the part used in your vehicle
when
it was built, or if you have any questions, please contact your GM
dealer.
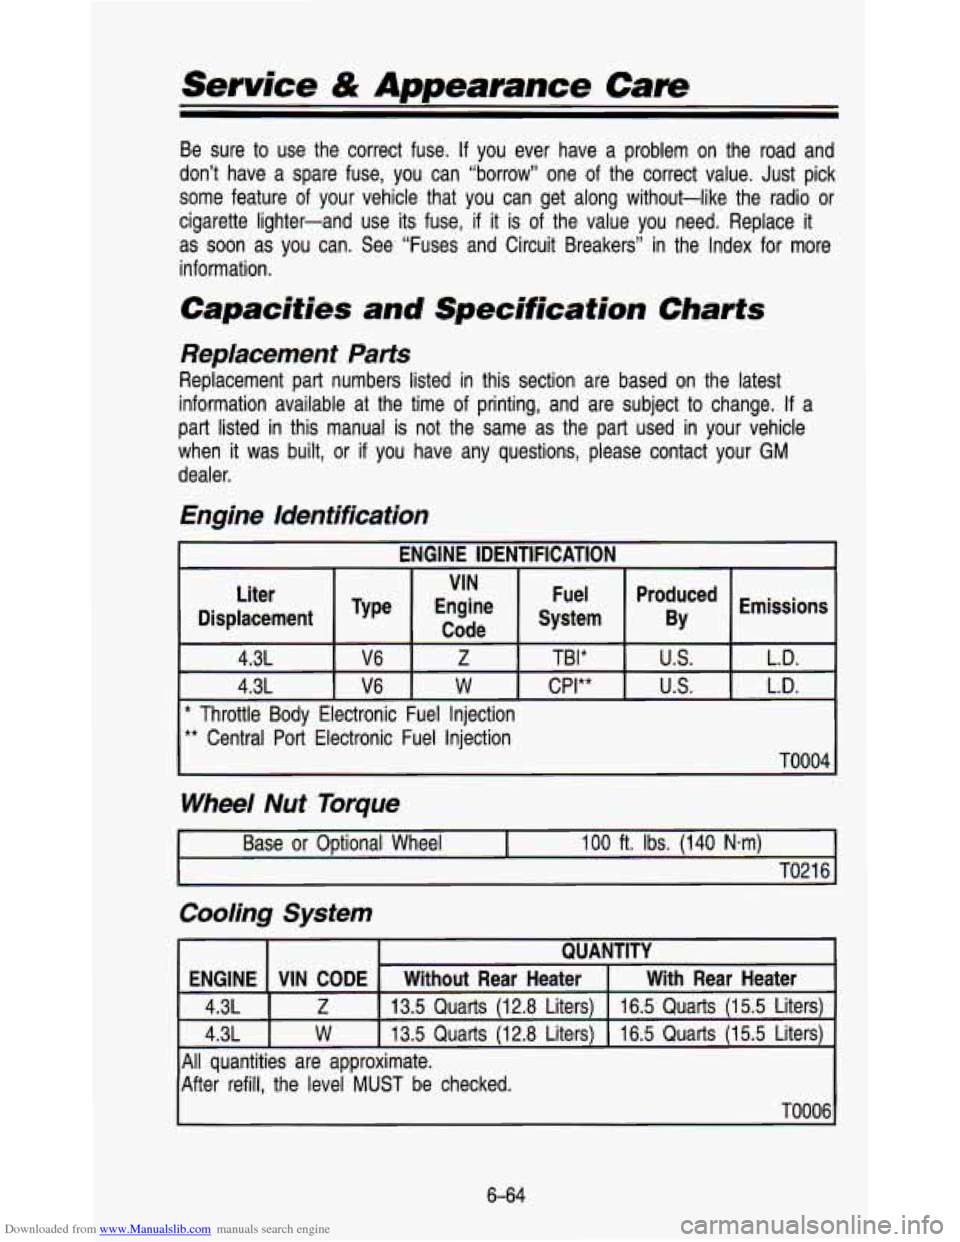
Engine Identification
IGINE IDENTIFICATION
Liter VIN
Fuel
Code
BY Displacement System
Engine
Type
Produced Emissions
4.3L
L.D. U.S. CPI** W V6 4.3L L.D.
us. TBI* Z V6
* Throttle Body Electronic Fuel Injection
** Central Port Electronic Fuel Injection
~0004
Wheel Nut Torque
I Base or Optional Wheel I 100 ft. Ibs. (140
N-m) I
I TO21 6 I
Cooling System
ENGINE With Rear Heater
Without Rear Heater
VIN CODE
QUANTITY
4.3L I Z
16.5 Quarts (1 5.5 Liters)
13.5 Quarts (1 2.8 Liters)
4.3L I w
16.5 Quarts (I 5.5 Liters) 13.5 Quarts (1 2.8 Liters)
All quantities are approximate.
After refill, the level
MUST be checked.
TO006
6-64
Page 312 of 345
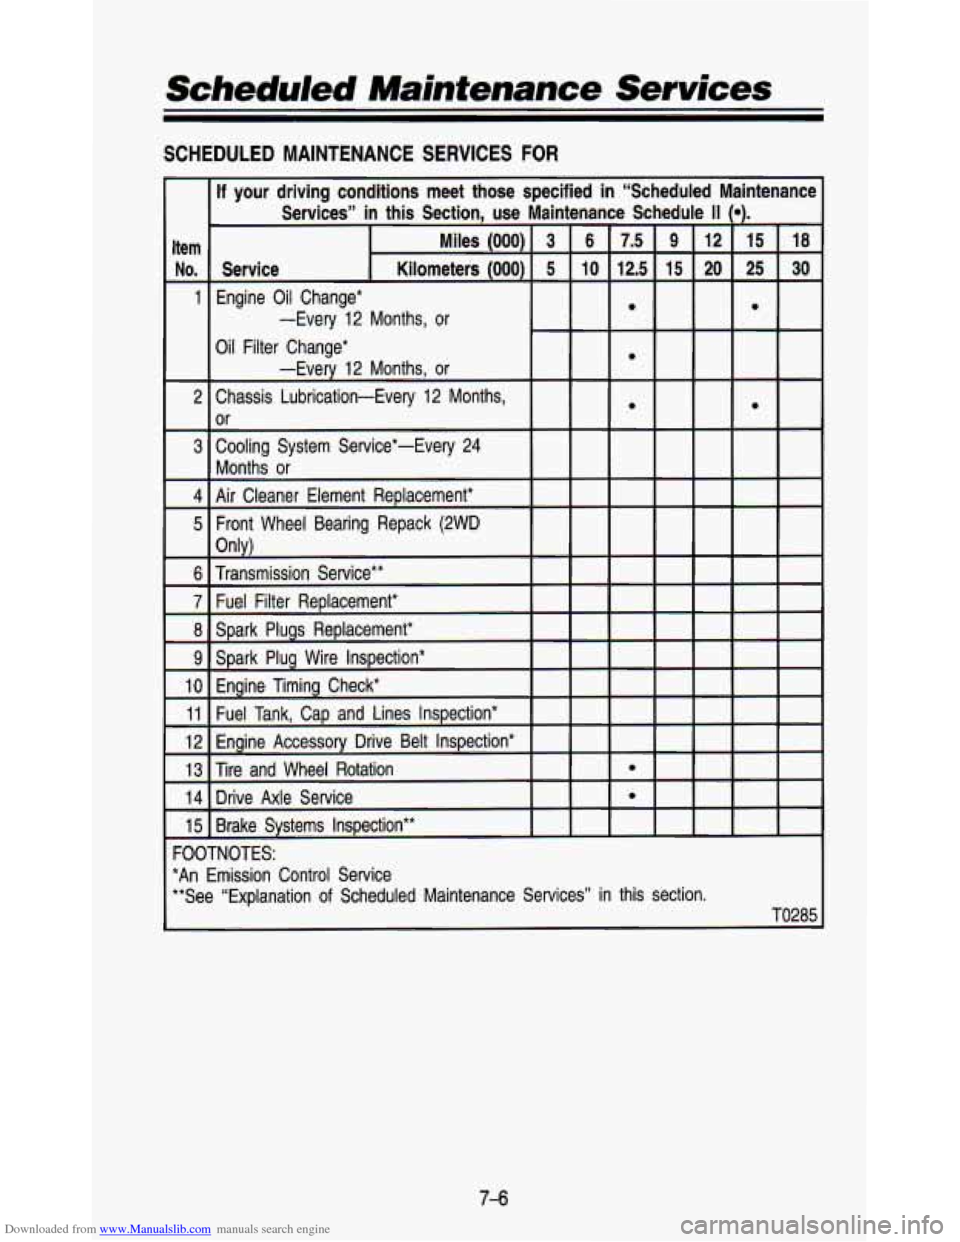
Downloaded from www.Manualslib.com manuals search engine Scheduled Maintenance Services
SCHEDULED MAINTENANCE SERVICES FOR
13
14
15
-
-
-
If your driving conditions meet those specified in “Scheduled Ma\
intenance I
Services” in this Section, use Maintenance Sc
Spark Plug Wire Inspection*
Engine Timing Check*
Fuel Tank, Cap and Lines Inspection*
Engine Accessory Drive Belt Inspection*
Tire and Wheel Rotation
e
Drive Axle Service e
Brake Systems Inspection**
FOOTNOTES:
*An Emission Control Service
**See “Explanation
of Scheduled Maintenance Services” in this section.
TO285
7-6
Page 314 of 345
Downloaded from www.Manualslib.com manuals search engine Scheduled Maintenance Services
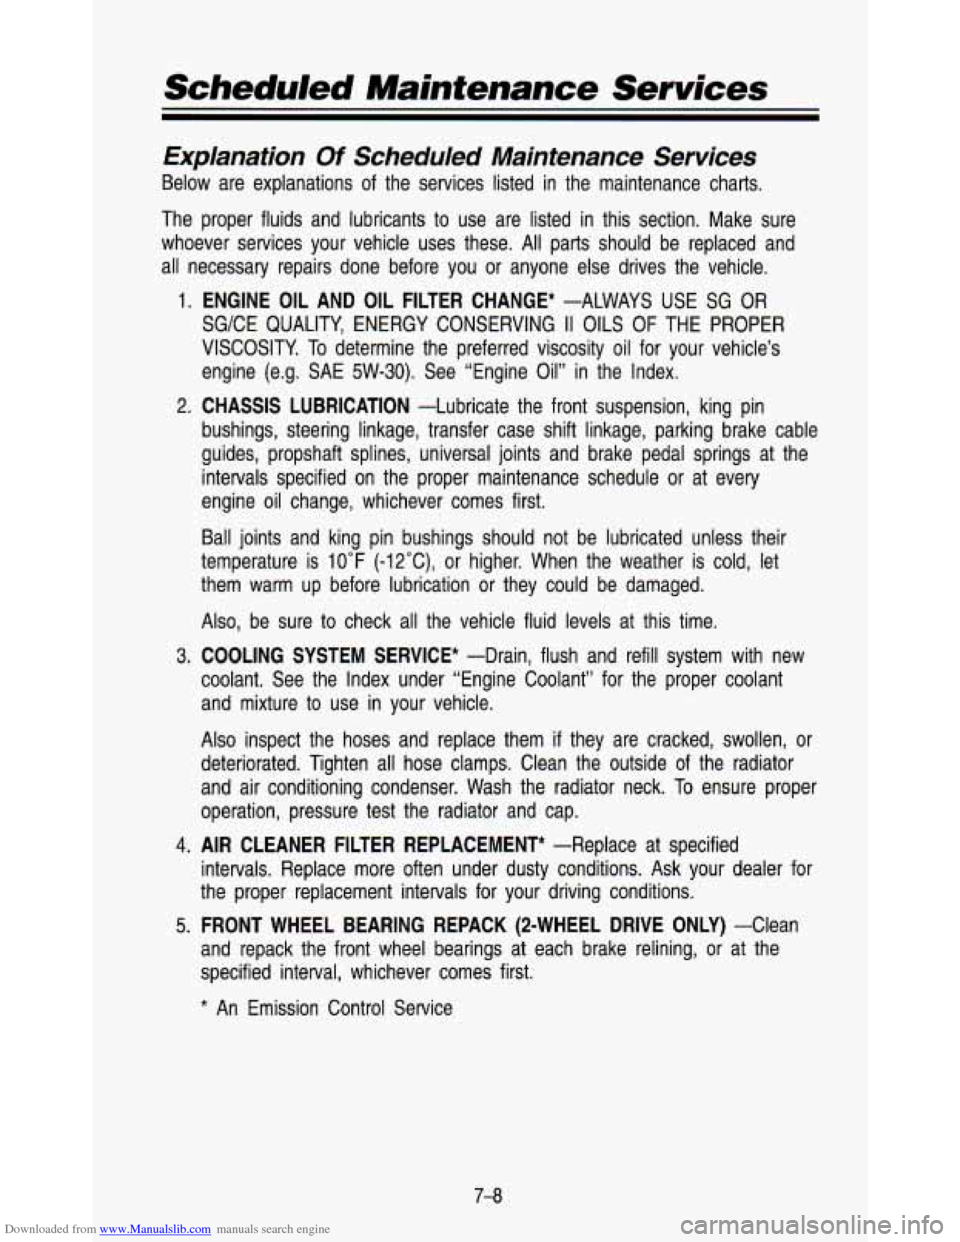
Explanation Of Scheduled Maintenance Services
Below are explanations of the services listed in the maintenance charts.
The proper fluids and lubricants to use are listed in this section. Make sure
whoever services your vehicle uses these. All parts should be \
replaced and
all necessary repairs done before you or anyone else drives th\
e vehicle.
1. ENGINE OIL AND OIL FILTER CHANGE* -ALWAYS USE SG OR
SG/CE QUALITY, ENERGY CONSERVING II OILS OF THE PROPER
VISCOSITY.
To determine the preferred viscosity oil for your vehicle’s
engine (e.g. SAE 5W-30). See “Engine Oil” in the Index.
bushings, steering linkage, transfer case shift linkage, parking \
brake cable
guides, propshaft splines, universal joints and brake pedal spri\
ngs at the
intervals specified on the proper maintenance schedule or at ev\
ery
engine oil change, whichever comes first.
2.
CHASSIS LUBRICATION -Lubricate the front suspension, king pin
Ball joints and king pin bushings should not be lubricated unl\
ess their
temperature is
10°F (-12”C), or higher. When the weather is cold, let
them warm up before lubrication or they could be damaged.
Also, be sure to check all the vehicle fluid levels at this time.
3.
COOLING SYSTEM SERVICE* -Drain, flush and refill system with new
coolant. See the Index under “Engine Coolant” for the pro\
per coolant and mixture to use in your vehicle.
Also inspect the hoses and replace them
if they are cracked, swollen, or
deteriorated. Tighten all hose clamps. Clean the outside of the radiator
and air conditioning condenser. Wash the radiator neck.
To ensure proper
operation, pressure test the radiator and cap.
4. AIR CLEANER FILTER REPLACEMENT* -Replace at specified
intervals. Replace more often under dusty conditions. Ask your \
dealer for
the proper replacement intervals for your driving conditions.
5. FRONT WHEEL BEARING REPACK (2-WHEEL DRIVE ONLY) -Clean
and repack the front wheel bearings at each brake relining, or at the
specified interval, whichever comes first.
* An Emission Control Service
Page 316 of 345
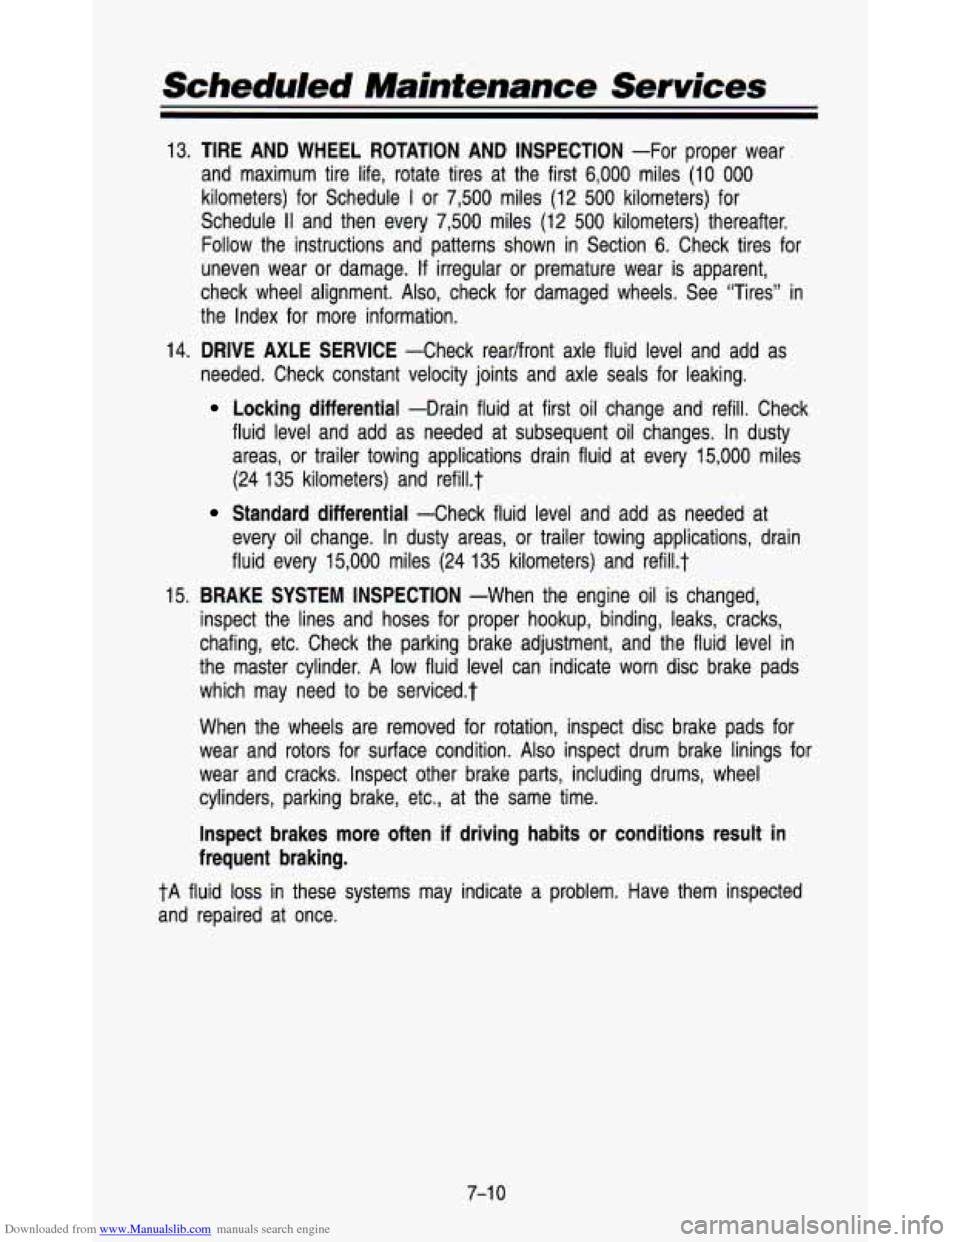
Downloaded from www.Manualslib.com manuals search engine 13. TIRE AND WHEEL ROTATION AN- INSPECTION -For proper wear
and maximum tire life, rotate tires at the first
6,000 miles (1 0 000
kilometers) for Schedule I or 7,500 miles (12 500 kilometers) for
Schedule
II and then every 7,500 miles (12 500 kilometers) thereafter.
Follow the instructions and patterns shown in Section
6. Check tires for
uneven wear or damage.
If irregular or premature wear is apparent,
check wheel alignment.
Also, check for damaged wheels. See “Tires” in
the Index for more information.
14.
DRIVE AXLE SERVICE -Check readfront axle fluid level and add as
needed. Check constant velocity joints and axle seals for leaki\
ng.
Locking differential -Drain fluid at first oil change and refill. Check
fluid level and add as needed at subsequent oil changes. In d\
usty areas, or trailer towing applications drain fluid at every 15,000 miles
(24 135 kilometers) and refi1l.t
Standard differential -Check fluid level and add as needed at
every oil change. In dusty areas, or trailer towing application\
s, drain
fluid every
15,000 miles (24 135 kilometers) and refi1l.t
15.
BRAKE SYSTEM INSPECTION -When the engine oil is changed,
inspect the lines and hoses for proper hookup, binding, leaks, \
cracks,
chafing, etc. Check the parking brake adjustment, and the fluid\
level in
the master cylinder.
A low fluid level can indicate worn disc brake pads
which may need
to be serviced$
When the wheels are removed for rotation, inspect disc brake p\
ads for
wear and rotors for surface condition.
Also inspect drum brake linings for
wear and cracks. Inspect other brake parts, including drums, wh\
eel
cylinders, parking brake, etc., at the same time.
Inspect brakes more often if driving habits or conditions result in
frequent braking.
tA fluid loss in these systems may indicate a problem. Have them inspected
and repaired at once.
7-1 0