1993 CADILLAC FLEETWOOD light
[x] Cancel search: lightPage 158 of 386
Downloaded from www.Manualslib.com manuals search engine AM
The range for most AM stations is greater than for FM, especially at
night. The longer range, however, can cause stations to interfere with
each other. AM can pick up noise from things like storms and power
lines.
Dolby@
This feature automatically removes noise on Dolby encoded tapes (no
button is required).
AM Stereo
This means the Delco@ system can receive C-QUAM@ stereo broadcasts.
Many
AM stations around the country use C-QUAM@ to produce stereo,
though some do not. (C-QUAM@ is a registered trademark of Motorola,
Inc.) If your Delco@ system can get C-QUAM@, your
“ST” light will
come on when you’re receiving it.
*Dolby@ is a registered trademark of Dolby Laboratories.
This means that your sound system can produce quality AM sound
comparable to FM stereo. AMAX@ reduces noise without reducing the
high frequencies you need for the best sound. ,In addition to improved
sound quality,
AMAX@ includes more stations on the AM band. You
don’t have to
do anything in your radio because AMAX@ is automatic.
n ‘€1 U’
n
a
*Dolby@ is a registered trademark of Dolby Laboratories.
n
%rI
n
111
144
Page 160 of 386
Downloaded from www.Manualslib.com manuals search engine The upper knob
The upper knob does these four things:
It turns the radio on and off.
n
It controls the volume.
Volume level automatically adjusts to compensate for road and wind
noise as your driving your Cadillac. Adjust the volume
to the listening
level you want at any time. Then as you drive the volume
will change
to match the noise present at any particular speed. The volume should
always sound close to the same level to you as you drive.
It lets you see what station you have. (When the radio is on, push the 'k
knob to display the station.)
i9
n
U
r
It tells you the time. (When the ignition is off, push the upper knob to
display the time.)
1. >
Behind the upper knob is a balance control. It moves the sound between
the left and right speakers.
f---
7
u
The lower knob
Turn the lower knob to choose radio stations. Push the knob to switch
from
AM to FM.
The control behind the lower knob moves the sound between your front -
and rear speakers. 'I i
SCAN n I
When you pash this switch either up or down, the SCAN indicator in the
display will light and the radio will find the next station and stay there for
5 to 10 seconds. Then it will go to the next station and pause, and keep
doing that. When you want it to stop, just push either the SCAN switch
2, I
again or the upper knob. I
SEEK
This switch chooses stations, but it doesn't keep moving as SCAN does.
When you push
SEEK up or down, the radio will automatically go to the
next strongest station and stay there.
_a
146
Page 165 of 386
Downloaded from www.Manualslib.com manuals search engine r The tape equalization is automatically sensed and set. Inserting the
cassette also automatically disables
DNR@ * and activates DOLBY @
noise reduction.
DNR@ is the Dynamic Noise Reduction. It helps remove background hiss
noise from the radio.
0
0
0
.-
Once the tape is playing, use the upper and lower knobs to adjust the
volume and balance, just as you do for the radio. Push the upper knob
to change tape direction. The arrows show which direction the tape is
being played.
To go forward rapidly to another part of the tape push FWD. To go
backward, push REV.
To stop the tape, push the same button lightly or
any
of the other buttons. The radid will play during fast forward or
reverse.
To go from one side of the tape to the other, push in the upper knob
on your radio. To remove the tape, push EJECT. The tape can be
ejected when the ignition is turned off.
SCAN
Push the SCAN button up to jump quickly to the next selection or down
to return to the beginning of the selection you just heard. The tape
will
play for approximately 15 seconds to sample a selection before going on
again or the upper knob. If the selection is at the end of the tape, the tape
will reverse directions and begin playing at a normal speed.
- to the next selection. To stop the SCAN function, just press it up or down
.-.
SEEK
Push the SEEK button up to quickly go to the beginning of the next
selection. Push the SEEK button down to go back to the beginning of the
selection you are listening to.
During the SCAN and SEEK functions the radio will not play. -.-
*DNR@ is a registered trademark of National Semiconductor
Corporation.
--
151
Page 167 of 386

Downloaded from www.Manualslib.com manuals search engine r
e Within 5 seconds press it a second time to see how long the disc has
e Press it a third time to see the time of day.
been
playing.
To Program ’Ikacks
You can program up to 10 tracks for your listening pleasure.
1. Press the RCL/PROG knob. “CD” and “TRACK” will light in the
2. Within 5 seconds, turn the lower TUNE knob to the track you want to
display.
This also allows you to program disc track playback.
hear first. The track number will flash.
3. Press the SET button and the track number will stop flashing. This
indicates that the track is programmed.
4. Repeat steps 2 and 3 to program up to 9 more tracks.
5. Press the RCL/PROG knob a second time to begin playing the first
To cancel the programming mode press RCL/PROG and press SET If
~ “ALE is showing on the display, allow 10 seconds to pass. You can also
cancel the programming mode by ejecting the disc.
programmed
track.
Push this switch up or down
to go to the beginning of the next or previous
track. At least
8 seconds must have played for the SEEK function to find
~ the start of the current track.
SCAN
Push this switch up or down to sample about 15 seconds of the beginning
of each track. Press it again or the upper knob to stop the SCAN
function.
Note:
If you are in the Program mode, it is possible to modify the
playback order by using the TUNE knob.
If you need to review the
playback order use either the SEEK or SCAN switch. This review can be
stopped by pushing the SCAN switch.
~
7
-
153
Page 168 of 386
Downloaded from www.Manualslib.com manuals search engine - t
REV (Reverse)
Push and hold REV to return rapidly to a favorite passage. Release it to
play the passage. The elapsed time will be displayed to show the reverse
progress of the
CD.
FWD (Fast Forward)
Press and hold FWD to advance quickly within a track. Release it to
resume playing. Elapsed time will be displayed to show the forward
progress
of the CD.
ST-EJECT (Stop-Eject)
Press ST-EJECT The disc or tape will stop without ejecting it and the
radio will start to play. Press it again and the disc
or tape will eject.
PLAY
Press PLAY to restart the disc or tape. It will begin playing at the point
where it had stopped. If the CD and cassette tape are inserted at the
same time, pressing the play button will switch between CD and the Tape.
COMP (Compression)
r-) U
1 I. L
Pressing COMP makes soft and loud passages more nearly equal in
volume. For example, playing classical or jazz music with very quiet and
very loud passages in the same tune. The COMP display will light as long
as COMP
is on. E
Setting The Clock
Turn the ignition and radio on. Then:
To Set the Hour:
Press SET, and within 5 seconds,
"I Lr/ 'i
Press and hold SEEK up or down. When the clock gets to the correct
hour, let go. -
Page 169 of 386

Downloaded from www.Manualslib.com manuals search engine r
C.
To Set the Minutes:
0 Press SET, and within 5 seconds,
0 Press and hold SCAN up or down. When the clock gets to the correct
minute, let go.
Your clock is set.
Care of Your Cassette Tape Player
A tape player that is not cleaned regularly can cause reduced sound
quality, ruined cassettes, or a damaged mechanism. Cassette tapes should
be stored in their cases away from contaminants, direct sunlight, and
extreme heat.
If they aren’t, they may not operate properly or cause
failure
of the tape player.
Your tape player should be cleaned regularly each month or after every
15 hours of use. If you notice a reduction in sound quality, try a known
good cassette to see if the tape or the tape player is at fault.
If this other
cassette has no improvement in sound quality, clean the tape player.
Clean your tape player with a wiping-action, non-abrasive cleaning
cassette, and follow the directions provided with it.
~
Cassettes are subject to wear and the sound quality may degrade over
time. Always make sure that the cassette tape is in good condition before
you have your tape player serviced.
Care of Your Compact Discs
Handle discs carefully. Store them in their original cases or other
protective cases and away from direct sunlight and dust.
If the surface of
- a disc is soiled, dampen a clean, soft cloth in a mild, neutral detergent
solution and clean it, wiping from the center to the edge.
Be sure never to touch the signal surface
when handling discs. Pick up
edge.
I discs by grasping the outer edges or the edge of the hole and the outer
7 Power Antenna Mast Care
Your power antenna will look its best and work well if it’s cleaned from
time to time.
155
Page 178 of 386
Downloaded from www.Manualslib.com manuals search engine TRAFFIC LIGHTS
r-
L1
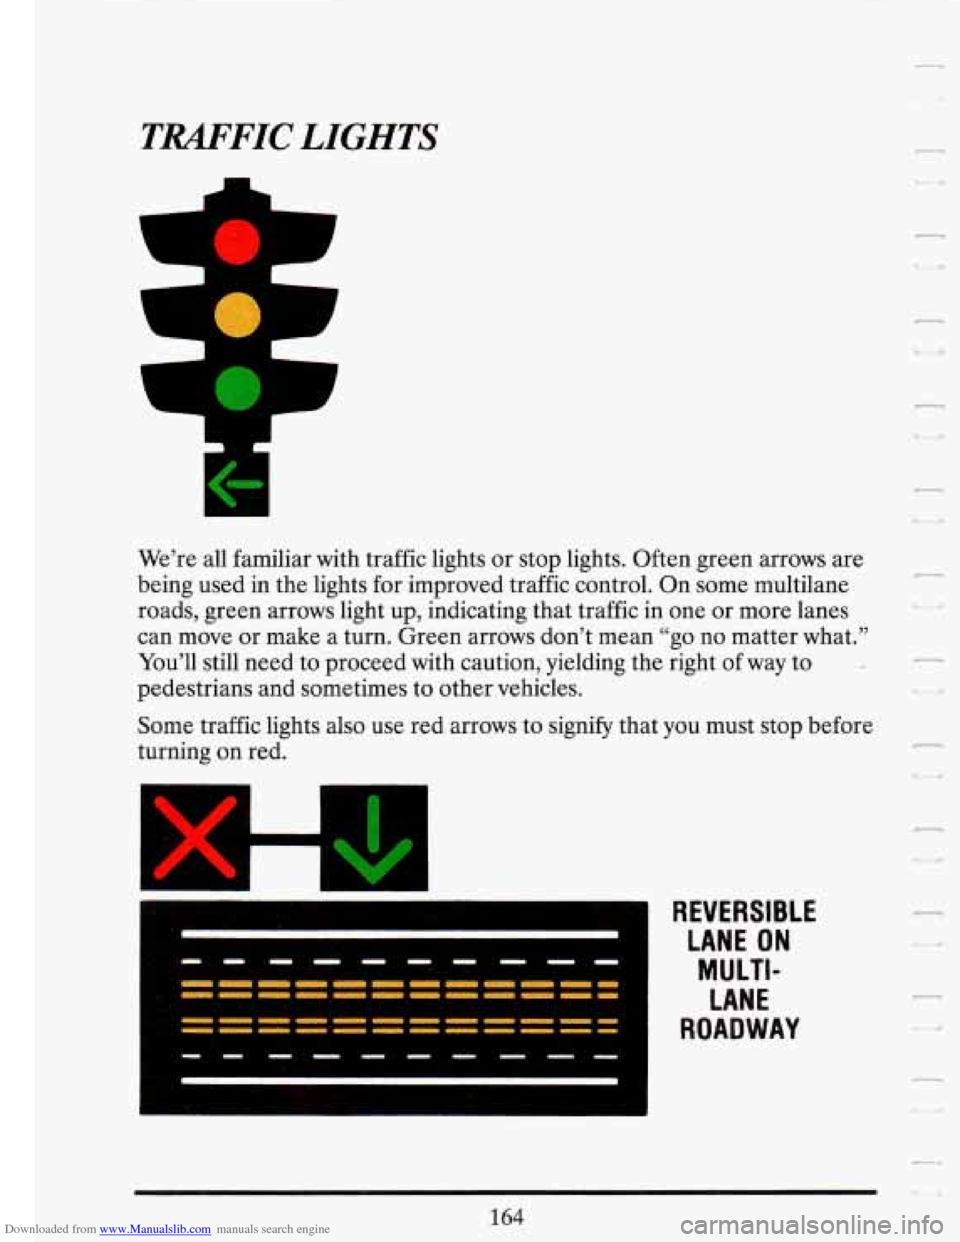
We’re all familiar with traffic lights or stop lights. Often green arrows are
being used in the lights for improved traffic control. On some multilane
roads, green arrows light up, indicating that traffic in one or more lanes
can move or make a turn. Green arrows don’t mean “go no matter what.”
You’ll still need to proceed with caution, yielding the right
of way to -
pedestrians and sometimes to other vehicles.
Some traffic lights also use red arrows to signify that
you must stop before
turning on red.
REVERSIBLE LANE ON
M 0 LTl-
LANE
ROADWAY
164
r
U
Page 179 of 386
Downloaded from www.Manualslib.com manuals search engine Many city roads and expressways, and even bridges, use reversible-lane
traffic control during rush hours.
A red X light above a lane means no
driving in that lane at that time.
A green arrow means you may drive in
that lane.
Look for the signs posted to warn drivers what hours and days
these systems are in effect.
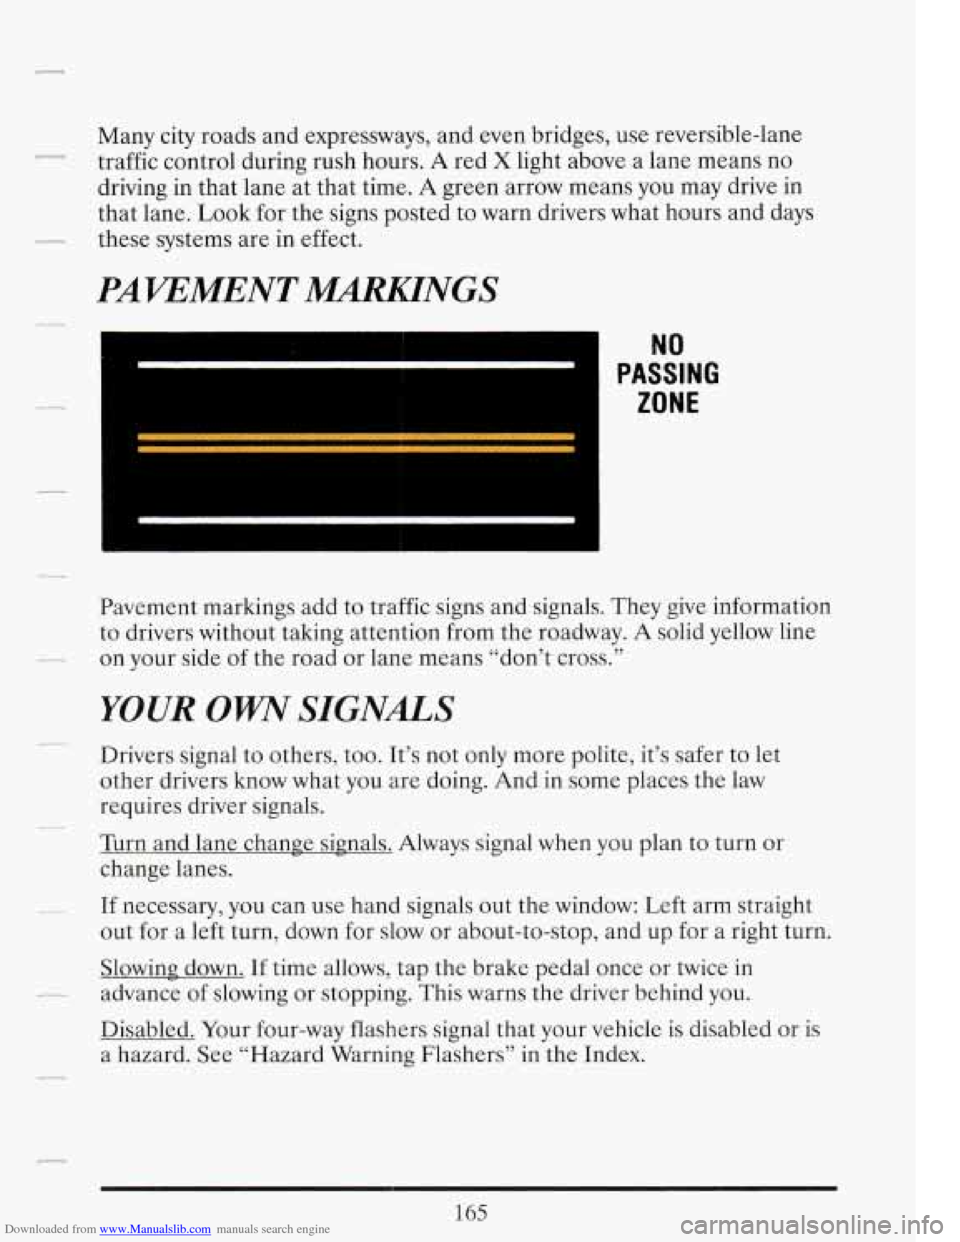
Pavement markings add
to traffic signs and signals. They give information
to drivers without taking attention from the roadway.
A solid yellow line
on your side of the road or lane means “don’t cross.’’
YOUR OWW SIGNALS
Drivers signal to others, too. It’s not only more polite, it’s safer to let
other drivers know what you are doing. And in some places the law
requires driver signals.
Turn and lane change signals. Always signal when you plan to turn or
change lanes.
If necessary, you can use hand signals out the window: Left arm straight
out for a left turn, down for slow or about-to-stop, and up for a right turn.
Slowing down. If time allows, tap the brake pedal once or twice in
advance of slowing or stopping. This warns the driver behind
you.
Disabled. Your four-way flashers signal that your vehicle is disabled or is
a hazard. See “Hazard Warning Flashers” in the Index.
165