Page 6 of 87

Downloaded from www.Manualslib.com manuals search engine BEFORE DRIVING YOUR VEGA
DRIVER CHECKLIST
Before Entering Car
1. See that windows , mirrors and
lights are clean.
2. Visually note inflation condition
of tires.
3. Check that area to rear
is clear
if about
to back up.
Before Driving Off
1. Lock all doors.
2. Position seat.
3. Adjust inside and outside
mirrors.
4. Fasten belt restraints.
5. Check that warning bulbs light
when key
is turned to start posi
tion.
6. Release parking brake (and see
that brake warning light turns
off).
7. Be sure you understand your
car and how to operate it safely.
Keys
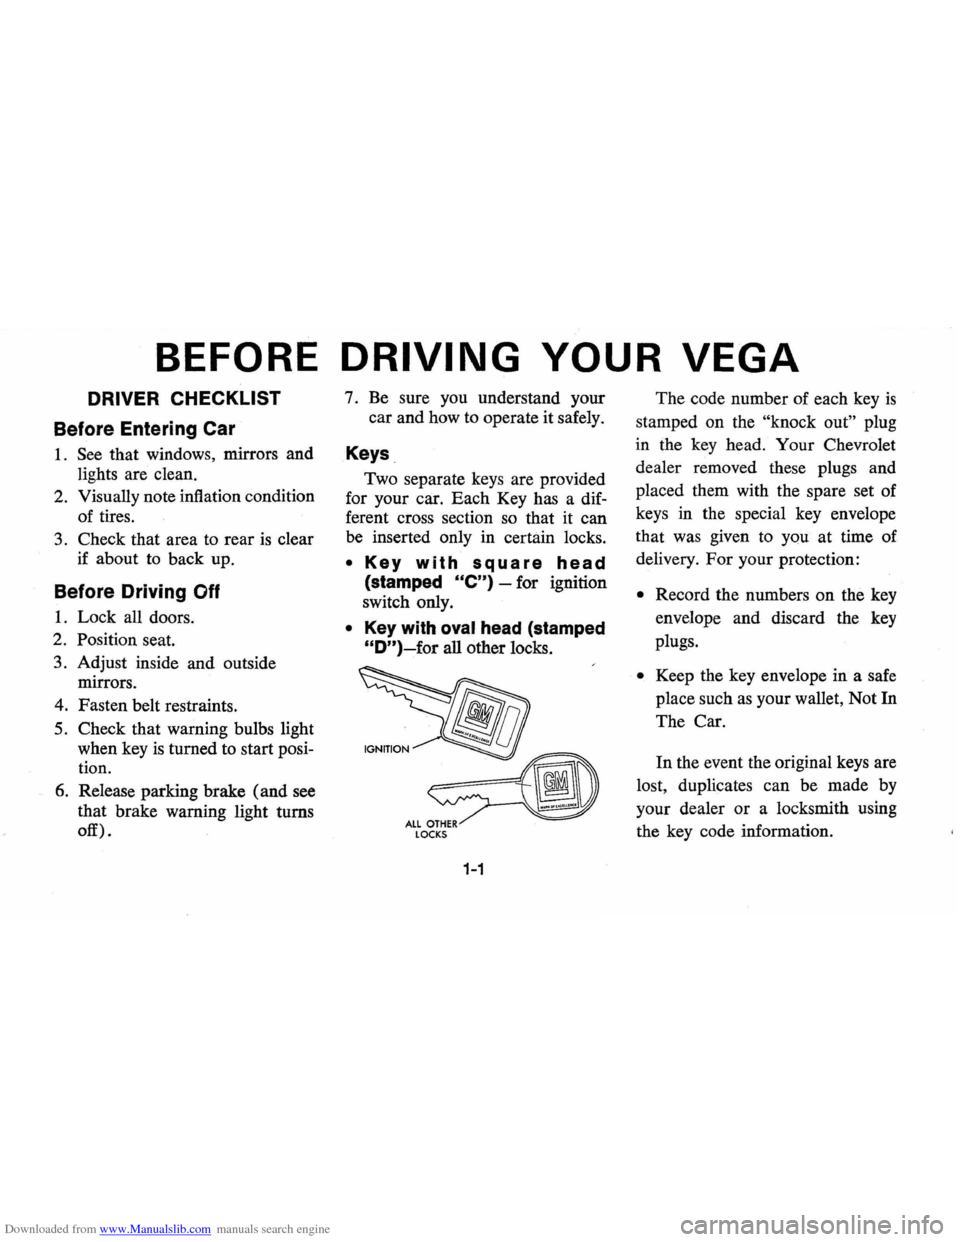
Two separate keys are provided
for your car. Each Key has a dif
ferent cross section so that it can
be inserted only in certain locks.
• Key with square head
(stamped Ole") -for ignition
switch only.
• Key with oval head (stamped
"D")~for all other locks.
LOCKS
1-1
The code number of each key is
stamped on the "knock out" plug
in the key head. Your Chevrolet
dealer removed these plugs and
placed them with the spare set of
keys in the special key envelope
that was given to you at time of
delivery.
For your protection:
• Record the numbers on the key
envelope and discard the key
plugs.
• Keep the key envelope in a safe
place such
as your wallet, Not In
The Car.
In the event the original keys are
lost, duplicates can be made by
your dealer or a locksmith using
the key code information.
Page 8 of 87
Downloaded from www.Manualslib.com manuals search engine wards, to help prevent damage to
these belt systems.
Manually Operated
Front
Seats
The front seats may be adjusted
forward or rearward by moving the
~---
control lever at the front of the
seat. Move control lever to the right
to release the locking mechanism;
then exert slight body pressure to
move seat to desired position. Re
lease control lever to lock seat
in
desired position.
1-3
Inside Rearview Mirror
Switct optional mirror to night
position to reduce glare from fol
lowing headlights .
To raise or lower
mirror to achieve desired field of
view, grasp mirror and exert
suffi
cient pressure by pushing or pulling
up , down or sideways.
Page 55 of 87

Downloaded from www.Manualslib.com manuals search engine Interior Glass Surface
The interior glass surface should
be cleaned
on a periodic basis for
continued good visibility. A com
mercial household glass cleaning
agent containing ammonia will re
move normal tobacco smoke
and
dust films sometimes caused by in
gredients used in vinyls, plastics
or
other interior trim materials.
EXTERIOR APPEARANCE
Your car is finished with General
Motors
"Magic-Mirror" acrylic lac
quer. This
is a finish of maximum
beauty which,
in depth of color,
gloss retention
and durability is
superior to conventional lacquer
finishes.
Washing Your Car
The best way to preserve the
finish
and maintain original beauty
of appearance
is to keep it clean. Wash
the
car in lukewarm or cold • water. Never use strong soap or
chemical detergents. Cleaning
agents should be quickly flushed
from the surfaces.
Polishing and Waxing
Your Car
Although acrylic paint on your
car is durable, you may wish to
wax
or polish for added protection.
Your Chevrolet Dealer offers many
polishes
and waxes now ava,ilable
which have proven of real value in
maintaining a good
paint finish.
When using a
tar and road oil
remover, be certain
it is safe for
use
on acrylic painted surfaces.
Protection of Exterior
Bright
Metal Parts
Bright metal parts should be
cleaned regularly to maintain
luster. Washing with water is all
that
is usually required. However,
G.M. Chrome Polish may be used
4-5
on CHROME or STAINLESS
STEEL trim . if necessary.
Use special care with ALU
MINUM trim. Never use auto
or chrome polish, stearn
or any
caustic soap to clean aluminum.
A coating of wax,
rubbed to a
high polish,
is recommended for
all bright metal parts.
Cleaning White Sidewall
Tires
Use a tire cleaner which will not
harm aluminum trim. A stiff brush
may
be used with the cleaner to
remove road grime
and dirt from
white sidewall tires.
Cleaning the Optional
Vinyl
Top
The top should be washed fre
quently with neutral soap suds,
lukewarm water
and a brush with
soft bristles. Rinse top with suffi
cient quantities of clear water to
remove all traces of soap.