Page 29 of 87
Downloaded from www.Manualslib.com manuals search engine INSTRUMENTS AND CONTROLS
1. Fuel Gauge 2. Warning Lights 3. Speedometer . 4. Hi Beam Indicator 5. Odometer 6. Clock
o STANDARD
o OPTIONAL
7. Glove Box 8. Windshield Wiper-Washer Control 9. Light Switch . 10. Optional Electro Clear Rear
Window Defogger Switch
11. Hazard Warning Control Button
2-13
12. Ignition Switch 13. Heater or Optional Air Conditioner Control 14. Ash Tray 15. Cigarette Lighter-16. Radio and Controls
Page 41 of 87

Downloaded from www.Manualslib.com manuals search engine Chevrolet II All Transistor" Radio
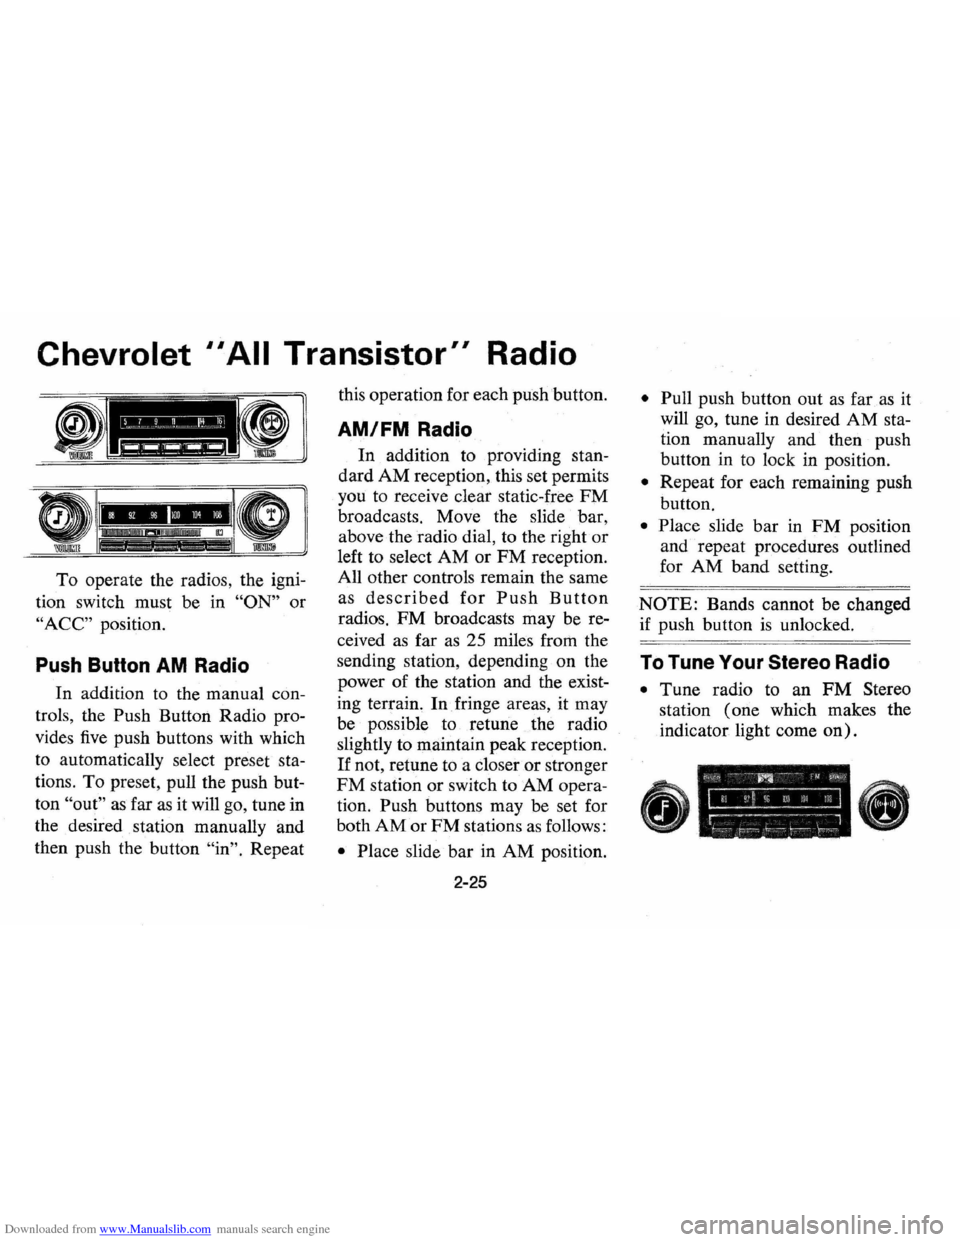
To operate the radios, the igni
tion switch must be in
"ON" or
"ACC" position.
Push Button AM Radio
In addition to the manual con
trols, the Push Button Radio pro
vides
five push buttons with which
to automatically select preset sta
tions . To preset, pull the push but
ton
"out" as far as it will go, tune in
the desired station manually and
then push the button
"in". Repeat this
operation for each push 'button.
AM/FM Radio
In addition to providing stan
dard
AM reception, this set permits
you to receive clear static-free
FM
broadcasts. Move the slide bar,
above the radio dial, to the right
or
left to select AM or FM reception.
All other controls remain the same
as
described for Push Button
radios. FM broadcasts may be re
ceived
as far as 25 miles from the
sending station, depending on the
power of the station and the exist
ing terrain.
In fringe areas, it may
be possible to
retune the radio
slightly to maintain peak reception.
If not, retune to a closer or stronger
FM station or switch to AM opera
tion. Push buttons may be set for
both
AM or FM stations as follows:
• Place slide bar in AM position.
2-25
• Pull push button out as far as it
will go, tune in desired
AM sta
tion manually and then push
button in to lock in position.
• Repeat for each remaining push
button.
• Place slide bar in FM position
and repeat procedures outlined
for
AM band setting.
NOTE: Bands cannot be changed
if push button
is unlocked.
To Tune Your Stereo Radio
• Tune radio to an FM Stereo
station (one which makes the
indicator light come
on).
Page 42 of 87

Downloaded from www.Manualslib.com manuals search engine • Turn the lever behind the station
selector
knob until volume from
front and
rear speakers sounds
equal.
• Regulate volume and tone con
trols as required.
Antenna
The radio antenna is incorpo
rated
in the windshield glass,. If
necessary, adjustments for maxi
mum antenna effectiveness can be
made by your authorized Chevrolet
dealer.
Stereo Tape System
The optional Stereo Tape Player
provides prerecorded stereo pro
grams for your enjoyment.
To play, turn ignition switch to
"ON" or "ACC" position and in-sert
cartridge through tape door
with label side up and open end
in
first. Tape will play through all four
programs in succession, then replay
in same sequence. Balancing the
speakers
is not required as this ad
justment has been made at the fac
tory.
Should it become necessary to
make this adjustment, see your
Chevrolet dealer.
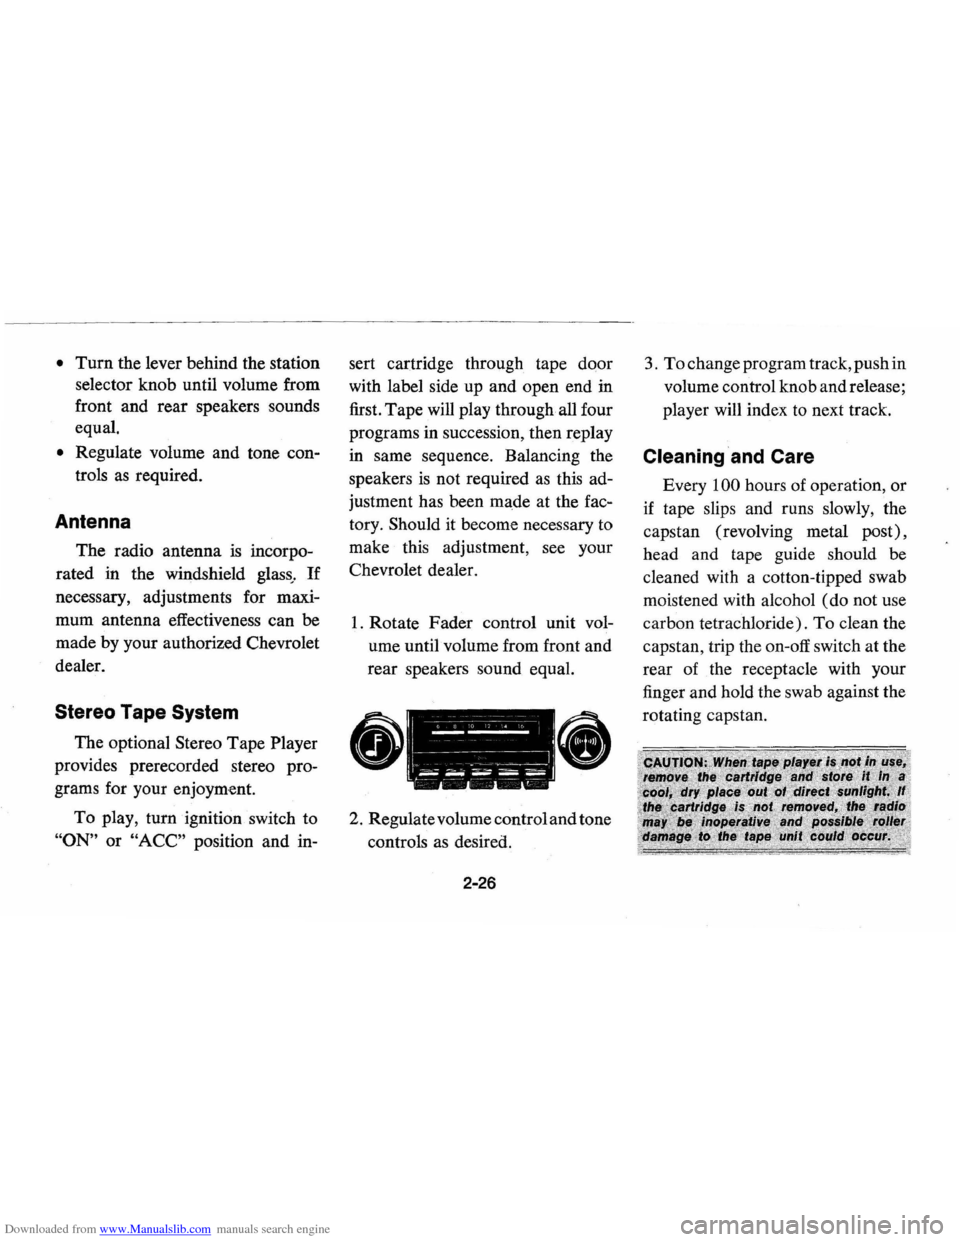
1. Rotate Fader control unit vol
ume until volume from front
and
rear speakers sound equal.
II -;-" -" --~~ -I --,-, , I ------1'
II -------j ~~ .... ~~~ i---~ I --,--
2 . Regulate volume control and tone
controls as desired.
2-26 3.
To change
program track, push in
volume control knob and release;
player will index to next track.
Cleaning 'and Care
Every 100 hours of operation , or
if tape slips and runs slowly, the
capstan (revolving metal post) ,
head and tape guide should be
cleaned with a cotton-tipped swab
moistened with alcohol
(do not use
carbon tetrachloride).
To clean the
capstan, trip the on-off switch
at the
rear of the receptacle with your
finger
and hold the swab against the
rotating capstan.
Page 85 of 87

Downloaded from www.Manualslib.com manuals search engine FUSES AND CIRCUIT BREAKER:
The headlamp circuits are protected by a circuit breaker in the
light switch . An -electrical overload will cause the lamps to go on
and off. or in some cases to remain off. If this condition develops,
have your wiring circuits checked immediately.
Turn Flasher, Fuel Gauge,lnstrument Panel Warning Lites, Seat Belt Warning, Heat Gauge. Tachometer. Backup lites, Idle Stop Sol. (Gauges) Brake Alarm and Low Coolant. ............................................ 20A
ELECTRIC FUEL RUN ..................•........................•... 1 OA
Radio ............................................................ 10A
Wiper. ........................................................... 25A
Heater or A/C ............... .-............ ; .. ; ..................... 25A
Instrument Panel Lites, Radio Lite ...........•....... ................. 4A
Traffic Hazard Flasher, Stop Lites ...........•.•................•••... 20A
Tail Lites-Marker lites-Park Lites ...........•.............. .•..... 20A
Clock-Dome-Lighter-Courtesy ..... .......................... ; ..... 20A
ElECTRIC FUEL START ...•................•.•••.•......•.•.••...... 10A
An Air Conditioning high blower fuse, 30 amp. is located in an In-line fuse holder running from horn relay to Air Conditioning relay.
Do not use fuses of higher amperage rating than those recommended above.
Fusible Links are incorporated into the wiring system, These are wires of such a gauge that they will fuse (or melt) before damage occurs to an entire wiring harness in the event of an electrical overload. See your Chevrolet Dealer if fusible link replacement becomes necessary.
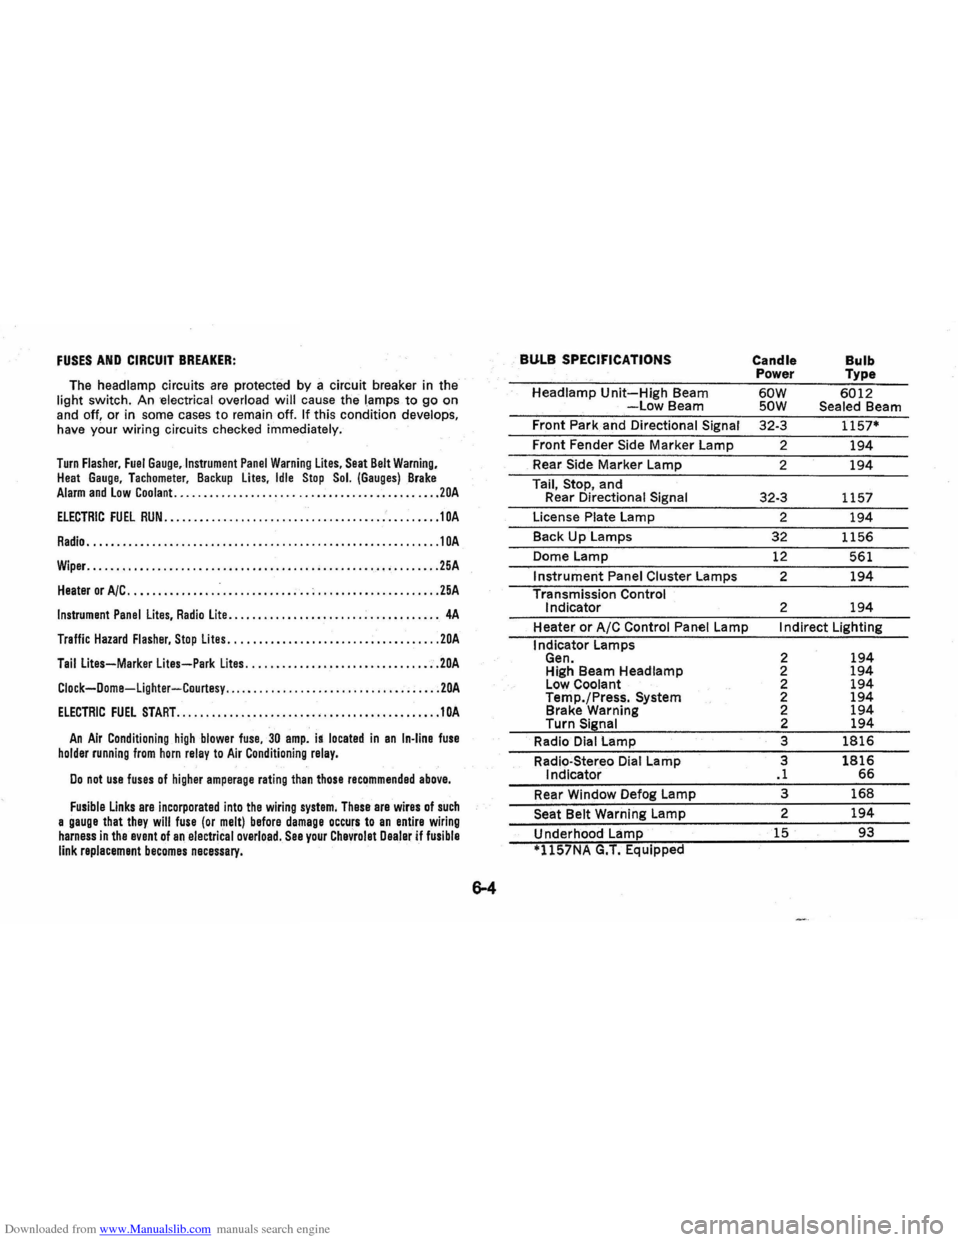
BULB SPECIFICATIONS
Headlamp Unit-High Beam -Low Beam
Front Park and Directional
Signal
Front Fender Side Marker Lamp
_ Rear Side Marker Lamp
Tail,
Stop, and
Rear Directional Signal
License Plate Lamp
Back
Up Lamps
Dome Lamp
Instrument Panel Cluster Lamps
Transmission Control
Indicator
Heater
or A/C Control Panel Lamp
I ndicator Lamps
Gen. High Beam Headlamp
Low Coolant
Temp./Press.
System Brake Warning
Turn Signal
Radio Dial Lamp
Radio-Stereo Dial Lamp
Indicator
Rear Window Defog Lamp
Seat Belt Warning Lamp
Underhood Lamp
*1l57NA G.T. Equipped
Candle
Bulb Power Type
60W 6012 SOW Sealed Beam
32-3
1157*
2 194
2 194
32-3 1157
2
194
32 1156
12 561
2
194
2 194
I ndirect Lighting
2
194 2 194 2 194 2 194 2 194 2 194
3 1816
3 1816 .1 66
3 168
2 194
15 93