1976 CHEVROLET VEGA light
[x] Cancel search: lightPage 6 of 87
Downloaded from www.Manualslib.com manuals search engine BEFORE DRIVING YOUR VEGA
DRIVER CHECKLIST
Before Entering Car
1. See that windows , mirrors and
lights are clean.
2. Visually note inflation condition
of tires.
3. Check that area to rear
is clear
if about
to back up.
Before Driving Off
1. Lock all doors.
2. Position seat.
3. Adjust inside and outside
mirrors.
4. Fasten belt restraints.
5. Check that warning bulbs light
when key
is turned to start posi
tion.
6. Release parking brake (and see
that brake warning light turns
off).
7. Be sure you understand your
car and how to operate it safely.
Keys
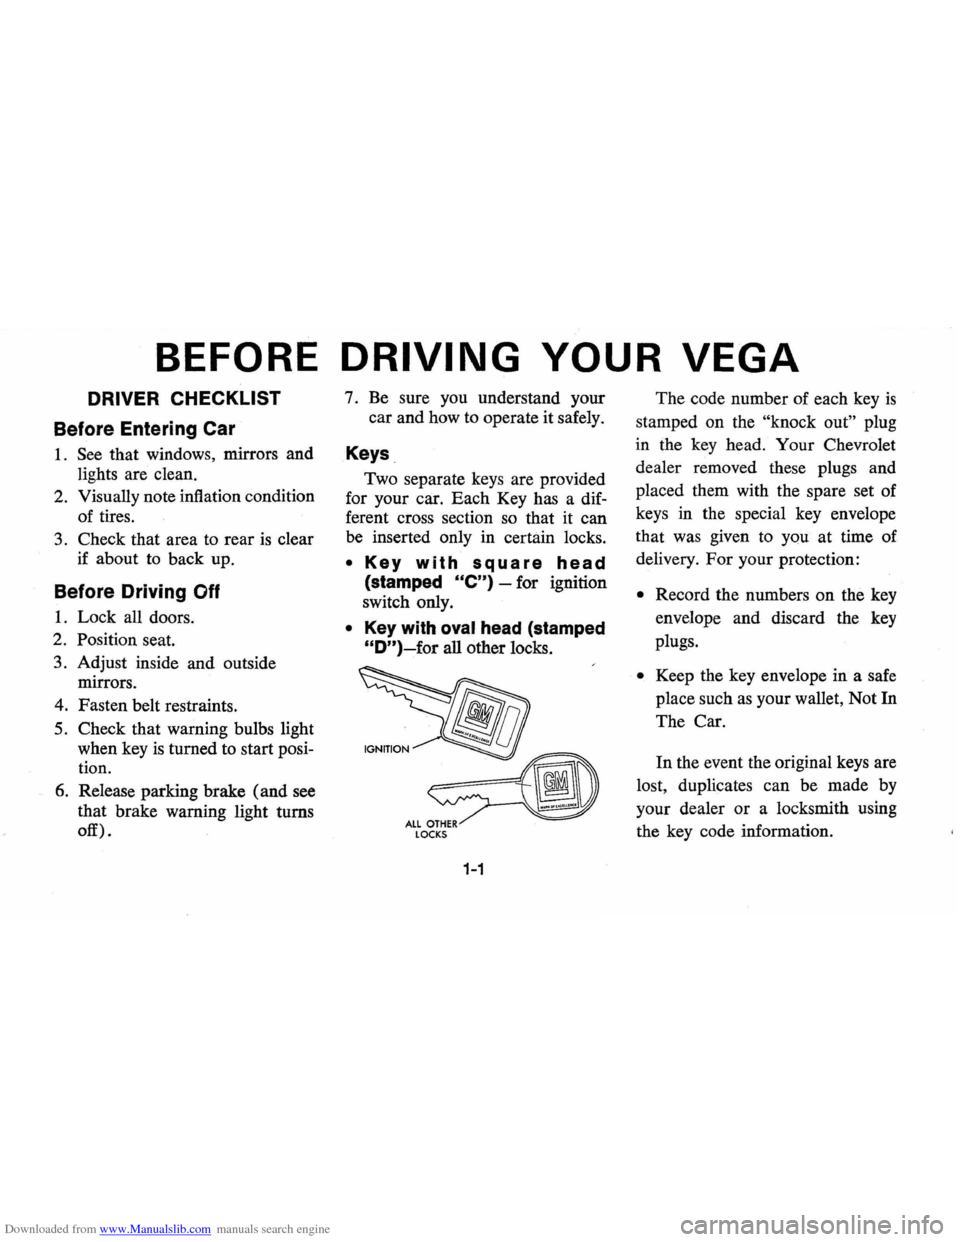
Two separate keys are provided
for your car. Each Key has a dif
ferent cross section so that it can
be inserted only in certain locks.
• Key with square head
(stamped Ole") -for ignition
switch only.
• Key with oval head (stamped
"D")~for all other locks.
LOCKS
1-1
The code number of each key is
stamped on the "knock out" plug
in the key head. Your Chevrolet
dealer removed these plugs and
placed them with the spare set of
keys in the special key envelope
that was given to you at time of
delivery.
For your protection:
• Record the numbers on the key
envelope and discard the key
plugs.
• Keep the key envelope in a safe
place such
as your wallet, Not In
The Car.
In the event the original keys are
lost, duplicates can be made by
your dealer or a locksmith using
the key code information.
Page 8 of 87
Downloaded from www.Manualslib.com manuals search engine wards, to help prevent damage to
these belt systems.
Manually Operated
Front
Seats
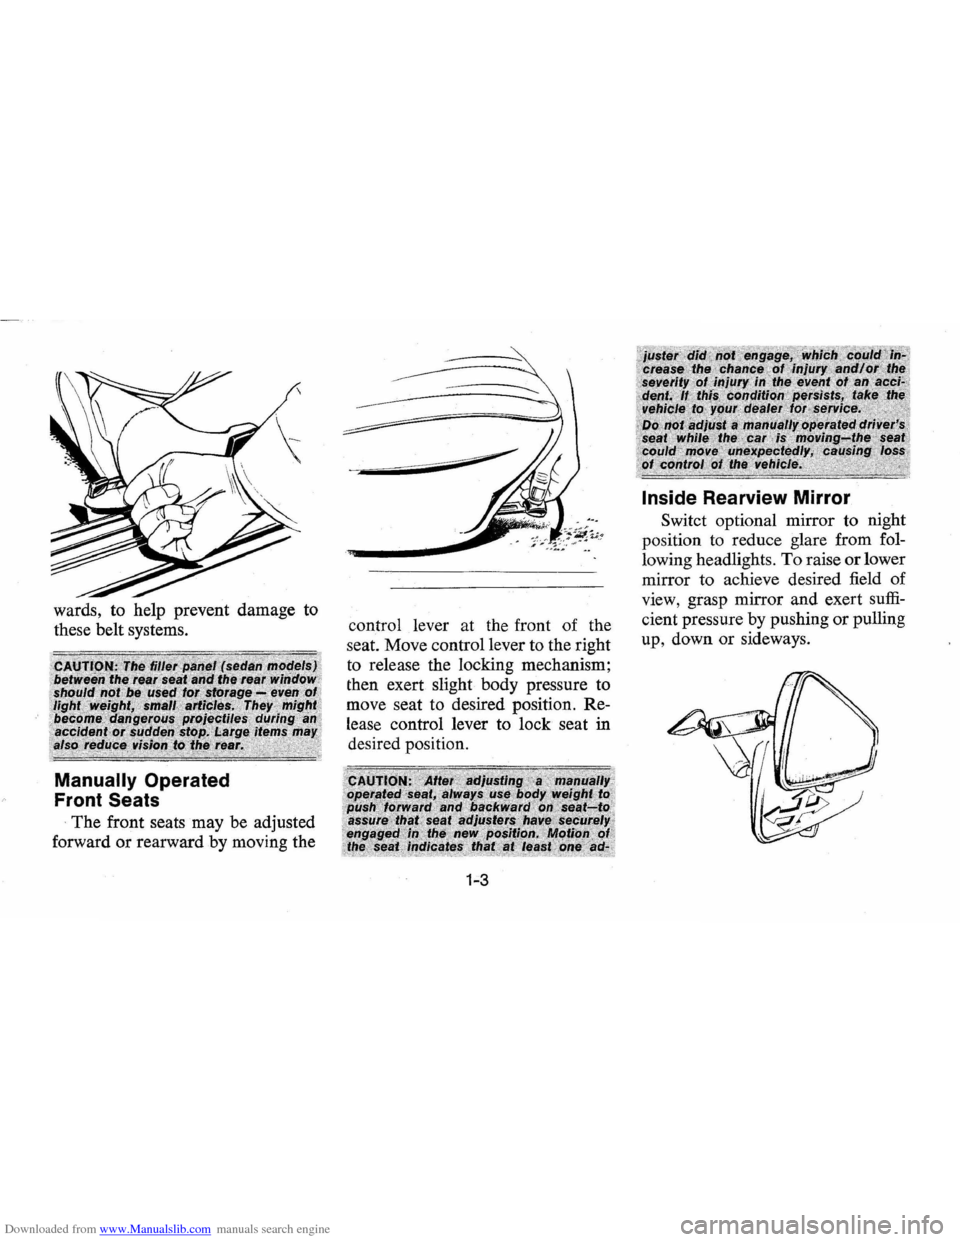
The front seats may be adjusted
forward or rearward by moving the
~---
control lever at the front of the
seat. Move control lever to the right
to release the locking mechanism;
then exert slight body pressure to
move seat to desired position. Re
lease control lever to lock seat
in
desired position.
1-3
Inside Rearview Mirror
Switct optional mirror to night
position to reduce glare from fol
lowing headlights .
To raise or lower
mirror to achieve desired field of
view, grasp mirror and exert
suffi
cient pressure by pushing or pulling
up , down or sideways.
Page 9 of 87
Downloaded from www.Manualslib.com manuals search engine Occupant Restraint Belts
Lap and shoulder belts provide
added security and comfort for you
and your passengers.
Proper use
and care of these belts will assure
continuance of this security.
Belt Restraint -
Reminder
System
This vehicle has a light /buzzer
reminder system designed
to remind
the driver to fasten his belt restraint.
• When the ignition key is turned
to
ON or START, a reminder
light
is designed to come on for
four-to-eight
secends to remind
the driver to fasten
his belt re
straint.
• If the driver has not buckled his
belt restraint prior
to turning the
key to
ON or START, a buzzer
is designed to sound for four-to
eight seconds to remind him to
do
so.
Front Seat Lap-Shoulder
Belt
Combination
• Adjust front seat to your satis
faction and sit erect and well back
in seat.
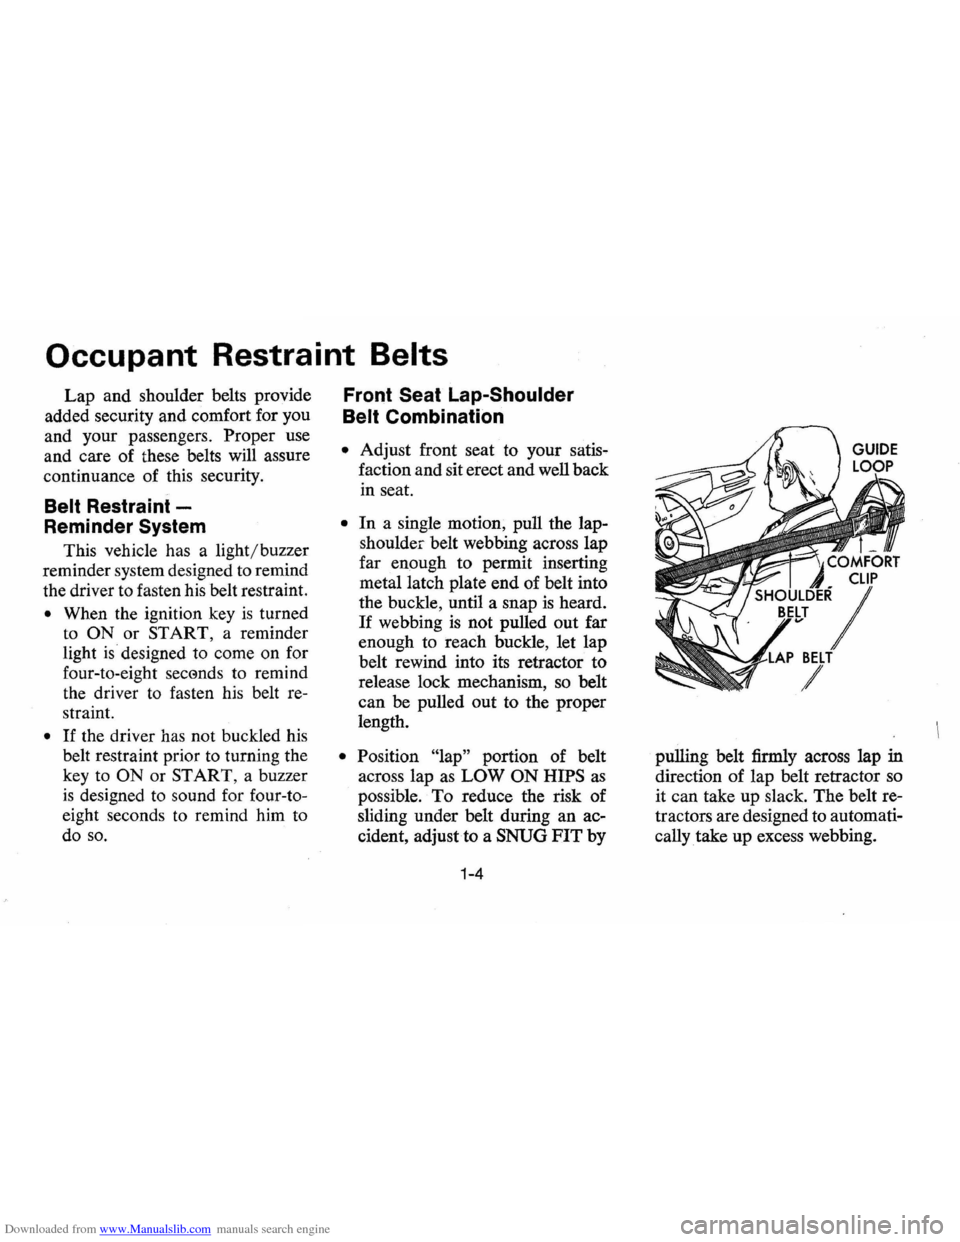
• In a single motion, pull the lap
shoulder belt webbing across lap
far enough to permit inserting
metal latch plate end of belt into
the buckle, until a snap
is heard.
If webbing is not pulled out far
enough to reach buckle, let lap
belt rewind into its retractor to
release lock mechanism,
so belt
can be pulled out to the proper
length.
• Position "lap" portion of belt
across lap
as LOW ON HIPS as
possible. To reduce the risk of
sliding under belt during an ac
cident, adjustto a
SNUG FIT by
1-4
COMFORT
"7 BELT
/
pulling belt firmly across lap in
direction of lap belt retractor so
it can take up slack. The belt re
tractors are designed to automati
cally .take
up excess webbing.
Page 18 of 87
Downloaded from www.Manualslib.com manuals search engine STEERING COLUMN CONTROLS
Anti-Theft Steering
Column Lock
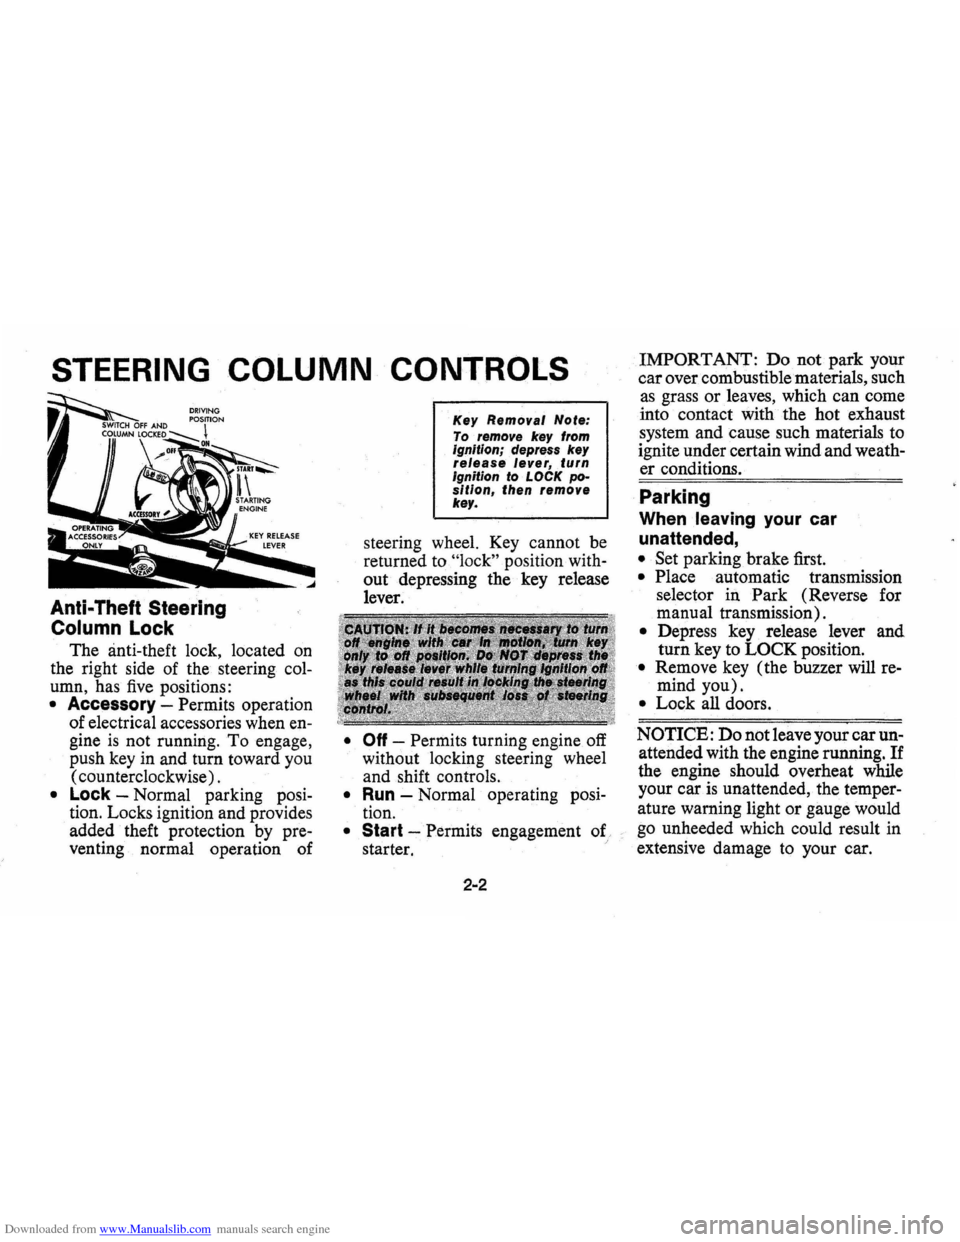
The anti-theft lock, located on
the right side of the steering col
umn, has five positions:
• Accessory -Permits operation
of electrical accessories when
en
gine is not running. To engage,
push
key in and turn toward you
( counterclockwise) .
• Lock -Normal parking posi
tion. Locks ignition and provides
added theft protection
by pre
venting normal operation of
Key Removal Note:
To remove key from ignitionjdepress key release lever, . turn Ignition to LOCK position, then remove key.
steering wheel. Key cannot be
returned to
"lock" position with
out depressing the key release
lever.
• Off -Permits turning engine off
without locking steering wheel
and shift controls.
• Run -Normal operating posi
tion.
• Start -Permits engagement of. :
starter.
2-2
IMPORTANT: Donot park your
car over combustible materials, such
as grass or leaves, which can come
into contact with the hot exhaust
system and cause such materials to
ignite under certain wind and
weath
er conditions.
. Parking
When leaving your car
unattended,
• Set parking brake first.
• Place automatic transmission
selector in
Park (Reverse for
manual transmission).
• Depress key release lever and
turn key to
LOCK position.
• Remove key (the buzzer will re
mind you).
• Lock all doors.
NOTICE: Do not leave your car un
attended with the engine running. If
the engine should overheat while
your
caris unattended, the temper
ature warning light or gauge would
go unheeded which could result in
extensive damage to your car.
Page 19 of 87
Downloaded from www.Manualslib.com manuals search engine Starting Engine
Automatic Transmission
Models
1. Apply the parking brake.
2. Place transmission selector
in uP" or "N" ("P" preferred).
A starter safety switch prevents
starter operation while the trans
mission selector
is in any drive
position.
(If it is necessary to·
re-start the engine with the car
moving, place the selector lever
in
"N".)
3. Depress accelerator pedal and
activate starter
as outlined be
low for different conditions.
IMPORTANT: Do not keep the starter
engaged for more than 15 seconds
at a time. Wait 1 0 or 15 seconds
before trying agair.
• Cold Engine -Fully depress
accelerator pedal and slowly
release.
Wilh fOOl 00 the pedal,
crank
the engine by
turning the ignition key to the
Start position -release when
engine starts.
If engine starts, but fails to
run, repeat this procedure.
When engine is running
smoothly (approximately
30
seconds), the idle speed may
be reduced by slightly de
pressing the accelerator pedal
and then slowly releasing.
• Warm Engine -Depress ac
celerator
pedal about halfway
and hold while cranking the
engine.
• Extremely Cold Weather
(Below 00 F. -180 C.) Or
After Car Has Been Standing
Idle Several Days-
2-3
Fully depress and release ac
celerator pedal two
or three
times before cranking the
engine.
With foot 00 the ac
celerator pedal,
crank the en
gine by turning the key to the
Start position and release
when engine starts.
Manual Transmission Models
1. Apply parking brake, fully de
press
clutch pedal, and shift
transmission to neutral.
2. Hold clutch pedal to the floor
throughout
the starting proce
dure, A starter safety switch pre
vents starter operation when the
clutch
is not fully depressed.
(Select the proper gear posi
tion before releasing the clutch
pedal).
3. Operate accelerator pedal and
starter
as outlined in step 3
(under Automatic Transmission
Models).
Page 24 of 87
Downloaded from www.Manualslib.com manuals search engine is reduced below 5 MPH.
The shift speeds chart indicates
the speeds at which each upshift of
the transmission should be
per
formed to produce the best com
promise between vehicle perform
anceand fuel economy.
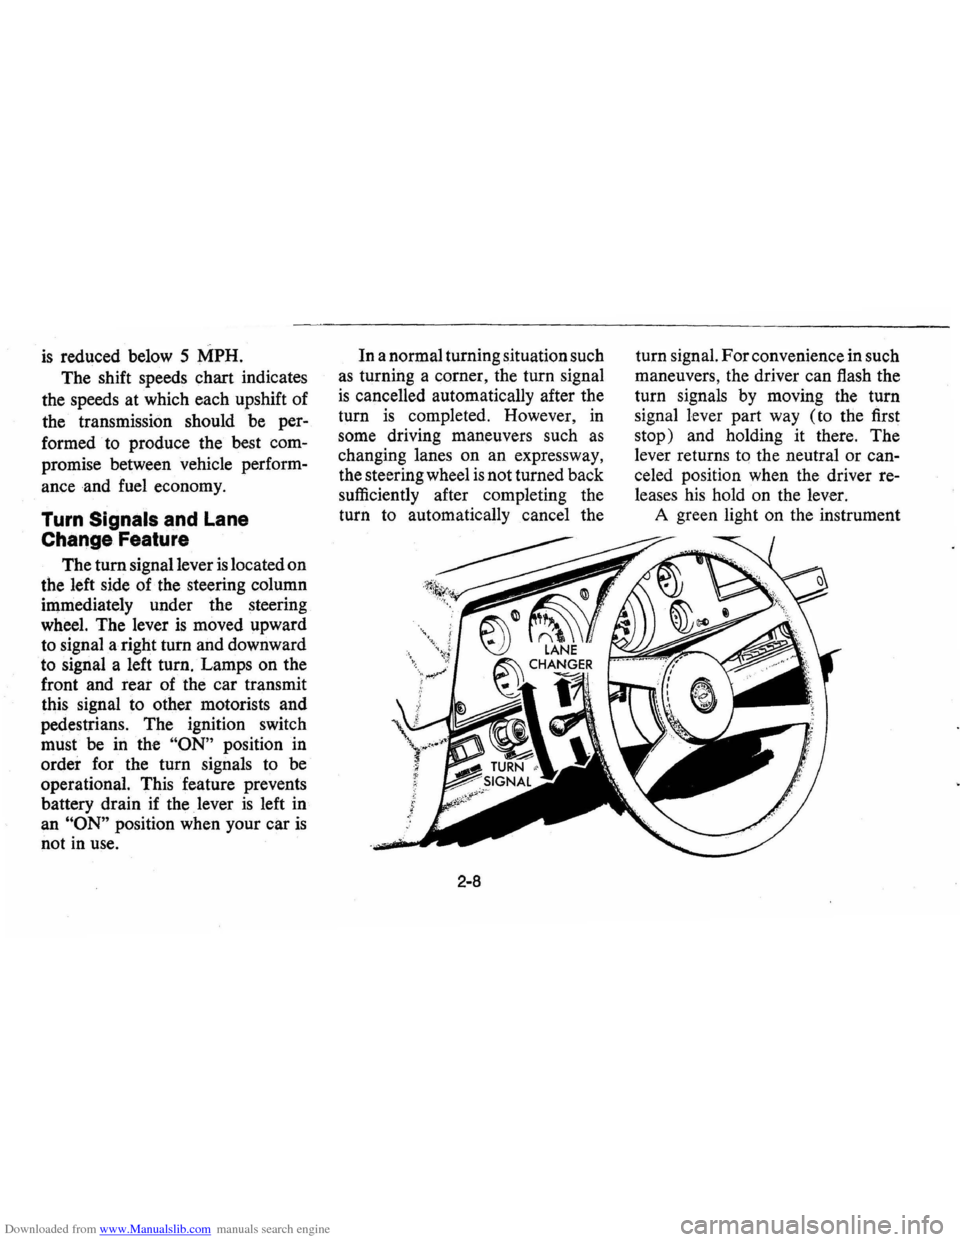
Turn Signals and Lane
Change Feature
The tum signal lever is located on
the left side of the steering column
iIllmediately under the steering
wheel. The lever
is moved upward
to signal a right turn and downward
to signal a left tum. Lamps on the
front and rear of the car transmit
this signal to other motorists and
pedestrians. The ignition switch
must be in the
"ON" position in
order for the tum signals to be
operational. This feature prevents
battery drain if the lever
is left in
an
"ON" position when your car is
not in use. In
a normal turning situation such
as turning a comer, the tum signal
is cancelled automatically after the
tum
is completed. However, in
some driving maneuvers such
as
changing lanes on an expressway,
the steering wheel
is not turned back
sufficiently after completing the
tum to automatically cancel the
2-8
tum signal. For convenience in such
maneuvers, the driver can flash the
tum signals
by moving the tum
signal lever part way (to the first
stop) and holding it there . The
lever returns
tq the neutral or can
celed position when the driver re
leases his hold on the lever.
A green light on the instrument
Page 25 of 87
Downloaded from www.Manualslib.com manuals search engine cluster flashes to indicate proper
operation of the front and rear turn
signal lamps.
If the indicator lamp
remains on and does not flash,
check for a defective lamp bulb.
If
the indicator fails to light when the
lever
is moved, check the fuse and
indicator bulb.
NOTE: For operation of hazard
flasher, see page 3-1, in
Section "In
Case of Emergency."
Horn
The horn on your car is actuated
by firmly pressing on the pad in the
center of the steering wheel.
As a good motorist,
~se of the
horn should be kept at a minimum.
However, acquaint yourself
as soon
as possible with this function of
your car, should it ever become
necessary to give a warning to a
pedestrian
or another motorist.
Power Steering
If the steering system power as
sist fails due to some malfunction,
or because the engine has stalled,
the vehicle can still be steered.
However, much greater effort
is re
quired, particularly in sharp turns.
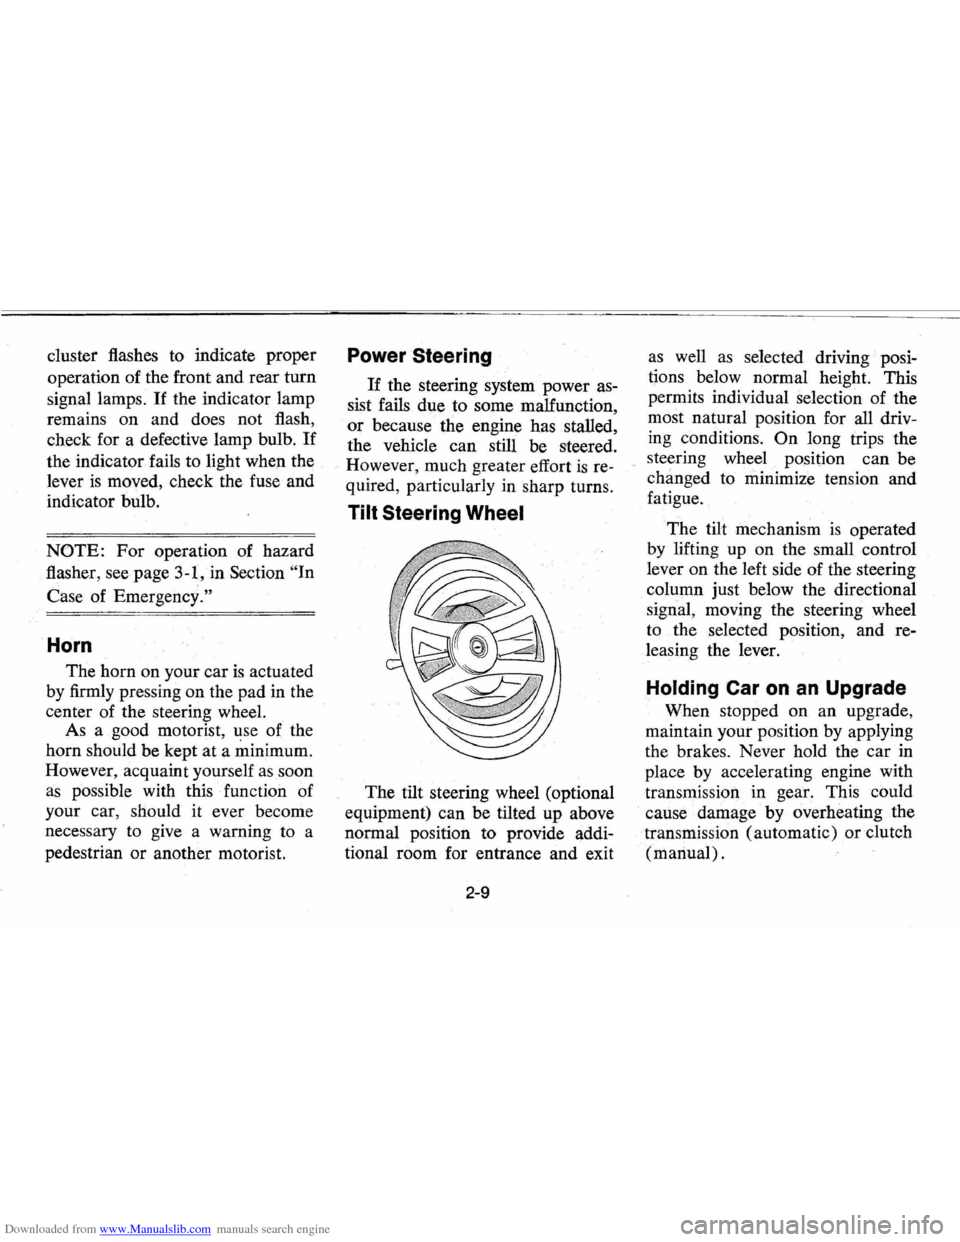
Tilt Steering Wheel
The tilt steering wheel (optional
equipment) can be tilted up above
normal position to provide addi
tional room for entrance and exit
2-9
as well as selected driving· posi
tions below normal height. This
permits individual selection of the
most natural position for
all driv
ing conditions.
On long trips the
steering wheel position can be
changed to minimize tension and
fatigue.
The tilt mechanism
is operated
by lifting up on the small control
lever on the left side of the steering
column just below the directional
signal, moving the steering wheel
to the selected position, and re
leasing the lever.
Holding Car on an Upgrade
When stopped on an upgrade,
maintain your position by applying
the brakes. Never hold the car
in
place by accelerating engine with
transmission in gear. This could
cause damage by overheating
the
. transmission (automatic) or clutch
(manual) .
Page 26 of 87
Downloaded from www.Manualslib.com manuals search engine Parking Your Car
Always engage the parking brake
and place the automatic transmis
sion selector lever in
"Park" posi- tion
when leaving your
car un
attended. Also with automatic
transmissions, never park for pro
longed periods with engine idling
and transmission in gear, especially
FLOOR CONTROLS
Braking System
The service brake system is de
signed for braking performance
under a wide range of driving con
ditions even when the vehicle
is
loaded to its full rated vehicle load.
NOTE: Operation of the brake
system warning light
is covered on
page 2-15 in the section on
"In
strument Panel."
Power Brakes
• On cars with power brakes, if
power assist to the brakes
is in
terrupted due to a stalled engine
or some malfunction, two or
more brake applications nor
mally can be made using reserve
power.
• If the brake pedal is held down,
2-10
if your car is equipped with air
conditioning. This practice
is detri
mental to the transmission, due
to
overheating.
the system
is designed to bring
the car to a full stop on reserve
power. However, the reserve
power
is partially depleted each
time the brake pedal
is applied
and released. Do not pump
brakes when brake power assist
has been interrupted, except
when necessary in order to main
tain steering control on slippery
surfaces.
• When reserve power is exhausted,
the vehicle can still be stopped
by applying greater force to the
pedal.