1974 CHEVROLET CAMARO ignition
[x] Cancel search: ignitionPage 28 of 85
Downloaded from www.Manualslib.com manuals search engine Generator Indicator Light
The red light will go on when
the ignition key
is in the "on" posi
tion, but before the engine
is
started. After the engine starts, the
light should
go out and remain out.
If the light remains on when engine
is running, have your Authorized
Chevrolet Dealer locate and correct
the trouble
as soon as possible.
Engine Temperature
Indicator Light
This indicator light is provided
in the instrument cluster to quickly
warn of an overheated engine. With
the ignition switch in the START
position, the red
TEMP indicator
will light to let you know that it
is
operating properly.
When the engine
is started, the
red light will go out immediately.
It will light up at no other time
unless for some reason the engine
reaches a dangerously high oper
ating temperature.
If the light comes on
during extreme driving condi
tions, such as an extended idle, turn
off the air conditioner (if used) and
run the engine slightly faster than
idle speed with the transmission in
neutral gear.
If the light does not
go off within a short period of time
(1-2 minutes), then turn the engine
off until the cause of the overheat
ing
is corrected. Glance at the in
strument cluster frequently
as you
drive to see
if this light is on.
Brake System Warning
Light
The service brake system is de
signed so that half of the brake
system will provide some braking
action in the event of a hydraulic
leak in the other half of the sys
tem .
If the warning light labeled
"BRAKE, " located at lower left of
instrument cluster (speedometer
face), glows continuously when the
ignition
is on and after the brakes
have been firmly applied it may in-
25
dicate that there is a malfunction
in one half of the brake hydraulic
system .
On cars equipped with
front drum brakes, the light will
go out when foot is removed from
brake pedal.
• As a check on bulb condition
the light should glow with the
parking brake applied and the
ignition on. (Light
is also a
reminder to release parking
brake).
• The light should glow during
engine starting to verify that the
bulb
is operating properly.
• Have system repaired if light
does not come on during check.
• This warning light is not a sub
stitute for the visual check of
brake fluid level required as part
of normal maintenance.
If the light glows red:
• The parking brake control is not
fully released or,
• The service brake system is par
tially inoperative.
Page 30 of 85
Downloaded from www.Manualslib.com manuals search engine Optional Instruments and Gauges
Tachometer and Oil Pressure Indicator Light
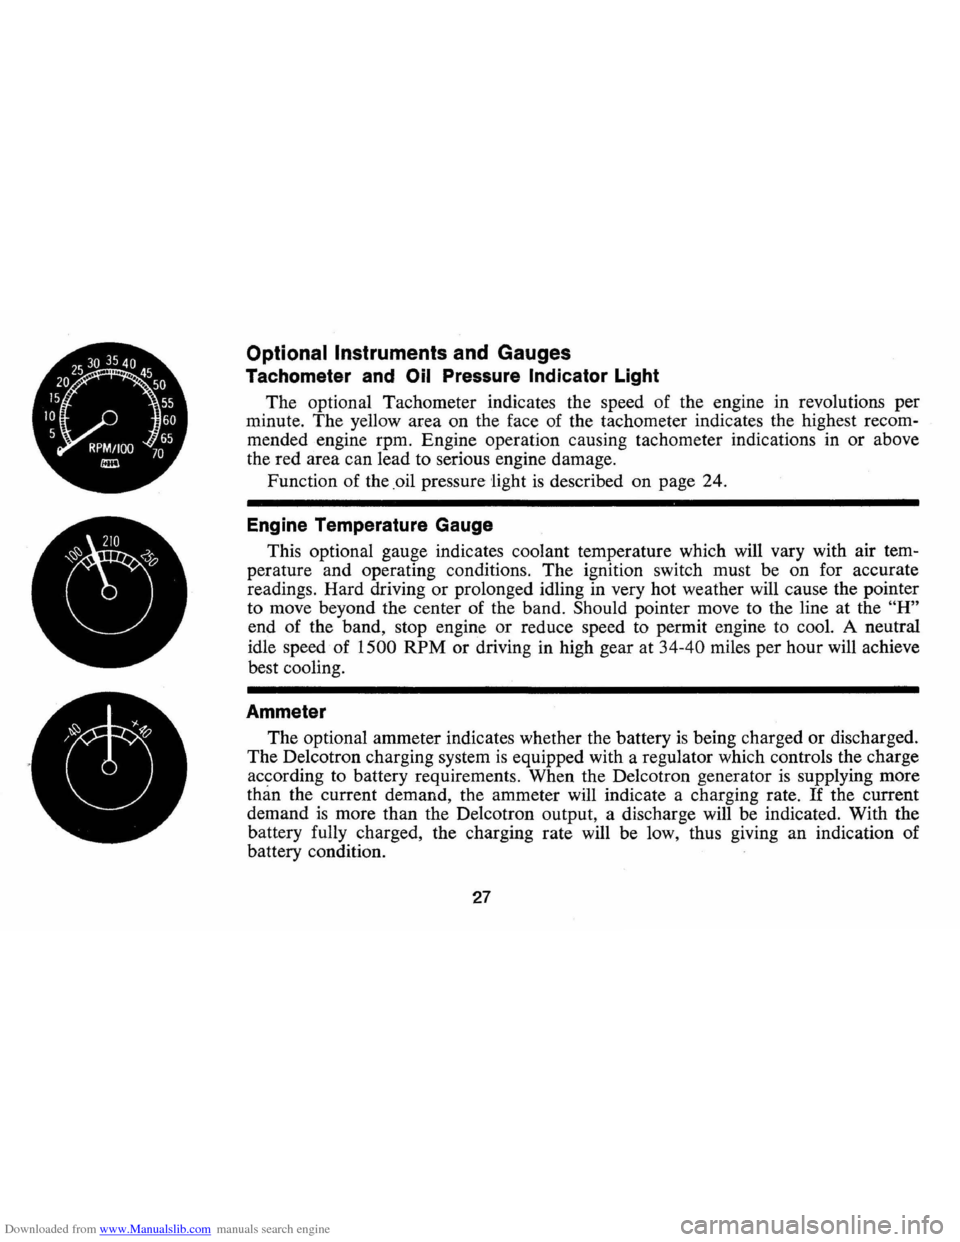
The optional Tachometer indicates the speed of the engine in revolutions per
minute. The yellow area on the face of the tachometer indicates the highest recom
mended engine rpm. Engine operation causing tachometer indications in or above
the red area can lead to serious engine damage.
Function of the .oil pressure
'light is described on page 24.
Engine Temperature Gauge
This optional gauge indicates coolant temperature which will vary with air tem
perature and operating conditions. The ignition switch must be on for accurate
readings. Hard driving
or prolonged idling in very hot weather will cause the pointer
to move beyond the center of the band.
Should pointer move to the line at the "H"
end of the band, stop engine or reduce speed to permit engine to cool. A neutral
idle speed of
1500 RPM or driving in high gear at 34-40 miles per hour will achieve
best cooling.
Ammeter
The optional ammeter indicates whether the battery is being charged or discharged.
The De1cotron charging system
is equipped with a regulator which controls the charge
according to battery requirements. When the De1cotron generator
is supplying more
than the current demand, the ammeter will indicate a charging rate. If the current
demand
is more than the De1cotron output, a discharge will be indicated. With the
battery fully charged, the charging rate will be low, thus giving an indication of
battery condition.
27
Page 32 of 85
Downloaded from www.Manualslib.com manuals search engine ever the ignition switch is on.
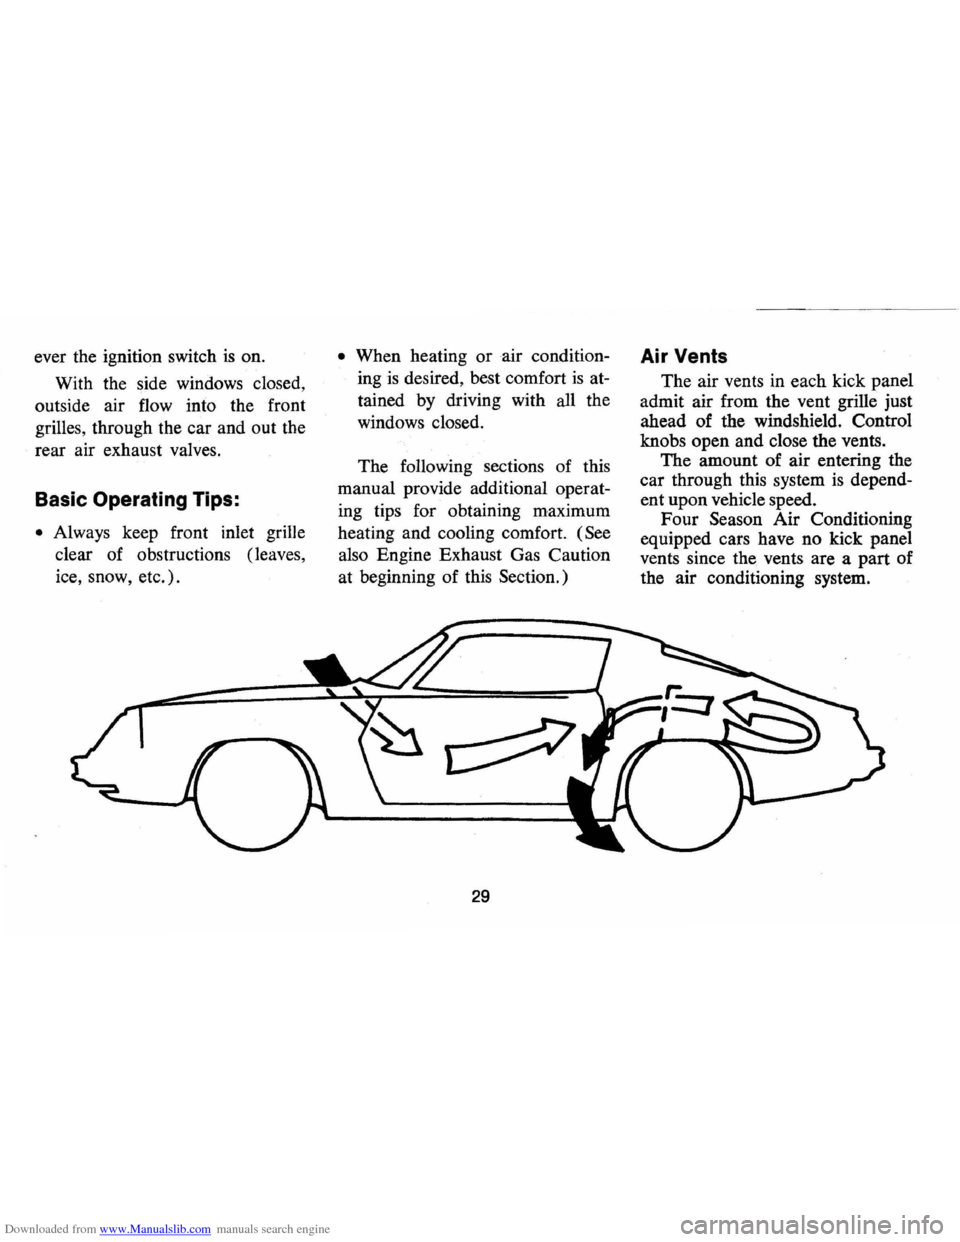
With the side windows closed,
outside air flow into the front
grilles, through the car and out the
rear air exhaust valves.
Basic Operating Tips:
• Always keep front inlet grille
clear of obstructions (leaves,
ice, snow, etc.).
• When heating or air condition
ing
is desired, best comfort is at
tained by driving with all the
windows closed.
The following sections of this
manual provide additional operat
ing tips for obtaining maximum
heating and cooling comfort.
(See
also Engine Exhaust Gas Caution
at beginning of this Section.)
29
Air Vents
The air vents in each kick panel
admit air from the vent grille just
ahead of the windshield. Control
knobs open and close the vents.
The amount of air entering the
car through this system
is depend
ent upon vehicle speed.
Four Season Air Conditioning
equipped cars have no kick panel
vents since the vents are a part of
the air conditioning system.
Page 38 of 85

Downloaded from www.Manualslib.com manuals search engine OTHER CONTROLS AND FEATURES
Positraction Rear Axle
The optional Positraction pro
vides additional traction on snow ,
ice , mud, sand, and gravel, par
ticularly when one rear wheel
is on
a surface providing poor traction.
During normal driving and cor
nering, the Positraction unit
func~
tions as a standard differential.
When one wheel encounters a slip
pery surface, however , the Positrac
tion directs driving force to the rear
wheel having the better traction.
Power Windows
Power windows have an ignition
interlock so the windows cannot be
operated unless the ignition switch
is in the "on" position.
REMINDER: Remove the ignition
key when the vehicle
is not at
tended by a responsible person.
A master control for both win
dows
is provided at the driver's
position. Also, an individual switch
is provided under right window for
passenger use.
Adjustable Front Seat Back
-Driver's Side
The optional adjustable front
seat back (driver's side) can be
adjusted to two positions by means
of a control handle located at
the right rear of the driver's seat
35
cushion. With the control handle
in the full rearward position the
seat back
is adjusted to the full rear
ward position; when the control
handle
is actuated (rotat td) for
ward the seat back
is adjusted for
ward
to a normal position .
ADJUSTABLE SEAT BACK
CONTROL
HANDLE
II
Page 39 of 85
Downloaded from www.Manualslib.com manuals search engine I n Case of Emergency
Four-Way Hazard
Warning
Flasher
• Use the warning flasher to warn
other drivers any time your
vehicle becomes a traffic hazard,
day
or night.
• Avoid stopping on the roadway
if possible.
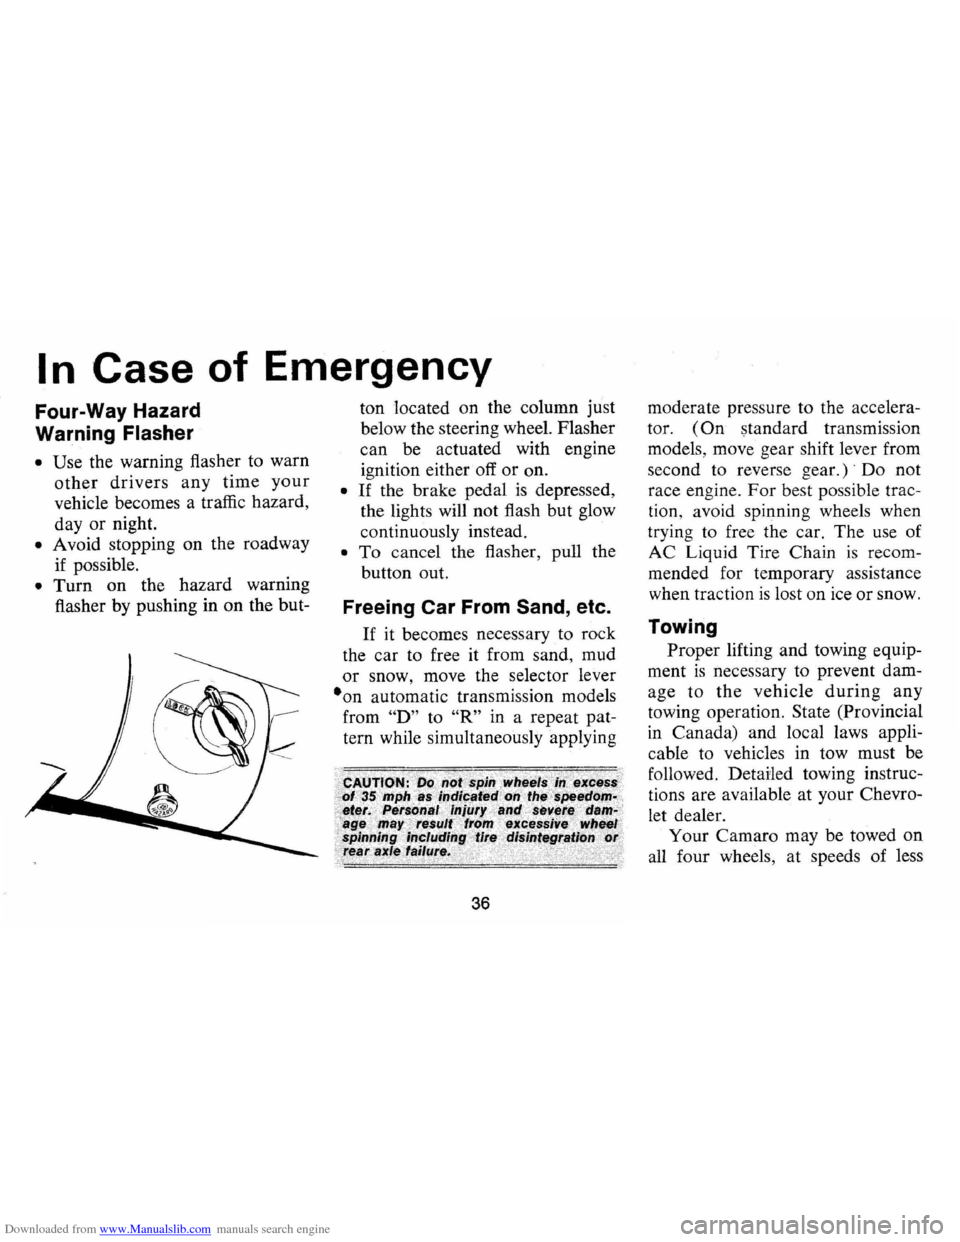
• Turn on the hazard warning
flasher by pushing in on the but- ton
located on the column just
below the steering wheel. Flasher
can be actuated with engine
ignition either off
or on.
• If the brake pedal is depressed,
the lights will not flash but glow
continuously instead.
• To cancel the flasher, pull the
button out.
Freeing Car From Sand, etc.
If it becomes necessary to rock
the car to free it from sand, mud
or snow, move the selector lever
·on automatic transmission models
from
"D" to "R" in a repeat pat
tern while simultaneously applying
36
moderate pressure to the accelera
tor.
(On standard transmission
models, move gear shift lever from
second to reverse
gear.)' Do not
race engine.
For best possible trac
tion, avoid spinning wheels when
trying to free the car. The use of
AC Liquid Tire Chain
is recom
mended for temporary assistance
when traction
is lost on ice or snow.
Towing
Proper lifting and towing equip
ment
is necessary to prevent dam
age to
the vehicle during any
towing operation. State (Provincial
in Canada) and local laws appli
cable to vehicles in tow must be
followed. Detailed towing instruc
tions are available at your Chevro
let dealer.
Your Camaro may be towed on
all four wheels, at speeds of less
Page 70 of 85
Downloaded from www.Manualslib.com manuals search engine The chart on the previous page, and the information on the pages which follow, contains information designed to aid the average driver to discover, and possibly correct, conditions resulting in minor
mechanical difficulties in his car. The chart, designed to point out
possible solutions to several of the most common automotive malfunctions and point out a logical checking sequence, will lead step by step to the most likely causes and corrective procedures. If, after making the checks and adjustments suggested, the source of the trouble has not been found and corrected, it is strongly recom
mended that an Authorized Chevrolet Dealer insp~ct the vehicle and make whatever repairs or adjustments are necessary.
;iA~>~I/~,~.#Y'T~~hiri~~:e~It.;ne;CC2i'~6p'4~cl~.;.'Ii~;~;,;(i '~i.. . .....•.. l'for",;tlgC;(lnY;tlspec';o~;1J1 ainfenCJn.c:~ ..
If the ignition switch will cause the engine to "turn over" or "crank" but the car will not start, check Steps A through 0 below. NOTE : If continual "flooding" of the carburetor is evidenced by a carburetor wet with
fuel or black exhaust smoke,
perform the operation sug
gested in paragraph D only .
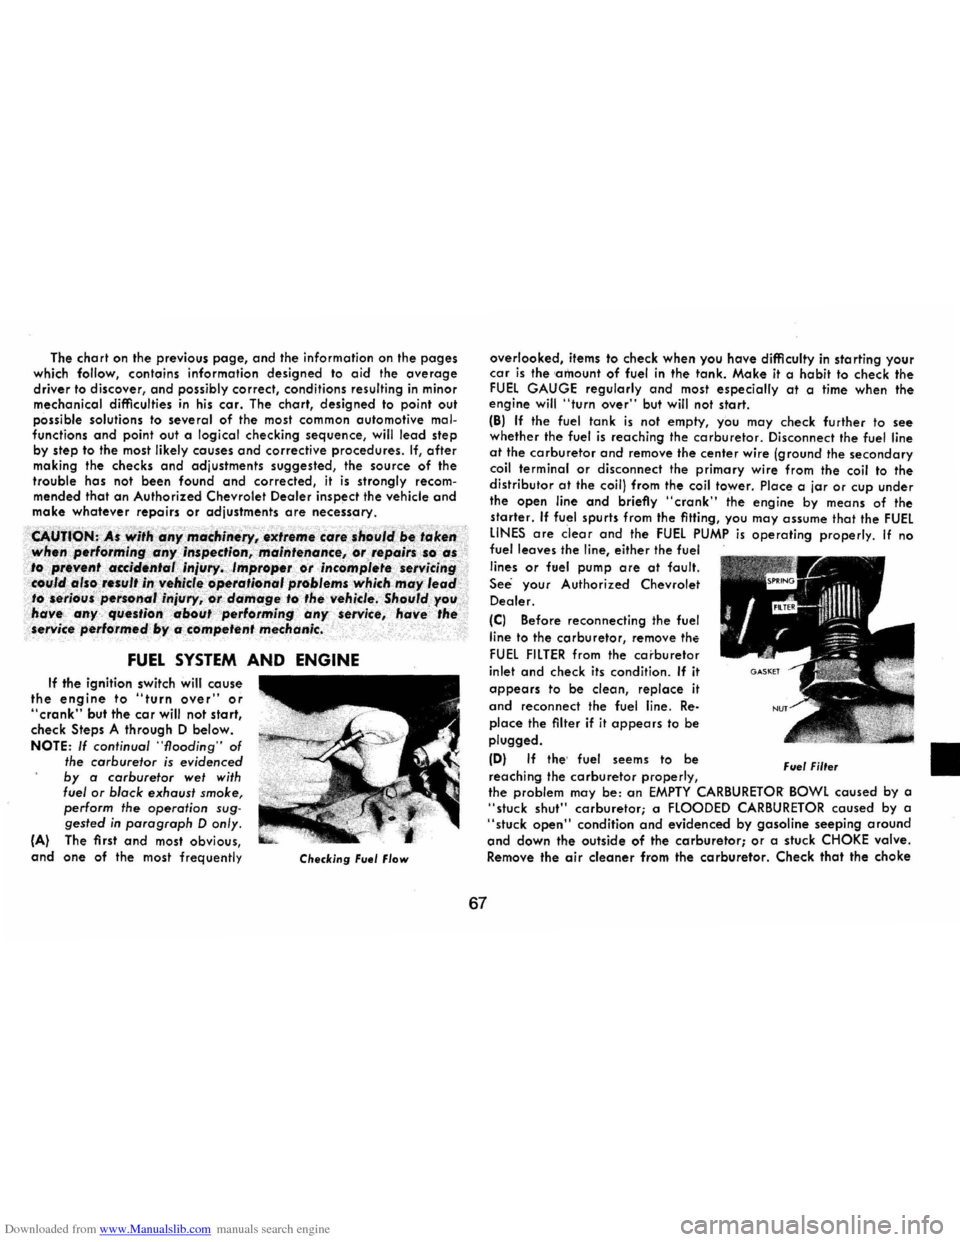
(A) The first and most obvious, and one of the most frequently Checking Fuel Flow
67
overlooked, items to check when you have difficulty in starting your car is the 'amount of fuel in the tank. Make it a habit to check the FUEL GAUGE regularly and most especially at a time when the engine will "turn over" but will not start.
(B) If the fuel tank is not empty, you may check further to see whether the fuel is reaching the carburetor. Disconnect the fuel line at the carburetor and remove the center wire (ground the secondary coil terminal or disconnect the primary wire from the coil to the
distributor at the coil) from the coil tower. Place a jar or cup under the open line and briefly "crank" the engine by means of the starter. If fuel spurts from the fitting, you may assume that the FUEL LINES are clear and the FUEL PUMP is operating properly. If no fuel leaves the line, either the fuel
lines or fuel pump are at fault ,
See your Authorized Chevrolet
Dealer.
(C) Before reconnecting the fuel
line
to the carburetor, remove the
FUEL FILTER from the carbu retor
inlet and check its condition . If it
appears to be clean, replace it
and reconnect the fuel line. Re
place the filter if it appears to be plugged.
(0) If the' fuel seems to be
reaching the carburetor properly, Fuel Filter
the problem may be: an EMPTY CARBURETOR BOWL caused by a "stuck shut" carburetor; a FLOODED CARBURETOR caused by a "stuck open" condition and evidenced by gasoline seeping around and down the outside of the carburetor; or a stuck CHOKE valve. Remove the air cleaner from the carburetor. Check that the choke
•
Page 71 of 85
Downloaded from www.Manualslib.com manuals search engine valve moves freely and is not stuck . (Don 't mistake normal spring
tension for a stuck valve.) Top the side of the carburetor sharply several times with a light tool such as a screwdriver handle or pliers. Replace the air cleaner and attempt to start the engine in the normal manner. IE) If the cor will start but stalls when hot or has a rough idle,
you can suspect a faulty IDLE ADJUSTMENT, a malfunctioning AUTOMATIC CHOKE or on extremely dirty and blocked AIR CLEANER ELEMENT. Replace paper element air cleaner if necessary. Idle' adjustment or automatic choke service (other than that outlined in paragraph 0 above) should be performed by your Chevrolet Dealer. If the above Fuel System checks and the checks suggested under the Electrical System following do not correct the malfunction, it is recommended that you return to your Authorized Chevrolet Dealer for further checks, adjustments or repairs.
ELECTRICAL SYSTEM • If, when the ignition key is turned to "Start", the engine will not
turn over, you have good reason to suspect electrical trouble. NOTE: Never remove Delcotron bat lead without first disconnecting
baHery ground cable.
, (F) When there is no response at all to attempts to start the car, check the obvious-your AUTOMATIC TRANSMISSION SELECTOR LEVER must be in Neutral or Park position (manucil transmission
must have clutch depressed all the way to floor) before the engine can be started. Turning the IGNITION SWITCH rapidly back and forth several times will sometimes correct a poor internal switch contact. (G) The BATTERY may be discharged. If so, lights will be dim and the horn will have a poor tone if it will blow at all. Usually a garage recharge will be necessary to return the bottery to operation. Occasionally, however, a long drive will recharge the battery.
68
NOTE: If the battery is determined to be dead, and for no apparent reason, have your Authorized Chevrolet Dealer check the
baHery, the GENERATOR and the VOLTAGE REGULATOR.
GENERATOR trouble should already have been indicated by the generator indicator light on the instrument panel.
POOR BATTERY CONNECTIONS may be suspected if the car has operated properly a short time before and now not even the horn will operate. Check both ends of both battery cables. If the connections are corroded, a cor may sometimes be restored to operation by removing all cable ends, scraping all contacting surfaces clean with a pen knife, and reassembling. If the cables are broken, they must be replaced. The power supply should now be restored unless the battery is dead.
(H) If, however, the lights and horn work properly but the starter will still not turn over, check the STARTER connections. A "dick" from the starter solenoid indicates that the wiring to the starter is properly installed. If the wiring seems to be clean and tightly installed, the trouble is probably in the starter itself and should be referred to your Authorized Chevrolet Dealer.
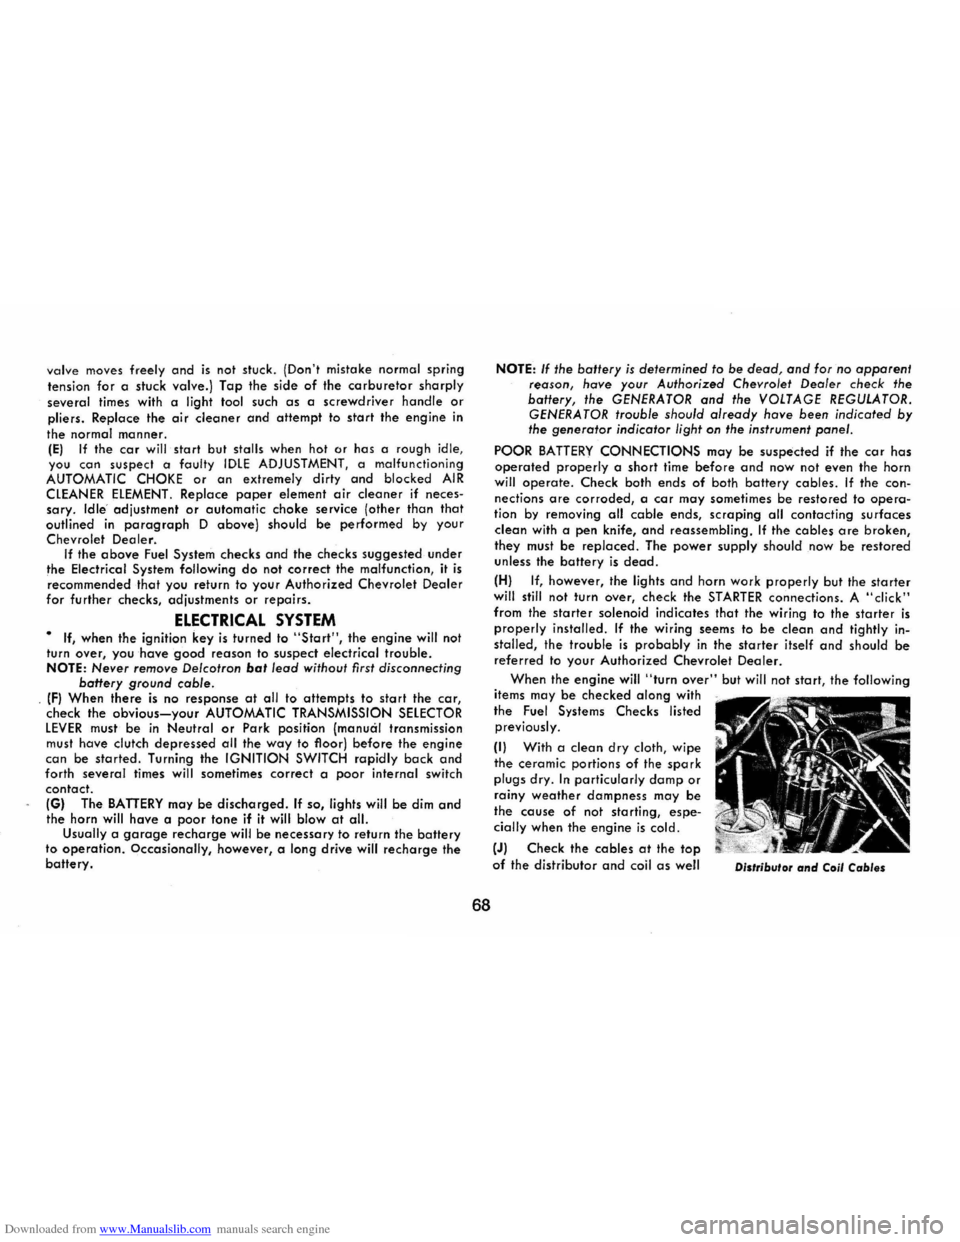
When the engine will "turn over" but will not start, the following
items may be checked along with the Fuel Systems Checks listed
previously.
(I) With a clean dry cloth, wipe the ceramic portions of the spark plugs dry. In particularly damp or rainy weather dampness may be the cause of not starting, especially when the engine is cold.
(J) Check the cables at the top of the distributor and coil as well Distributor and Coil Cables
Page 72 of 85
Downloaded from www.Manualslib.com manuals search engine as each spark plug cable for
tightness.
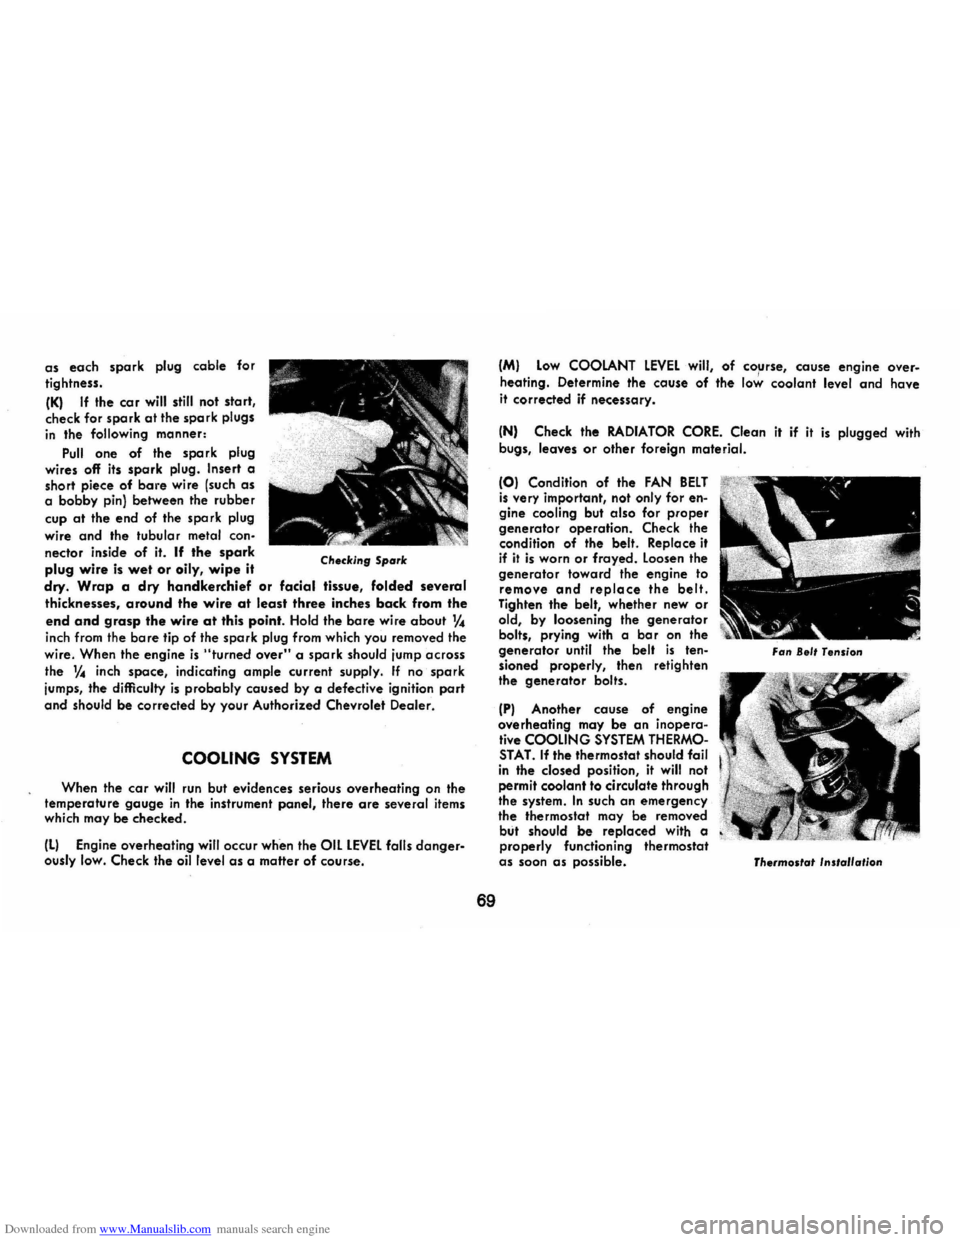
(K) If the co r will still not sta rt, check for spark at the spark plugs in the following manner:
Pull one of the spark plug
wires off its spark plug. Insert a
short piece of bare wire (such as a bobby pin) between the rubber
cup
at the end of the spark plug
wire
and the tubular metal connector inside of it. If the spark
plug wire is wet or oily, wipe it Checking Spark
dry. Wrap a dry handkerchief or facial tissue, folded several
thicknesses, around the wire at least three inches back from the
end and grasp the wire at this point. Hold the bare wire about 1f ..
inch from the bare tip of the spark plug from which you removed the
wire. When the engine is "turned over" a spark should jump across
the
~ inch space, indicating ample current supply. If no spark
jumps, the difficulty
is probably caused by a defective ignition part
and should be corrected by your Authorized Chevrolet Dealer.
COOLING SYSTEM
When the car will run but evidences serious overheating on the
temperature gauge in the instrument panel, there are several items
which may be checked.
(L) Engine overheating will occur whim the OIL LEVEL falls dangerously low. Check the oil level as a matter of course.
69
(M) Low COOLANT LEVEL will, of co~rse, cause engine over
heating. Determine the cause of the low coolant level and have
it corrected if necessary.
(N) Check the RADIATOR CORE. Clean it if it is plugged with
bugs, leaves or other foreign material.
(0) Condition of the FAN BELT is very impartant, not only for engine cooling but also for proper generator operation. Check the
condition of the belt. Replace it if it is worn or frayed. Loosen the generator toward the engine to remove and replace the belt. Tighten the belt, whether new or old, by loosening the generator bolts, prying with a bar on the generator until the belt is tensioned properly, then retighten
the generator bolts.
(P) Another cause of engine
overheating may be an inopera
tive COOLING SYSTEM THERMOSTAT. If the thermostat should fail in the closed position, it will not
permit coolant to circulate through
the system. In such on emergency
the thermostat may be removed but should be replaced with a
properly functioning thermostat
as soon as possible.
Fan 8e/f Tension
ThermoS/of Insfallafion