1974 CHEVROLET CAMARO spare wheel
[x] Cancel search: spare wheelPage 42 of 85
Downloaded from www.Manualslib.com manuals search engine tive terminal (black color, "-" Engine Coolant
or "N") of the battery in the other
vehicle, and
THEN the other
end of the same cable to the nega
tive terminal of your battery in
this car. Take care that clamps
from one cable do not inadver
tently touch the clamps on the
other cable. Do not lean over the
battery when making this con
nection.
5. Start the engine in the vehicle
that
is providing the jump start
(if it
was not running). Let run
a
few minutes, then start the en-
gine in the car with the dis-
Jacking Instructions
charged battery.
6. Reverse the above sequence ex
actly when removing the jumper
cables. Reinstall vent caps and
dispose in a safe manner of any
cloths used to cover vent wells,
as
the cloths may have corrosive
acid on them.
39
Preparation
• Park on level surface and set
parking brake firmly.
• Set automatic transmission in
park. (Manual transmission in
reverse).
• Activate hazard warning flasher.
Instructions
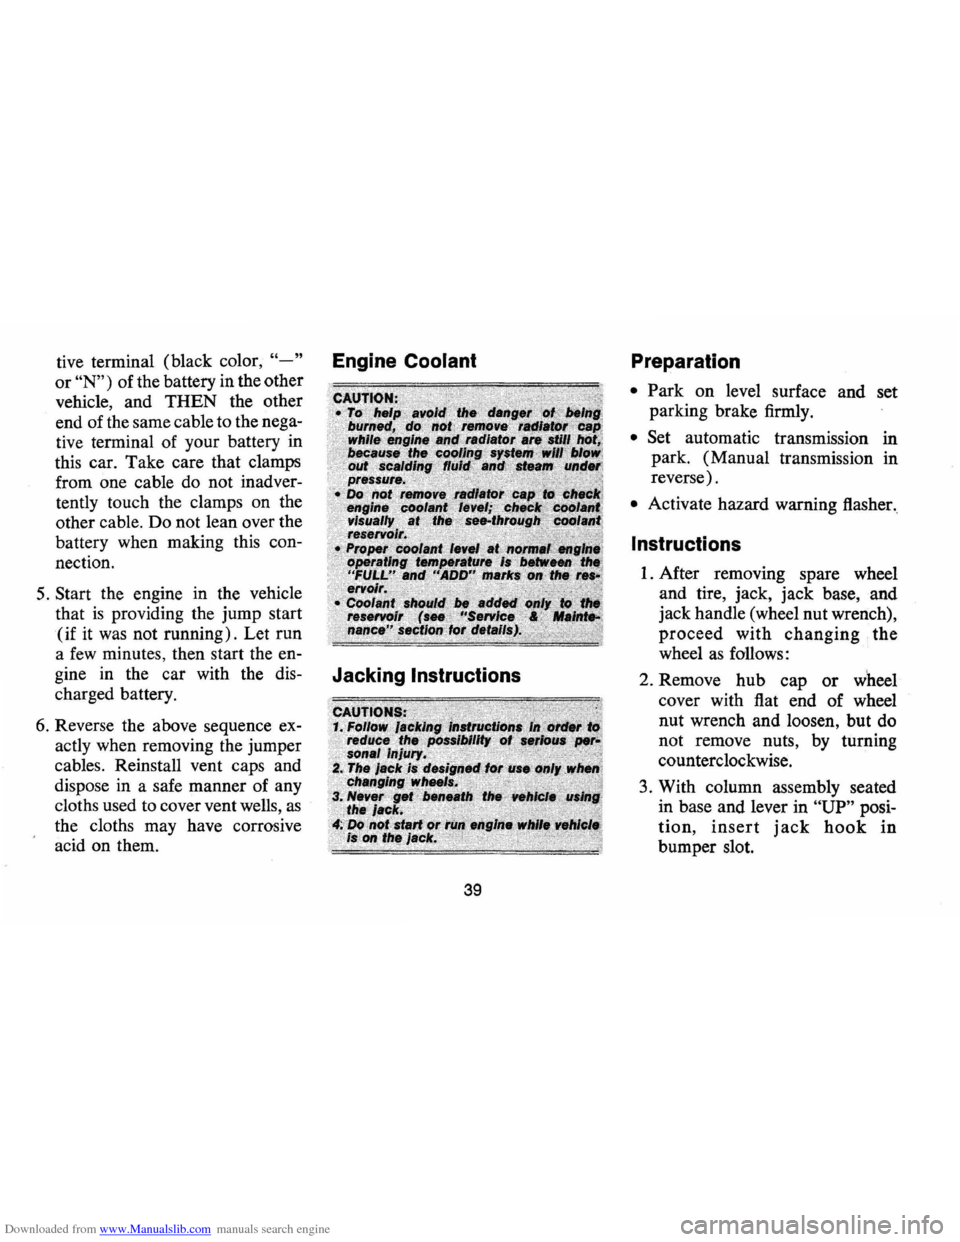
1. After removing spare wheel
and tire, jack, jack
base,and
jack handle (wheel nut wrench),
proceed with changing the
wheel
as follows:
2. Remove hub cap
or wheel
cover with flat end of wheel
nut wrench and loosen, but do
not remove nuts, by turning
counterclockwise.
3. With column assembly seated
in base and lever in
"UP" posi
tion,
insert jack hook in
bumper slot.
Page 62 of 85
Downloaded from www.Manualslib.com manuals search engine ing when your tires have been
worn to the point of needing re
placement. These indicators ap
pear as
lh inch wide bands when
tire tread depth
is 1/16 inch or
less. When the indicators appear
in two
or more adjacent grooves,
at 3 locations around the tire
or
when cord or fabric is exposed,
tire replacement due to tread wear
is recommended.
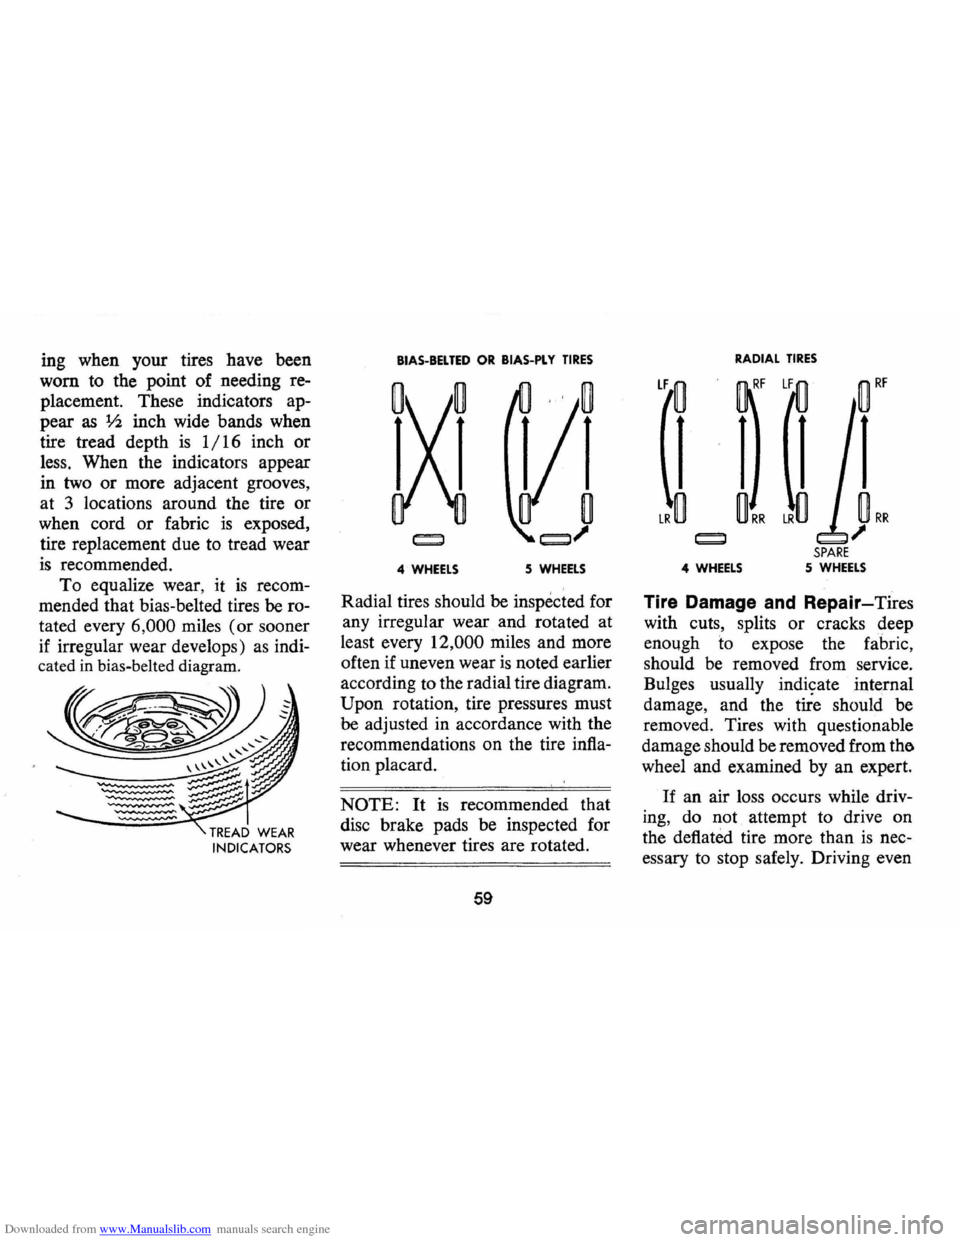
To equalize wear, it is recom
mended that bias-belted tires be ro
tated every
6,000 miles (or sooner
if irregular wear develops) as indi
cated in bias-belted diagram.
BIAS-BEL TED OR BIAS-PlY TIRES
4· WHEELS 5 WHEELS
Radial tires should be inspected for
any irregular wear
and rotated at
least every
12,000 miles and more
often if uneven wear
is noted earlier
according to the radial tire diagram.
Upon rotation, tire pressures must
be adjusted in accordance with the
recommendations
on the tire infla
tion placard.
NOTE: It is recommended that
disc brake pads be inspected for
wear whenever tires are rotated.
59
RADIAL TIRES
SPARE 4 WHEELS 5 WHEELS
Tire Damage and Repair-Tires
with cuts, splits or cracks deep
enough to expose the fabric,
should be removed from service.
Bulges usually
indi~ate internal
damage, and the tire should be
removed. Tires with questionable
damage should be removed from
the.
wheel and examined by an expert.
If an air loss occurs while driv
ing, do not attempt to drive on
the deflated tire more than
is nec
essary to stop safely. Driving even
Page 64 of 85
Downloaded from www.Manualslib.com manuals search engine Warranty
Tires are warranted by the tire
manufacturers as covered in the
New Vehicle Warranty and
Policy
on Owner Service folder furnished
with your vehicle. However, for
the added convenience of owners,
many Chevrolet dealers are
equipped to handle tire warranty
adjustments
on certain makes of
tires provided
on 1974 Chevrolet
cars.
Tire Traction
A decrease in driving, corner
ing, and braking traction occurs
when water, snow, ice, gravel,
or
other material is on the road sur
face. Driving practices and
car
speed should be adjusted to the
road conditions.
When driving
on wet or slushy
roads, it is possible for a wedge of
water to build up between the tire and
road surface. This phenom
enon, known
as hydroplaning,
may cause partial
or complete loss
of traction, which adversely affects
vehicle control and stopping abil
ity.
To reduce the possiblity of
traction loss, the following precau
tions should be observed:
1. Slow down during rainstorms or
when roads are slushy.
2. Slow down if road has standing
water
or puddles.
3. Replace tires when tread wear
indicators are visible.
4. Keep tires properly inflated.
For temporary assistance when
traction
is lost on ice or snow, the
use of
AC Liquid Tire Chain is
recommended.
REMINDER: Cars equipped with
front disc brakes have a built-in
61
wear indicator that is designed to
make a high frequency, squealing
or cricket-like warning sound when
the linings are worn to where re
placement
is required. The sound
will occur intermittently
or con
tinuously when wheels are rolling,
but will disappear when the brake
pedal
is applied firmly. See also the
various brake checks listed in the
Chevrolet maintenance schedule
folder.
Space Saver Spare Tire
The Space Saver Spare tire is
designed for emergency purposes
only. Continuous use
or operation
at speeds in excess of
50 mph is not
recommended. The Space Saver
Spare tire warranty
is void if any
inflation device containing sealants
is used. Approved inflation gases
are air, carbon dioxide, nitrogen,
and Freon 22.
Page 65 of 85
Downloaded from www.Manualslib.com manuals search engine Inflation Instructions with
Canister
(Inflator)
1. Install deflated Space Saver Spare
on car with valve stem at the bot
tom and tighten all
five lug nuts.
2. Remove valve cap and make sure
valve core
is screwed tight in
valve stem.
3. Remove plastic cap from can
ister.
*
4. Place canister over valve stem
and push squarely onto stem
until gas entering tire can be
heard.
*If temperature is below 20°F,
Canister should be warmed on left hand
defroster outlet for
10 min
utes to provide adequate tire in
flation. Heater should be on de
frost and fan on high.
S. To ensure complete draining of
fluid, hold the canister in posi
tion for one minute after sound
stops. Then remove canister for
disposal in proper receptacle.
6. Replace valve cap.
NOTE: Inflation pressure should
be checked and adjusted to the rec
ommended pressure shown on tire
placard
as soon as possible after
installing tire on car.
Inflation Instructions at a
Service Station
1. Mount wheel on car, or place on
center-post tire changer with
lock-down mechanism engaged.
62
2. If beads have become unseated,
lubricate wheel and beads with
soapy water
or tire mO,unting lub
ricant before inflation .
3.
To seat beads, inflate tire to a
maximum of 35 psi.
4. Adjust inflation to recommended
pressure shown on tire placard.
5.
On assemblies so equipped,
check that dust cover is pressed
firmly into un threaded relief stem
before road use.
Deflation Instructions
Remove valve core using slotted
end of valve cap.
Flatten tire and replace core and
cap. Store tire in trunk compart
ment.
Page 66 of 85
Downloaded from www.Manualslib.com manuals search engine Tire Replacement
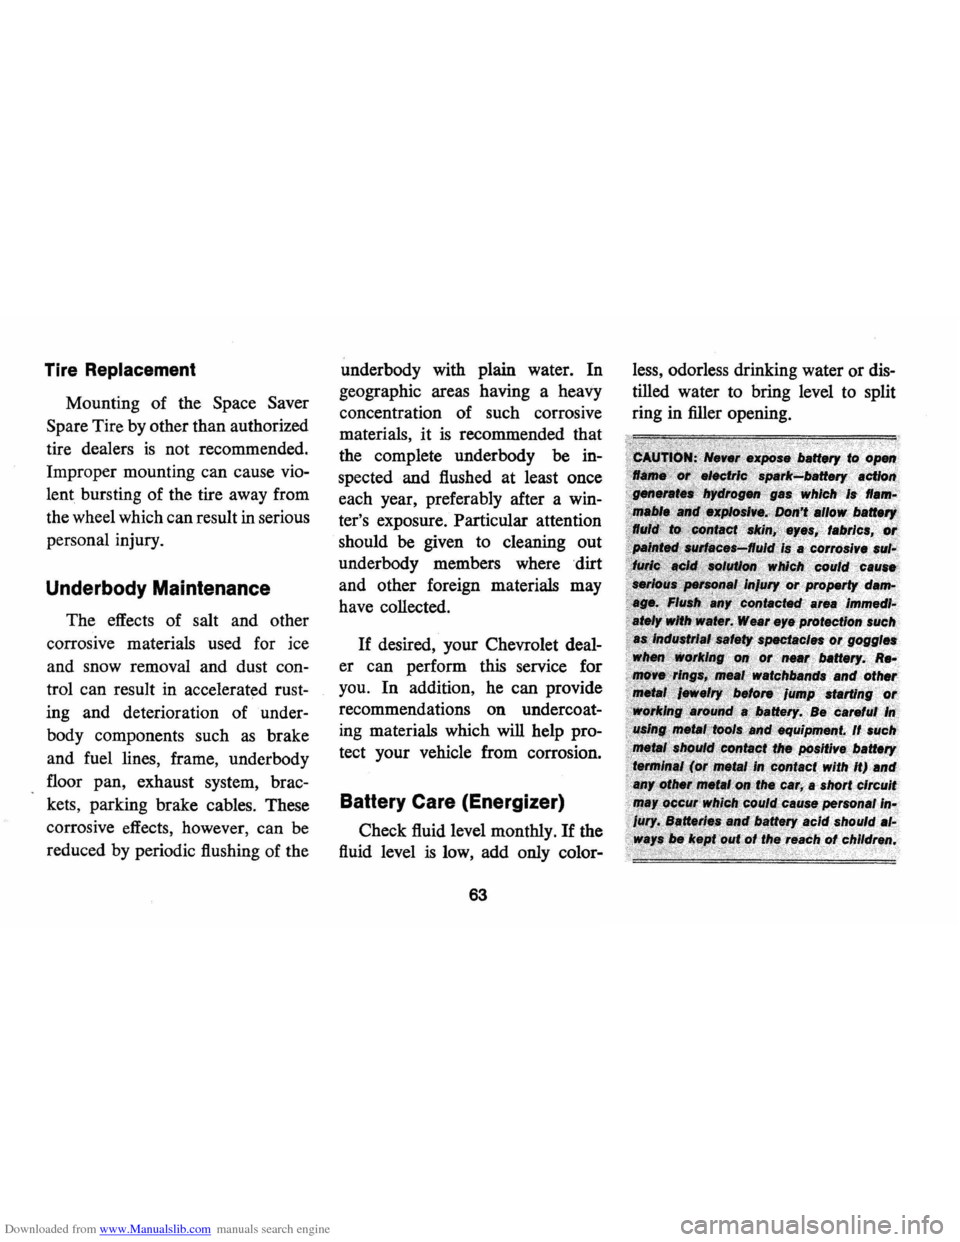
Mounting of the Space Saver
Spare Tire by other than authorized
tire dealers
is not recommended.
Improper mounting can cause
vio
lent bursting of the tire away from
the wheel which can result in serious
personal injury.
Underbody Maintenance
The effects of salt and other
corrosive materials used for ice
and snow removal and dust
con
trol can result in accelerated rust
ing and deterioration of under
body components such
as brake
and fuel lines, frame, underbody
floor pan, exhaust system, brac
kets , parking brake cables. These
corrosive effects, however, can be
reduced by periodic flushing of the underbody
with plain water. In
geographic areas having a heavy
concentration of such corrosive
materials,
it is recommended that
the complete underbody be
in
spected and flushed at least once
each year, preferably after a
win
ter's exposure. Particular attention
should be given to cleaning out
underbody members where dirt
and other foreign materials may
have collected.
If desired, your Chevrolet deal
er can perform this service for
you.
In addition, he can provide
recommendations on undercoat
ing materials which will help
pro
tect your vehicle from corrosion.
Battery Care (Energizer)
Check fluid level monthly. If the
fluid level
is low, add only color-
63
less, odorless drinking water or dis
tilled water to bring level to split
ring in filler opening.
Page 84 of 85
Downloaded from www.Manualslib.com manuals search engine Recommendations. . . . . . . . . . . . . . . . .. 47 Transmissions. . . . . . . . . . . . . . . . . . . . .. 50 Viscosity. . . . . . . . . . . . . . . . . . . . . . . . . .. 48 Operation in Foreign Countries ......... 12 Other Controls and Features. . . . . . . . . .. 35 Outside Air Vents .................. " ...... 29 Overheated Engine
Indicator Light. . . . . . . . . . . . . . . . . . . .. 25 What To Do ....................... 25 Overseas Operation '. . . . . . . . . . . . . . . . . . . 12 Owner Assistance ..................... 74 Paint
Care ........................... ... 44
Touch Up ......................... 44
Parking Brake
............................. 21 Brake Check ....................... 21 Lights ............................. 73 "Park" (P) Transmission Position. . . .. 17 Precautions ........................ 14 Polishing And Waxing ............... " 44
Positive Traction Differential. . . . . . . . . .. 35 Power
Brakes ............................ 22 Steering. . . . . . . . . . . . . . . . . . . . . . . . . .. 19 Windows, .. , ,. " '.', ........ ... , 35 Pressure, Tire Inflation. . . . . . . . . . . . . . .. 56 Pushing To Start ................... " 36 Radiator
Coolant ........................... 54 Coolant Level Inspection. . . . . . . . . . .. 54
. Overheating ...................... " 39 Pressure Cap. . . . . . . . . . . . . . . . . . . . . .. 56
Radio
AM/FM ........................... 34 Antenna ........................... 34 Stereo System. . . . . . . . . . . . . . . . . . . . .. 34
Raising Car With Jack. . . • . . . . . . . . . . .. 39 Rear
Axle .............................. 49 Speaker .................... ... .... 34 Window Defogger .. " .............. 31 Registration, Vehicle
Engine Number. . . . . . . . . . . . . . . . . . .. 70 Vehicle Identification Number. ....... 70 Release, Hood ............ '" ... ..... IBC
Replacement Tires ................ , . .. 60 Replacement Wheels. . . . . . . . . . . . . . . . .. 60 Restarting . . . . . . . . . . . . . . . . . . . . . . . . . .. 15
Restraints
Child........ ................... ... 9
Lap Belts.. .... . . .... . ... . . .. . . .. .. 7
Methods Of Restraining Children. . . .. 9 Shoulder Belts. . . . . . . . . . . . . . . . . . . . . . 7
Retractors, Lap Belt. . . . . . . . . . . . . . . . .. 7 "Reverse" (R) Transmission Range. . . .. 17 Roof Care, Vinyl. . . . . . . . . . . . . . . . . . . .. 45 Rotation, Tire ........................ 58 Safety Belts (Seat Belts). . . . . . . . . . . . . . . . . . . . 7
Carrier, Infant.... . . . . . . . . . . . . . . . . .. 9 Seat, Child. .. . . . . . . . . . . . . . . . . . . . . .. 9
Schedule
Break-In... .. .... .. . ... . . . . .. .... .. 2
Maintenance. . . . . . . . . . . . . . . . . . . . . .. 46 Seat .
Adjustment, Manual. . . . . . . . . . . . . . . . 5
Back Latch, Folding
Front. . . . . . . . . .. 4
Child Safety. . . . . . . . . . . . . . . . . . . . . . .. 9
Seat Belts
Buzzer Light Reminder. . . . . . . . .
. . . .. 9
Child Restraint. . . . . . . . . . . . . . . . . . . .. 9 . Inspection and Care. . . . . . . . . . . . . . . .. 9
Lap ............................... 7
Retractors. . . . . . . . . . . . . . . . . . . . . . . .. 7
81
Shoulder.... ..... . . .. . . .. .. .... .. .. 7
Self-Adjusting Brakes .......... ..... ,. 22 Service and Maintenance. . . . . . . . . . . . .. 46 Shift Linkage Maintenance ............... 51 Operation (See Transmission). . . . . . .. 16 Shoulder Belts Adjustment. . . . . . . . . . . . . 7 Side Marker Lights. . . . . . . . . . . . . . . . . .. 73 Signals, Turn ......................... 18 Solvents, Recommended Cleaning ....... 41 Sound Systems (See Radio) Space Saver Tire. . . . . . . . . . . . . . . . . . . . .. 61 Spare Tire
Jacking Instructions. . . . . . . . . . . . . . . .. 39 Spark Knock (See Fuel
Recommendations)
Speaker, Rear. . . . . . . . . . . . . . . . . . . . . . .. 34 Specifications
Body .............................. 70 Capacities. . . . . . . . . . . . . . . . . . . . . . . .. 70 Dimensions ....................... , 70 Engine ............................ 70 Filters ............................. 47 Fuses ....... ...................... 73 General ........................... 70 Light Bulbs. . . . . . . . . . . . . . .. . . . . . . .. 73 Lubricants. . . . . . . . . . . . . . . . . . . . . . . .. 47
Speedometer. . . . . . . . . . . . . . . . . . . . . . . .. 23 Spot Cleaning ........................ 41 Stainless Steel Protection. . . . . . . . . . . . .. 45 Stains, Removal of. ................... 41 Starter Interlock ......................... , 14 Safety Switch.. .. . . . . . . . . . . . . . . . . . .. 15 Starting Automatic Transmission Cars. . . . . . .. 15 Emergency. . . . . . . . . . . . . . . . . . . . . . . .. 37 Manual Transmission Cars ........... 15