1973 CHEVROLET CAMARO battery
[x] Cancel search: batteryPage 21 of 84
Downloaded from www.Manualslib.com manuals search engine ing wheel. The lever is moved up
ward to signal a right turn and
downward
to signal a left turn.
Lamps on the front and rear of the
car transmit this signal to other
motorists and pedestrians. The
ig
nition switch must be in the "ON"
position in order for the turn sig
nals to be operational. This feature
prevents battery drain
if the lever
is left in an "ON" position when
your car
is not in use.
In a normal turning situation
such
as turning a corner, the turn
signal
is cancelled automatically
after the turn
is completed. How
ever, in some driving maneuvers
such as changing lanes
on an ex
pressway, the steering wheel
is not
turned back sufficiently after com
pleting the turn to automatically
cancel the turn signal. For con
venience in such maneuvers, the
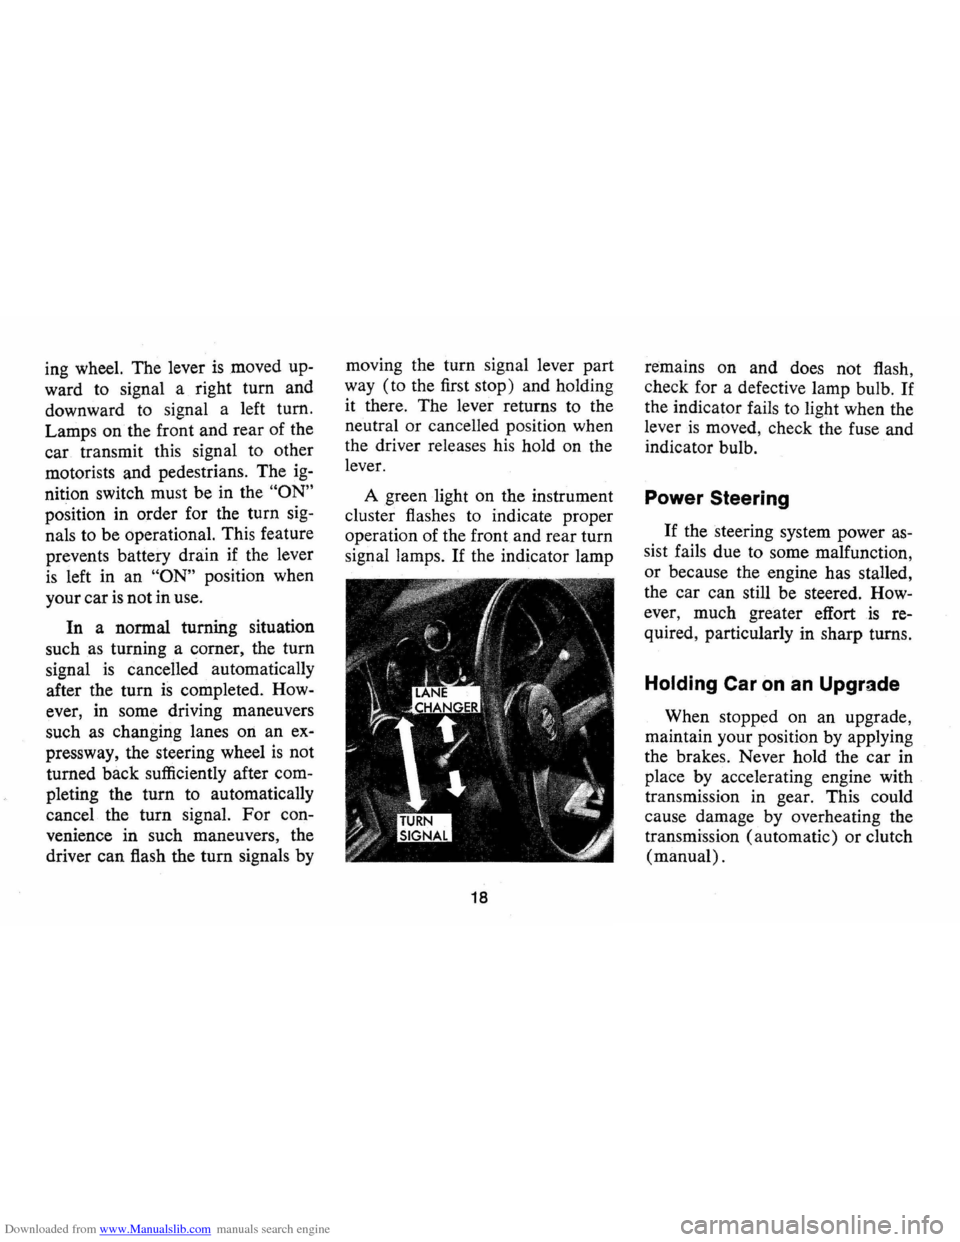
driver can flash the
tum signals by moving
the turn signal lever part
way (to the first stop) and holding
it there. The lever returns to the
neutral
or cancelled position when
the driver releases his hold on the
lever.
A green light on the instrument
cluster flashes to indicate proper
operation of the front and rear turn
signal lamps.
If the indicator lamp
18
remains on and does not flash,
check for a defective lamp bulb.
If
the indicator fails to light when the
lever
is moved, check the fuse and
indicator bulb.
Power Steering
If the steering system power as
sist fails due to some malfunction,
or because the engine has stalled,
the car can still be steered.
How
ever, much greater effort is re
quired, particularly in sharp turns.
Holding Car on an Upgrade
When stopped on an upgrade,
maintain your position by applying
the brakes. Never hold the car in
place
by accelerating engine with
transmission in gear. This could
cause damage by overheating the
transmission (automatic) or clutch
(manual).
Page 29 of 84
Downloaded from www.Manualslib.com manuals search engine k)
2530 35404550
15 55
10 60
5 65 RPM/tOO 70 Illm
Optional Instruments and Gauges
Tachometer and Oil Pressure Indicator Light
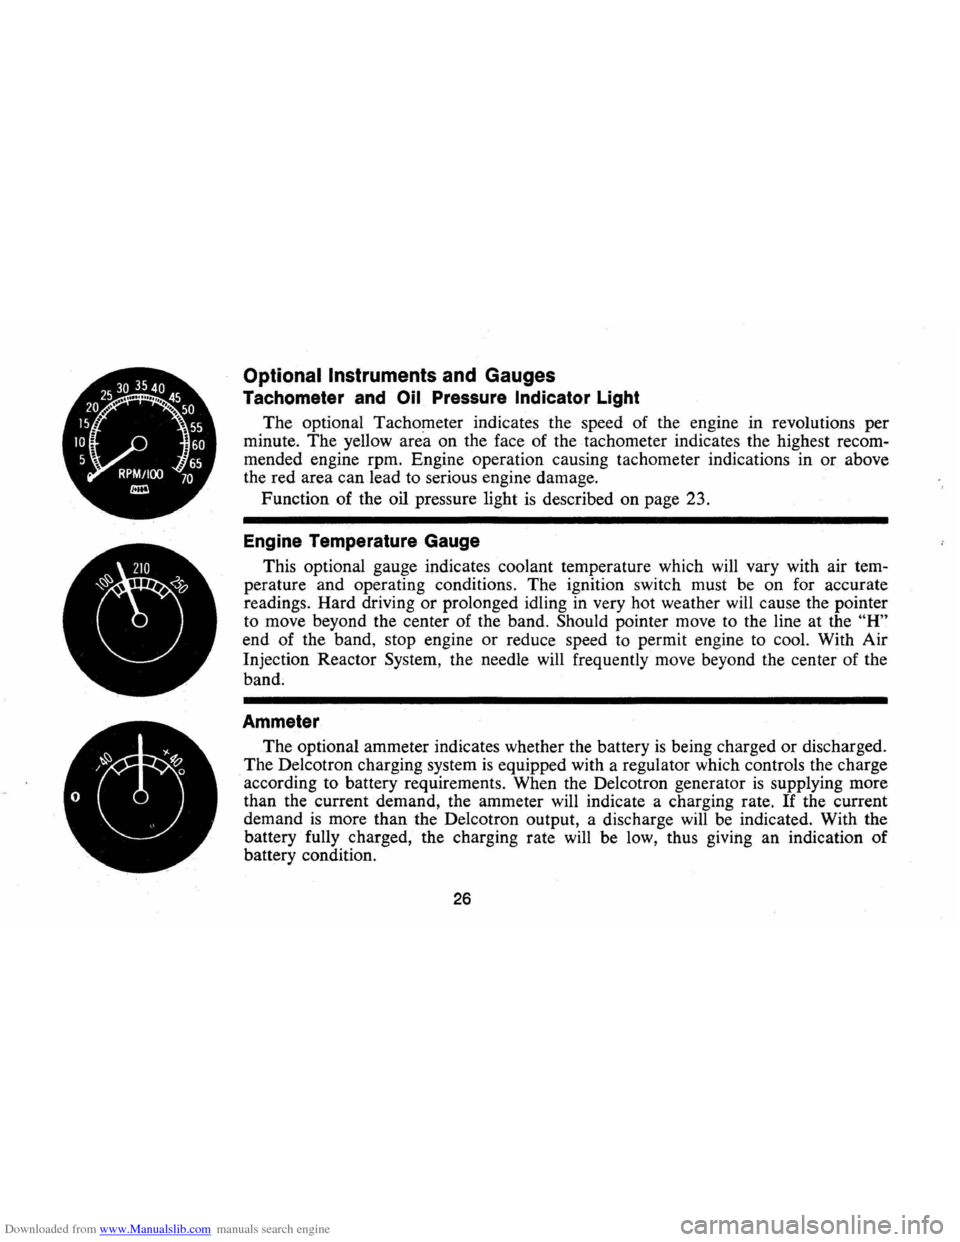
The optional Tachometer indicates the speed of the engine in revolutions per
minute . The yellow are'a on the face of the tachometer indicates the highest recom
mended engine rpm. Engine operation causing tachometer indications in
or above
the red area can lead to serious engine damage.
Function of the oil pressure light
is described on page 23.
Engine Temperature Gauge
This optional gauge indicates coolant temperature which will vary with air tem
perature and operating conditions. The ignition switch must be on for accurate
readings. Hard driving or prolonged idling in very hot weather will cause the pointer
to move beyond the center of the band. Should pointer move to the line at the
"H"
end of the band, stop engine or reduce speed to permit engine to cool. With Air
Injection Reactor System, the needle will frequently move beyond the center of the
band.
Ammeter
The optional ammeter indicates whether the battery is being charged or discharged.
The Delcotron charging system
is equipped with a regulator which controls the charge
according to battery requirements. When the Delcotron generator
is supplying more
than the current demand, the ammeter will indicate a charging rate.
If the current
demand
is more than the Delcotron output, a discharge will be indicated. With the
battery fully charged, the charging rate will be low, thus giving an indication of
battery condition.
26
Page 40 of 84
Downloaded from www.Manualslib.com manuals search engine knowledgeable towing concern.
Your Camaro may be towed on
all four wheels, at speeds of
less
than 35 mph, for distances up to
50 miles, provided driveline, axle
and transmission are otherwise
normally operable. For such tow
ing, parking brake must be re
leased, transmission must be in
neutral
and ignition lock turned to
OFF position. Attachments must
be to main structural members of
the car, not to bumpers or brac
keting. Separate safety chains
or
cables should be used. Remember
that power brake and steering
as
sists will not be available when
engine
is inoperative.
Emergency Starting
• Never tow the car to start be
cause the surge forward when
the engine starts could cause a
collision with the tow vehicle.
• Engines in vehicles with auto
matic transmissions cannot be
started by (towing
or) pushing
the car.
• To start the car when the Ener
gizer (battery)
is discharged,
use a single auxiliary battery or
Energizer of the same nominal
voltage
(12 volts) as the dis
charged battery, with suitable
jumper cables.
• Make connections as set forth
below under
"Jump Starting
with Auxiliary (Booster) Bat
tery" to lessen the chance of
personal injury
or property
damage.
Jump Starting with
Auxiliary (Booster) Battery
Both booster and discharged
battery should be treated carefully
when using jumper cables. Follow
37
exactly the procedure outlined be
low, being careful not to cause
sparks:
1. Set parking brake and place
automatic transmission in
"PARK" (neutral for manual
transmission). Turn
off lights,
heater and other electrical loads.
2. Remove vent caps from both
the booster and the discharged
batteries. Lay a cloth over the
open vent wells of each battery.
These two actions help reduce
the explosion hazard always
Page 41 of 84
Downloaded from www.Manualslib.com manuals search engine present in either battery when
connecting
"live" booster bat
teries to
"dead" batteries.
3 . Attach one end of one jumper
cable to the positive terminal of
the
booster battery (identified by
a red color,
"+" or "P" on
the battery case, post or clamp)
and the other end of same cable
to. positive terminal of dis
charged 6attery. Do NOT per
mit cars to touch each other, as
this could establish a ground
connection and counteract the
benefits of this procedure.
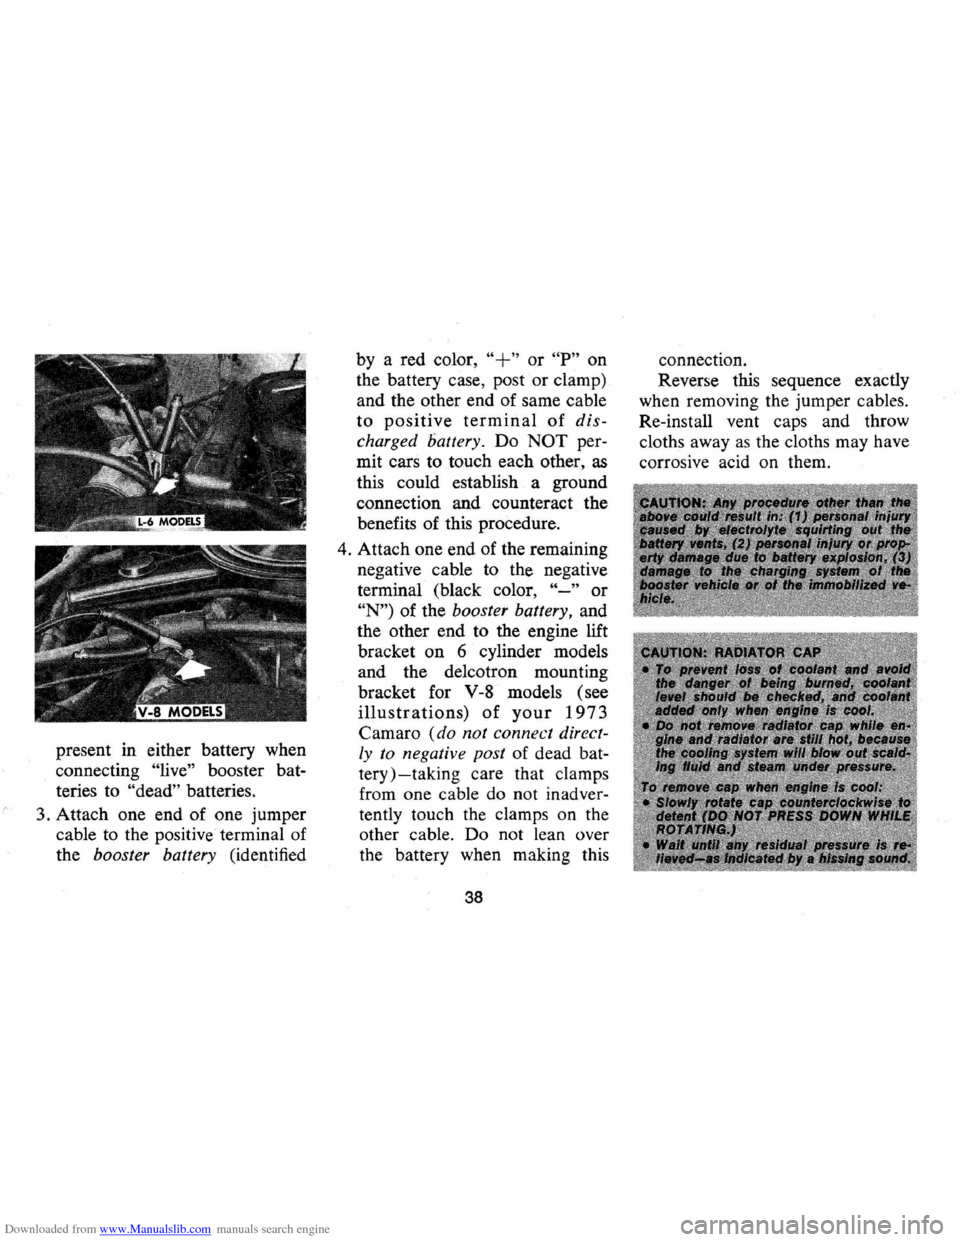
4. Attach one end of the remaining
negative cable to the negative
terminal (black color,
"-" or
"N") of the booster battery, and
the other end to the engine lift
bracket on 6 cylinder models
and the delcotron mounting
bracket for
V-8 models (see
illustrations) of your 1973
Camaro (do not connect direct
ly to negative post
of dead bat
tery)
-taking care that clamps
from one cable do not inadver
tently touch the clamps on the
other cable. Do not lean over
the battery when making this
38
connection.
Reverse this sequence exactly
when removing the jumper cables.
Re-install vent caps and throw
cloths away
as the cloths may have
corrosive acid on them.
Page 64 of 84
Downloaded from www.Manualslib.com manuals search engine However, this warranty is void if
any inflator containing sealants
is
used. Approved inflation gases are
air, carbon dioxide, nitrogen, and
Freon 22.
Underbody Maintenance
The effects of salt and other
corrosive materials used for ice
and snow removal and dust con
trol can result in accelerated rust
ing and deterioration of under
body component s such
as brake
and fuel lines, frame, underbody
floor pan, exhaust system, brac
kets, parking brake cables. These
corrosive effects, however , can be
reduced
by periodic flushing of the underbody
with plain water. In
geographic areas having a heavy
concentration of such corrosive
materials, it
is recommended that
the complete underbody be in
spected and flushed at least
once
each year, preferably after a win
ter's exposure.
Particular attention
should be given to cleaning out
underbody members where dirt
and other foreign materials may
have collected .
If desired, your Chevrolet deal
er can perform
this service for
you. In addition , he can provide
recommendations on undercoat
ing materials which will help pro
tect your vehicle from corrosion.
61
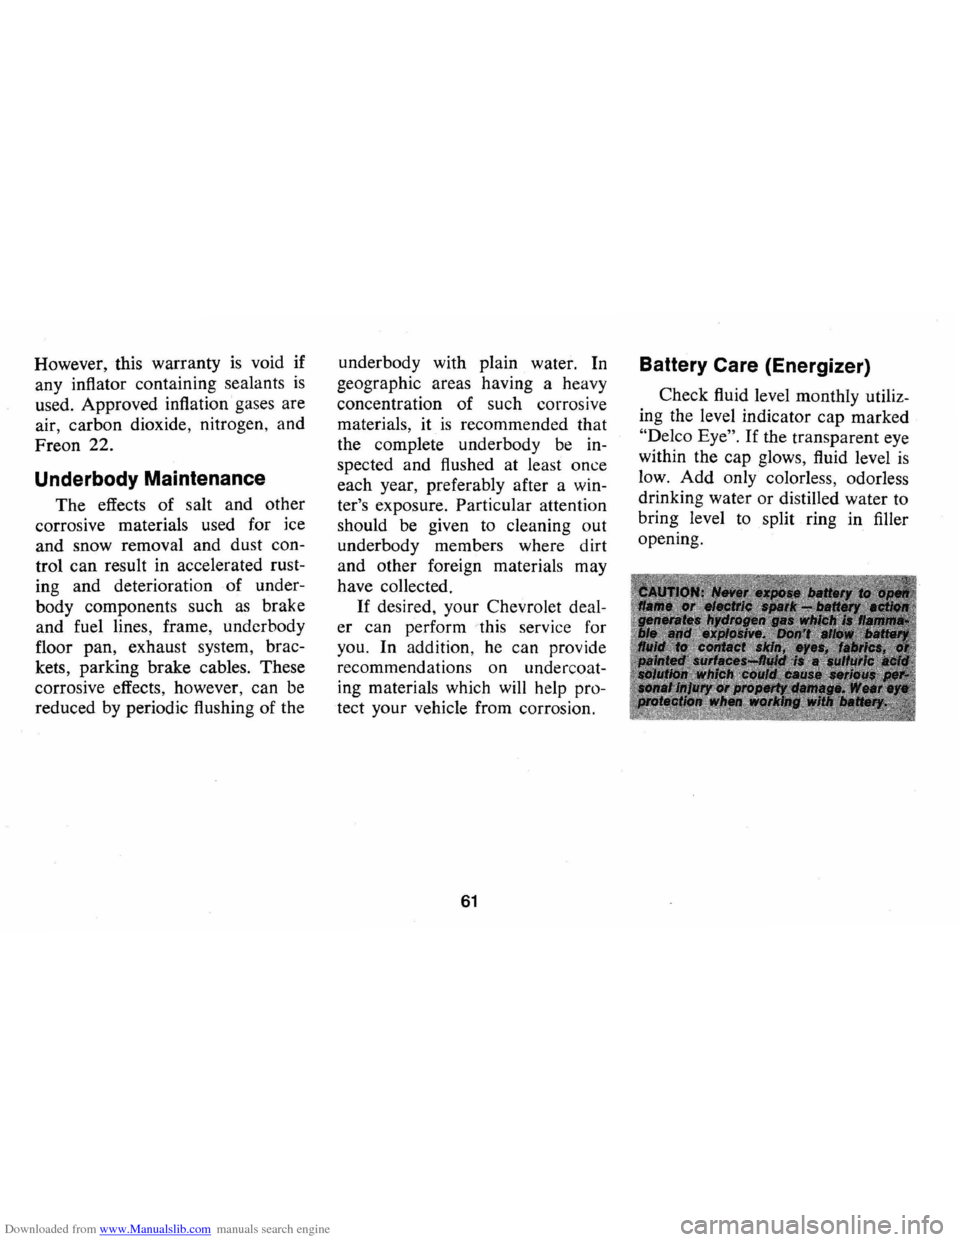
Battery Care (Energizer)
Check fluid level monthly utiliz
ing the level indicator cap marked
"Delco Eye". If the transparent eye
within the cap glows, fluid level
is
low. Add only colorless, odorless
drinking water or distilled water to
bring level to split ring in filler
opening.
Page 67 of 84

Downloaded from www.Manualslib.com manuals search engine IE) If the car will start but stalls when hot or has a rough idle,
you can suspect a faulty IDLE ADJUSTMENT, a malfunctioning AUTOMATIC CHOKE or an extremely dirty and blocked AIR CLEANER ELEMENT. Replace paper element air cleaner if necessary. Idle adjustment or automatic choke service (other than that outlined in paragraph 0 above) should be performed by your
Chevrolet Dealer.
If the above Fuel System checks and the checks suggested under the Electrical System following do not correct the malfunction, it is recommended that you return to your Authorized Chevrolet Dealer
for further checks, adjustments or repairs.
ELECTRICAL SYSTEM If, when the ignition key is turned to "Start", the engine will not
turn over, you have good reason to suspect electrical trouble. NOTE: Never remove Delcotron bat lead without first disconnecting
battery ground cable.
IF) When there is no response at all to attempts to start the car, check the obvious-your AUTOMATIC TRANSMISSION SELECTOR LEVER must be in Neutral or Park position (manual transmission
must have clutch depressed all the way to floor) before the engine can be started. Turning the IGNITION SWITCH rapidly back and forth several times will sometimes correct a poor internal switch
contact.
IG) The BATIERY may be discharged. If so, lights will be dim and the horn will have a poor tone if it will blow at all.
Usually a garage recharge will be necessary to return the battery to operation. Occasionally, however, a long drive will recharge the battery. NOTE: If the battery is determined to be dead, and for no apparent reason, have your Authorized Chevrolet Dealer check the
battery, the GENERATOR and the VOLTAGE REGULATOR.
GENERATOR trouble should already have been indicated by the generator indicator light on the instrument panel.
64
POOR BATIERY CONNECTIONS may be suspected if the car has operated properly a short time before and now not even the horn
will operate. Check both ends of both battery cables. If the connections are corroded, a car may sometimes be restored to operation by removing all cable ends, scraping all contacting surfaces
clean with a pen knife, and reassembling. If the cables are broken,
they must be replaced. The power supply should now be restored
unless the battery is dead.
IH) If, however, the lights and horn work properly but the starter will still not turn over, check the STARTER connections. A "click" from the starter solenoid indicates that the wiring to the starter is properly installed. If the wiring seems to be clean and tightly in
stalled, the trouble is probably in the starter itself and should be referred to your Authorized Chevrolet Dealer.
When the engine will
"turn over" but will not start, the foilowing
items may be checked along with the Fuel Systems Checks listed
previously.
II) With a clean dry cloth, wipe the ceramic portions of the spark plugs dry. In particularly damp or rainy weather dampness may be
the cause of not sta rting, especi
ally when the engine is cold.
IJ) Check the cables at the top of the distributor and coil as well as each spark plug cable for
tightness.
IK) If the co r will still not sta rt,
check for spark at the spark plugs in the following manner:
Pull one of the spark plug
wires off its spark plug. Insert a
short piece of bare wire (such as Di.,ribu'or and Coil Cab I ••
Page 69 of 84
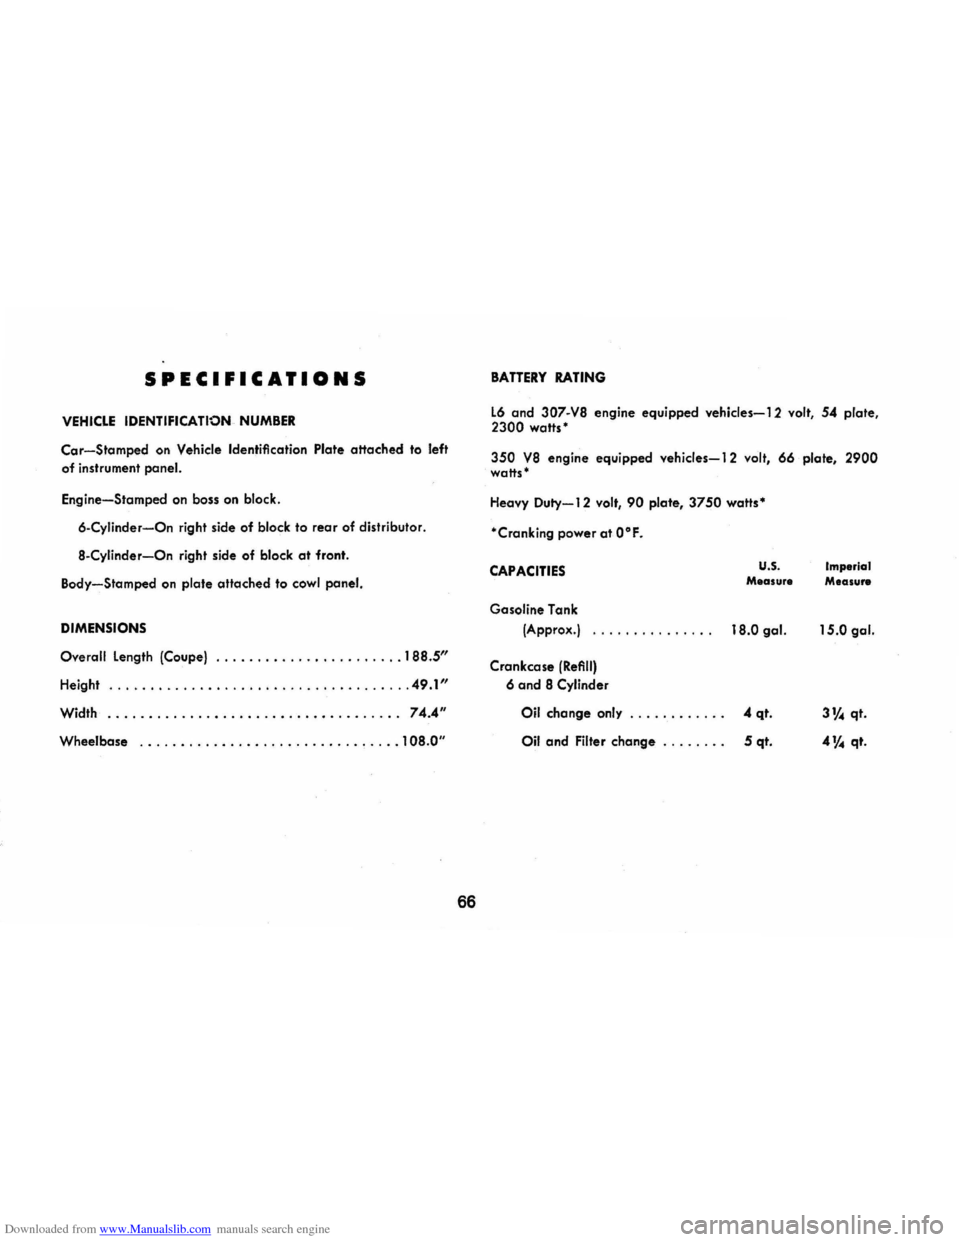
Downloaded from www.Manualslib.com manuals search engine SPECIFICATIONS
VEHICLE IDENTIFICATION NUMBER
Car-Stamped on Vehicle Identification Plate attached to left
of instrument panel.
Engine-Stamped on boss on block.
6-Cylinder-On right side of block to rear of distributor.
S-Cylinder-On right side of block at front.
Body-Stamped
on plate attached to cowl panel.
DIMENSIONS
Overall Length (Coupe) ....................... 1 SS.5"
Height ..................................... 49.1"
Width .............•............•......... 74.4"
Wheelbase ................................ 10S.0"
66
BATTERY RATING
L6 and 307-VS engine equipped vehicles-I 2 volt, 54 plate, 2300 watts'
350 VS engine equipped vehicles-12 volt, 66 plate, 2900 watts'
Heavy Duty-I 2 volt, 90 plate, 3750 watts'
'Cranking power at O°F.
CAPACITIES
Gasoline Tank
(Approx.)
Crankcase
(Refill)
6 and S Cylinder
U.S. Measure
IS.O gal.
Oil
change only . . . . . . . . . . .. 4 qt.
Oil and Filter change . . . . . . .. 5 qt.
Imperial Measure
15.0 gal.
3% qt.
4% qt.
Page 77 of 84
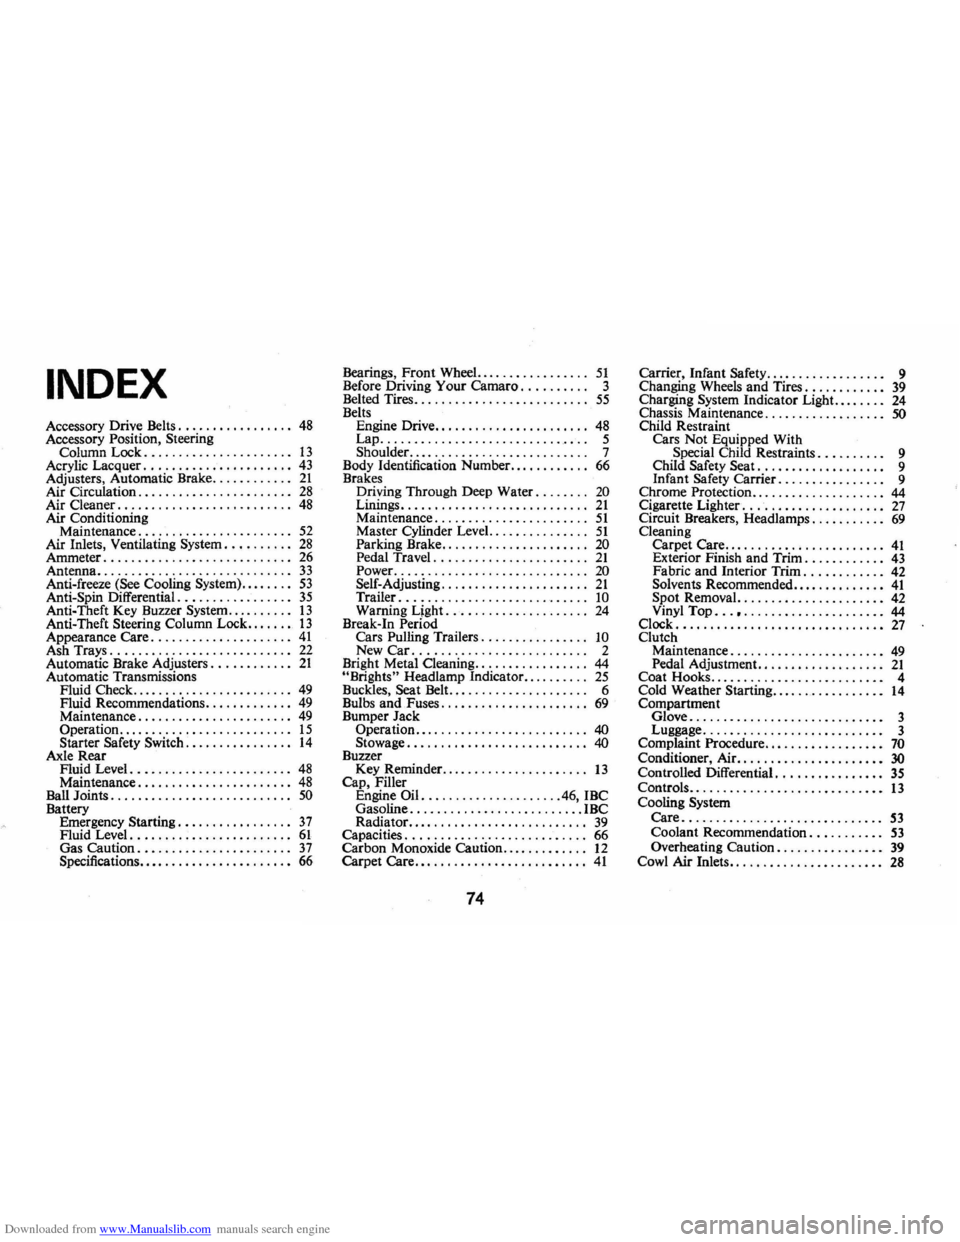
Downloaded from www.Manualslib.com manuals search engine INDEX
Accessory Drive Belts. . . . . . . . . . . . . . . .. 48 Accessory Position, Steering
Column Lock. .. . . . . .. . . .. . .. .. .... 13 Acrylic Lacquer. . . . . . . . . . . . . . . . . . . . .. 43 Adjusters, Automatic Brake ............ 21 Air Circulation . . . . . . . . . . . . . . . . . .. . ... 28 Air Cleaner. . . . . . . . . . . . . . . . . . . . . . . . .. 48 Air Conditioning
Maintenance. . . . . . . . . . . . . . . . . . . . . .. 52 Air Inlets, Ventilating System .......... 28 Ammeter ............................ 26 Antenna ................ ............. 33 Anti-freeze (See Cooling System). . . . . . .. 53 Anti-Spin Differential. . . . . . . . . . . . . . . .. 35 Anti-Theft Key Buzzer System .......... 13 Anti-Theft Steering Column Lock ....... 13 Appearance Care ..................... 41 Ash Trays. . . . . . . . . . . . . . . . . . . . . . . . . .. 22 Automatic Brake Adjusters. . . . . . . . . . .. 21 Automatic Transmissions
Fluid Check ........................ 49 Fluid Recommendations ............. 49 Maintenance. . . . . . . . . . . . . . . . . . . . . .. 49 Operation .......................... 15 Starter Safety Switch. . . . . . .. . . . . . ... 14 Axle Rear
Fluid Level. . . . . . . . . . . . . . . . . . . . . . .. 48 Maintenance. . . . . . . . . . . . . . . . . . . . . .. 48 Ball Joints ........................... 50 Battery
Emergency Starting. . . . . . . . . . . . . . . .. 37 Fluid Level. . . . . . . . . . . . . . . . . . . . . . .. 61 Gas Caution ....................... 37 Specifications. . . . . . . . . . . . . . . . . . . . . .. 66 Bearings,
Front Wheel.
................ 51 Before Driving Your Camaro . . . . . . . . . . 3
Belted Tires .......................... 55 Belts
Engine Drive. . . . . . . . . . . . . . . . . . . . . .. 48 Lap ................................ 5 Shoulder............ . .............. 7 Body Identification Number ............ 66 Brakes
D.riying Through Deep Water. . . . . . .. 20 Lmmgs ............................ 21 Maintenance ....................... 51 Master Cylinder Level. .............. 51 Parking Brake ...................... 20 Pedal Travel. . . . . . . . . . . . . . . . . . . . . .. 21 Power. .............. .............. 20 Self-Adjusting. . . . . . . . . . . . . . . . . . .. .. 21 Trailer ............................ 10 Warning Ljght. .. . . . . . . .. . . . . . . . . .. 24 Break-In Period Cars Pulling Trailers. . . . . . . . . . . . . . .. 10 New Car.......................... 2
Bright Metal Cleaning .......... '" .... 44 "Brights" Headlamp Indicator .......... 25 Buckles, Seat Belt.. . . . . . . . . . . . . . . . . . .. 6
Bulbs and Fuses . . . . . . . . . . . . . . . . . . . . .. 69 Bumper Jack
Operation ...... " .................. 40 Stowage ........................... 40 Buzzer Key Reminder.. .. .. .. .. .. . .. .. .. ... 13 Cap, Filler
Engine Oil. .................... 46, IBC
Gasoline .......................... IBC
Radiator. . . . . . . . . . . . . . . . . . . . . . . . . .. 39 Capacities. . . . . . . . . . . . . . . . . . . . . . . . . .. 66
Carbon Monoxide Caution ............. 12 Carpet Care .......................... 41
74
Carrier, Infant Safety.... . . . . . . .. .. . . .. 9
Changing Wheels and Tires. . . . . . . . . . .. 39 Charging System Indicator Light. . . . . . .. 24
Chassis Maintenance . . . . . . . . . . . . . . . . .. 50 Child Restraint
Cars Not Equipped With
Special Child Restraints. . . . . . . . . . 9
Child Safety Seat. . . . . . . . . . . . . . . . . . .
9 Infant Safety Carrier. . . . . . . . . . . . . . .. 9 Chrome Protection .................... 44
Cigarette Lighter. . . . . . . . . . . . . . . . . . . .. 27 Circuit Breakers, Headlamps. . . . . . . . . .. 69 Cleaning
Carpet Care. . . . . . . . . . . . . . . . . . . . . . .. 41 Exterior Finish and Trim. . . . . . . . . . .. 43 Fabric and Interior Trim ............ 42
Solvents Recommended .............. 41 Spot Removal. . . . . . . . . . . . . . . . . . . . .. 42 Vinyl Top ... , . . . . . . . . . . . . . . . . . . . .. 44
Clock ............................... 27 Clutch Maintenance. . . . . . . . . . . . . . . . . . . . . .. 49 Pedal Adjustment ................... 21 Coat Hooks........ ...... ........ .... 4
Cold Weather Starting ................. 14 Compartment
Glove ............................. 3
Luggage. .......... ................ 3
Complaint Procedure .................. 70 Conditioner, Air ...................... 30 Controlled Differential. . . . . . . . . . . . . . .. 35 Controls ............................. 13 Cooling System
Care ........... ................... 53 Coolant Recommendation. . . . . . . . . .. 53 Overheating Caution. . . . . . . . . . . . . . .. 39 Cowl Air Inlets ....................... 28