2024 CHEVROLET SILVERADO EV window
[x] Cancel search: windowPage 40 of 429
Chevrolet Silverado EV Owner Manual (GMNA-Localizing-U.S./Canada-
16702912) - 2024 - CRC - 1/23/23
Keys, Doors, and Windows 39
The vehicle aerodynamics are designed to
improve vehicle range performance. This
may result in a pulsing sound when either
rear window is down and the front windows
are up. To reduce the sound, open either a
front window or the sunroof, if equipped.
Power Windows
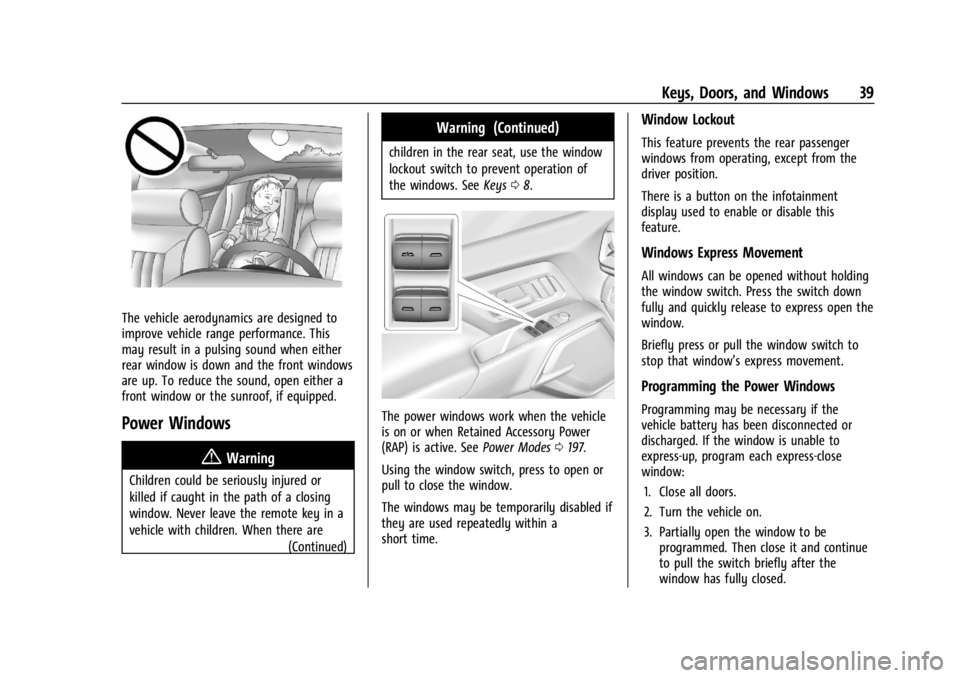
{Warning
Children could be seriously injured or
killed if caught in the path of a closing
window. Never leave the remote key in a
vehicle with children. When there are(Continued)
Warning (Continued)
children in the rear seat, use the window
lockout switch to prevent operation of
the windows. SeeKeys08.
The power windows work when the vehicle
is on or when Retained Accessory Power
(RAP) is active. See Power Modes0197.
Using the window switch, press to open or
pull to close the window.
The windows may be temporarily disabled if
they are used repeatedly within a
short time.
Window Lockout
This feature prevents the rear passenger
windows from operating, except from the
driver position.
There is a button on the infotainment
display used to enable or disable this
feature.
Windows Express Movement
All windows can be opened without holding
the window switch. Press the switch down
fully and quickly release to express open the
window.
Briefly press or pull the window switch to
stop that window’s express movement.
Programming the Power Windows
Programming may be necessary if the
vehicle battery has been disconnected or
discharged. If the window is unable to
express-up, program each express-close
window: 1. Close all doors.
2. Turn the vehicle on.
3. Partially open the window to be programmed. Then close it and continue
to pull the switch briefly after the
window has fully closed.
Page 41 of 429
Chevrolet Silverado EV Owner Manual (GMNA-Localizing-U.S./Canada-
16702912) - 2024 - CRC - 1/23/23
40 Keys, Doors, and Windows
4. Open the window and continue to pressthe switch briefly after the window has
fully opened.
Remote Window Operation
If equipped, this feature allows the windows
to be opened remotely. If enabled in vehicle
settings, double press and hold
Kon the
remote key. To view available settings from
the infotainment screen, touch Settings >
Vehicle > Remote Lock, Unlock, Start.
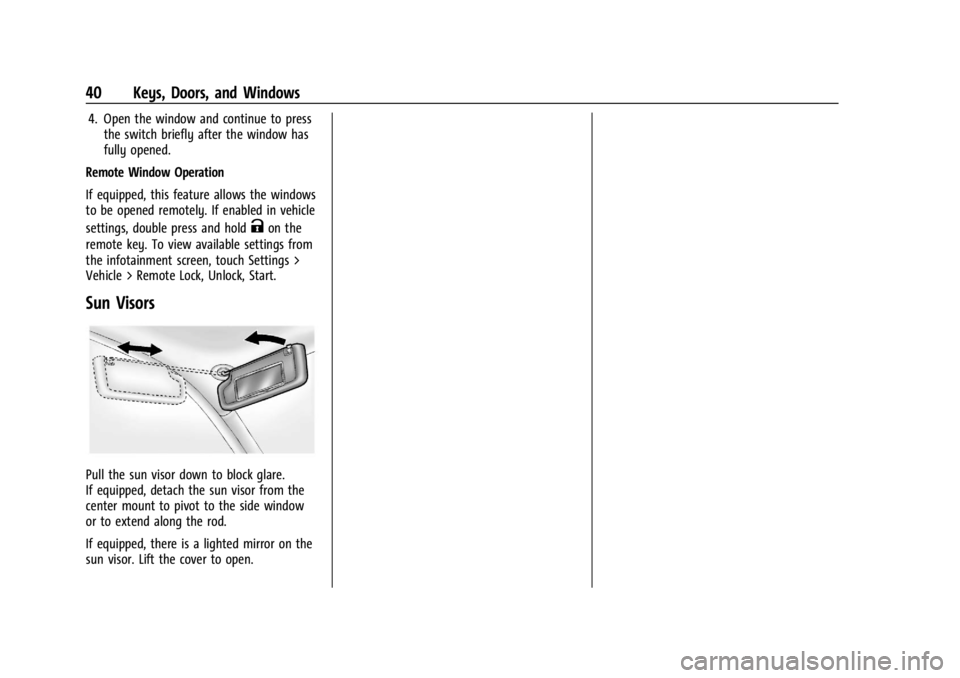
Sun Visors
Pull the sun visor down to block glare.
If equipped, detach the sun visor from the
center mount to pivot to the side window
or to extend along the rod.
If equipped, there is a lighted mirror on the
sun visor. Lift the cover to open.
Page 62 of 429
Chevrolet Silverado EV Owner Manual (GMNA-Localizing-U.S./Canada-
16702912) - 2024 - CRC - 1/13/23
Seats and Restraints 61
{Warning
Because airbags inflate with great force
and faster than the blink of an eye,
anyone who is up against, or very close
to, any airbag when it inflates can be
seriously injured or killed. Do not sit
unnecessarily close to any airbag, as you
would be if sitting on the edge of the
seat or leaning forward. Seat belts help
keep you in position before and during a
crash. Always wear a seat belt, even with
airbags. The driver should sit as far back
as possible while still maintaining control
of the vehicle. The seat belts and the
front outboard passenger airbags are
most effective when you are sitting well
back and upright in the seat with both
feet on the floor.
Occupants should not lean on or sleep
against the door or side windows in
seating positions with seat-mounted side
impact airbags and/or roof-rail airbags.
{Warning
Children who are up against, or very
close to, any airbag when it inflates can
be seriously injured or killed. Always
secure children properly in the vehicle. To
read how, seeOlder Children 070 or
Infants and Young Children 071.
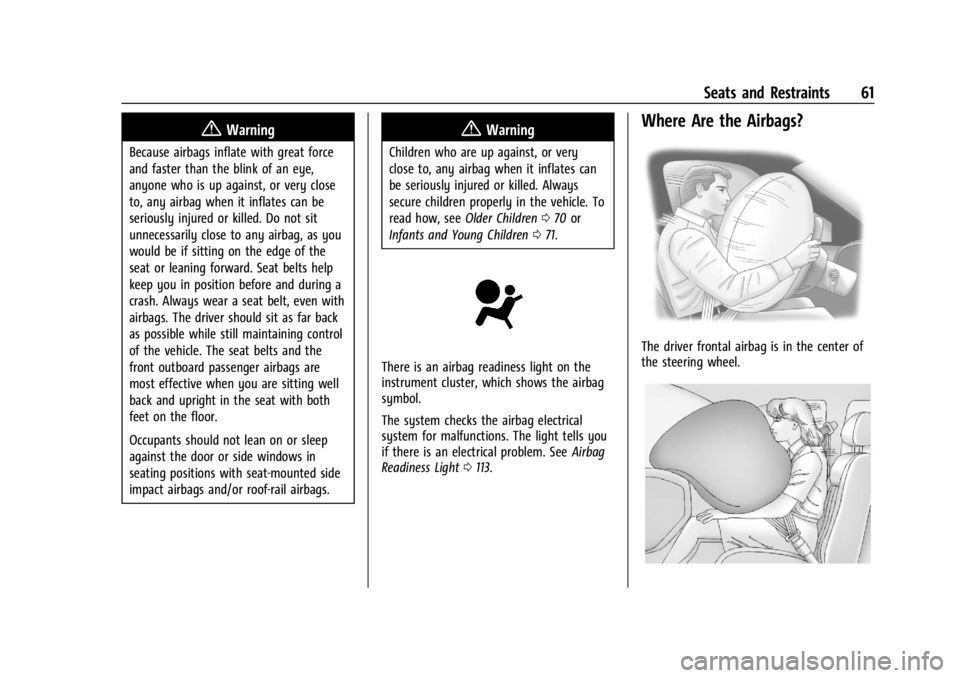
There is an airbag readiness light on the
instrument cluster, which shows the airbag
symbol.
The system checks the airbag electrical
system for malfunctions. The light tells you
if there is an electrical problem. See Airbag
Readiness Light 0113.
Where Are the Airbags?
The driver frontal airbag is in the center of
the steering wheel.
Page 63 of 429
Chevrolet Silverado EV Owner Manual (GMNA-Localizing-U.S./Canada-
16702912) - 2024 - CRC - 1/13/23
62 Seats and Restraints
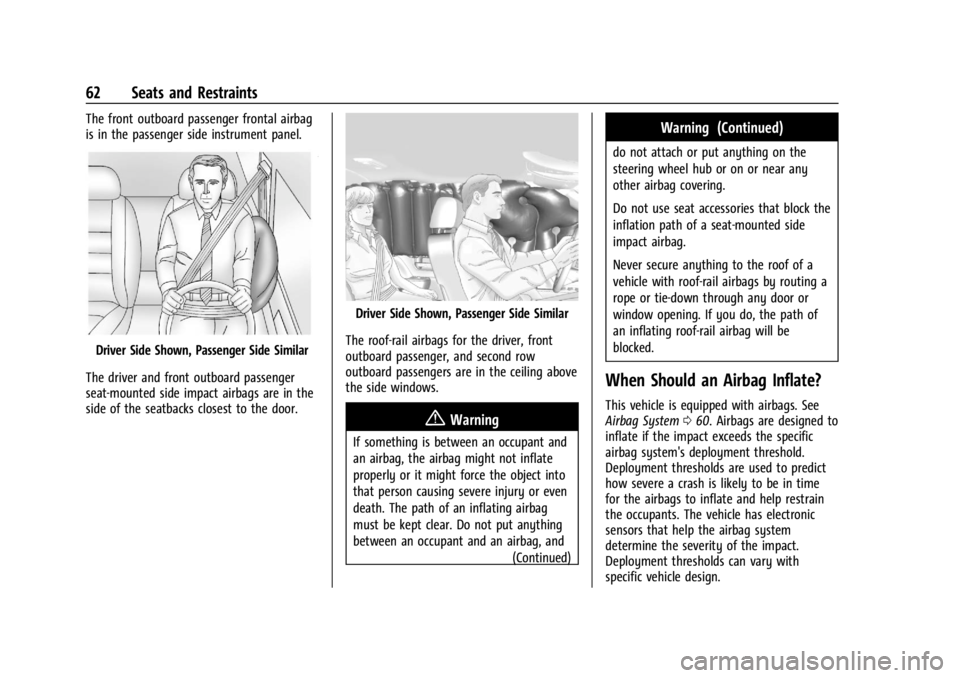
The front outboard passenger frontal airbag
is in the passenger side instrument panel.
Driver Side Shown, Passenger Side Similar
The driver and front outboard passenger
seat-mounted side impact airbags are in the
side of the seatbacks closest to the door.
Driver Side Shown, Passenger Side Similar
The roof-rail airbags for the driver, front
outboard passenger, and second row
outboard passengers are in the ceiling above
the side windows.
{Warning
If something is between an occupant and
an airbag, the airbag might not inflate
properly or it might force the object into
that person causing severe injury or even
death. The path of an inflating airbag
must be kept clear. Do not put anything
between an occupant and an airbag, and (Continued)
Warning (Continued)
do not attach or put anything on the
steering wheel hub or on or near any
other airbag covering.
Do not use seat accessories that block the
inflation path of a seat-mounted side
impact airbag.
Never secure anything to the roof of a
vehicle with roof-rail airbags by routing a
rope or tie‐down through any door or
window opening. If you do, the path of
an inflating roof-rail airbag will be
blocked.
When Should an Airbag Inflate?
This vehicle is equipped with airbags. See
Airbag System060. Airbags are designed to
inflate if the impact exceeds the specific
airbag system's deployment threshold.
Deployment thresholds are used to predict
how severe a crash is likely to be in time
for the airbags to inflate and help restrain
the occupants. The vehicle has electronic
sensors that help the airbag system
determine the severity of the impact.
Deployment thresholds can vary with
specific vehicle design.
Page 65 of 429
Chevrolet Silverado EV Owner Manual (GMNA-Localizing-U.S./Canada-
16702912) - 2024 - CRC - 1/13/23
64 Seats and Restraints
Airbags should never be regarded as
anything more than a supplement to seat
belts.
What Will You See after an
Airbag Inflates?
After frontal and seat-mounted side impact
airbags inflate, they quickly deflate, so
quickly that some people may not even
realize the airbags inflated. Roof-rail airbags
may still be at least partially inflated for
some time after they inflate. Some
components of the airbag module may be
hot for several minutes. For location of the
airbags, seeWhere Are the Airbags? 061.
The parts of the airbag that come into
contact with you may be warm, but not too
hot to touch. There may be some smoke
and dust coming from the vents in the
deflated airbags. Airbag inflation does not
prevent people from leaving the vehicle.
{Warning
When an airbag inflates, there may be
dust in the air. This dust could cause
breathing problems for people with a
history of asthma or other breathing (Continued)
Warning (Continued)
trouble. To avoid this, everyone in the
vehicle should get out as soon as it is
safe to do so. If you have breathing
problems but cannot get out of the
vehicle after an airbag inflates, then get
fresh air by opening a window or a door.
If you experience breathing problems
following an airbag deployment, you
should seek medical attention.
The vehicle has a feature that may
automatically unlock the doors, turn on the
interior lamps and hazard warning flashers
after the airbags inflate. The feature may
also activate, without airbag inflation, after
an event that exceeds a predetermined
threshold. After turning the vehicle off and
then on again, the doors can be locked, the
interior lamps can be turned off, and the
hazard warning flashers can be turned off
using the controls for those features. If any
of these systems are damaged in the crash
they may not operate as normal.
{Warning
A crash severe enough to inflate the
airbags may have also damaged
important functions in the vehicle, such
as the brake and steering systems, etc.
Even if the vehicle appears to be drivable
after a moderate crash, there may be
concealed damage that could make it
difficult to safely operate the vehicle.
Use caution if attempting to restart the
vehicle after a crash has occurred.
Plug-in vehicles have a high voltage battery
and a standard 12-volt battery.
If an airbag inflates or the vehicle has been
in a crash, the sensing system may shut
down the high voltage system. When this
occurs, the high voltage battery is
disconnected and the vehicle will not start.
Before the vehicle can be operated again, it
must be serviced at your dealer.
In many crashes severe enough to inflate
the airbag, windshields are broken by
vehicle deformation. Additional windshield
breakage may also occur from the front
outboard passenger airbag.
Page 94 of 429
Chevrolet Silverado EV Owner Manual (GMNA-Localizing-U.S./Canada-
16702912) - 2024 - CRC - 1/13/23
Storage 93
Floor Console Storage
To access the floor console storage, lift
to open.
If equipped, there is a USB port and
auxiliary power outlet.
Luggage/Load Locations
Cargo Area
All-Weather Cargo Area
The vehicle's cargo area can be used in
many different configurations—cargo
panels on or off, midgate up or down, rear
glass in or out. It has features that resist
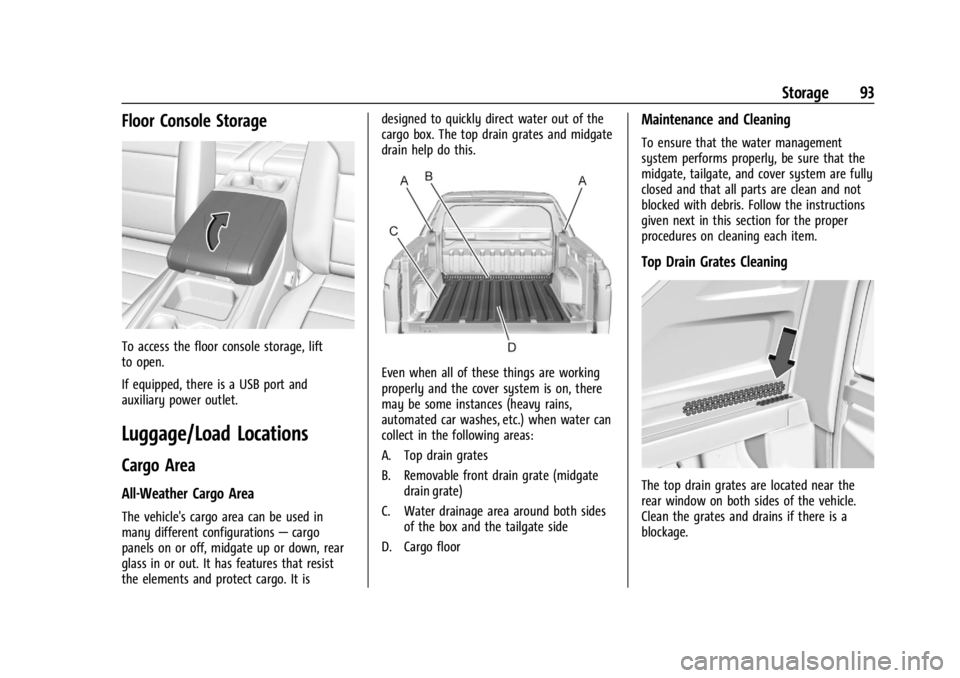
the elements and protect cargo. It is designed to quickly direct water out of the
cargo box. The top drain grates and midgate
drain help do this.
Even when all of these things are working
properly and the cover system is on, there
may be some instances (heavy rains,
automated car washes, etc.) when water can
collect in the following areas:
A. Top drain grates
B. Removable front drain grate (midgate
drain grate)
C. Water drainage area around both sides of the box and the tailgate side
D. Cargo floor
Maintenance and Cleaning
To ensure that the water management
system performs properly, be sure that the
midgate, tailgate, and cover system are fully
closed and that all parts are clean and not
blocked with debris. Follow the instructions
given next in this section for the proper
procedures on cleaning each item.
Top Drain Grates Cleaning
The top drain grates are located near the
rear window on both sides of the vehicle.
Clean the grates and drains if there is a
blockage.
Page 100 of 429

Chevrolet Silverado EV Owner Manual (GMNA-Localizing-U.S./Canada-
16702912) - 2024 - CRC - 1/13/23
Instruments and Controls 99
{Warning
In freezing weather, do not use the
washer until the windshield is warmed.
Otherwise the washer fluid can form ice
on the windshield, blocking your vision.
{Warning
Before driving the vehicle, always clear
snow and ice from the hood, windshield,
washer nozzles, roof, and rear of the
vehicle, including all lamps and windows.
Reduced visibility from snow and ice
buildup could lead to a crash.
Wiper Parking
If the vehicle is turned off while the wipers
are on LO, HI, or INT, they will
immediately stop.
If the windshield wiper lever is then moved
to OFF before the driver door is opened or
within 10 minutes, the wipers will restart
and move to the base of the windshield.
If the vehicle is turned off while the wipers
are performing wipes due to windshield
washing, the wipers continue to run until
they reach the base of the windshield.
Rain Sense
If equipped with Rain Sense and the feature
is turned on, a sensor near the top center of
the windshield detects the amount of water
on the windshield and controls the
frequency of the windshield wiper based on
the current sensitivity setting.
Keep this area of the windshield clear of
debris to allow for best system performance.
To turn the Rain Sense feature on or off, see
“Rain Sense Wipers” under Settings >
Vehicle > Comfort and Convenience > Rain
Sense > Enable/Disable.
If Rain Sense is enabled in Settings, turning
the wiper lever to INT will activate Rain
Sense.
Clock
Set the time and date using the
infotainment system. See "Time/Date" under
Settings 0166.
Power Outlets
Power Outlets 12-Volt Direct Current
The vehicle has two 12-volt outlets that can
be used to plug in electrical equipment, such
as a tablet or MP3 player. Lift the cover to access the outlet and
replace when not in use.
The power outlets are located:
.In the center console storage area under
the armrest
.In the eTrunk™
area
Center Console 12 Volt Power Outlet
Page 129 of 429
Chevrolet Silverado EV Owner Manual (GMNA-Localizing-U.S./Canada-
16702912) - 2024 - CRC - 1/13/23
128 Instruments and Controls
delete the schedule, simply touch the Delete
Schedule button, at which point you will be
prompted to confirm your decision.
Charge Settings
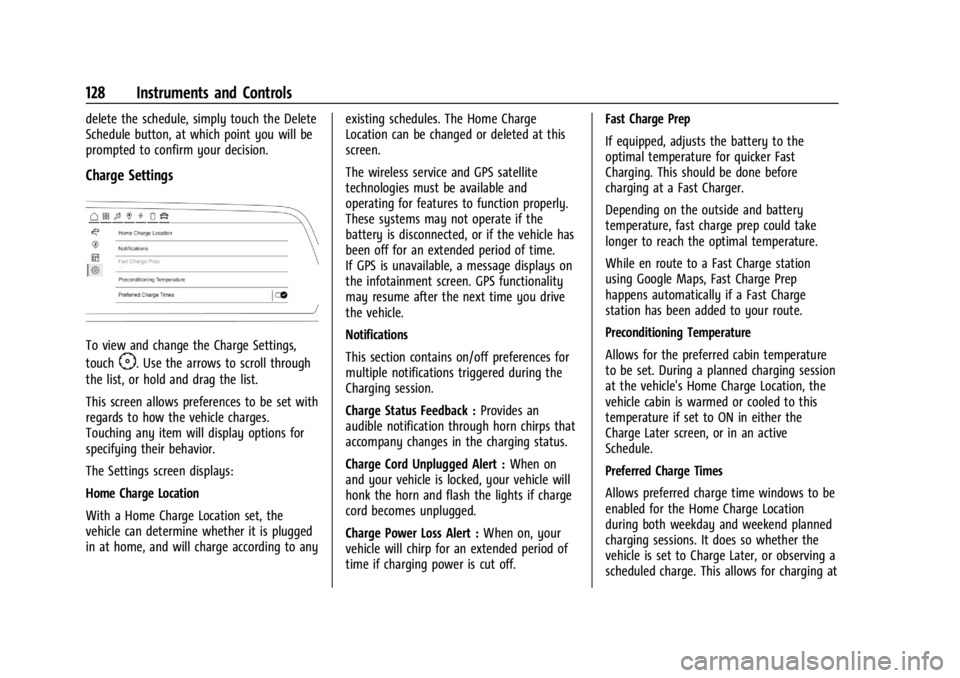
To view and change the Charge Settings,
touch
F. Use the arrows to scroll through
the list, or hold and drag the list.
This screen allows preferences to be set with
regards to how the vehicle charges.
Touching any item will display options for
specifying their behavior.
The Settings screen displays:
Home Charge Location
With a Home Charge Location set, the
vehicle can determine whether it is plugged
in at home, and will charge according to any existing schedules. The Home Charge
Location can be changed or deleted at this
screen.
The wireless service and GPS satellite
technologies must be available and
operating for features to function properly.
These systems may not operate if the
battery is disconnected, or if the vehicle has
been off for an extended period of time.
If GPS is unavailable, a message displays on
the infotainment screen. GPS functionality
may resume after the next time you drive
the vehicle.
Notifications
This section contains on/off preferences for
multiple notifications triggered during the
Charging session.
Charge Status Feedback :
Provides an
audible notification through horn chirps that
accompany changes in the charging status.
Charge Cord Unplugged Alert : When on
and your vehicle is locked, your vehicle will
honk the horn and flash the lights if charge
cord becomes unplugged.
Charge Power Loss Alert : When on, your
vehicle will chirp for an extended period of
time if charging power is cut off. Fast Charge Prep
If equipped, adjusts the battery to the
optimal temperature for quicker Fast
Charging. This should be done before
charging at a Fast Charger.
Depending on the outside and battery
temperature, fast charge prep could take
longer to reach the optimal temperature.
While en route to a Fast Charge station
using Google Maps, Fast Charge Prep
happens automatically if a Fast Charge
station has been added to your route.
Preconditioning Temperature
Allows for the preferred cabin temperature
to be set. During a planned charging session
at the vehicle's Home Charge Location, the
vehicle cabin is warmed or cooled to this
temperature if set to ON in either the
Charge Later screen, or in an active
Schedule.
Preferred Charge Times
Allows preferred charge time windows to be
enabled for the Home Charge Location
during both weekday and weekend planned
charging sessions. It does so whether the
vehicle is set to Charge Later, or observing a
scheduled charge. This allows for charging at